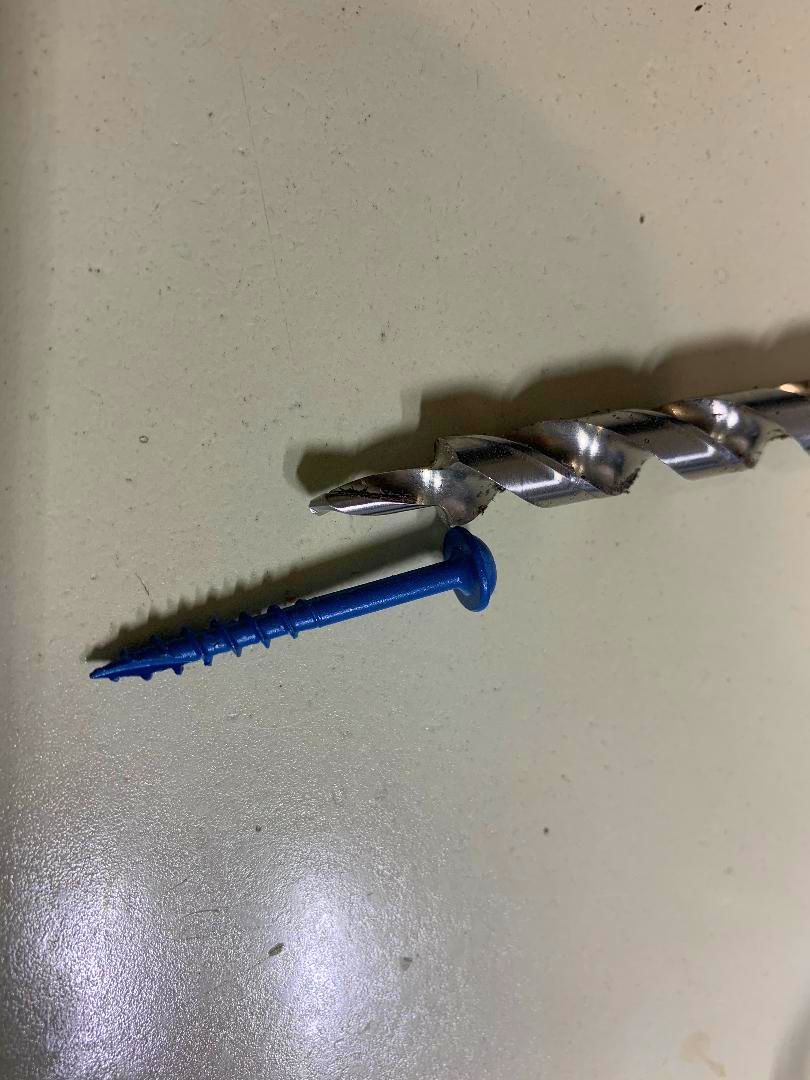
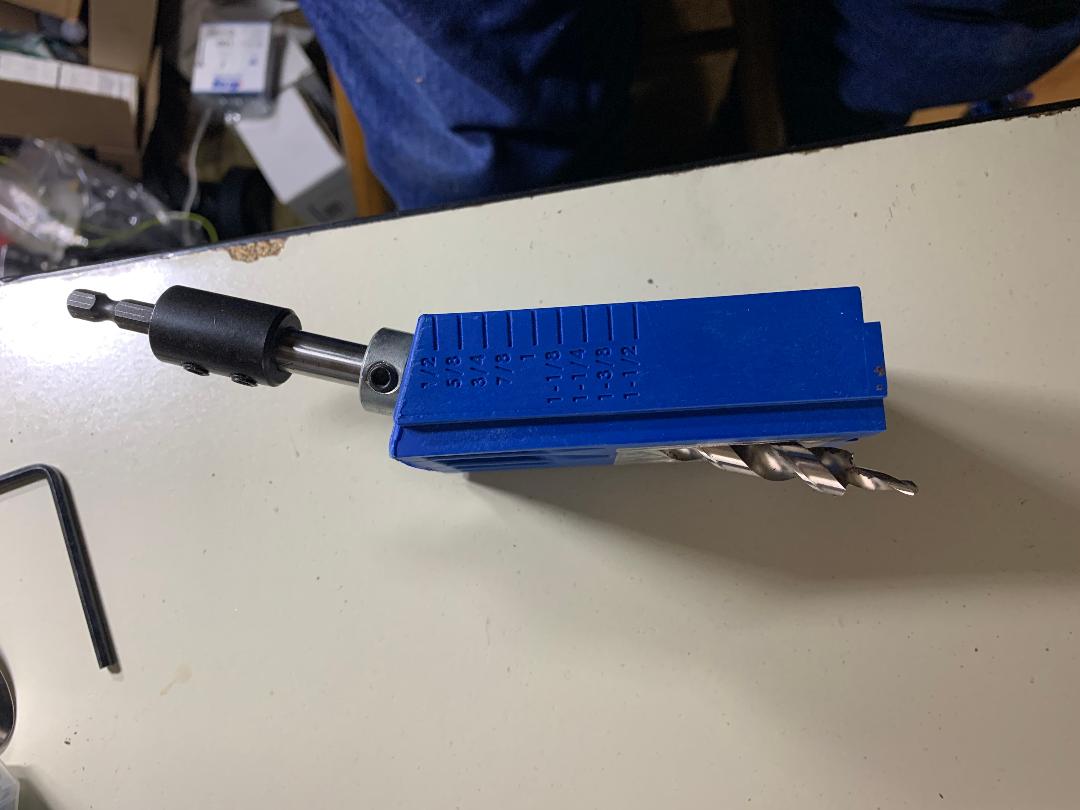
The length of the screw is important because if it is too long it might have the point come through and wreck your project or too short it might not have enough grip and could fail. That is the obvious bits.
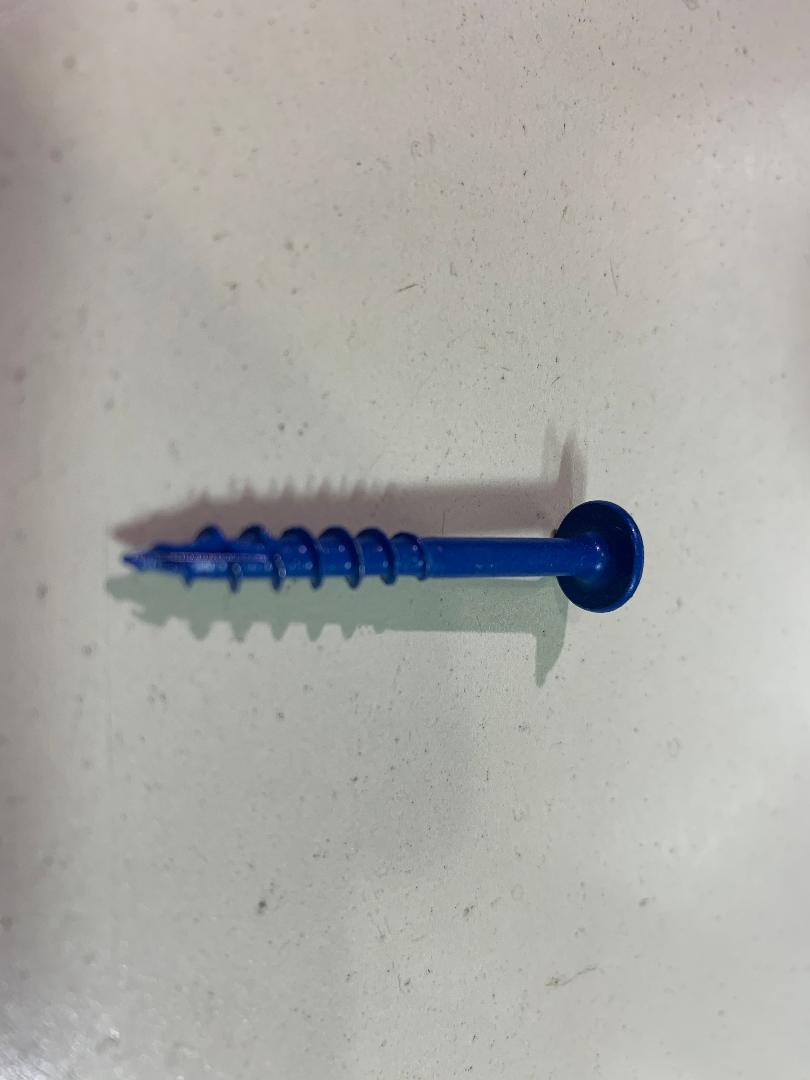
A secondary thing to think about is the how the screw is made to work. Note that the screw only has threads part way up the shank.
The top portion has no threads, because this is how the screw pulls the mating parts together. The threaded portion is in the mating part and the un-threaded is in the pocket hole part. If the screw length is wrong then it will also likely not work the way it should. By either having threaded screw bits in the pocket hole portion thus not let the joint pull together or clearance in the mating part reducing holding power.
If this confuses you at first don't worry as we go on this will come up again.
The typical wood thickness for pocket holes are in the lower range of 1/2" and work up to 1-1/2". So as you might guess there are a few different screw lengths that are also common. The most common I feel are the 1", 1-1/4", 1-1/2", 2" and 2-1/2". I did get some .75" ones for a project but that would be an outlier.
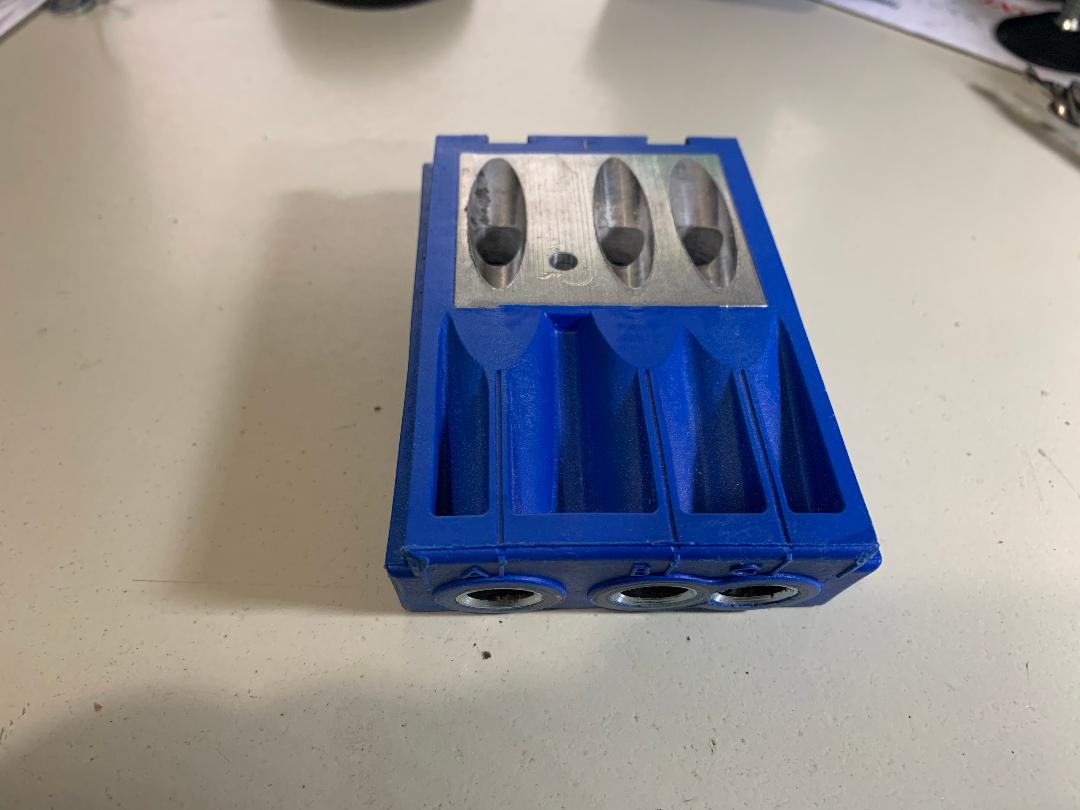
So why the various lengths? The idea behind the pocket hole is that the pocket hole jig puts the pocket hole in the the work piece with the exit hole being in the middle of the thickness of the work piece. The jig is a fixed (I believe) 15 degrees so to accomplish this for different thickness of materials the jig has to be placed at different locations from the joint. As this point moves so changes the length of screw needed.
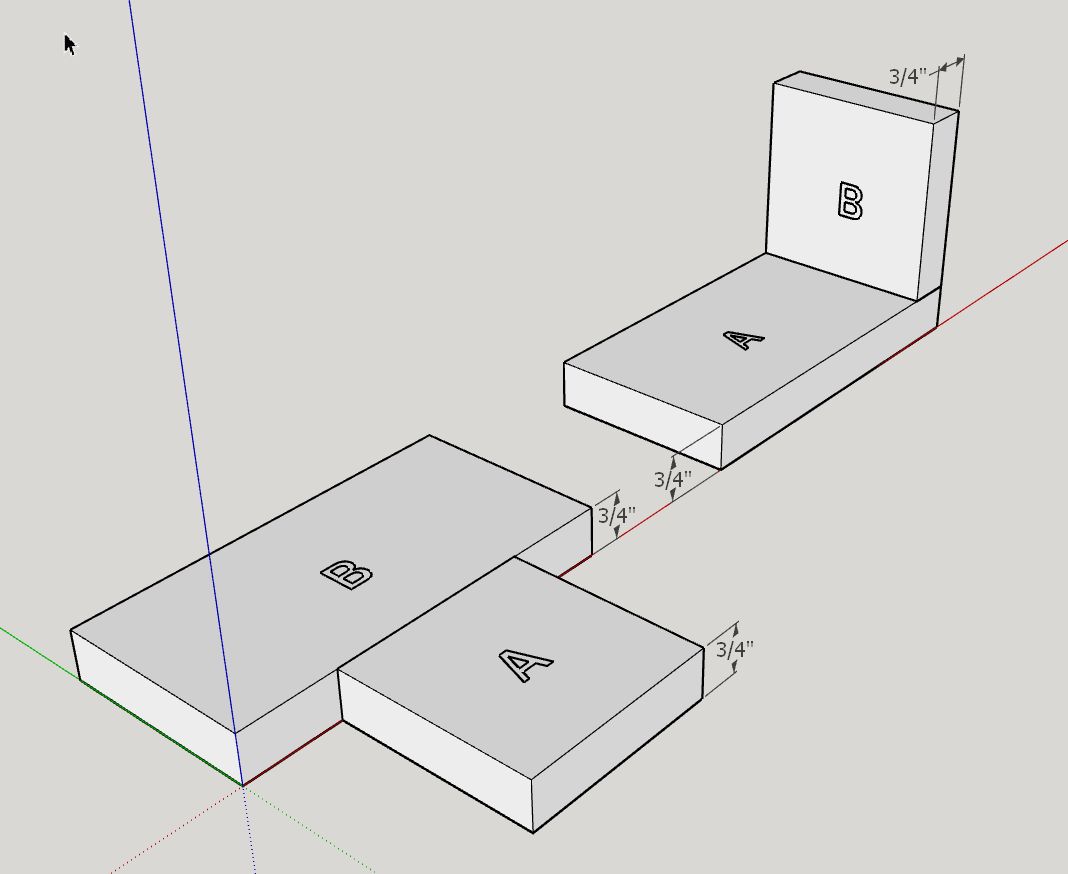
There are two basic joints that you make, one they call a face joint the other an edge joint. A face joint is where the materials are on the same plane and the edge is when they are not, most commonly they are at 90 degrees to each other.
Before we get to far on this keep in mind that the thickness is the actual thickness not the nominal one. As an example a 1 x 4 the thickness is 3/4" so that is what you use not the 1".
Looking at the face joint (left one) and assuming the thickness is 3/4" for both pieces you would use a 1-1/4" screw. If the two parts were say 1/2" thick then the screw length would be 1". If they were 1-1/2" thick then the screw length would be 2-1/2". Kreg provides tables for this but I got this screw selector wheel seen below.
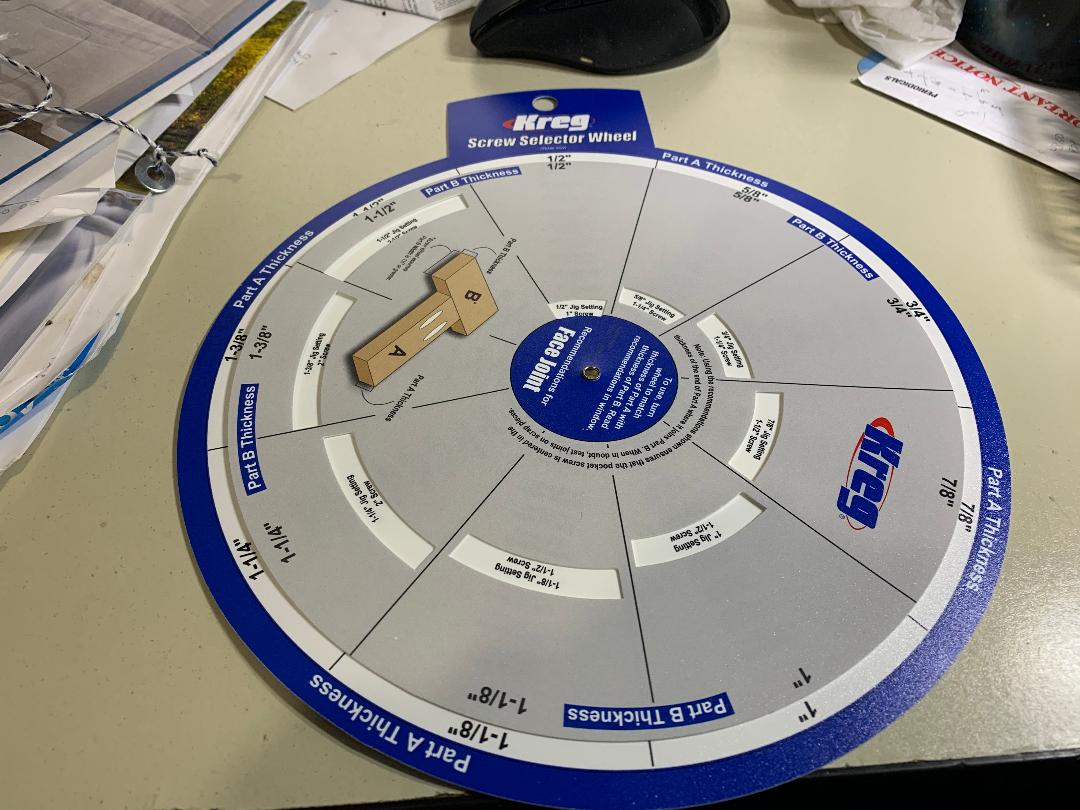
What ever works for you is fine but you do need to do more then guess.
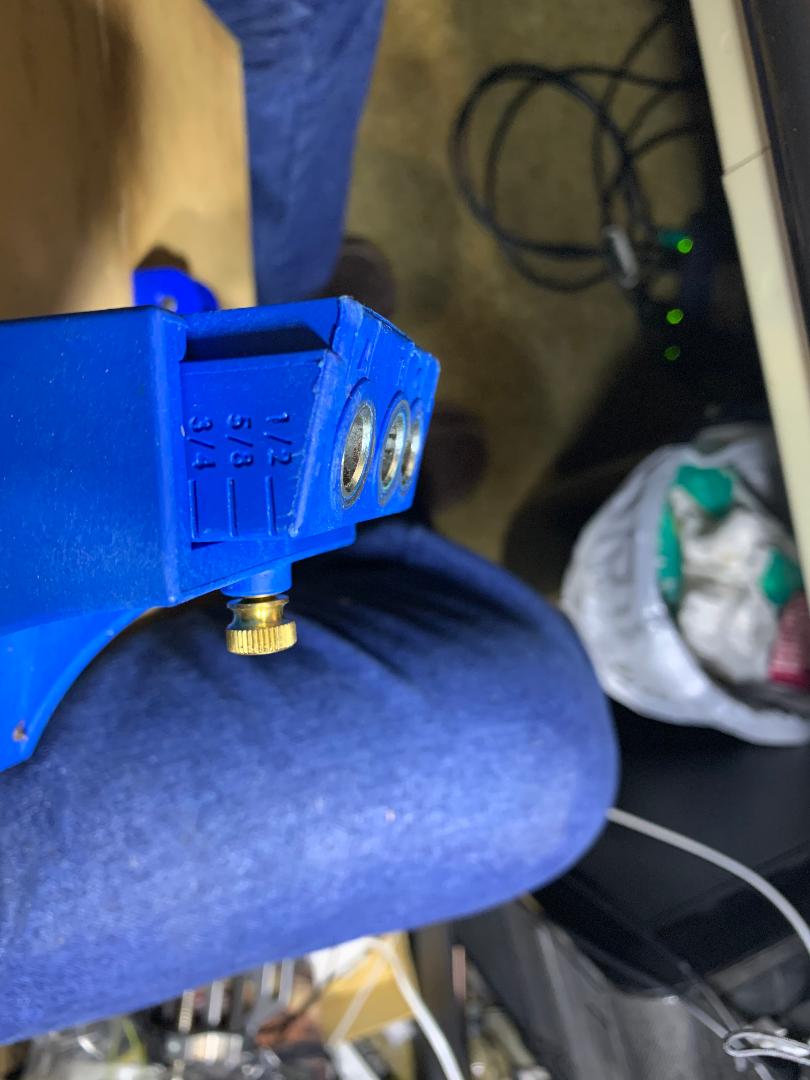
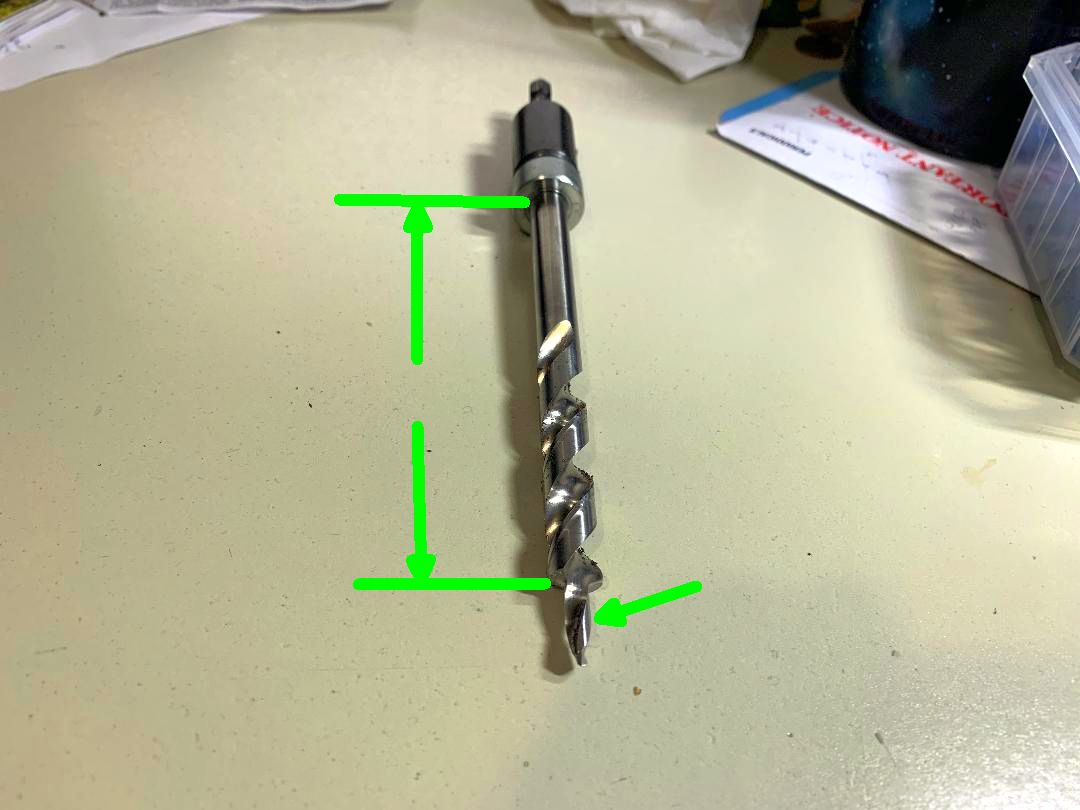
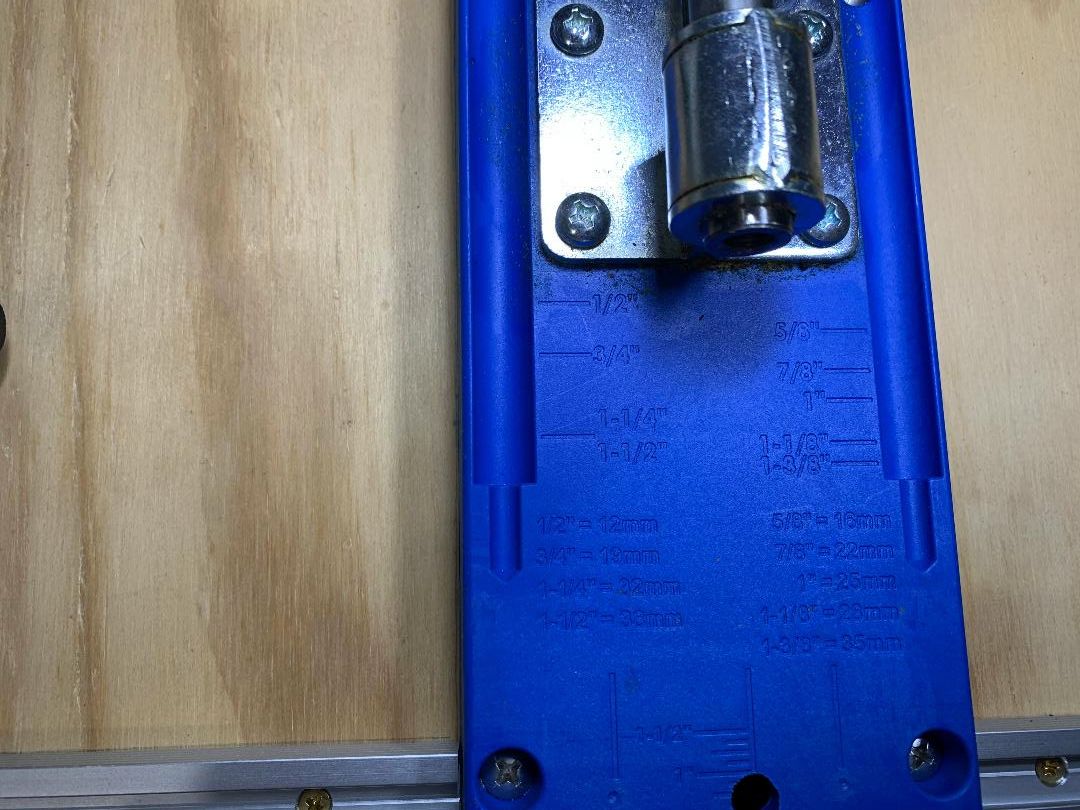
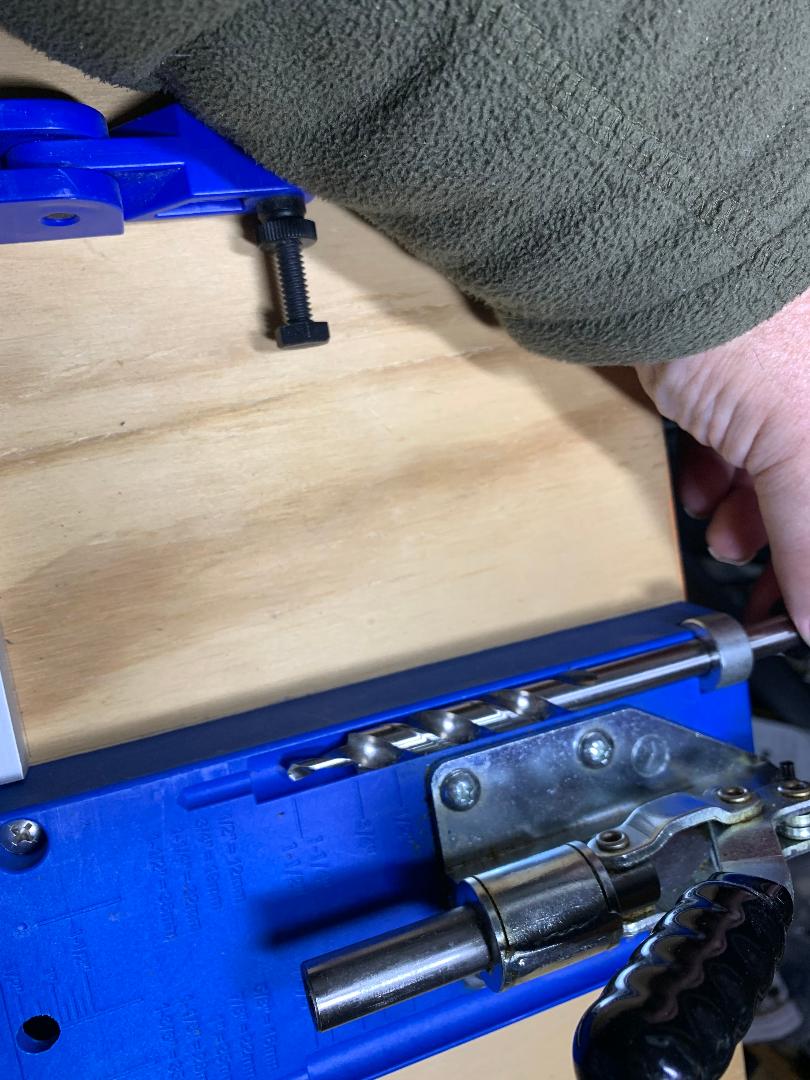
The side that the pocket holes are on is the hidden side if possible. The opposite side is the good face. You of course want to keep that face nice so besides the screw length you also have to set the depth stop on the drill bit and the jig based on material thickness. So we will leave the screw lengths for a while and look at the basics of those settings in my next post.
Ed