reible
I have an upcoming project that requires 14 pieces of laminate each being about 7" x 33". They have to be cut as just laminate and will be placed on existing surfaces and need to be clean edges.
In the past I have ruff cut the laminate then stuck it down and trimmed usually with a router which gives really nice edges. The ruff cut method will not work in this case........
I was looking to use my guided saw system but the desired blades are out of stock and not due in until July 6......... And even then I have no idea how clean they will cut a loose sheets of laminate.
I have also thought about making a pattern and then routing each piece to size but again I've never tried to cut loose laminate. Sill have to ruff cut them and hold them somehow.
Any ideas?
Ed
RFGuy
Ed,
By "laminate", I assume you mean countertop material like Formica brand, is this correct? I ask because there also is laminate flooring which is different. How are the laminate pieces going to be used? Will they be glued down? The primary reason for rough cutting laminate is to allow for margin when gluing down with contact cement (to allow for movement), then trimmed to finish size with a trim router afterwards. Sorry for the explanation, but I am just trying to make sure that I understand how you intend to use it before offering my thoughts here. If a laminate blade for your guided saw system is out of stock until July, what about cutting it on your Mark V with a good quality plywood blade? I haven't done this myself, but I believe you can get a very clean edge with this method. Some use a straight edge and sharp knife to pre-score the line before cutting with a plywood blade and claim to get a very good nick free edge in doing so. I have heard of mixed results of using tape on the edge to prevent nicks when cutting, but it might be an option as well. Whatever you use do you have enough material to do some trial cuts first to test?
Routing "could" give you the cleanest edge but you will need some method to stabilize the laminate so it doesn't lift and/or move around while making the cut (because laminate is so lightweight and sawing has an advantage as the sawblade pulls the laminate down to the table to hold it there). In my mind it would be harder to control this while routing versus sawing, but maybe someone has a better method.
mountainbreeze
How accurate do the final dimensions need to be? The conical sanding disk might be an option for the long edges.
stew
How about double sided tape to a piece of plywood and then cut to size and then remove the laminate.
jsburger
Make an MDF template. Use double stick tape around the edge. Stick down a rough cut piece of laminate and trim it with a flush trim bit in a router.
reible
The material is Formica Sheet Laminate. Either a - Vertical Grade - 4 x 8: Brite White. The vertical grade will give a hint as to how it will be mounted. I've never worked with vertical grade and didn't even know there was such a product until I started looking around. The other idea, my first thought and still might be what I will do is a Writable Surfaces White Gloss Laminate Sheet, also designed for vertical appications.
I understand that they don't stock these sheets locally so they will have to ship. I understand that they do a tight roll to ship so it will have to rest for a while to get back towards flat, another thing I have not had to deal with. I expect this can be a bit of a pain if it doesn't become really flat afterwards so another point of worry.
A 4'x8' sheet size is all they ship and it looks like I can get 15 pieces out of the sheet and I need 14 so not much room for messing things up without it costing me a second sheet.
I can not picture cutting up a floppy 4 x 8 sheet on the shopsmith. I do have a "U" channel fence attachment somewhere in the shop I think but I don't recall if I made it for the 500 or the 520. If you don't have that the laminate slips under the fence, been there and done that with smaller pieces and I do have a special laminate blade and yes it cuts clean enough for what I would need but again a floppy 4 x 8 sheet, just don't see that going well. If it were on a sub-straight this would be fine but it is not.
If I can not get nice edges I could frame the pieces but that would be a LOT more work, I really don't want to go there.
If I could sandwich the laminate and then run by the router with a pattern bit would work but at best you could only do two sides at a time.... Like wise using double sided tape on a pattern might or might not hold well enough to get clean cuts, even some minor flutter of the material will spoil the edge, it would be nice to test this and perhaps find a bit that would shear towards the pattern.
My latest thought was to use the festool rail with a guided router to do the cuts. Yes it would waste a 1/4" of kerf but still might be another option. I will have to have a solid surface to work on and clamp to, a waste board but that still might be a cheap enough way to go. I might even get by doing some of the raw cuts with the saw then have more workable sizes of laminate to route.
Ed
Hobbyman2
any way to change the edge profile to a router bit you have ?
RFGuy
reible wrote
The material is Formica Sheet Laminate. Either a - Vertical Grade - 4 x 8: Brite White. The vertical grade will give a hint as to how it will be mounted. I've never worked with vertical grade and didn't even know there was such a product until I started looking around. The other idea, my first thought and still might be what I will do is a Writable Surfaces White Gloss Laminate Sheet, also designed for vertical applications.
Ed
Ed,
Yeah I bought some Formica from Cabinetmaker's Warehouse for the first time last year that they shipped to me rolled up. It does take a bit for it to want to lay down flat again when you take it out so maybe TS isn't a great idea. I was really happy with how they shipped it, etc. so I recommend them if anyone is looking for online laminate. IF you are doing this for a whiteboard application as it sounds like you might be, there are quite a few options for this. Several years ago when I was setting up a new Design Center for work I researched and found there are many products for doing this. The cheapest is a special paint that you can apply to any smooth surface to turn it into a whiteboard. Then there are some roll-on stick-on film products and of course you are looking at a full on laminate product as well. Then of course you can buy a full pre-made whiteboard. Don't forget you can also do a clear glass solution for writing on too if transparency is important. I don't know if any of these give you a better option but just wanted to point out that there are a few different ways to go on creating a whiteboard surface. Good luck with it.
reible
Thanks for the additional ideas. Some of which I have already explored but nice to here again as it reminds me of the reason I'm on the path I'm on.
This project was to start last fall but things often don't go as I planned. This is like take 10.
I actually purchased paint but the uncovered wood turned out to contain a lot of flaws like knot holes etc. I started thinking I would fill the holes but some of them are quite large so that along with having to do a lot of sanding kind of put me off on that idea. Plus trying to get it to be a really flat smooth finish was unlikely.
I did buy some of the self stick white board as well. It is not thick enough to cover the holes without showing and my next though was to stick it on some other material like hardboard but then it starts getting thicker then I can tolerate.
Next I found a reasonably thin vinyl sheet that was reasonably inexpensive but markers leave what is called "ghosting" on it so that was out. I for a while thought it still might work with the self stick vinyl but not sure how well without spending the money to test it.
So buying the real thing, ie a white board Formica is a more safe bet except for processing it.
I was more into this laminate stuff years ago and it is like starting over since there have been a lot of improvements in tools and processing.
I should also mention that I hope that the clingy vinyl that can be cut with machines like a cricket will stick to it, another thing I don't know is going to work well enough or not. One of my sons and his wife have one of these machines so I can get things cut out as soon as I lean the software to produce it.....
Ed
RFGuy
Ed,
Yeah, I kind of figured you had probably already explored most of these options, but I just wanted to reiterate them perhaps for others benefit. I certainly didn't know of all the options available when I went searching. I tried a couple of them but couldn't convince our cheap a$$ CEO to fund replacing all of the worn out whiteboards in our leased office space. Some of these whiteboard options work better than others and if you buy a complete one you definitely get what you pay for so watch out for low cost ones. I found the cheap Costco whiteboards to be almost garbage to what I was used to at previous companies I worked at. Even a 20 year old used, high quality whiteboad is better than what I bought at Costco brand new. You can tell the cheap whiteboards when you go to erase them right away and ghost images are still there. They clean up with cleaning liquid but this only works for so long. Let us know how it progresses...some of us would definitely enjoy learning what you find that works/doesn't work for this.
BuckeyeDennis
Couple questions, Ed:
1. Just how much “kerf width” can you afford, and still get all of your pieces out of one sheet?
2. Are the dimensions of all pieces identical?
3. Do you really have 14 grandkids? 😎
I’m wondering if you could rough-cut the sheet with a track saw or whatever, and then “pad-shape” all the pieces to final dimension. The painters tape plus CA glue technique could work well here.
I’m thinking a strip of painters tape around the border of each rough-cut workpiece, both sides. Apply CA glue to the painters tape layer by layer, and build up a multi-layer “pad” of the workpieces. When finished, it’s basically a stack of workpieces that’s “solid” around the edges, in tbe sense that plywood is solid. But your “plies” will be laminate, tape, and a bit of CA glue. Then joint, saw, route, sand, or what-have-you the edges of the pad to final dimension. When done, peel it apart at the tape layers.
rpd
Re ghosting. We have an inexpensive white board in our kitchen that we use to write down things that need to go on our shopping list.
Some pen colours erase better than others but all ghost. I use a Mr. Clean MagicEraser. Using it dry for day to day use gets almost all marks. Used damp it cleans off everything. I have even used it to get off permanent marker that was used by mistake Works way better than the felt erasers
reible
I used a 8 x 34 blank for my guess at how many parts I can get out of a sheet. I don't think that is to unreasonable a blank size for planning purposes. So a large kerf size compared to my nominal dimensions.
I only have access to 1/2 of the area now and while I expect the sizes to be reasonably constant there might be a couple of tweaks to be made when I actually measure each location. I'd really like them to be all the same but that might be hoping for too much. I do expect most of them to be the same with only a couple of them being slightly off. I will be making a detailed drawing for each one that is different by more then some tolerance to be determined.
I'm a few short on the 14, holding at 11 now and it maybe staying that way?????
I like the idea of stacking them if I can find even a few common sizes, if not all the same sizes, still it would work pretty well as a few stacks.
More good thoughts.
Ed
reible
We have a message board, may a foot by 18" that we purchased about 20 years ago and purchased the Sanford bright sticks fluorescent markers because the board was black. The white boards at work would do the ghosting so I figured the black wouldn't have the problem and it didn't. But now I have not seen those markers in years, maybe you can order them but not in the stores we shop at. And I have no idea where the board is???? Sort of fell out of favor and got stuck somewhere.
I've seen the Mr Clean product but have never purchased any. Will have to keep this in mind if and when the white boards get into use. I think I've seen it in the Menard's store?
Ed
rpd
We don't have Menard's in Canada, but any store that has cleaning products should have them. I think you can even get knock offs from the dollar store, but the ones I tried didn't work as well.
For most cleaning jobs they are used wet,
edma194
Magic Eraser is melamine sponge. Inexpensive versions of it are abundant. It has a mild abrasive effect and works like a rubber eraser removing surface contaminants in residue from the eraser.
RFGuy
Regarding refreshing older whiteboards...I think it comes down to what kind of material is used for the whiteboard. I think I tried Magic Eraser and it didn't solve the problem for the old whiteboards I had to use. Not saying it won't work, but just didn't work for me at that time. When I researched it before many online claimed that a good quality carnauba (car) wax would refresh older whiteboards so that they ghosted less and erased more easily. Didn't work when I tried it, but if you dig deeper on the internet you'll find others had mixed results too. Another remedy often touted is WD-40, but I didn't try it. I had conference rooms with very large fixed, permanent mounted whiteboards. Windows don't open in most commercial buildings. It took a long time to air out the car wax so I couldn't imagine spraying a large quantity of WD-40 in there and having to smell it for days. I would assume either product is supposed to fill in the pores of the whiteboard surface making it harder for the marker to attach and ghost, but if car wax didn't work I can't imagine WD-40 would have for my case. IF anyone is interested there is a link below showing how someone tested a few products and WD-40 worked the best for them.
My opinion is that ghosting is more of a problem with the low odor dry erase markers commonly sold today. When I used the high odor markers they seemed much less likely to ghost but they do smell (similar to applying polyurethane without a mask) :( . I never used the fluorescent markers, but I included a link below. Maybe these are what you are looking for Ed?
https://www.makerjosh.com/best-way-clean-whiteboards-9-tests/
https://mywhiteboards.com/fluormar.html
reible
Yes those are the vary same markers down to the item number. The last set I got were less then $10. You wipe these off with a damp cloth but a dry erase gets most of it off.
I did find the markers, might even be a fresh pack but years old so more then likely dry. Still no sign of the board.
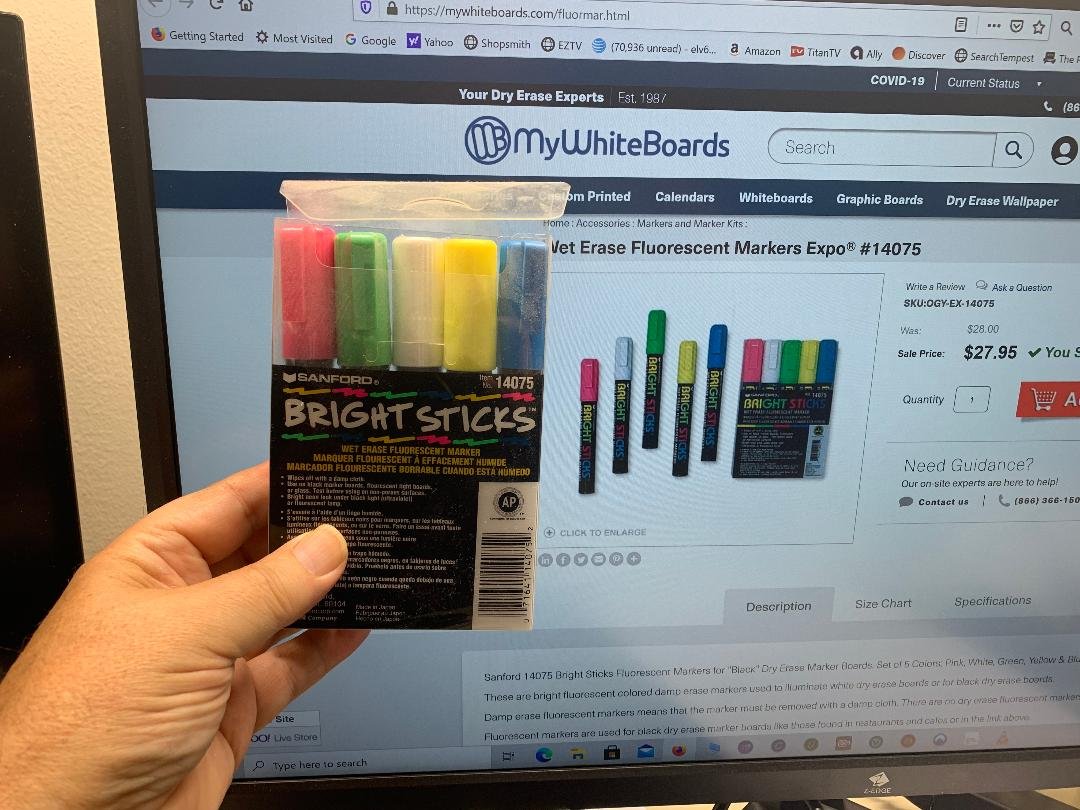
Will give amazon a look later today to see what if any price they might have for them. Might be fun to get the board out and start using it again, well if I can find it.
Ed
reible
The lead time on a lot of items I want from Festool has been so long that I have thought about redoing my shopping plan and moving something to next years list and deciding what other tools might then be purchased this year. I had not sat down to do that yet but now I have to rethink that as well.
The blade that was shown as arriving after July 6 came in stock a couple of days ago and it arrived today. Now if all the dates are really just guesses and tools might start showing up a lot sooner then I would like to stick with my plan. I guess I can wait a couple more months and see what happens.
Another thing of interest was that I was out at Rural King a few weeks back and wanted to check out(hands on) some of the Dewalt tools I was thinking about. They had almost none. Thought perhaps they were no longer going to sell Dewalt..... Over hear another customer asking about Dewalt and the sales guy said they just could get any in. I was back there today and a sea of yellow. Not a lot of any one item but a lot of yellow boxes on the shelf.
Like wise the couple of Dewalt tools that I had been waiting on became available all of a sudden so what ever was going on seems to have improved. Maybe the Festool thing will be the same. Can only hope.
Ed
reible
Finally got on this project. I did have to order the material online. It did as expected come in a box where it was rolled up and protected.
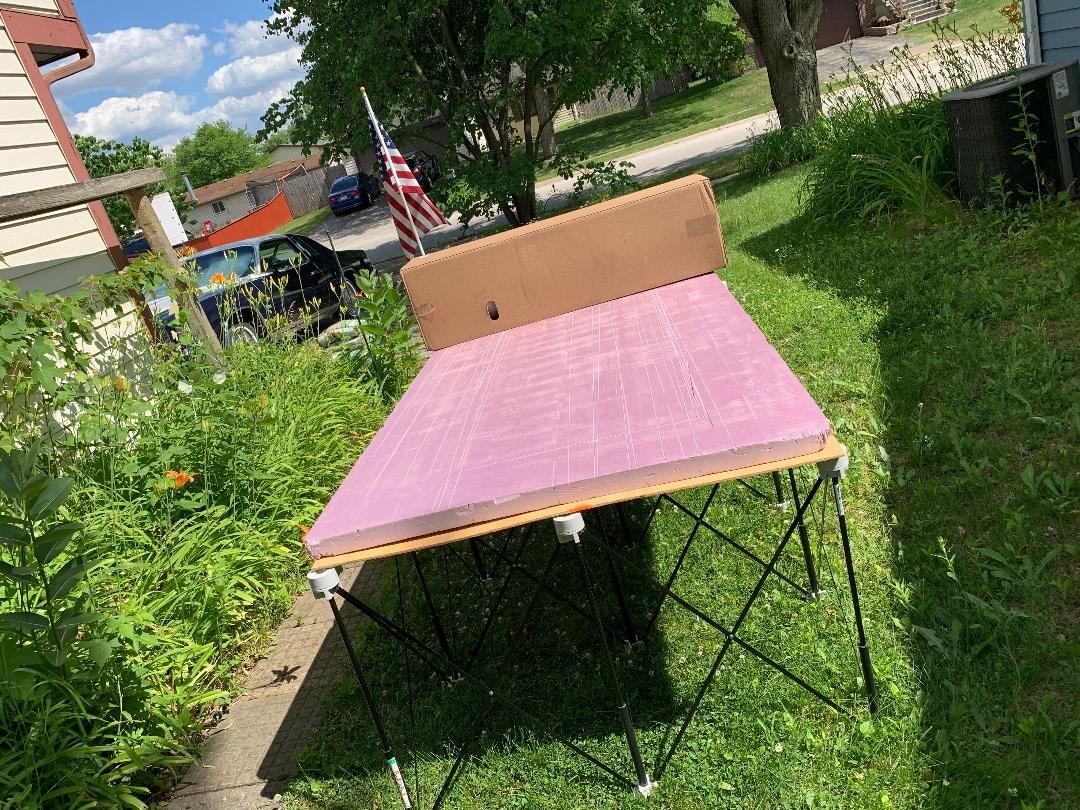
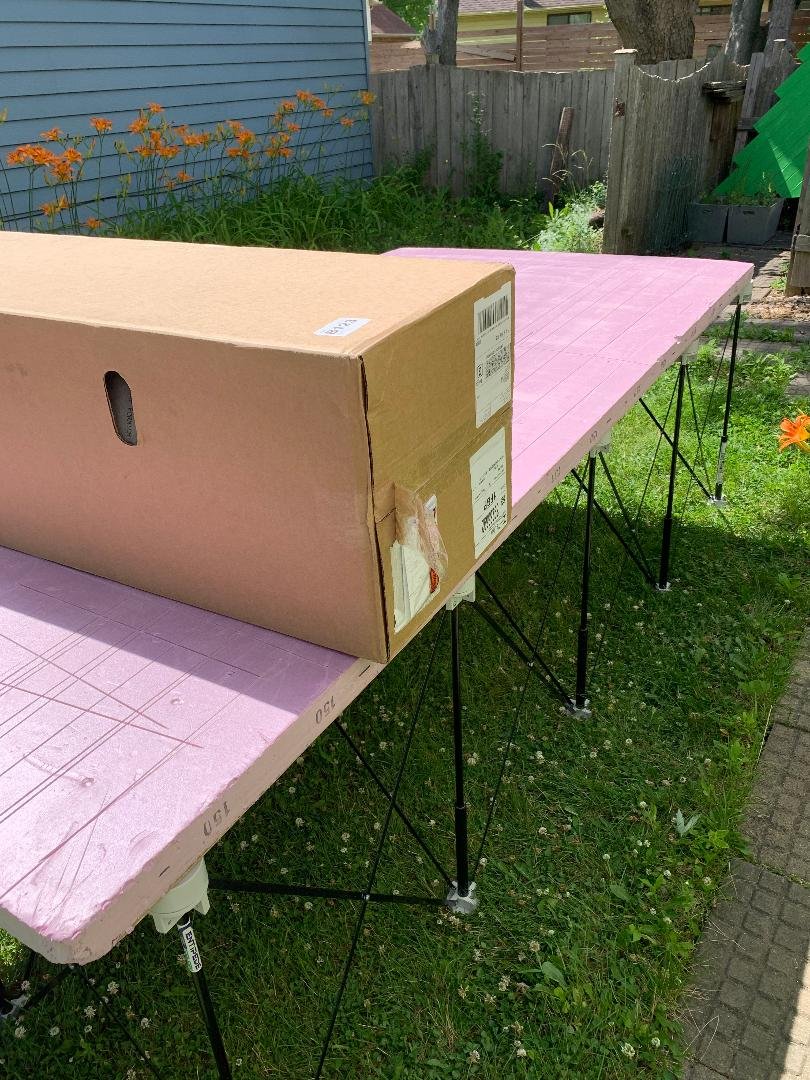
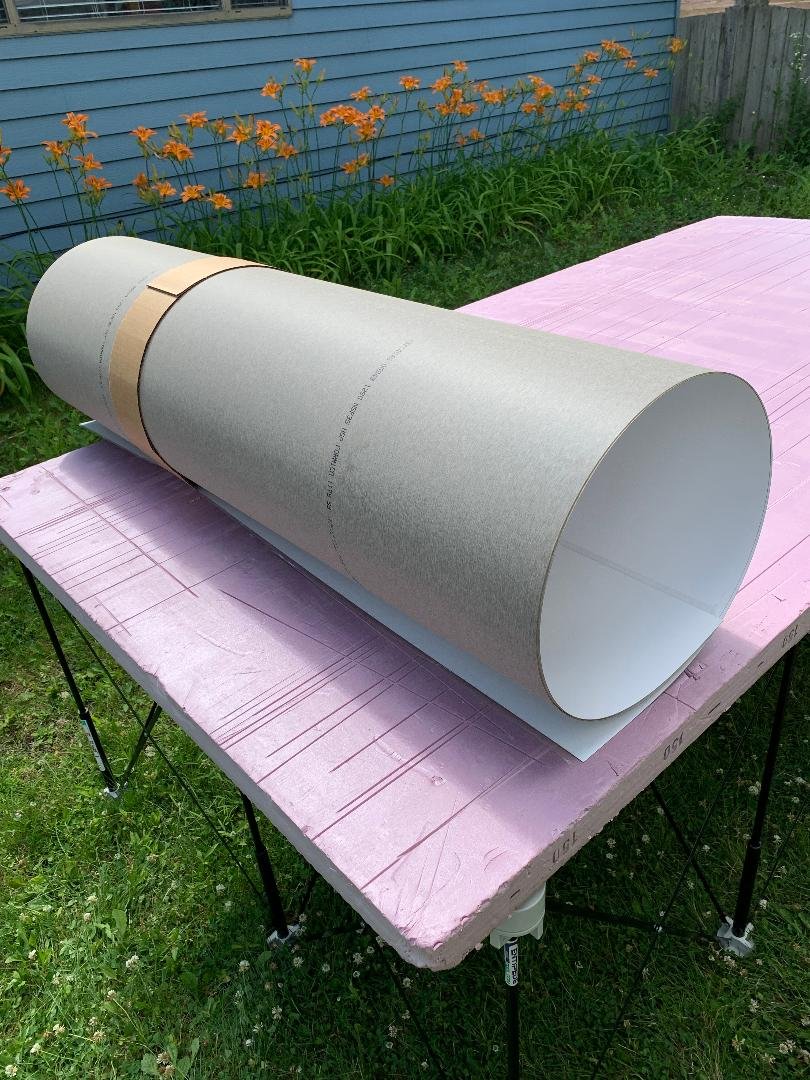
You can see the memory as it was unrolled:
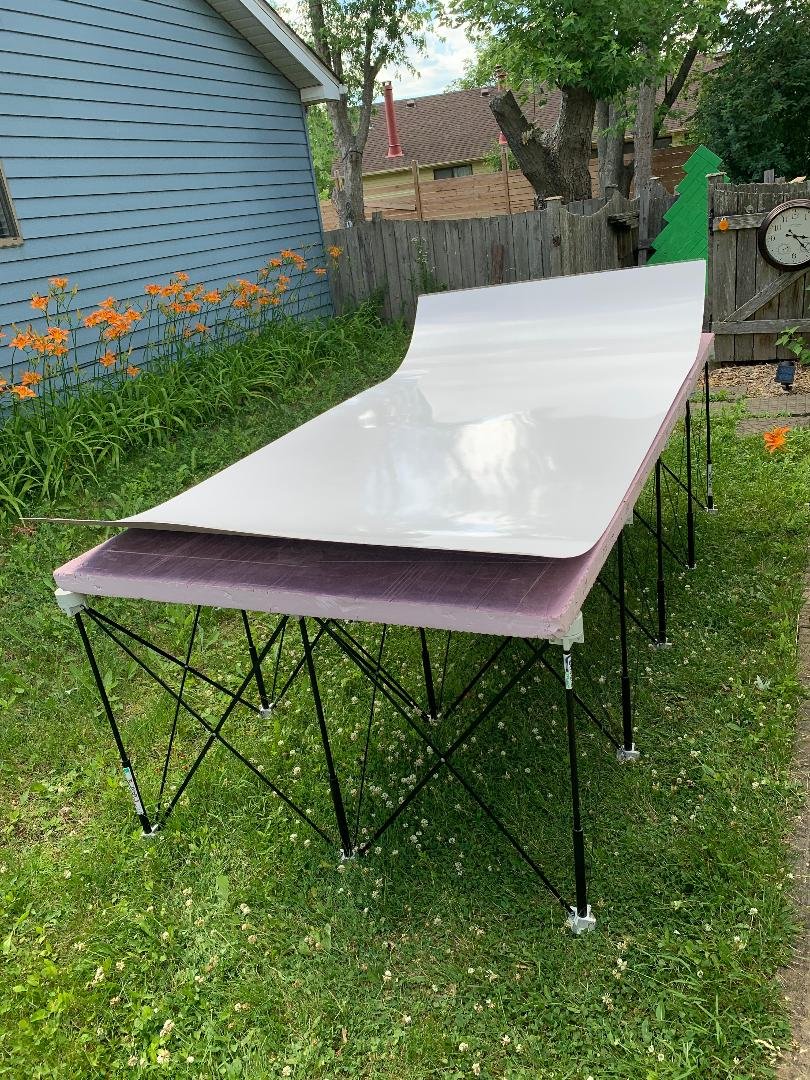
Even sometime later it still had a bit of a memory:
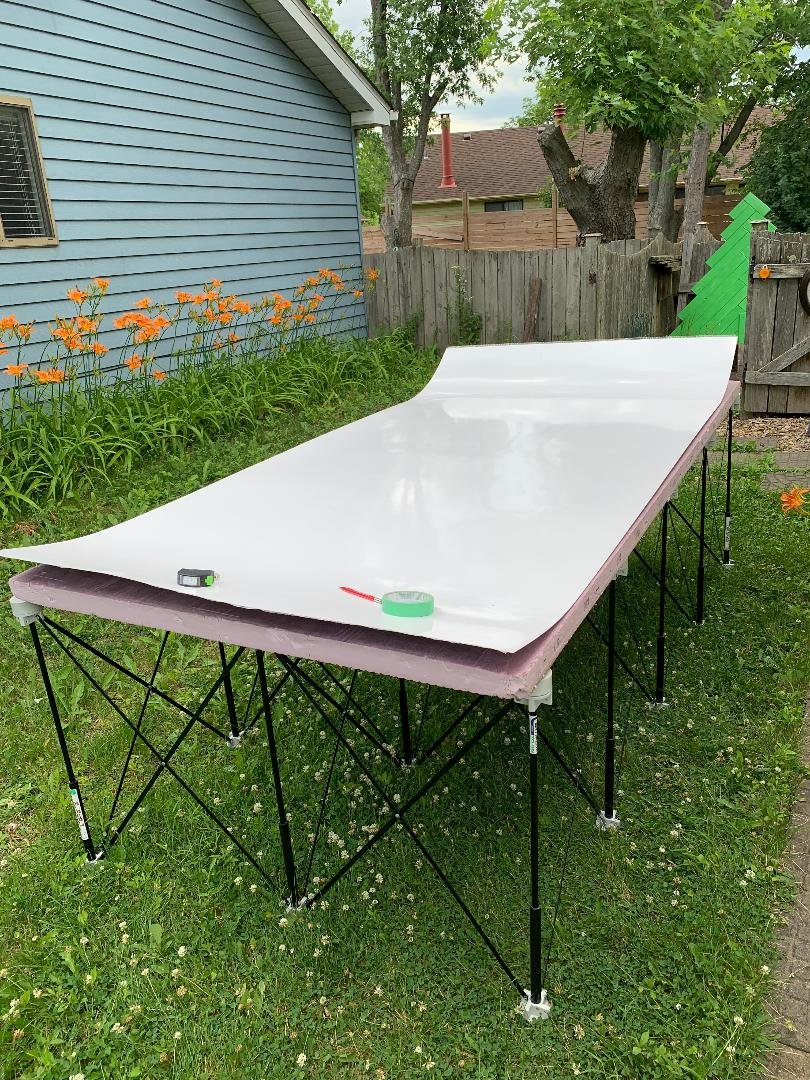
At about this point the sky darkened and it looked like it could rain so I had to go into super mode and get it cut up. Sorry no pictures.
I used my track saw and the new blade in the saw and it cut beautiful. Nicer then I had even hoped for.
The cut pieces still have the curl but still have a few days before I will be putting them on so fingers crossed they go flat or the curl doesn't effect the procedure.
The cut pieces were for half the project and I ended up with about a 1/4" strip that was waste. I found that all the lengths were the same and then 3 height versions so not to bad. The other half will be a while since it a destruction project before I can get the measurements. At least it is now in manageable sizes I can store.
I can't say how other equipment might fair doing this but I was impressed at how easy and nice the pieces came out. Oh yea, no rain.....
Ed
