Got my Gilmer clutch cleaned, reassembled, and torque tested last night. It tested at 16.6 ft-lbs vs. the spec Bill Mayo relayed to me of 10-20 ft-lbs. That was good news. Had it fallen out of spec, I would have had to modify "stuff".
I meant to mention in my original post that when I disassembled the clutch, I noticed that there were two metal disks and two fiber disks together instead of the expected alternating pattern of metal, fiber, metal, fiber etc. If you go back to the beginning of this thread, you'll notice it if you look closely at the close up of the disk assembly.
I had thought that someone made an error when they assembled it but Bill said he see's this on ones he's done. From an engineering standpoint, it must have been a way of LOWERING the slip torque. Instead of 7 disk to washer contact surfaces, this would have resulted in only 5. Since frictional force is a function of material, surface finish, load, and surface area, this is the only logical conclusion I can come to. Anyway, when I reassembled the clutch, I DIDN'T reassemble it like that. I did the alternating disk, washer, disk, washer pattern. My main reason for doing it that was was.....it made me feel better.🙂 Had the torque test failed, I would have put it back the original way just to see how it tested out. I kind of wish I had a spare drive to play around with just to see how changing things effect torque.
Here's what one of the metal disks and fiber washers looked like before cleaning.
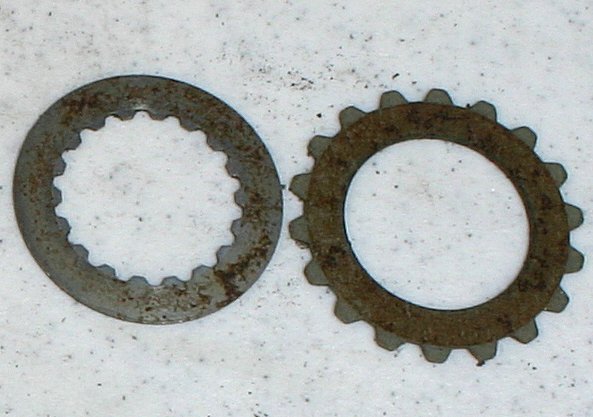
To remove the rust off the metal disk, I used a 8" brass brush on my bench grinder. Then, to get the surface back close to what it originally would have been, I sanded progressively from 60 grit up through 1200 grit. (60, 150, 220, 400, 600, 1000, and finally 1200). For the fiber washer, I sanded lightly with 400 grit. Got so anxious to reassemble that I forgot to take after photos.:mad:
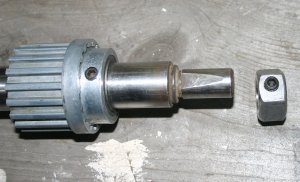
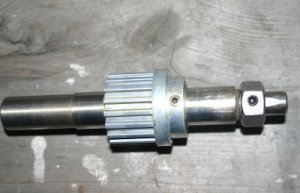
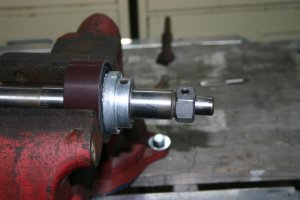
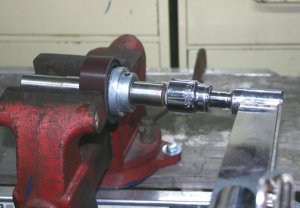
Here is my set up for the actual torque test. The nut that you see is a 5/8" heavy head hex head nut with the threads drill out so that it would fit on the Gilmer drive shaft. I drilled and tapped a 5/16-18 UNC hole for a set screw so that I could get a socket over it for torque testing.
So now, I just need to put the 2 new bearings back on it and it's ready to go.


