Now with our holes marked it is time to go to the drill press and drill the holes. I'm going to let you figure out what size they are and I hope you all have a full set of twist drills up to 1/2" in your shop.
Make sure you do your drilling in a safe manner, no need to get hurt at this point in time making such a simple hole.
With the holes drilled it is time to make sure you have a fit. This can be done by checking with the insert you used to do the marking or check it with the table top. If the holes are not centered for width or are to close or to far apart you have officially in the danger zone. You will need to decide if it is a go or no-go situation at this point.
If it looks good then you need to counter sink the holes. You can do this by taking small cuts then checking with the mounting screws to make sure you are deep enough so the heads are embedded below the surface of the insert.
With the hole in place it is now time to do the rounding of the end(s). Again you will want to use the holes to align both the sample part and the new insert you are building. Once they are lined up it is time to draw the radius.
(Note that my shop is closed for the season so the pictures you will see will not have the hole in place.)
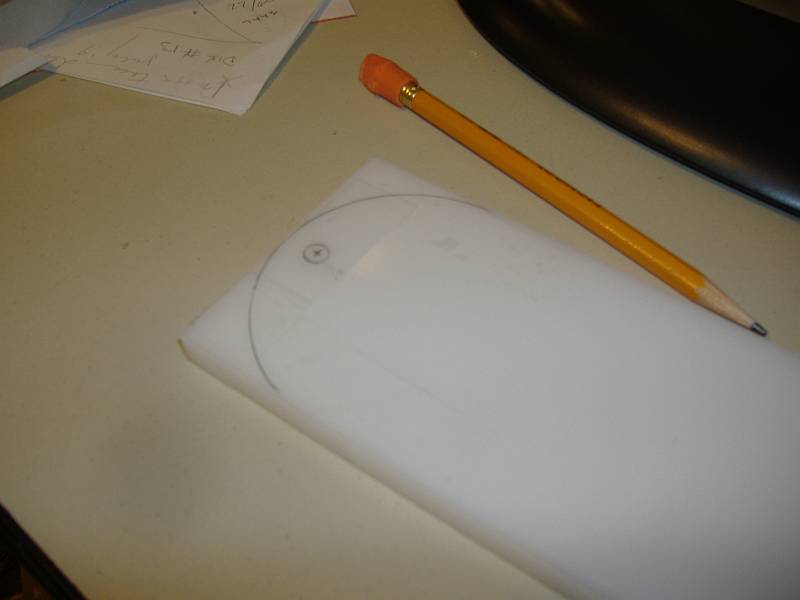
Now comes a breve of options as to how to make the end round. There are more then I care to list but I'll point out at least a few of them.
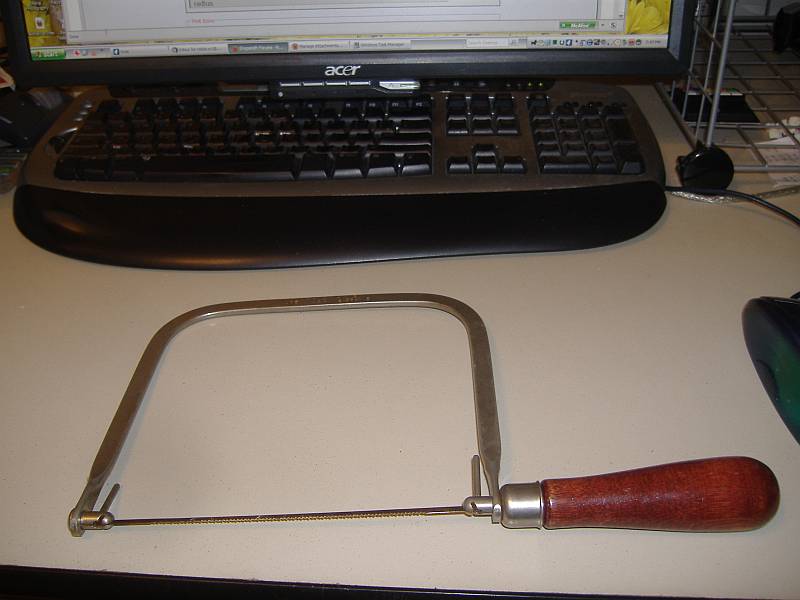
The use of a hand tool such as the coping saw would work. You may like to clean up the cut with some sandpaper after but then again it is only an insert so some may not care to. This is the saw to which I was referring:
If you have the band saw, jig saw or scroll saw attachments you can use them. If you want to use the table saw or hand saw to cut a line tangent to the circle then hand sand to shape. You can do the whole job with the use of the disk sander, belt sander, or strip sander or even a drum sander if you wish just take your time and don't get in a rush to remove material. My method of choice is a router but many other tools could be used. [Forgot to add that both ends of the 500 version gets the curve shape but the 5++ version needs to have the squared end trimmed to size.]
The end product should be something like these:
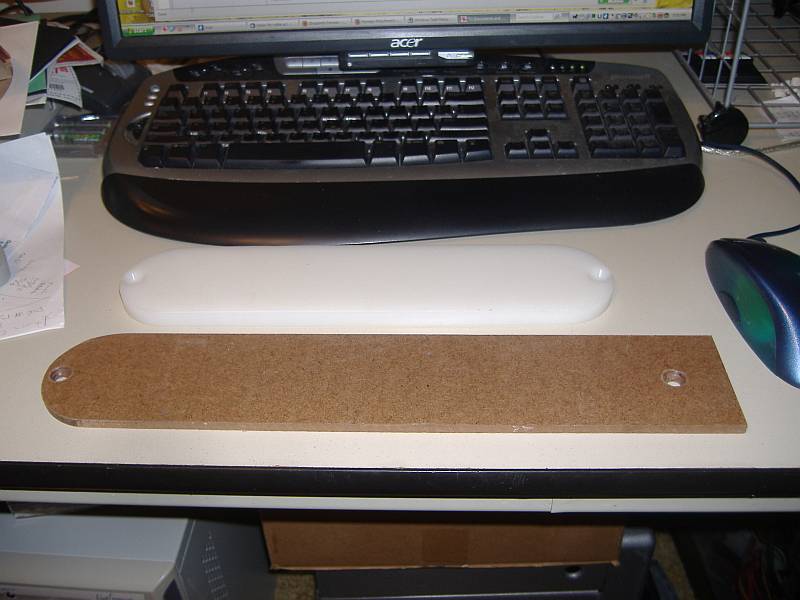
One option which I don't have a sample of is the one with a cut out for the upper blade guard (5++). The ones you see will not except the blade guard but if you get them to this point you can cut them to fit your needs.
Just a couple more things and we are done.
Once you have one of these made check and make sure it fits. If so you may want to mark that one as a master and then use it for making others. A master is good for making routed versions.
Now for making the cut with the saw blade in to the zci I would suggest that you raise the table put the insert in place, check to see the table is locked in the proper location as well as the other normal checks like if you were going to do a sawing operation. Next mount the blade you are planning on using with this zci. Mount the rip fence so it covers the edge of the insert to hold it flat (you can also clamp a board over the table and insert to hold it in location). You will might not be able to have top guard in place so take all due caution as you lower the table into the blade. You need not lower the table all the way down if you now that most of the work you want to do with this zci is going to be less then full depth cuts.
I would have like to taken pictures of the whole process as I made one but I hope this will do for now.
Ed


