Page 30 of 39
Posted: Sat May 02, 2009 12:02 pm
by bucksaw
I write software because it pays well. I'd rather be in the shop.
Interesting fact I have learned about radial clearance (C1 vs Nomal) on a 6202 bearing is that the difference is only 20 to 30 microns(one micron is a millionth of a meter). I can't imagine that you could detect the difference.
Posted: Sat May 02, 2009 12:22 pm
by mickyd
bucksaw wrote:I write software because it pays well. I'd rather be in the shop.
Interesting fact I have learned about radial clearance (C1 vs Nomal) on a 6202 bearing is that the difference is only 20 to 30 microns(one micron is a millionth of a meter). I can't imagine that you could detect the difference.
God bless ya man. I'd rather put my brain in a blender than write code!! Of all the technical areas I've been involved with, software coding has definaely been the most challanging. For whatever reason, my brain just doesn't think that way. I think it's becaue I HATE proof reading and when debugging, that what your doing.
In my line of work, 10 microns is huge (
10 microns = 0.00039"). That's approaching the point that it can be detected with a dial caliper. Just think of how many revolutions those poor things go through in a lifetime. I can see where any deviation from perfect adds up.
Posted: Sat May 02, 2009 1:39 pm
by charlese
I wish to thank you guys for a most interesting and educational discussion. Even at my age, it is fun to learn new "stuff"!
Although I don't have a Greenie, nor do I intend on getting one, your discussion through the last few pages has been most enlightening.
A special thanks to John McCrossen for that posting of the manufacturing changes PDF! That one document provided many answers to quite a few forum questions in the past that had boggled many folk's minds! That PDF is now in "My Favorites" for future reference.
Pertaining to bearings - Thanks to bucksaw and JPG - we now can have a better understanding of sealed bearings. The parts of my background in Forestry, logging & milling has taught me there is no such thing as a "really sealed" bearing. Only a bearing that is somewhat protected from big chunks of dirt and dust.
As many of us know the sealed bearings on our Shopsmiths are subject to drying hence wearing and not working as intended. Sawdust is very capable of sucking up and out the lubrication from our bearings. Impacted sawdust will surely do this job!:eek: This is a major reason to keep the insides of our headstocks clean.
Being of the old school, I think it is a wise thing to put a little lubricant on the race of bearings from time to time. (Definately not WD-40 - use a light oil like turbo oil) I know if I had done this to my jointer bearings, I would not have had the failure that gave me fits, and cost me a new cutter head.
Keep up the good work guys! We live and learn! And it's all good!
For me - So many times it's been - "Too soon old, and too late smart".
Posted: Sat May 02, 2009 3:01 pm
by JPG
charlese wrote:I wish to thank you guys for a most interesting and educational discussion. Even at my age, it is fun to learn new "stuff"!
Although I don't have a Greenie, nor do I intend on getting one, your discussion through the last few pages has been most enlightening.
A special thanks to John McCrossen for that posting of the manufacturing changes PDF! That one document provided many answers to quite a few forum questions in the past that had boggled many folk's minds! That PDF is now in "My Favorites" for future reference.
Pertaining to bearings - Thanks to bucksaw and JPG - we now can have a better understanding of sealed bearings. The parts of my background in Forestry, logging & milling has taught me there is no such thing as a "really sealed" bearing. Only a bearing that is somewhat protected from big chunks of dirt and dust.
As many of us know the sealed bearings on our Shopsmiths are subject to drying hence wearing and not working as intended. Sawdust is very capable of sucking up and out the lubrication from our bearings. Impacted sawdust will surely do this job!:eek: This is a major reason to keep the insides of our headstocks clean.
Being of the old school, I think it is a wise thing to put a little lubricant on the race of bearings from time to time. (Definately not WD-40 - use a light oil like turbo oil) I know if I had done this to my jointer bearings, I would not have had the failure that gave me fits, and cost me a new cutter head.
Keep up the good work guys! We live and learn! And it's all good!
For me - So many times it's been - "Too soon old, and too late smart".
Thank you for the kind words:) , BUT I think BUCKSAW is THE ONE one who NAILED IT!

AND do not forget FARMER Robinson on another thread!:)
Posted: Sat May 02, 2009 3:25 pm
by mickyd
I solved the issue of how to mount the ShopSmith medallion that covers the headstock access hole so that it would be easily removable. As you recall from previous posts, although my headstock has the factory access hole, my medallion DID NOT have either the retaining spring steel clip or evidence of ever being swaged to accommodate one like to medallion jpg showed in
his post #243.
All I can conclude with my medallion is that either it is not the original medallion for my headstock OR it was mounted on my headstock with some kind of mechanical fastener over the posts. Doesn't make a whole lot of sense that the factory would go through all the effort to redesign the headstock to have an access hole then mount the medallion in a way that it couldn't be installed without accessing the inside of the headstock but apparently that is the case. What probably happened in they had the new headstock castings with the access hole but they did not have the process or parts set up to put on the retaining spring steel clip on so they shipped it out as is. Who knows.
Anyway, I got the idea while looking at my donut that I was eating this morning for breakfast!! I figured a "donut" on the post might just work. Here's a photo. My "donut" is a small neoprene grommet used when your running small wires though a piece of sheet metal to protect the insulation.
[ATTACH]4332[/ATTACH]
-
-
-
-
-
-
Here's the grommet on the post
[ATTACH]4333[/ATTACH]
-
-
-
-
-
Remember that the medallion posts go into the 2 half moon tabs shown here
_
[ATTACH]4335[/ATTACH]
-
-
-
-
-
And finally, here's how it gets installed. The side with the grommet on the post goes on first, and the other post second.
[ATTACH]4334[/ATTACH]
-
-
-
-
As your installing, you are actually pushing and compressing the grommet against the half moon tab. It then acts like a spring and PUSHES the other post over so that it presses firmly up against the mating half moon tab on the other side. It holds it on quite nicely.
Success!!
Good thing is I didn't have to modify any of the original ShopSmith components. I was getting REAL CLOSE to trying to mount the retaining spring steel clip similar to jpg's with either J-B Weld or liquid nails as was suggested but thanks to my awesome good breakfast donut, I was saved from that.
Posted: Sat May 02, 2009 3:36 pm
by JPG
mickyd wrote:I solved the issue with how to mount the ShopSmith medallion that covers the headstock access hole so that it would be easily removable. As you recall from previous posts, although my headstock has the factory access hole, my medallion DID NOT have the either the retaining spring steel clip or evidence of ever being swaged to accommodate one like to medallion jpg showed in
his post #243.
All I can conclude with my medallion is that either it is not the original medallion for my headstock OR it was mounted on my headstock with some kind of mechanical fastener over the posts. Doesn't make a whole lot of sense that the factory would go through all the effort to redesign the headstock to have an access hole then mount the medallion in a way that it couldn't be installed without accessing the inside of the headstock but apparently that is the case. What probably happened in they had the new headstock castings with the access hole but they did not have the process or parts set up to put on the retaining spring steel clip on so they shipped it out as is. Who knows.
Anyway, I got the idea while looking at my donut that I was eating this morning for breakfast!! I figured a "donut" on the post might just work. Here's a photo. My "donut" is a small neoprene grommet used when your running small wires though a piece of sheet metal to protect the insulation.
[ATTACH]4332[/ATTACH]
-
-
-
-
-
-
Here's the grommet on the post
[ATTACH]4333[/ATTACH]
-
-
-
-
-
Remember that the medallion posts go into the 2 half moon tabs shown here
_
[ATTACH]4335[/ATTACH]
-
-
-
-
-
And finally, here's how it gets installed. The side with the grommet on the post goes on first, and the other post second.
[ATTACH]4334[/ATTACH]
-
-
-
-
As your installing, you are actually pushing and compressing the grommet against the half moon tab. It then acts like a spring and PUSHES the other post over so that it presses firmly up against the mating half moon tab on the other side. It holds it on quite nicely.
Success!!
Good thing is I didn't have to modify any of the original ShopSmith components. I was getting REAL CLOSE to trying to mount the retaining spring steel clip similar to jpg's with either J-B Weld or liquid nails as was suggested but thanks to my awesome good breakfast donut, I was saved from that.
Glad to see you got the Medalliion POLISHED! Long term effectiveness will be interesting as well as the effects of Vibration! GEEZ I hope this works!:)
Don't forget the Farmer
Posted: Sat May 02, 2009 5:10 pm
by charlese
JPG40504 wrote:Thank you for the kind words:) , BUT I think BUCKSAW is THE ONE one who NAILED IT!
AND do not forget FARMER Robinson on another thread!:)
Good thing to also credit Francis!:D
Not to worry! Speaking personally, since he came to us in March, I have enjoyed every one of his words. We a lucky to have him and his practical approaches to things. They often offer a healthy dilution of more strict engineering.
Hey Francis, I even enjoy some of your "farmyard practical wisdom" as I'm just laying back. - - My kind of guy!
Posted: Sat May 02, 2009 8:11 pm
by johnmccrossen
Mickyd,
What are the chances of celebrating the 300th post in this thread with an unblurred picture of your beautiful restoration?? I have my fingers crossed. John McCrossen
Posted: Sun May 03, 2009 4:18 am
by mickyd
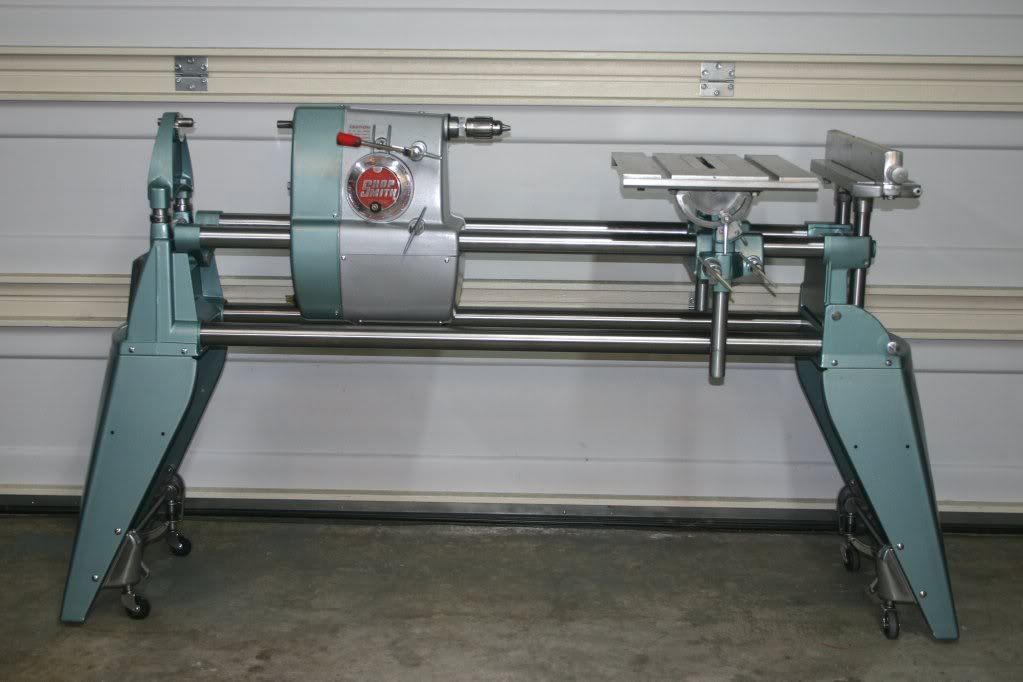
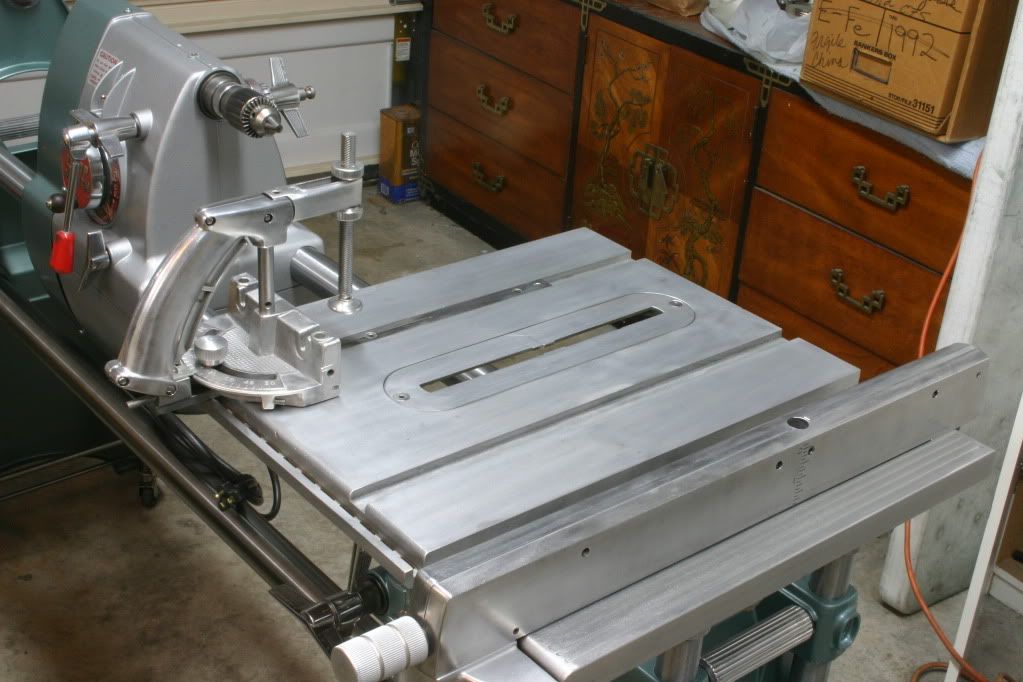
The Mark 5 is completed. No energy to type but I'll share the pics with you.
-
-
-
-
-
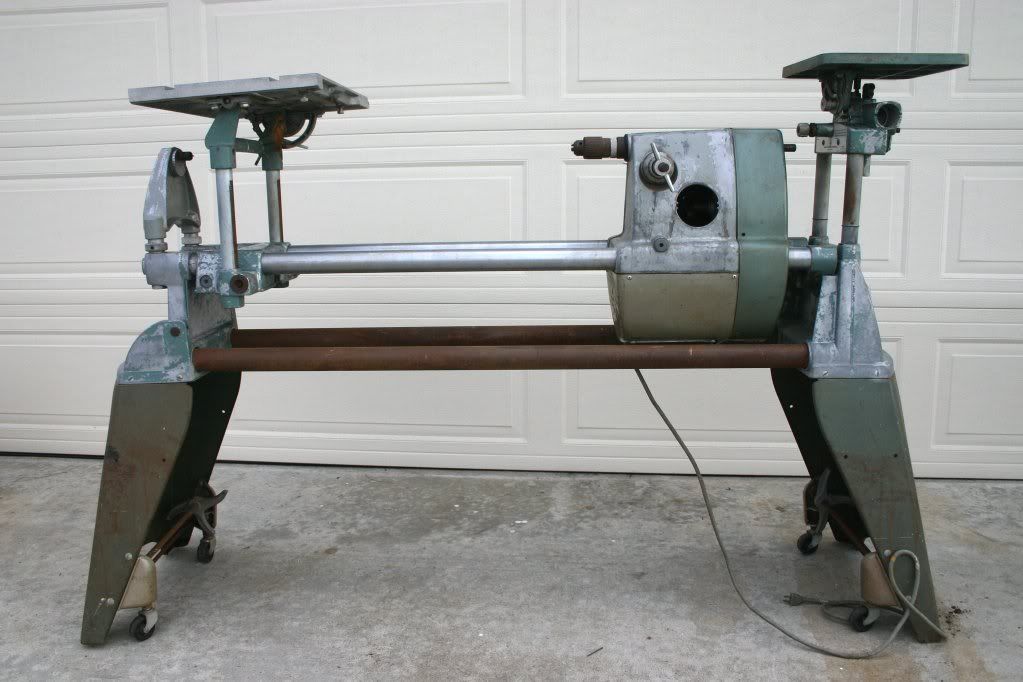
Before
[ATTACH]4336[/ATTACH]
link to hi-res (once there, click on image to magnify)
-
-
-
-
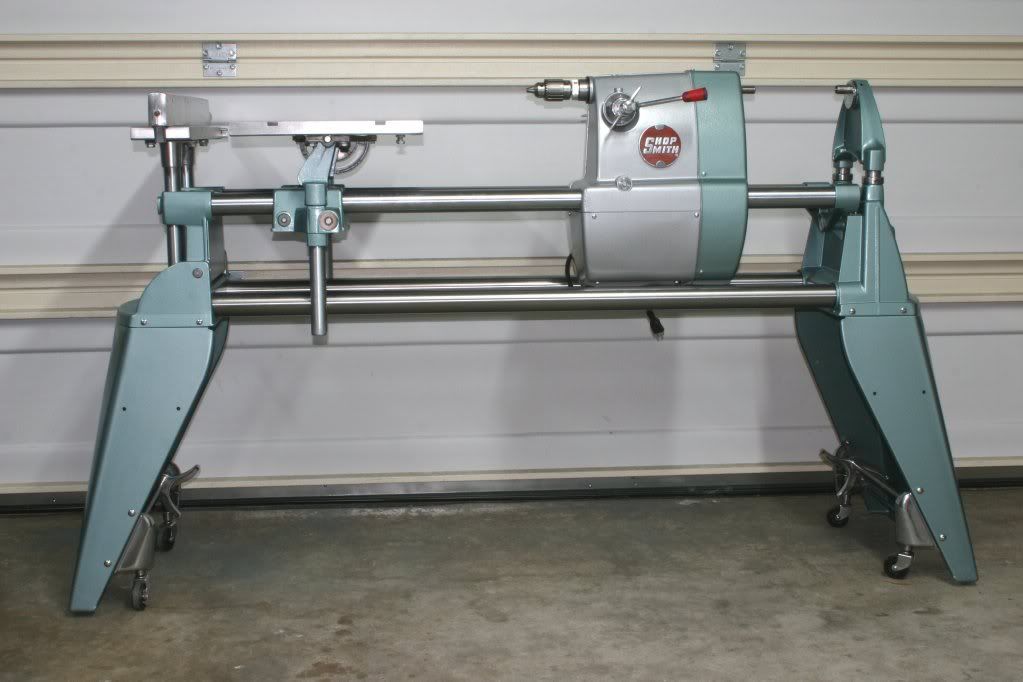
After
[ATTACH]4337[/ATTACH]
link to hi-res(once there, click on image to magnify)
-
-
-
-
Before
[ATTACH]4338[/ATTACH]
link to hi-res(once there, click on image to magnify)
-
-
-
After
[ATTACH]4339[/ATTACH]
link to hi-res(once there, click on image to magnify)
-
-
-
[ATTACH]4344[/ATTACH]
link to hi-res(once there, click on image to magnify)
.
.
Posted: Sun May 03, 2009 4:19 am
by mickyd
Previous post
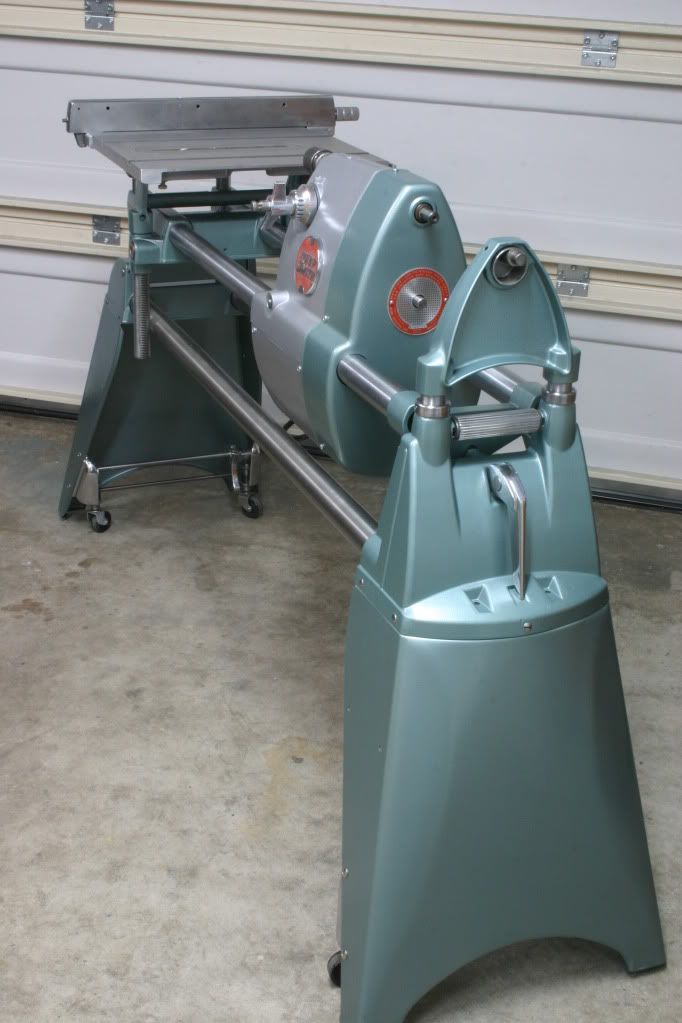
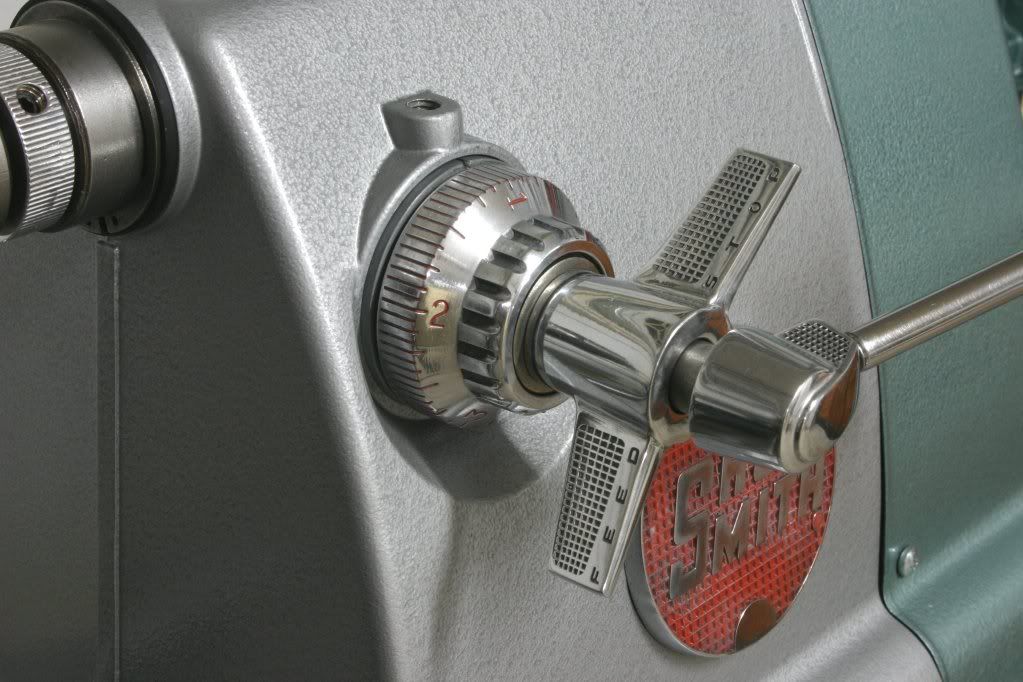
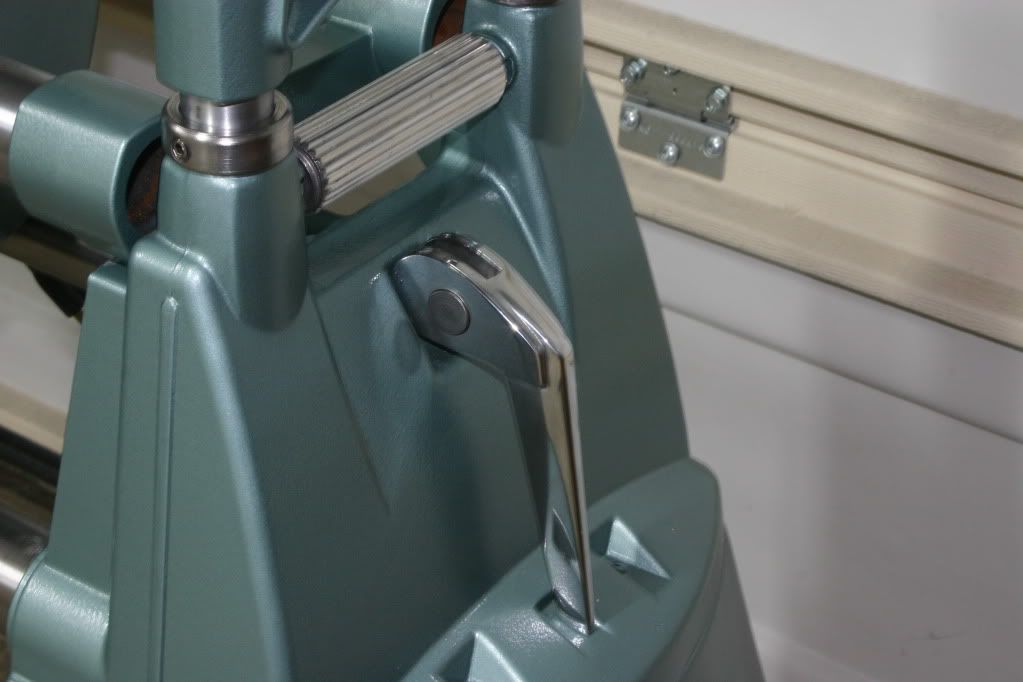
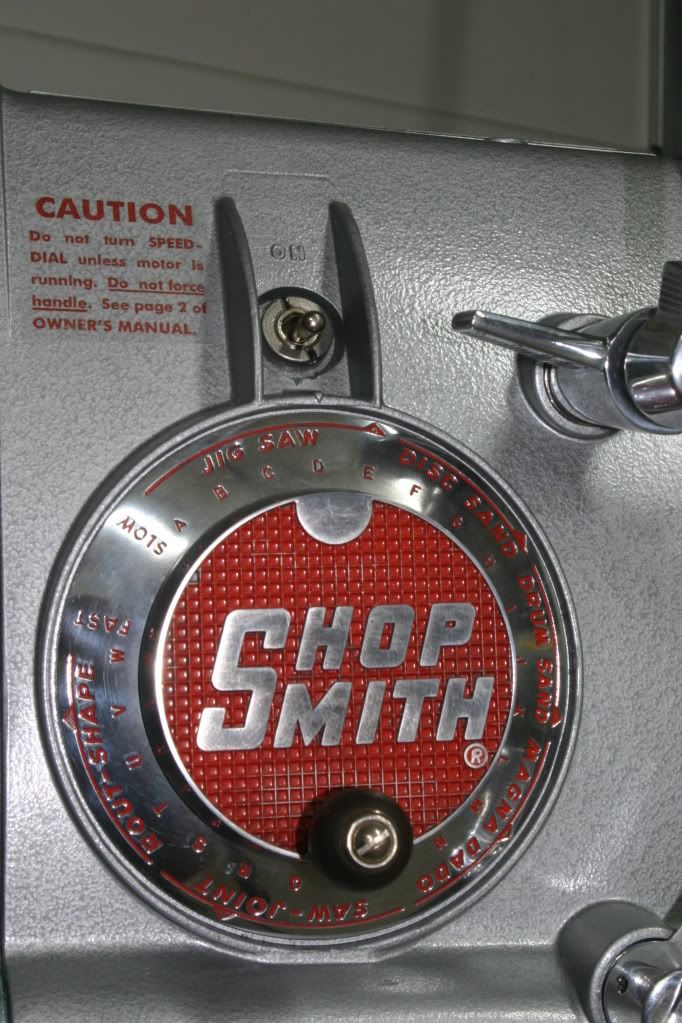
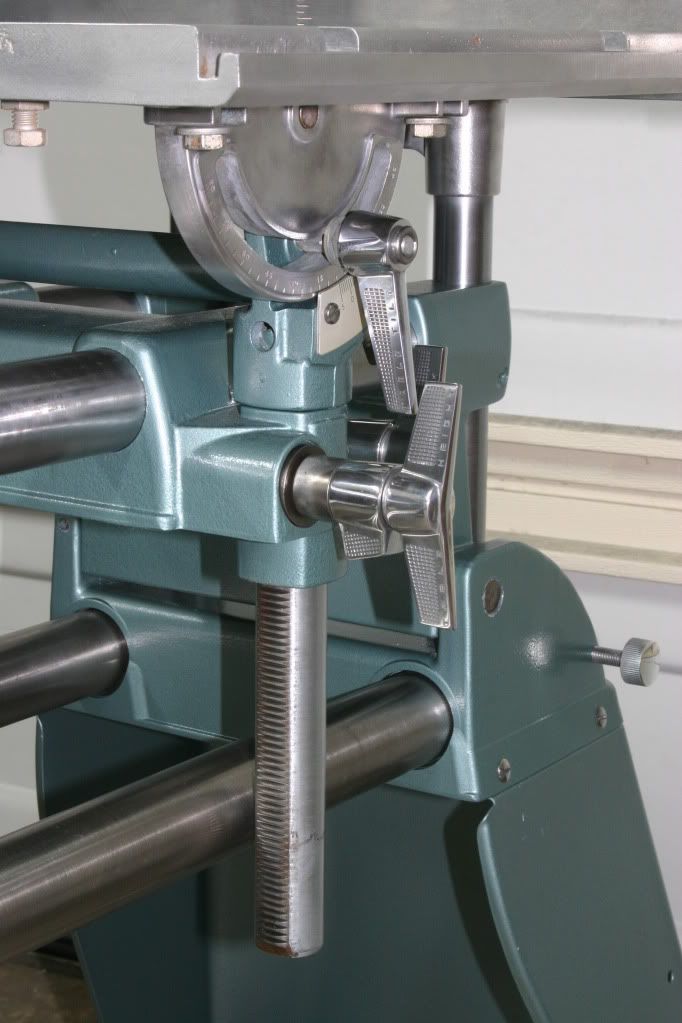
Various parts of the machine
-
-
-
[ATTACH]4340[/ATTACH]
link to hi-res (once there, click on image to magnify)
-
-
-
[ATTACH]4341[/ATTACH]
link to hi-res(once there, click on image to magnify)
-
-
[ATTACH]4342[/ATTACH]
link to hi-res(once there, click on image to magnify)
-
-
[ATTACH]4343[/ATTACH]
link to hi-res(once there, click on image to magnify)
-
-
[ATTACH]4345[/ATTACH]
link to hi-res(once there, click on image to magnify)