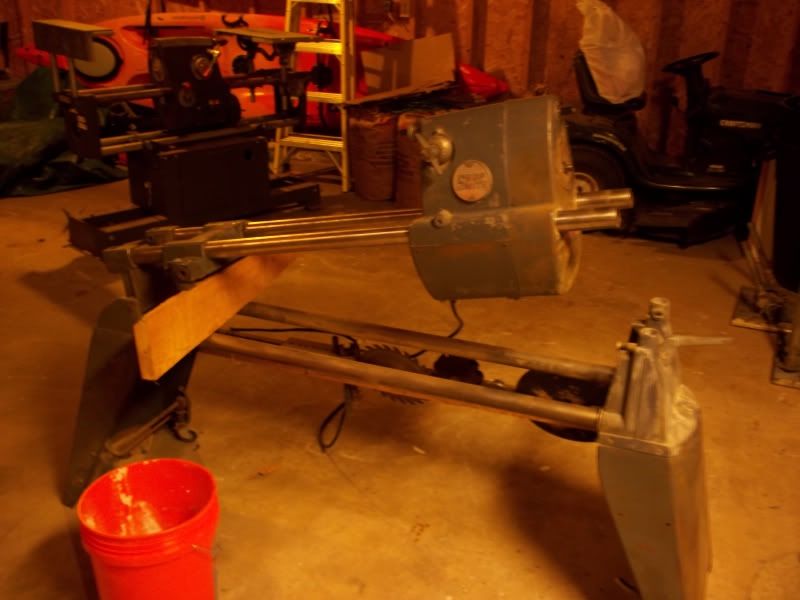
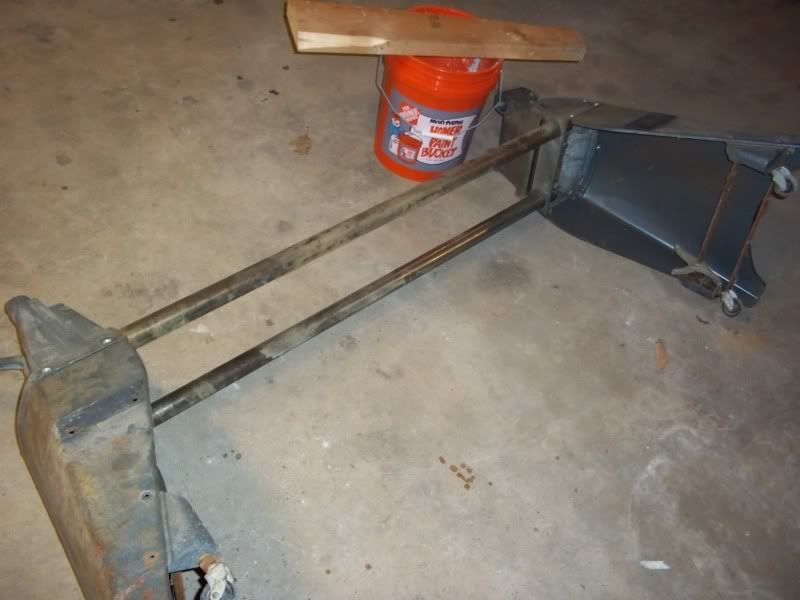
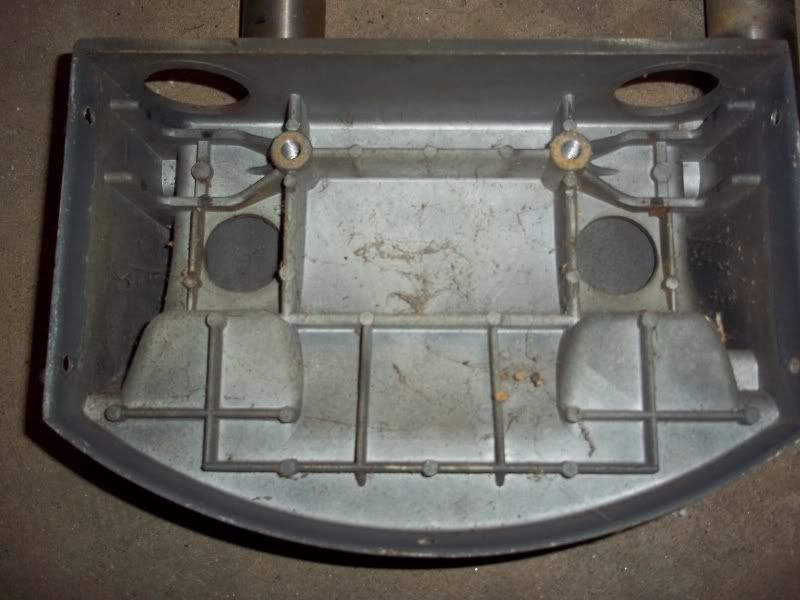
Well, I just spent about an hour or so tearing down everything except the headstock on my 1979 Mark V. The table, tubes, caster and carrige assemblies actually came apart fairly easy with minimal damage found.
I started by removing the end cap on the tubes to free up the headstock. I placed a piece of wood under the tubes to support the weight of the headstock. The end cap is held in by two small allen screws. One on each end of the tube. I made sure to apply great pressure while removing them as to not strip them out. To my suprise the end cap came off the tubes fairly easy. Just a few taps from a small piece of wood and it popped off. You can see my mark V11 in the background watching in horror ;D
With the end off the headstock slid freely off.
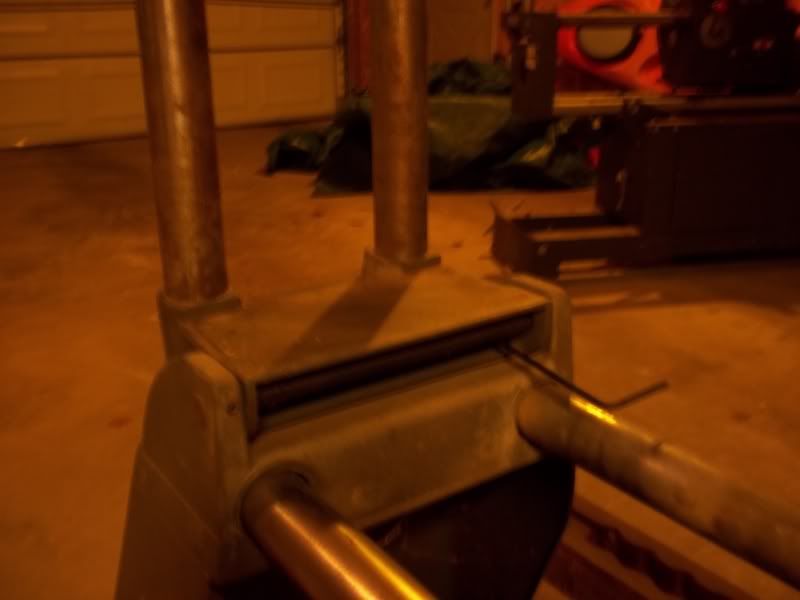
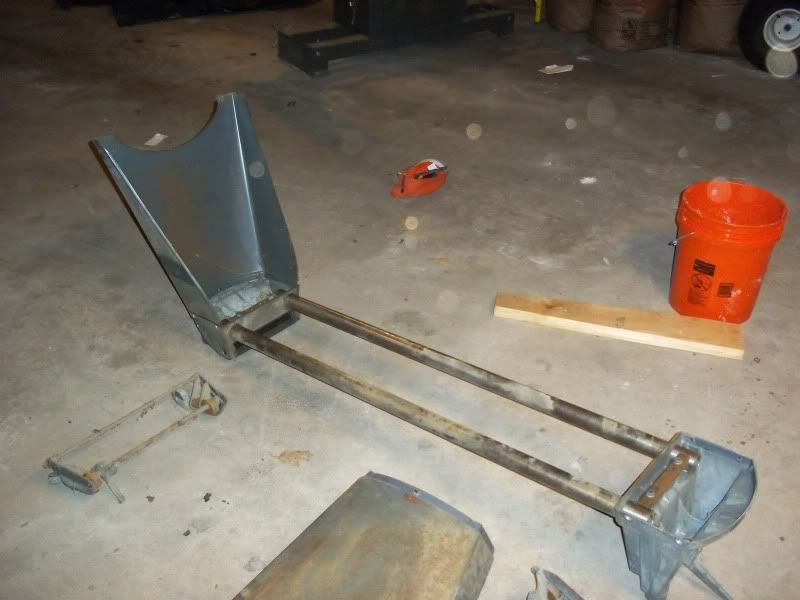
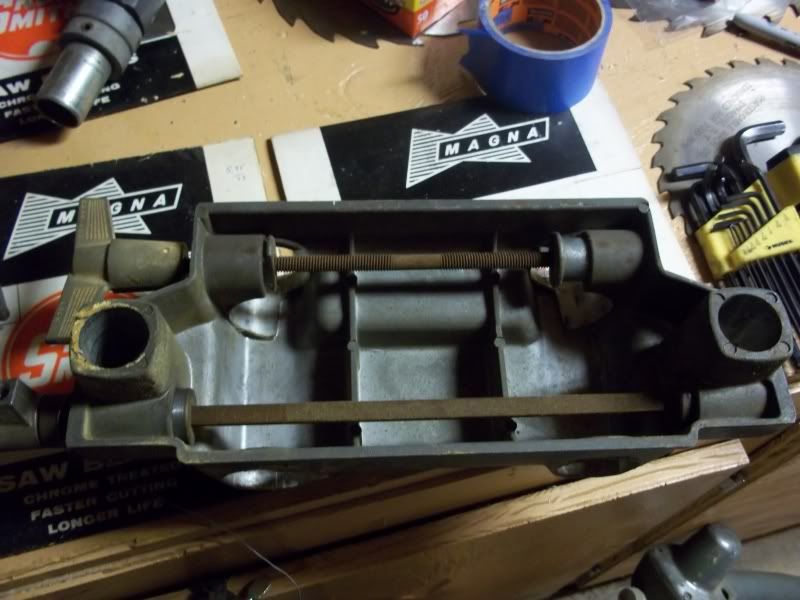
The next step was to get the other end of the tubes off. With the tubes in the up postion you can access the allen set screw through the middle of the housing with a long allen wrench.
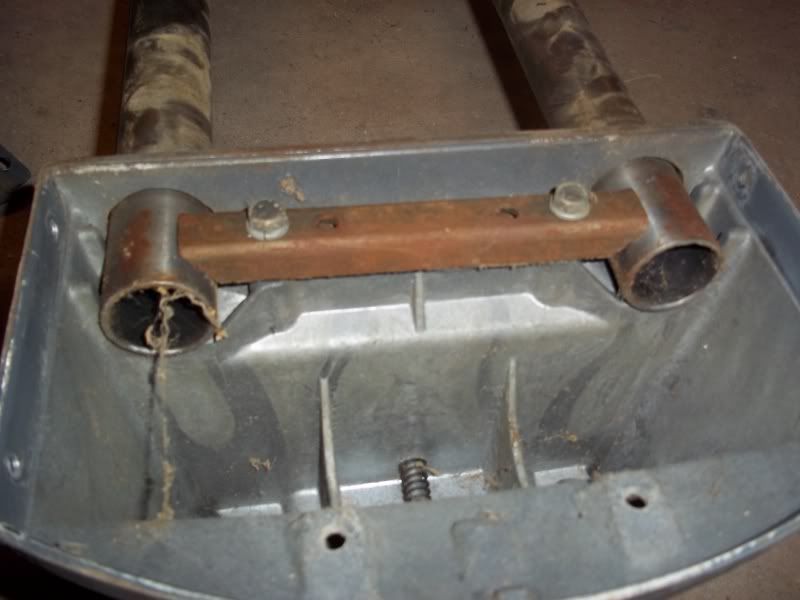
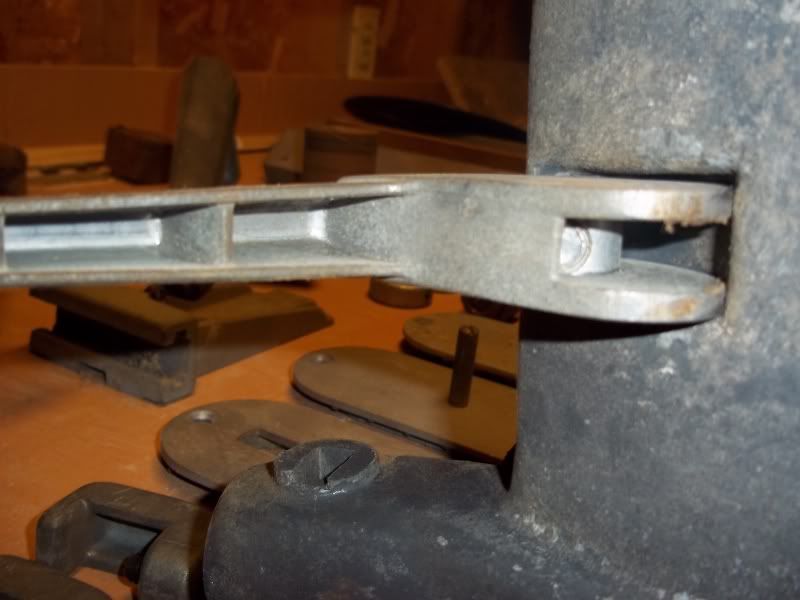
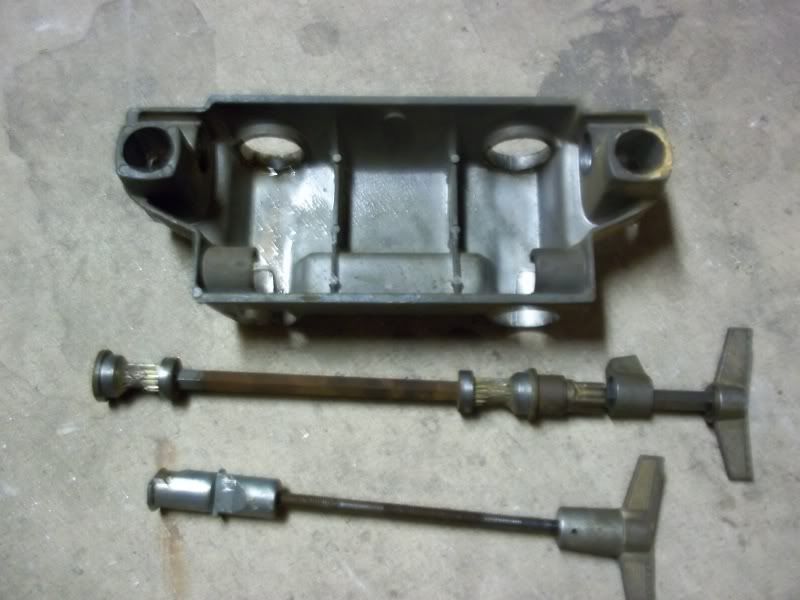
The carriage lock that locks onto the way tubes has to be threaded out. It consists of three pieces. The main bolt that passes through and the two pieces that grab onto the way tubes. It was abit tricky to get out.
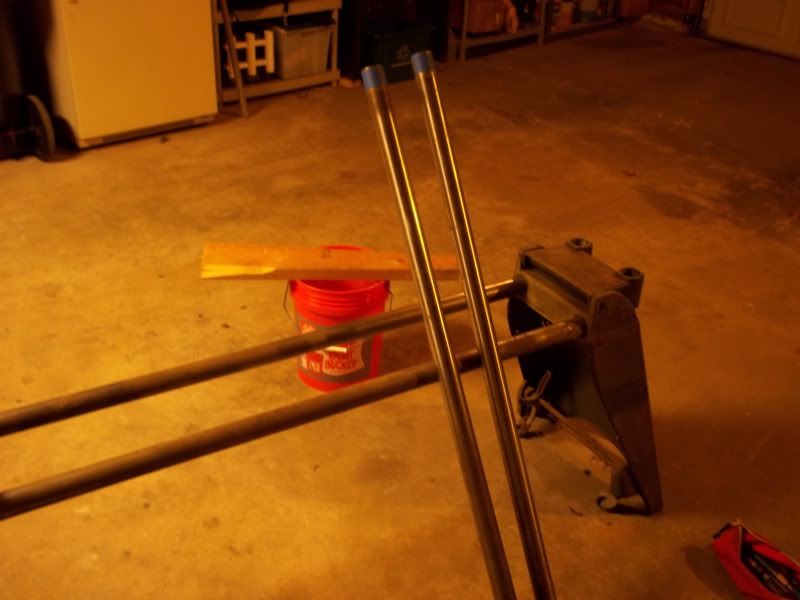
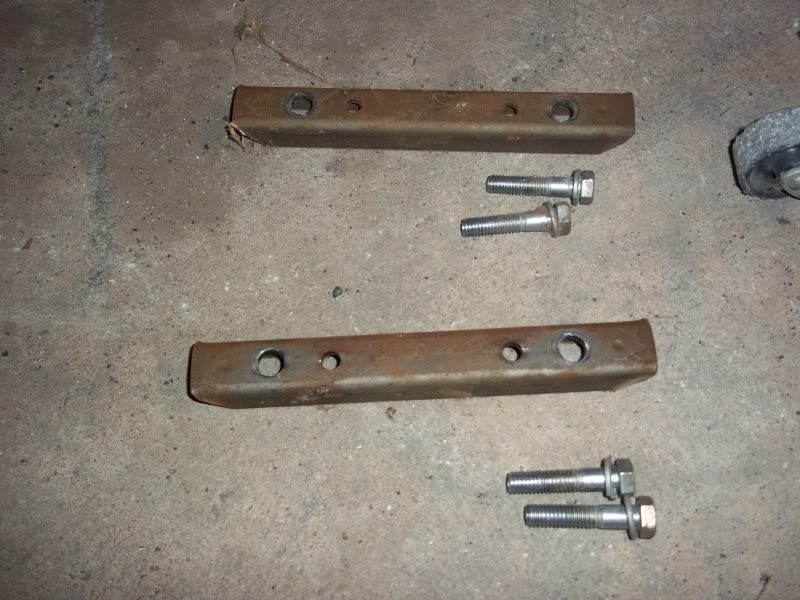
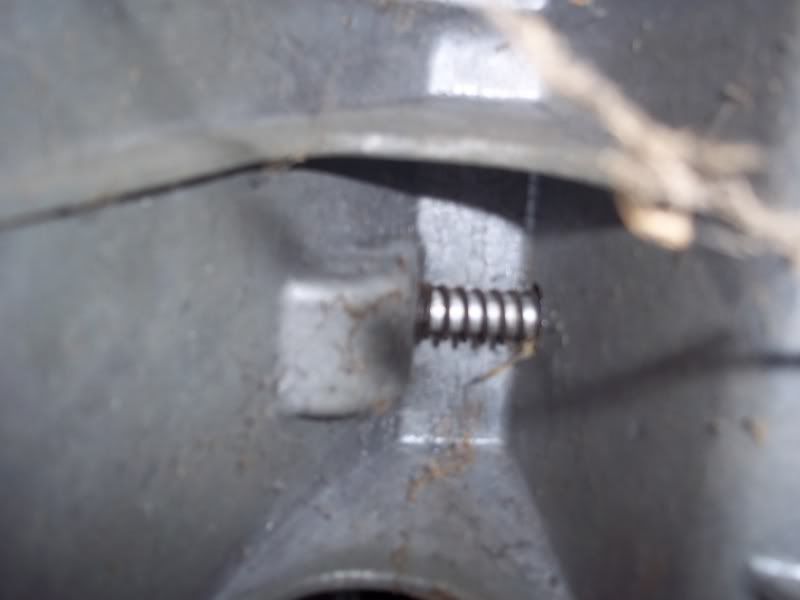
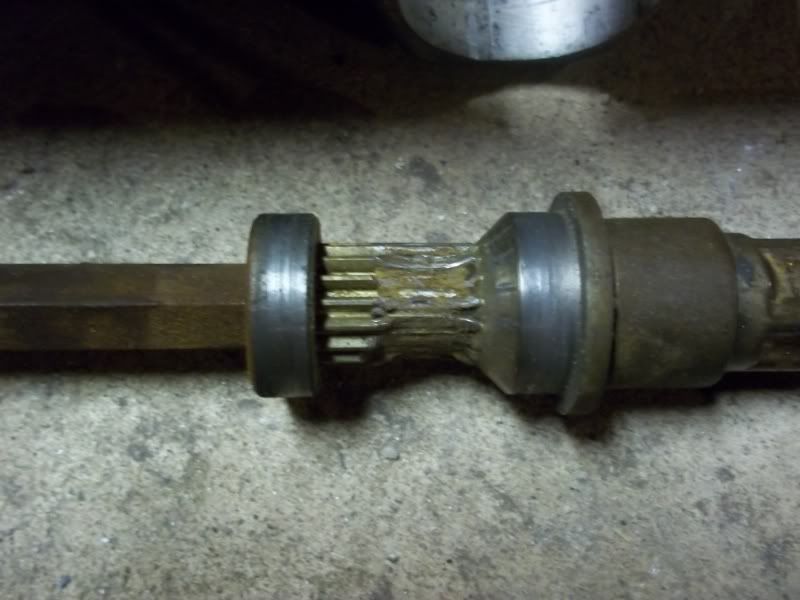
Then I removed the table height lock device. That was as simple as unscrewing the wingnut end and sliding it out. There was some serious damage to the threads. It will have to be replaced. :'(
The only thing I didn't remove was the pin for the table hinge. Seeing it was around 10:45 pm I didn't think my neighbors would appreciate the racket lol.
And that is about it for today. Next big step will either be stripping down of the paint and refinishing them, or tearing into the headstock. i'll keep you posted! 8-)
jayp413 wrote:IIt consists of three pieces. The main bolt that passes through and the two pieces that grab onto the way tubes. It was abit tricky to get out.
The carriage lock consists of 5 parts. The two wedges(one with right hand threads(rear) and one with left hand threads(front). The one on the front should not be capable of being moved to the rear as shown in the last pix. It should be necessary to remove the pin attaching the wing nut to the threaded shaft to remove the parts shown. At the very least, the front left handed wedge is stripped.
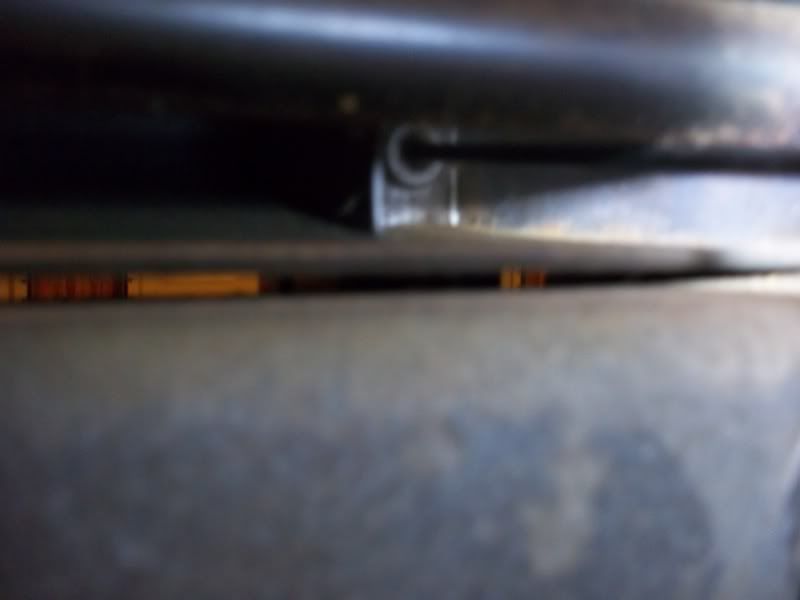
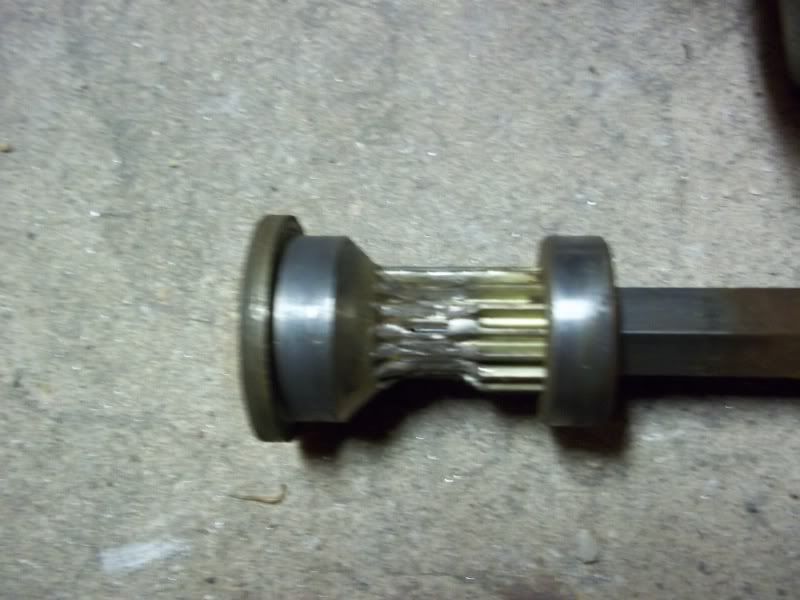
BTW those are pinion gear teeth that are stripped on the table height shaft. What kinda shape are the table support tubes(rack teeth)?
Nice PIx!!!
╔═══╗
╟JPG ╢
╚═══╝
Goldie(Bought New SN 377425)/4" jointer/6" beltsander/12" planer/stripsander/bandsaw/powerstation /Scroll saw/Jig saw /Craftsman 10" ras/Craftsman 6" thicknessplaner/ Dayton10"tablesaw(restoredfromneighborstrashpile)/ Mark VII restoration in 'progress'/ 10E[/size](SN E3779) restoration in progress, a 510 on the back burner and a growing pile of items to be eventually returned to useful life. - aka Red Grange
JPG40504 wrote:The carriage lock consists of 5 parts. The two wedges(one with right hand threads(rear) and one with left hand threads(front). The one on the front should not be capable of being moved to the rear as shown in the last pix. It should be necessary to remove the pin attaching the wing nut to the threaded shaft to remove the parts shown. At the very least, the front left handed wedge is stripped.
BTW those are pinion gear teeth that are stripped on the table height shaft. What kinda shape are the table support tubes(rack teeth)?
Nice PIx!!!
Thanks for the info! It was my booboo moving the wedges all the way over. I wasn't sure if the handle came off so I thread both wedges off. It came off ok. I will have to make sure it was not stripped in the proccess.
The rack teeth are suprisingly all ok on the table support tubes. That saves me a few bucks!
jayp413 wrote:Thanks for the info! It was my booboo moving the wedges all the way over. I wasn't sure if the handle came off so I thread both wedges off. It came off ok. I will have to make sure it was not stripped in the proccess.
The rack teeth are suprisingly all ok on the table support tubes. That saves me a few bucks!
The middle of the threaded rod has no threads! So if wedge was 'moved' past the unthreaded area, it be stripped!:(
Goldie(Bought New SN 377425)/4" jointer/6" beltsander/12" planer/stripsander/bandsaw/powerstation /Scroll saw/Jig saw /Craftsman 10" ras/Craftsman 6" thicknessplaner/ Dayton10"tablesaw(restoredfromneighborstrashpile)/ Mark VII restoration in 'progress'/ 10E[/size](SN E3779) restoration in progress, a 510 on the back burner and a growing pile of items to be eventually returned to useful life. - aka Red Grange
Jay, thanks for taking the time and effort to document your teardown. I going to "jump on your coat tails" and do the V I got a few days ago at the same time.