
We are all looking forward to seeing those pictures that you took while you had the infeed and outfeed tables opened up.
I'll bet some of us have never seen what is in there.
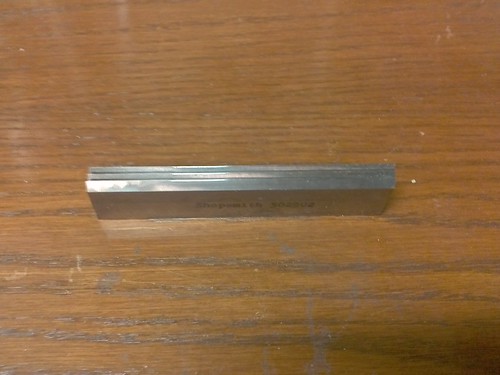
sharpening jointer knives
Moderators: HopefulSSer, admin
-
idcook

- Gold Member
- Posts: 472
- Joined: Wed Mar 06, 2013 4:48 pm
- Location: New York (Alley cat country), New York
I’m following a couple of used jointers. I’d be very interested to learn everything I can about them. Photos would be great.dusty wrote:We are all looking forward to seeing those pictures that you took while you had the infeed and outfeed tables opened up.
I'll bet some of us have never seen what is in there.


pics 2 of 2
Here are the rest of the pics...
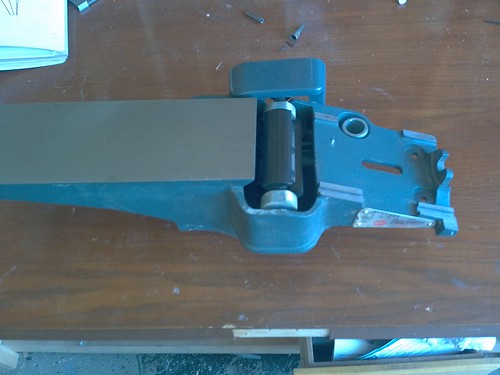
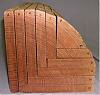
outfeed by EagleTa2, on Flickr
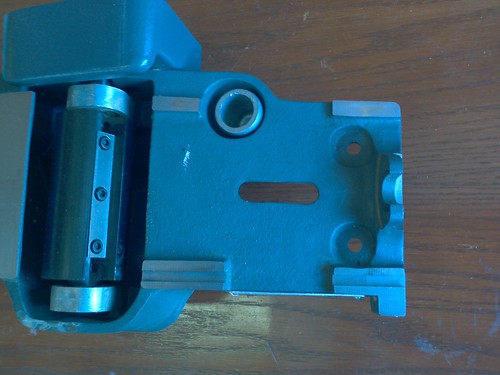
outfeed close by EagleTa2, on Flickr
infeed by EagleTa2, on Flickr

final resting spot by EagleTa2, on Flickr
Thanks
Geo
outfeed by EagleTa2, on Flickr
outfeed close by EagleTa2, on Flickr
infeed by EagleTa2, on Flickr
final resting spot by EagleTa2, on Flickr
Thanks
Geo
Thanks for the pictures, EagleTa2!
One comment about your statement about sharpening the jointer knives: "I hope the regular disk with a Velcro kit will work OK."
I don't think the Velcro disks are a good choice for sharpening steel- too much "give", and the knives may well catch and rip off the paper, or even melt the Velcro if it gets too hot.
I believe Shopsmith makes a statement to that effect as well.
Gary
Yup...that's what I had heard and was afraid of also...greitz wrote:Thanks for the pictures, EagleTa2!
One comment about your statement about sharpening the jointer knives: "I hope the regular disk with a Velcro kit will work OK."
I don't think the Velcro disks are a good choice for sharpening steel- too much "give", and the knives may well catch and rip off the paper, or even melt the Velcro if it gets too hot.
I believe Shopsmith makes a statement to that effect as well.
Gary
I hope to keep them honed in the jointer after they've been reground.
Thanks
Geo
-
pieceseeker
- Gold Member
- Posts: 370
- Joined: Mon Jan 07, 2013 12:13 pm
- Location: Lawrenceville, Georgia
[quote="eagleta2"]
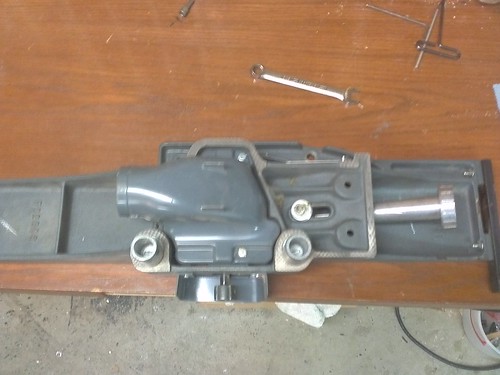
upside down by EagleTa2, on Flickr
QUOTE]
Oh My! Looks like I'll need to be getting a dust shute for my Jointer! I don't see one in all the stuff I got and it was not attached to the jointer. Must only be an accessory for the jointer.
upside down by EagleTa2, on Flickr
QUOTE]
Oh My! Looks like I'll need to be getting a dust shute for my Jointer! I don't see one in all the stuff I got and it was not attached to the jointer. Must only be an accessory for the jointer.
" I cut it twice and it's still too short"
2006 Mark 520, 1983 Mark V model 500(soon to be a shorty)/Power Stand mounted Planer/Jointer/Belt Sander/Band Saw/Jigsaw on pwr stand/Scroll saw/Strip Sander/Power Station/Speed Reducer/Increaser/2 Nova chucks.... 12" DeWalt sliding compound mitre saw, 10" Delta tabletop saw, Bosch router and jig saw, Makita circular saw, Graco V-COMP HVLP, Festool CT-26 E Hepa
2006 Mark 520, 1983 Mark V model 500(soon to be a shorty)/Power Stand mounted Planer/Jointer/Belt Sander/Band Saw/Jigsaw on pwr stand/Scroll saw/Strip Sander/Power Station/Speed Reducer/Increaser/2 Nova chucks.... 12" DeWalt sliding compound mitre saw, 10" Delta tabletop saw, Bosch router and jig saw, Makita circular saw, Graco V-COMP HVLP, Festool CT-26 E Hepa
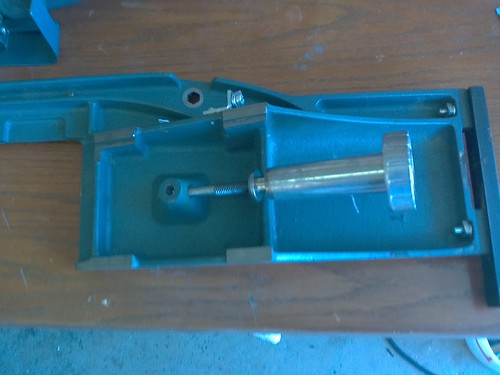
The mounting screw is really a dual threaded stud with a 3/8-16 hex nut on one end. Put the hex nut on the end if the stud and add the washer stack. The washer stack is comprised of 3/8 flat washers and spring washers. From the nut it goes flat, spring, flat, spring, flat.
Hold the washer stack to the nut as you use the hex nut to thread the stud through the out feed into the infeed table.
It should be relatively tight when you are done but not torqued down so tight that the tables can't move when you turn the adjustment knob.
I hope this helps...let me know if you have any other questions.
Geo