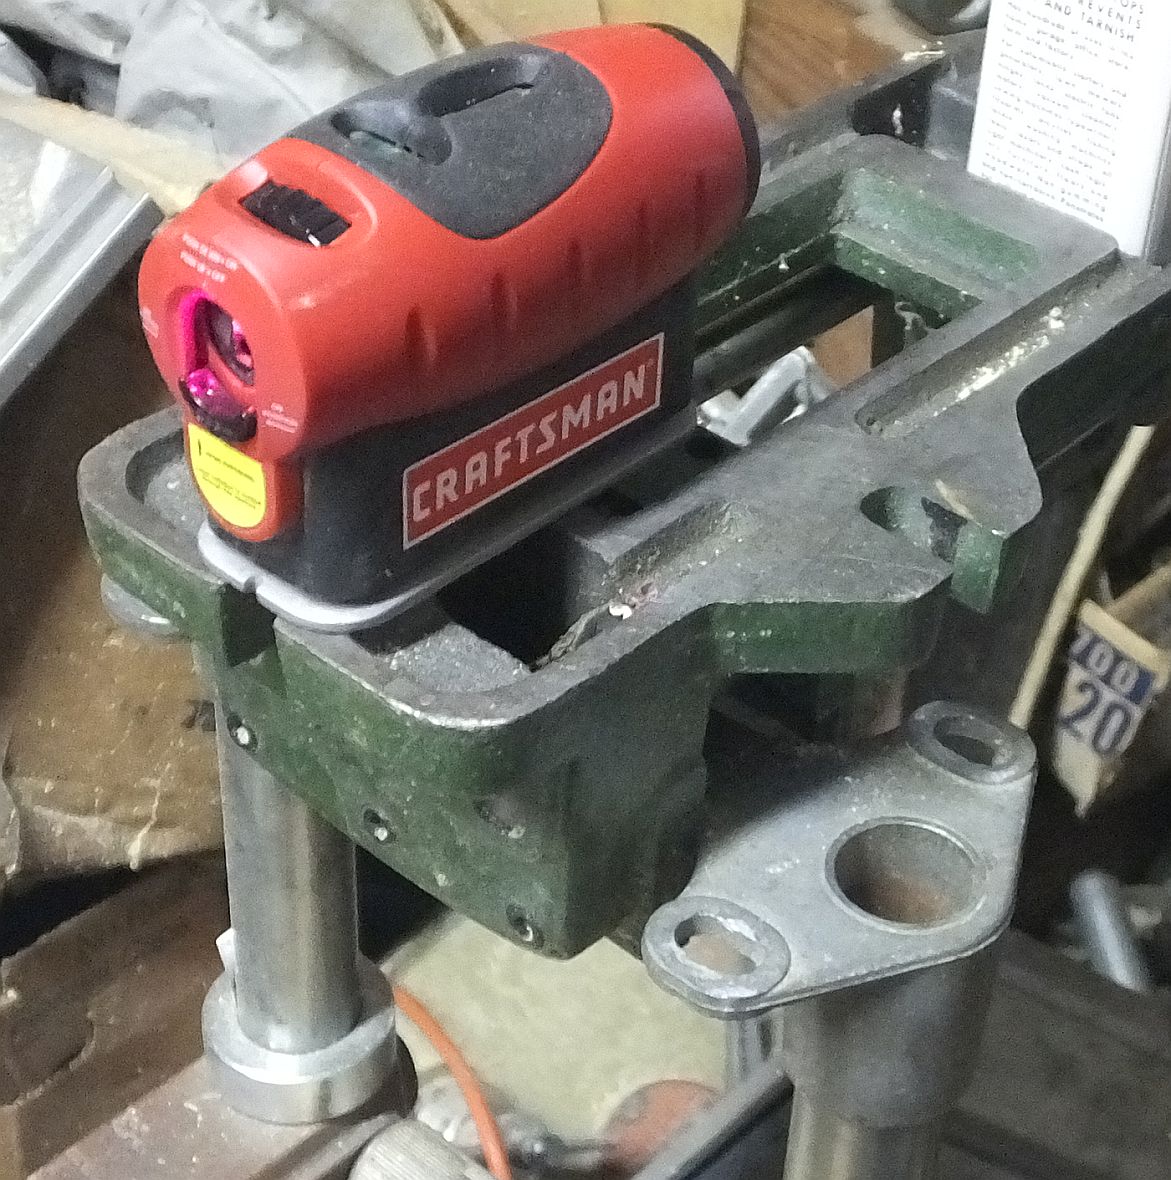
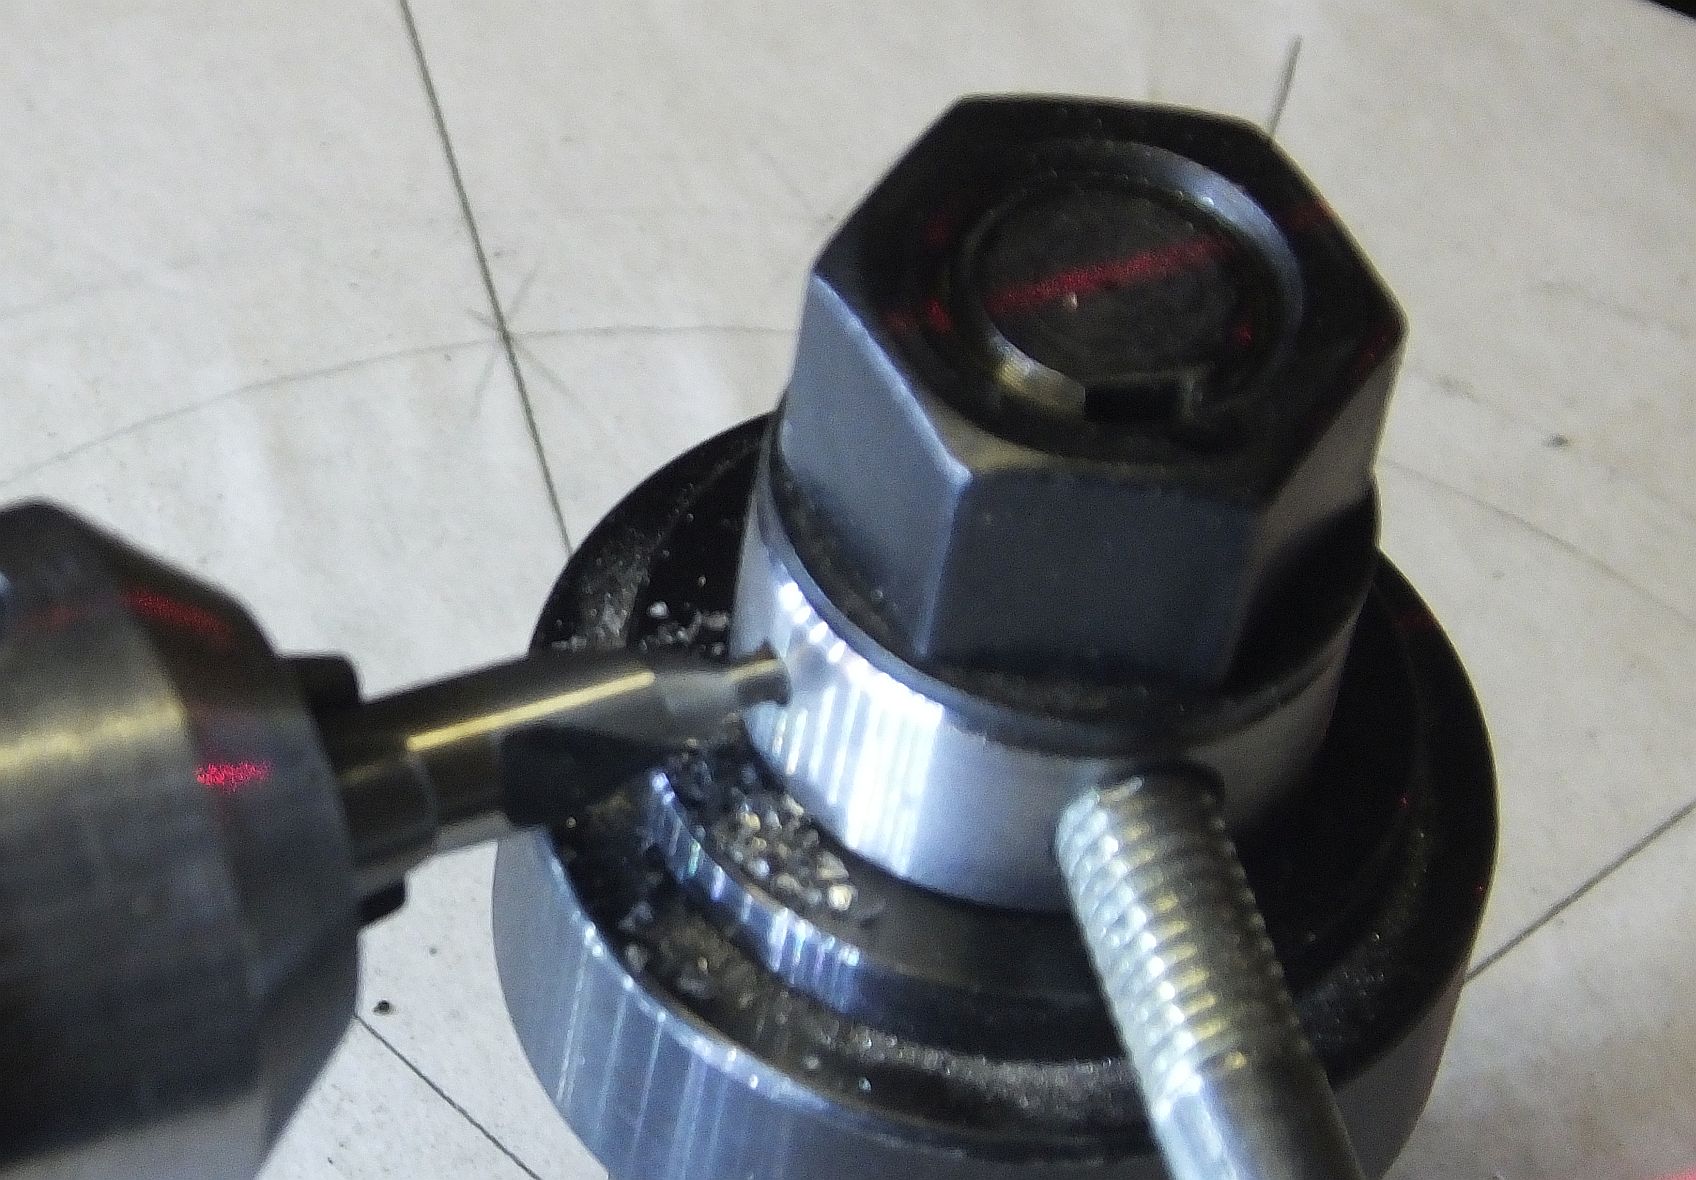
Aha the source of de red line(s). A real Rube Goldberg setup. An aux table set of legs, A vice clamping itself onto the legs and a laser level(with magnetic base) setting atop. Y'all know the legs are clamped very securely since I know how to adjust those square headed screws correctly!
")
Over several days only the laser moved but only when inadvertently disturbed.
- qa 11.jpg (324.35 KiB) Viewed 5972 times
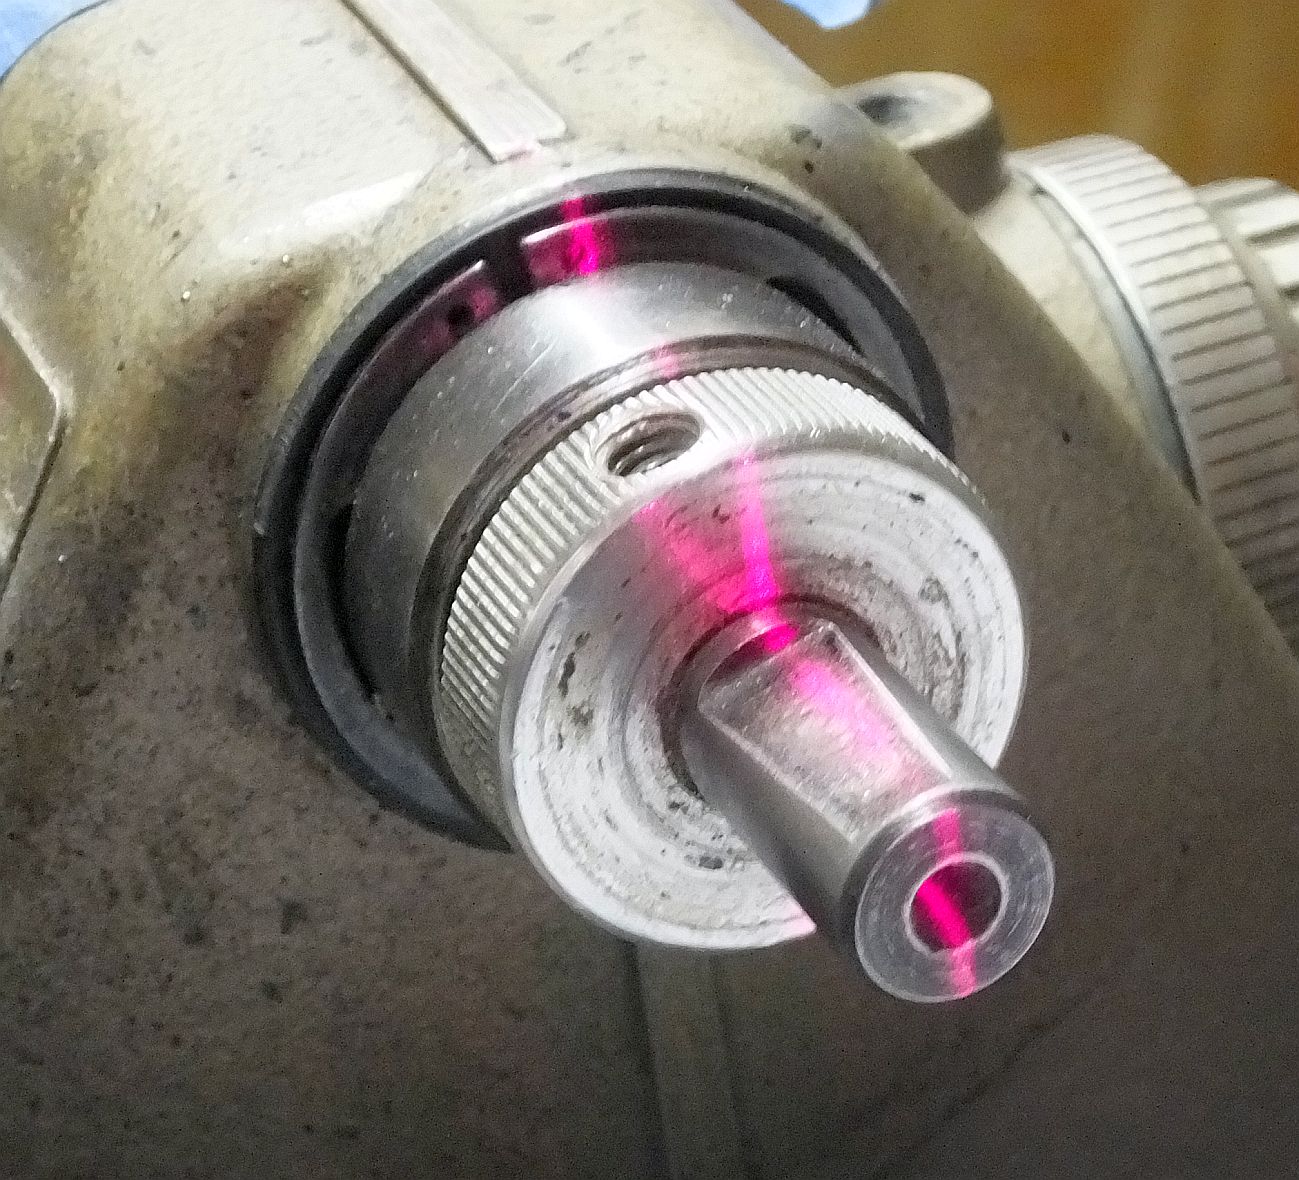
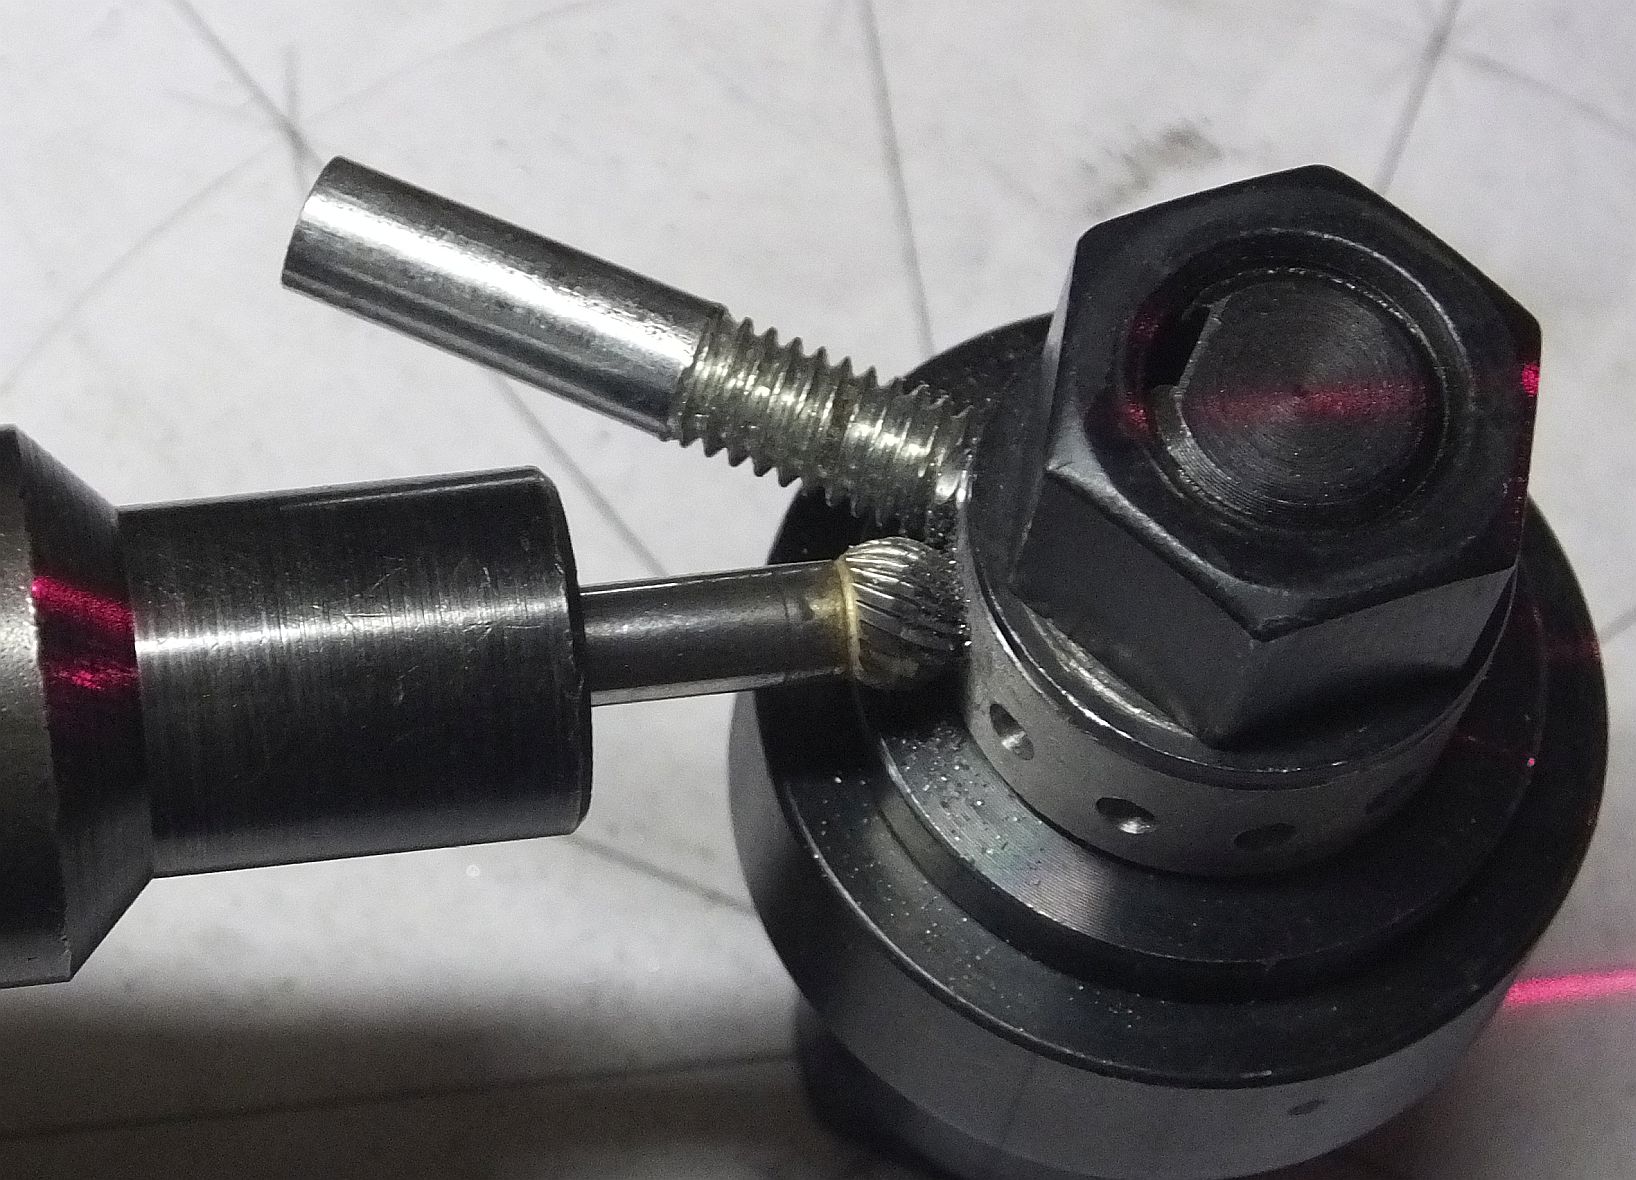
Calibration point. Blue tape the other calibration point.
- qa 13.jpg (349.44 KiB) Viewed 5972 times
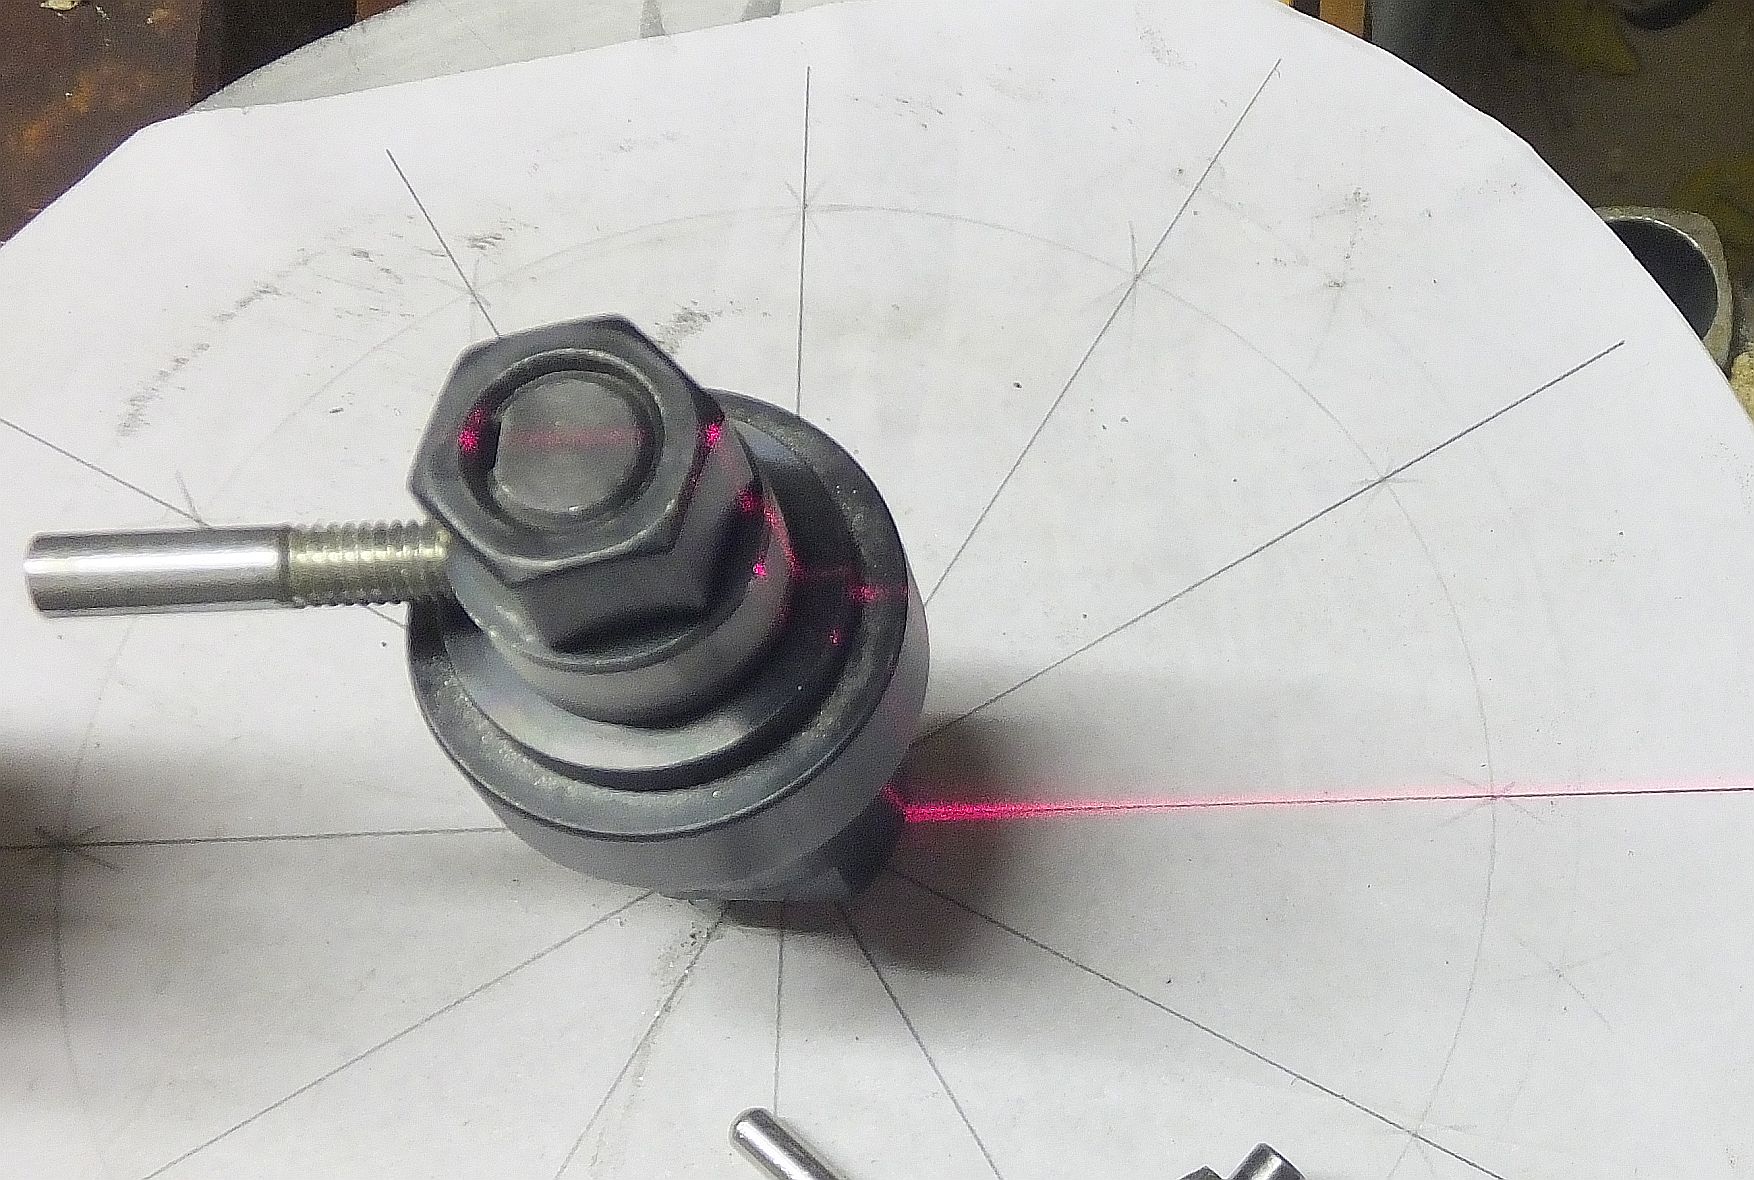
And finally the third point that determined the "index table" location
- qa 12.jpg (419.46 KiB) Viewed 5972 times
A bunch of 'details' that must be mentioned here.
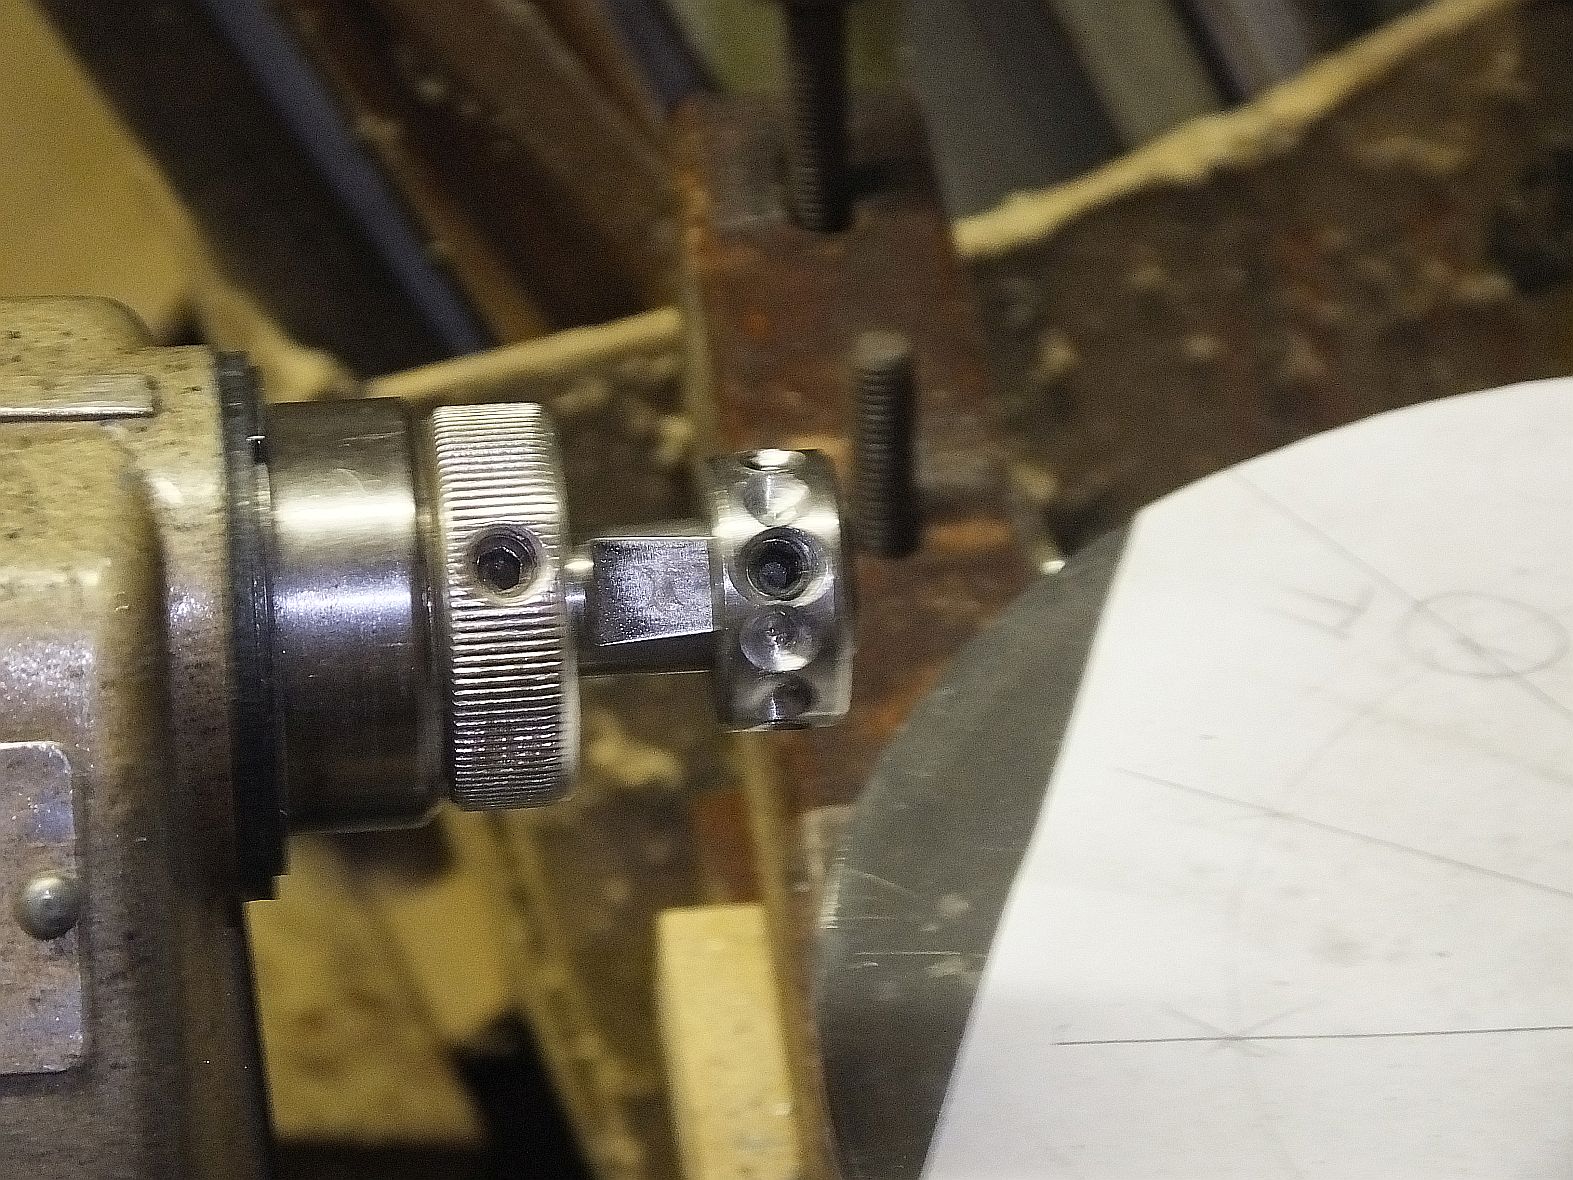
The 5/8" shaft has a flat (oh BTW it is from a mortise hold down).
The molding arbor is set screwed to the flat and never moved. The height is set by the alignment screw and arbor nut being tightened simultaneously.*
The flat is thus aligned/centered/perpendicular to the red line and one index line is aligned also by rotating the 'index table' and tightening that set screw(also never moved).
Since the index marks are diametrically opposed, the shaft flat is centered about the opposing index line(the one towards the headstock).
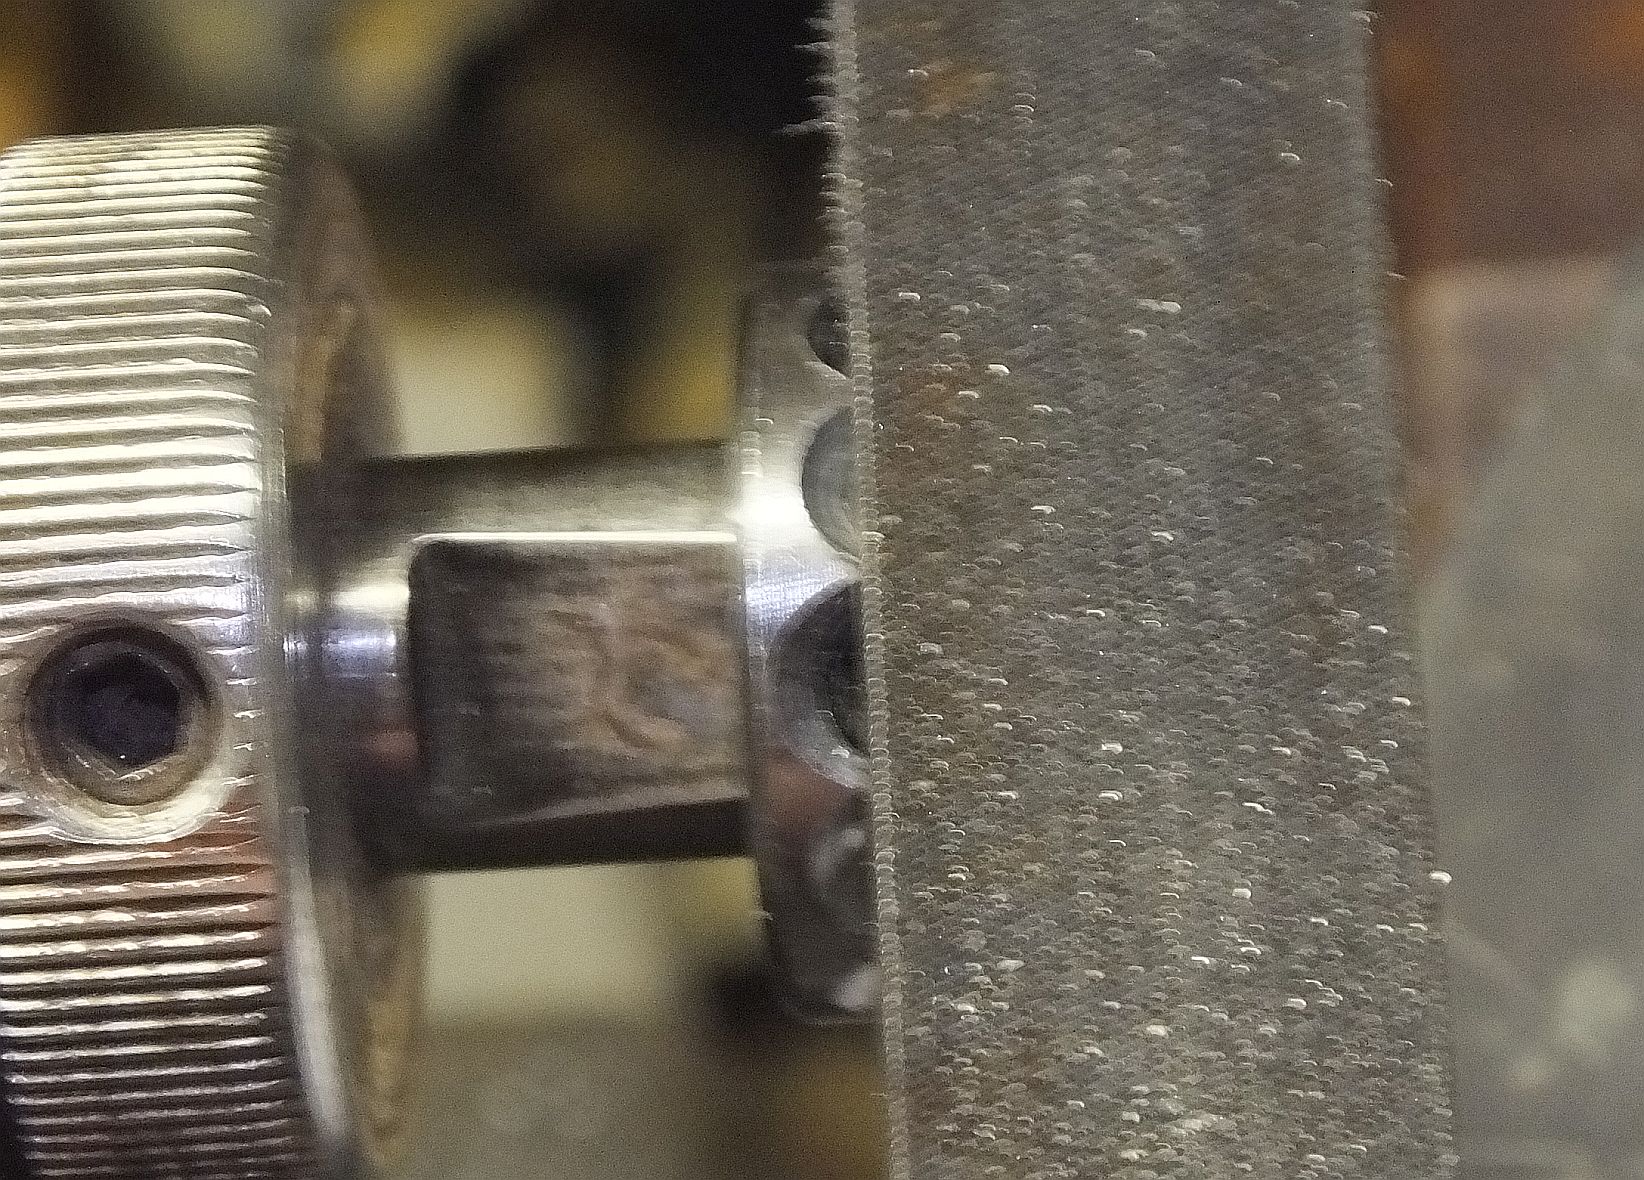
So by having the set screw in the bottom 12" sanding disk hub 'loose' the whole she bang can be rotated and locked down at each index mark by tightening that set screw.
So yes Dennis gonna drill 11(the set screw hole is already there) holes 30° apart.
*The aligning screw in the drill chuck is tight to the keyway on the arbor and is rotated manually to run the screw in/out of the victim. I say manually while the alignment screw is tightened in the drill chuck. So the quill shaft is manually rotated.
All this is to allow mounting several victims and not having to repeat alignment for each one. I drillled 10 victims.
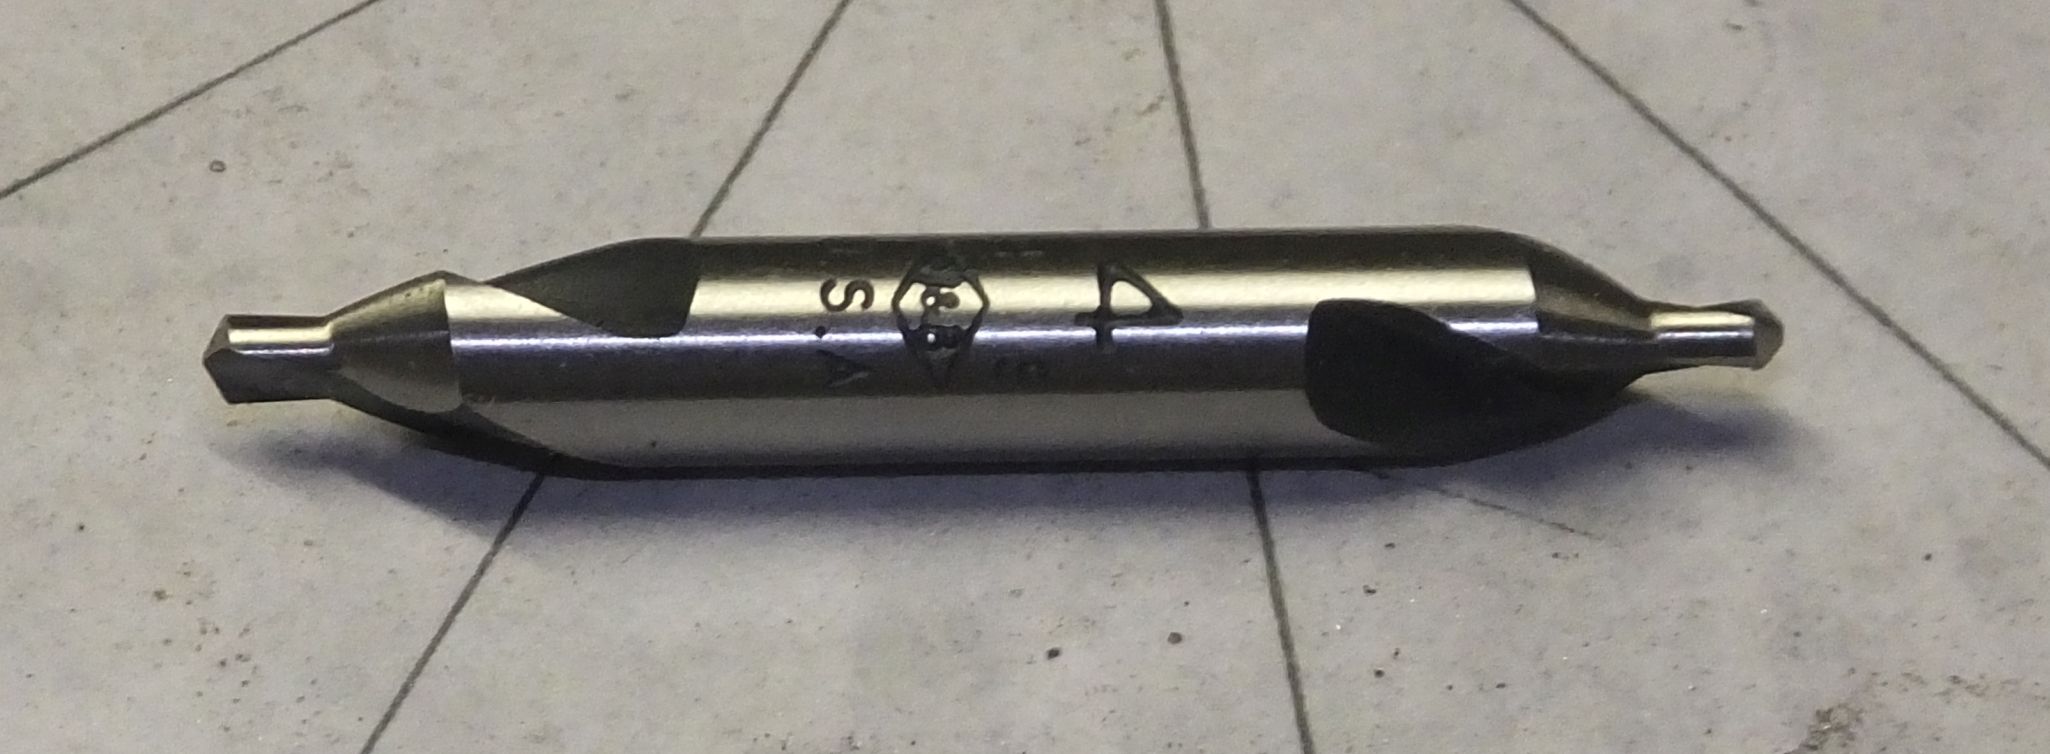
So what to use for a drill that must start on a cylindrical surface(twist drills tend to wander).
So from our machine shop kindred spirits comes a solution - a center drill.
- qa 14 a.jpg (211.92 KiB) Viewed 5972 times
The first of 110. Arbitrary starting point index. I drilled them about 1/8" deep. They are a pilot hole for a shallow depression.
- qa 15.jpg (349.92 KiB) Viewed 5972 times
So what will make a shallow 'depression'. A 5/16" ball end burr.

- qa 15 a.jpg (387.11 KiB) Viewed 5972 times
Now the real work begins. Burr not intended to be used this way. The end flutes are very fine. The burr made it through 66 operations.
- qa 16.jpg (358.91 KiB) Viewed 5972 times
After 'depressing', mount the victim onto the quill shaft.
- qa 17.jpg (466.97 KiB) Viewed 5972 times
And finally clean up the burrs running under file (run victim both directions). Also decrease od at edges for reason that will be apparent later.
- qa 18.jpg (572.9 KiB) Viewed 5972 times

