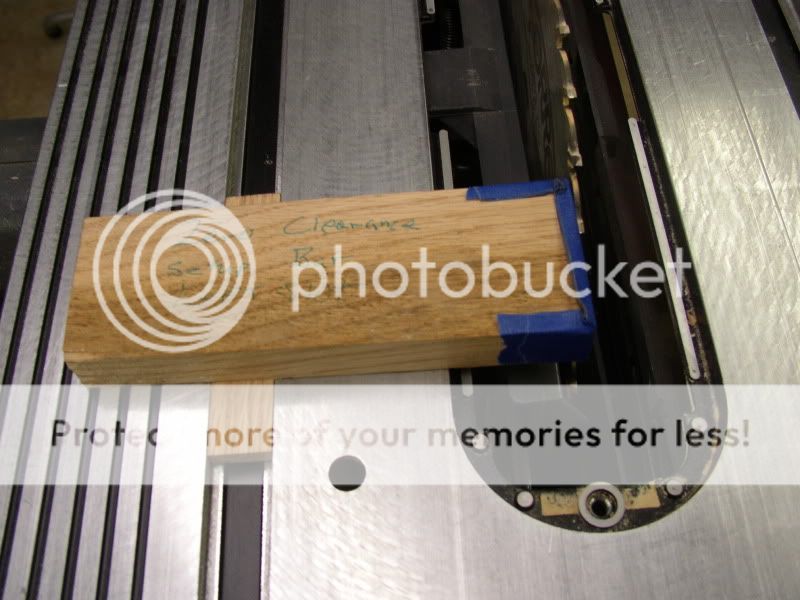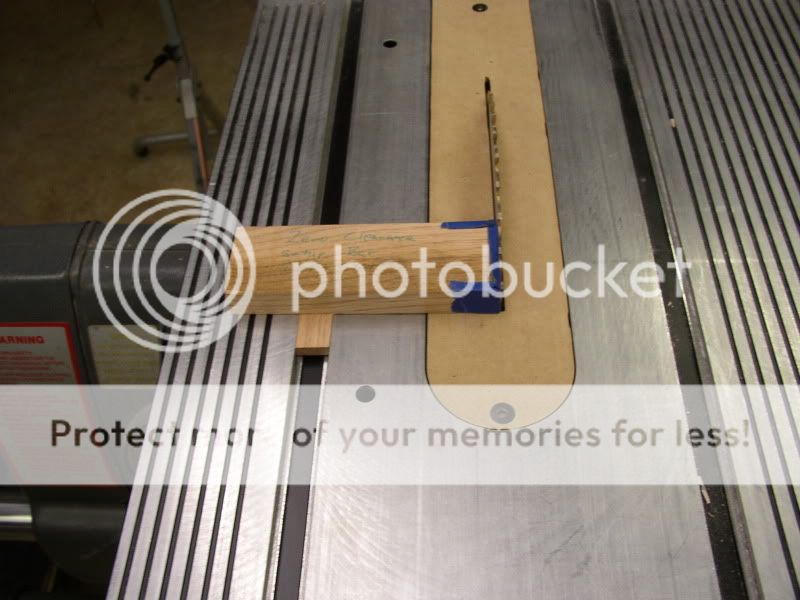
I made a hardwood runner that fit snugly in the left miter slot and then attached a crosspiece that extended past the blade. I then set the table against the headstock bumper and locked it down. Next I extended the quill about 1/8 to 1/4 of an inch and locked it down. Then I cut the crosspiece to length by pushing the miter runner with the cross piece attached through the blade. Now I extended the quill with no table insert and set my zero clearance gauge so that the front teeth of the saw blade would rest against the cross piece when I released the quill. I now tightened the quill and raised the table above the blade.

I now inserted a blank table insert and locked it down. I turned on the Shopsmith and lowered the table to make the zero clearance cut. I then raised the table and removed the new insert. I checked the accuracy of my gauge by moving the table and then moving it back against the headstock. I extended the quill and let it come to rest against my zero clearance jig and locked it down. I reinstalled my new zero clearance insert and lowered the table to make sure it would come down with no interferance. As you can see, I shimmed the end of my jig with a couple of tape strips to get the setting just right. Now, when I install my zero clearance insert and use my zero clearance jig, I get a perfect fit. Since I am referencing from the miter slot and not the relation of the table to the headstock, I have not messed up another insert yet.