My shipment arrived so there was no excuse for putting this project off. Weather was OK, a little rain in the forecast but the wind was pretty calm so I went for it.
I wasn't sure how the spray coat was going to work out so I really mask things up. Didn't need to do that. In fact it took twice as long to mask as it did to do the lens.
I took a few pictures but they don't represent how your lens might look so I can not say how well this would work for you. I will say it was a LOT faster and easier then I though it would be. They say you need to do this once a year and I could see me doing that.
I started by cleaning the lens and surrounding area. Mask the area then started with the "sanding". They provide a pair of pads with Velcro but it is so easy to do that hand sanding is all that is needed. The "polish" is put on the pad and just like when you are sanding wood you sand in only one direction. I picked the long direction and went at it. Since you build muscle memory from your wood working this is a natural for us woodworkers.
You can add a fine spray of water as you progress. I stopped twice to check progress but you can start to feel the areas were it isn't very smooth by how the drag feels. To check you spray extra water and wipe off. When you have a uniform haze on the lens you are done. This time you clean it and dry it and you are ready for the spray part of the job.
Note that since you are working in a hand wet mode you are not making plastic dust which was really nice.
The spray part is what had me worried. Over spray, runs, unevenness, and anything else I could imagine. Turns out it was easy. You do one wet coat and wait 3 to 5 minutes and do another coat. I did not see any indication of it wanting to run and it is like magic as the lens goes from hazy to clear. You really want to do this outside in a well ventilated area, the spray has a strong smell and I'm betting it is not good for you to breath in.
It drys pretty fast but I would just let it go as you don't want to find out it is not dry with a finger print on the lens. Now it takes 24 hours to fully cure so I'm planning on leaving the van sit until the time is up.
Here are the pictures I took.
Before, in real life it looks worse then the picture looks, not sure why??

- IMG_7249sc.jpg (110.28 KiB) Viewed 11307 times
In this shot the polish is on and you can see how I over mask the project.
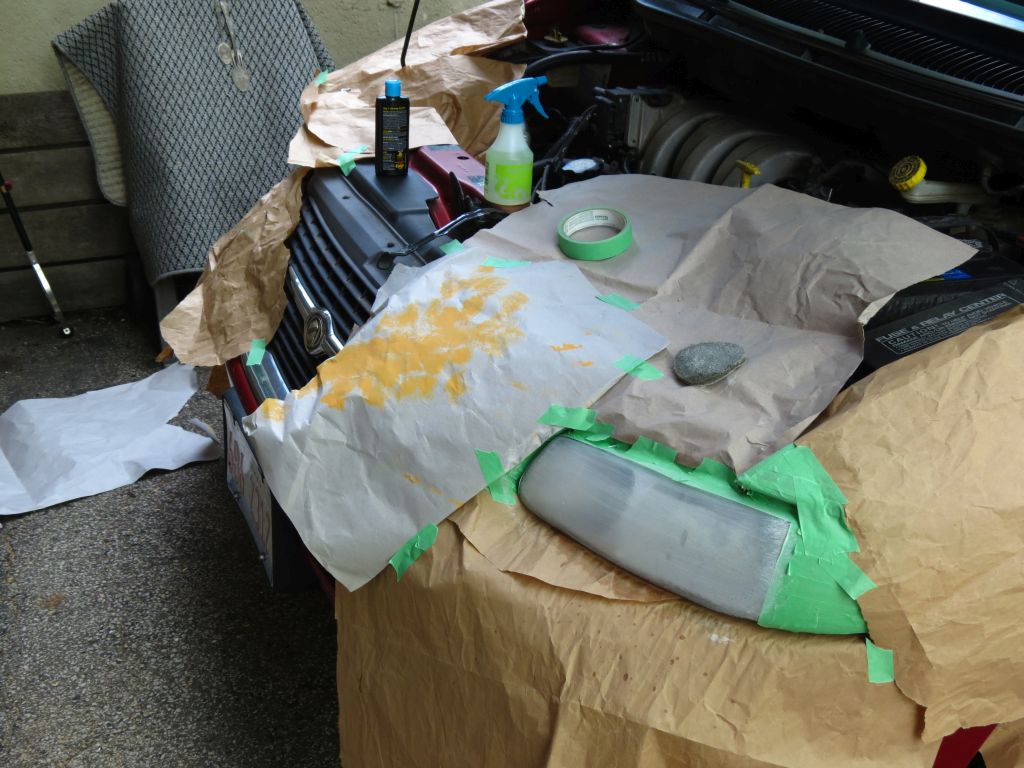
- IMG_7253sc.jpg (139.73 KiB) Viewed 11307 times
This shot shows the direction of the polishing and it is about done and ready to be wiped off and cleaned.
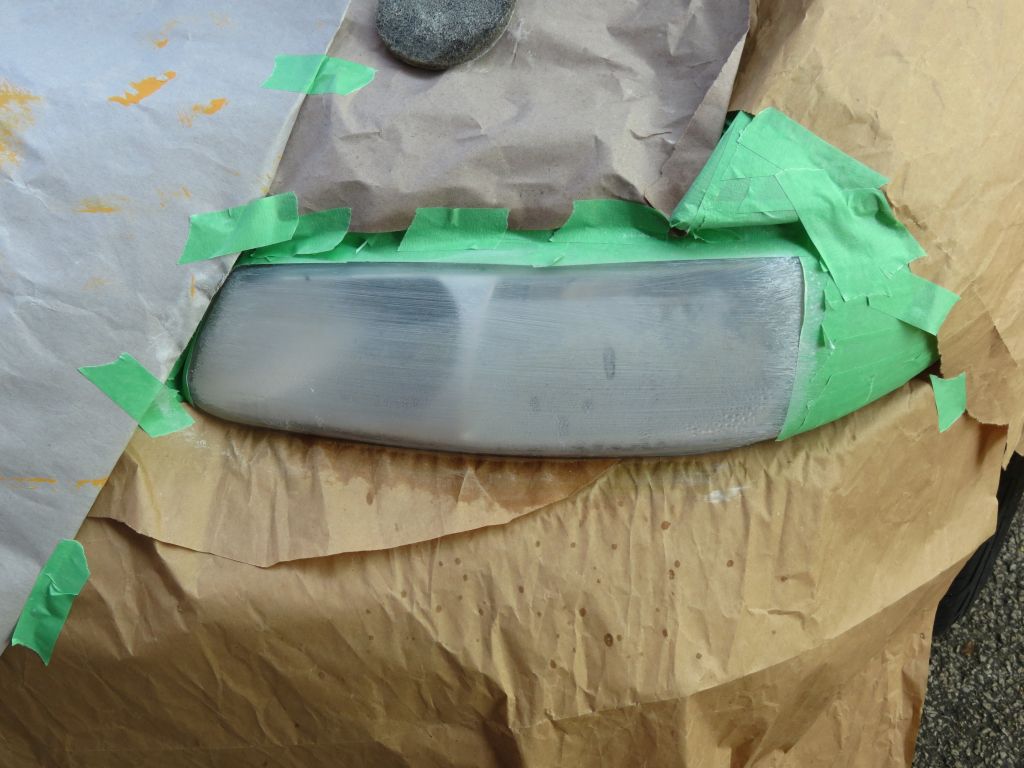
- IMG_7251sc.jpg (112.54 KiB) Viewed 11307 times
This is a shot of the same lens after I worked on it. I could have taken off more I guess but there is always next time. I am however very happy with how it looks and I'm sure the performance will be back to close to normal.

- IMG_7257sc.jpg (96.29 KiB) Viewed 11307 times
This is a project that needed to be done and I'm glad I picked the product I did because it was super easy and quick. I appreciate the comments others have posted and I hope if you have this issue you give it a go to fix it yourself.
Ed