Page 2 of 4
Re: End Grain Mortising
Posted: Thu Aug 17, 2017 8:02 am
by dusty
It seems to me that reibles approach just might work. The comment made by rpd suggests that he is thinking the same way.
I redid a sketchup view to show, hopefully, what I am thinking.
For the sake of better control, I would plunge the work piece down onto the blade (using stops and a tall rip fence that are not depicted).
Re: End Grain Mortising
Posted: Thu Aug 17, 2017 8:18 am
by JPG
Scary as it might at first seem, I would do that in vertical drill press position with an exposed saw blade. External support so as to keep the rail flat against the table and use the miter gauge to feed.
Not for the faint hearted or careless!
Re: End Grain Mortising
Posted: Thu Aug 17, 2017 8:31 am
by BigSky
dusty wrote:It seems to me that reibles approach just might work. The comment made by rpd suggests that he is thinking the same way.
I redid a sketchup view to show, hopefully, what I am thinking.
For the sake of better control, I would plunge the work piece down onto the blade (using stops and a tall rip fence that are not depicted).
http://www.the-carbide-end-mill-store.c ... _item.html
Re: End Grain Mortising
Posted: Thu Aug 17, 2017 9:47 am
by masonsailor2
Be careful. Running the end of that long of a board in the vertical over a blade is pretty risk stuff. You could do it with a radial arm saw but I don't think the SS or any other TS application would be worth the risk.
Paul
Re: End Grain Mortising
Posted: Thu Aug 17, 2017 10:03 am
by br549
BigSky wrote:http://www.the-carbide-end-mill-store.com/End-Mill-Filter-Search.html?m5:search2[sel_text23]=0.0938%203%2F32%22;search2[nested]=1;search2[group]=1651368;search2[fuzzy_sku]=1;srredir=m5_view_item.html
Thanks BigSky for the link to that website. I've bookmarked it for future reference!
If it were me, I would opt for a router, with boards clamped to the sides and flush with the end of the bed rail for router baseplate support and guidance, and use one of the 3" long end mills with the most flute length possible, such as those available in the link BigSky provided. Make multiple passes if necessary to get to desired depth. Might even start the cut with a slot cutter to get the first 1/2" or so of depth.
Re: End Grain Mortising
Posted: Thu Aug 17, 2017 10:14 am
by videobear
Am I missing something here? I think the people recommending using the table saw are on the right track, but why put the rail on end? Just set the saw for a non through cut depth, put the rail against the rip fence (lengthwise, not vertically) and push it forward until you have the pocket you need.
The back of the pocket will be curved, of course, not rectangular as shown in Rockler's photo...but from that diagram, it doesn't look like that would be a problem.
Re: End Grain Mortising
Posted: Thu Aug 17, 2017 10:51 am
by br549
videobear wrote:Am I missing something here? I think the people recommending using the table saw are on the right track, but why put the rail on end? Just set the saw for a non through cut depth, put the rail against the rip fence (lengthwise, not vertically) and push it forward until you have the pocket you need.
The back of the pocket will be curved, of course, not rectangular as shown in Rockler's photo...but from that diagram, it doesn't look like that would be a problem.
Good point! I could see how that would be easier. If done this way, I think I would fill the gap where the excess material is removed with a 3/32" thick piece of the same material as the bed rail (cross hatched area in sketch below). Getting a full 3.5" of depth of cut might not be possible on a Shopsmith, but it would be close and hand tools could be used to finish it up.
Re: End Grain Mortising
Posted: Thu Aug 17, 2017 12:33 pm
by reible
It was easy. I went out and with in a few minutes I had a cut done. Sure it will take a little longer because the dimensions I used were not exact but still.....
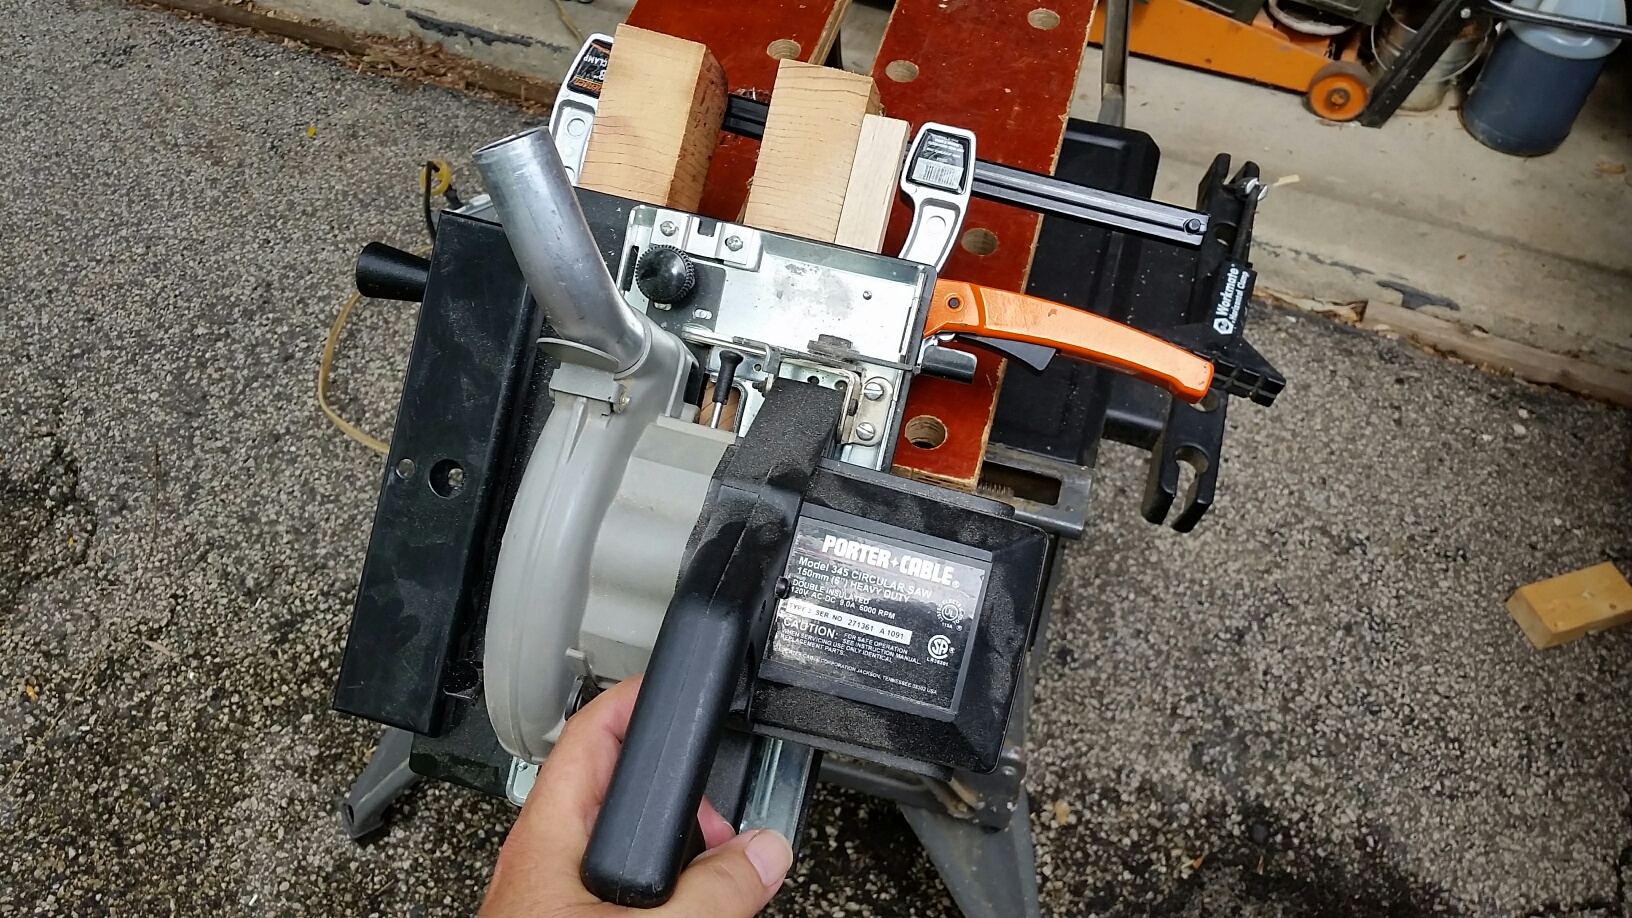
So I got out a circular saw, set the depth of cut to 1-1/8".
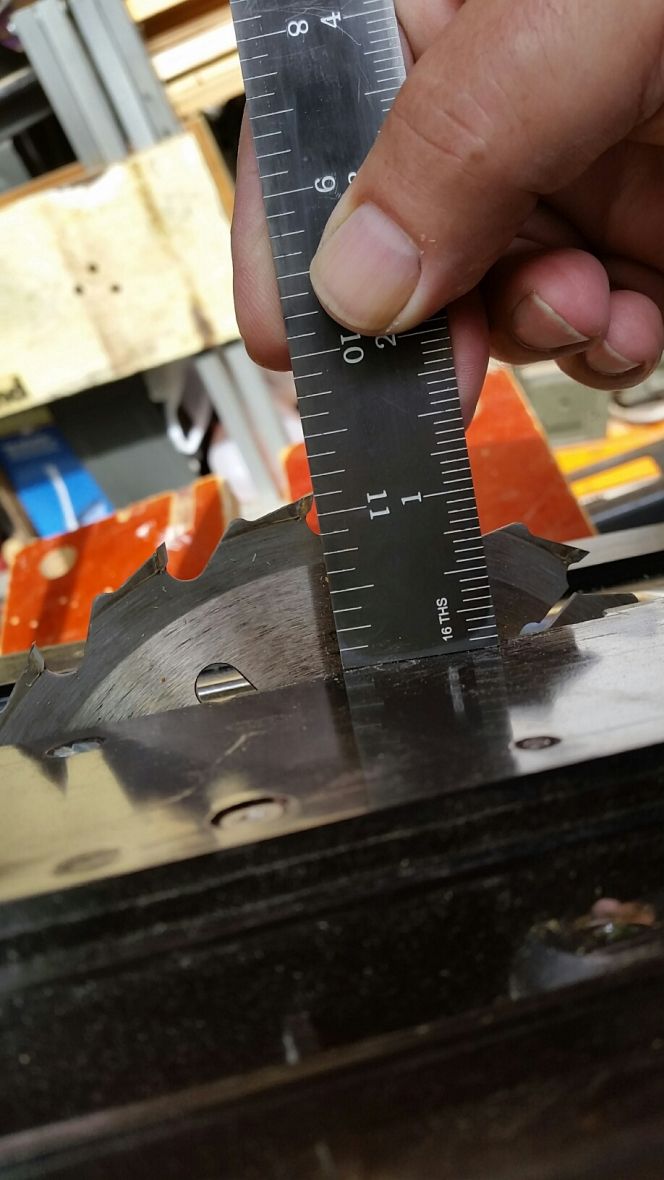
- 20170817_105831_resized.jpg (87.39 KiB) Viewed 20707 times
Next I added a couple of 2 x stock to each side to give it a nice wide base to cut on. Since the rail will be longer then my work piece I clamped it at an angle to simulate the longer rail.
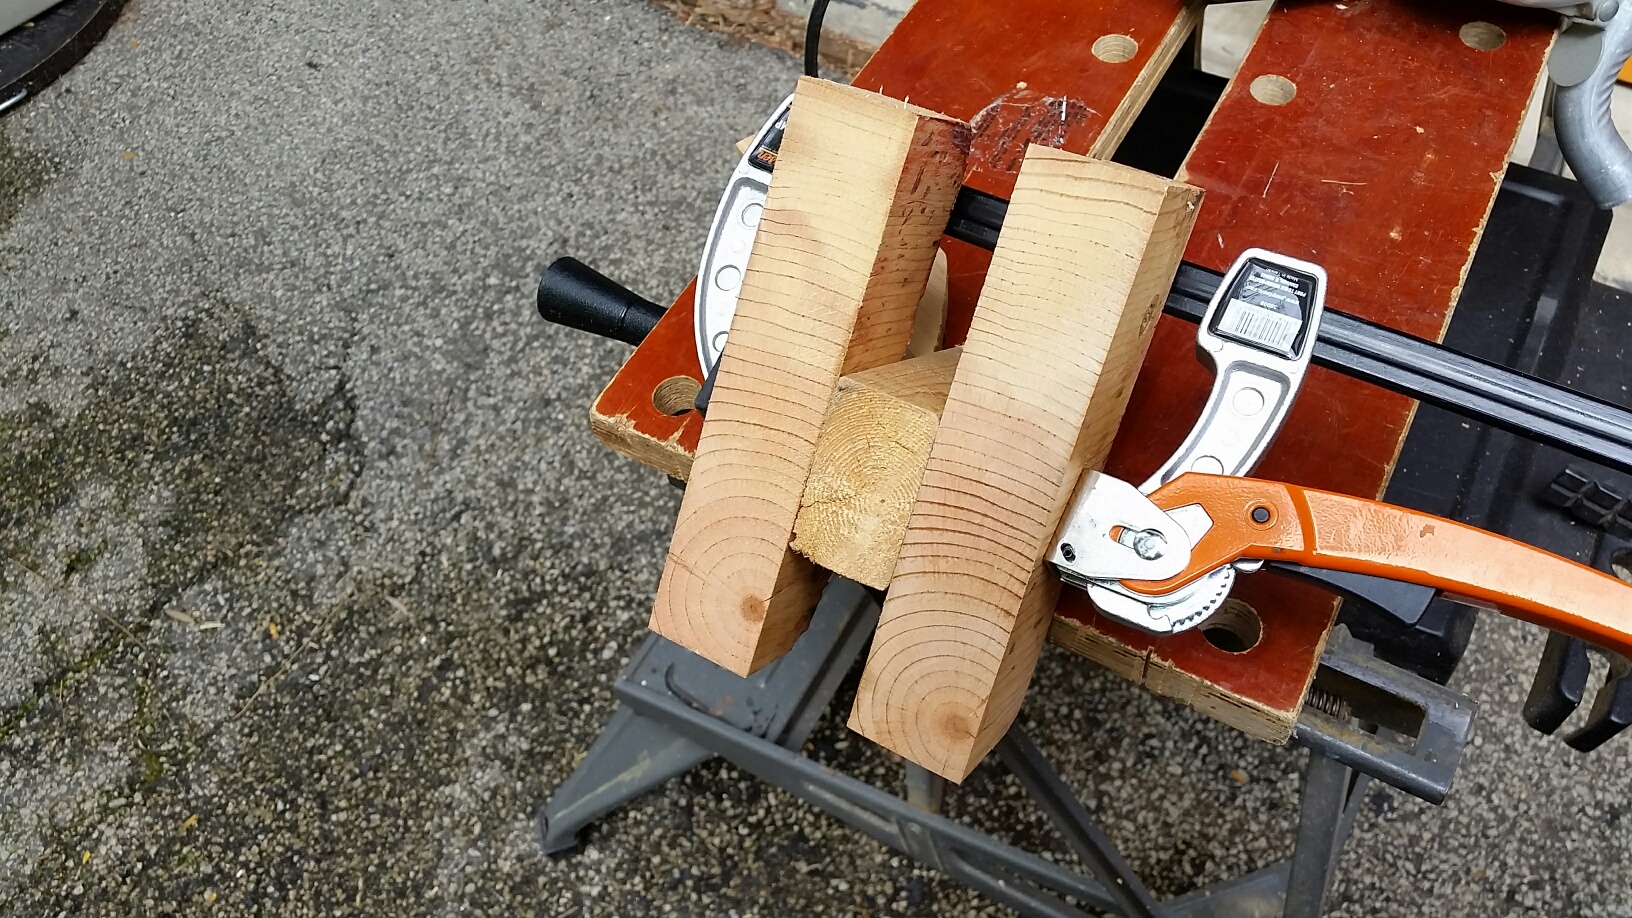
- 20170817_105909_resized.jpg (715.02 KiB) Viewed 20707 times
Next I added some tape so I could add a fence that was parallel to the blade and marked the distance from the outside of one side to the location of the cut. I then put some double sided tape down.
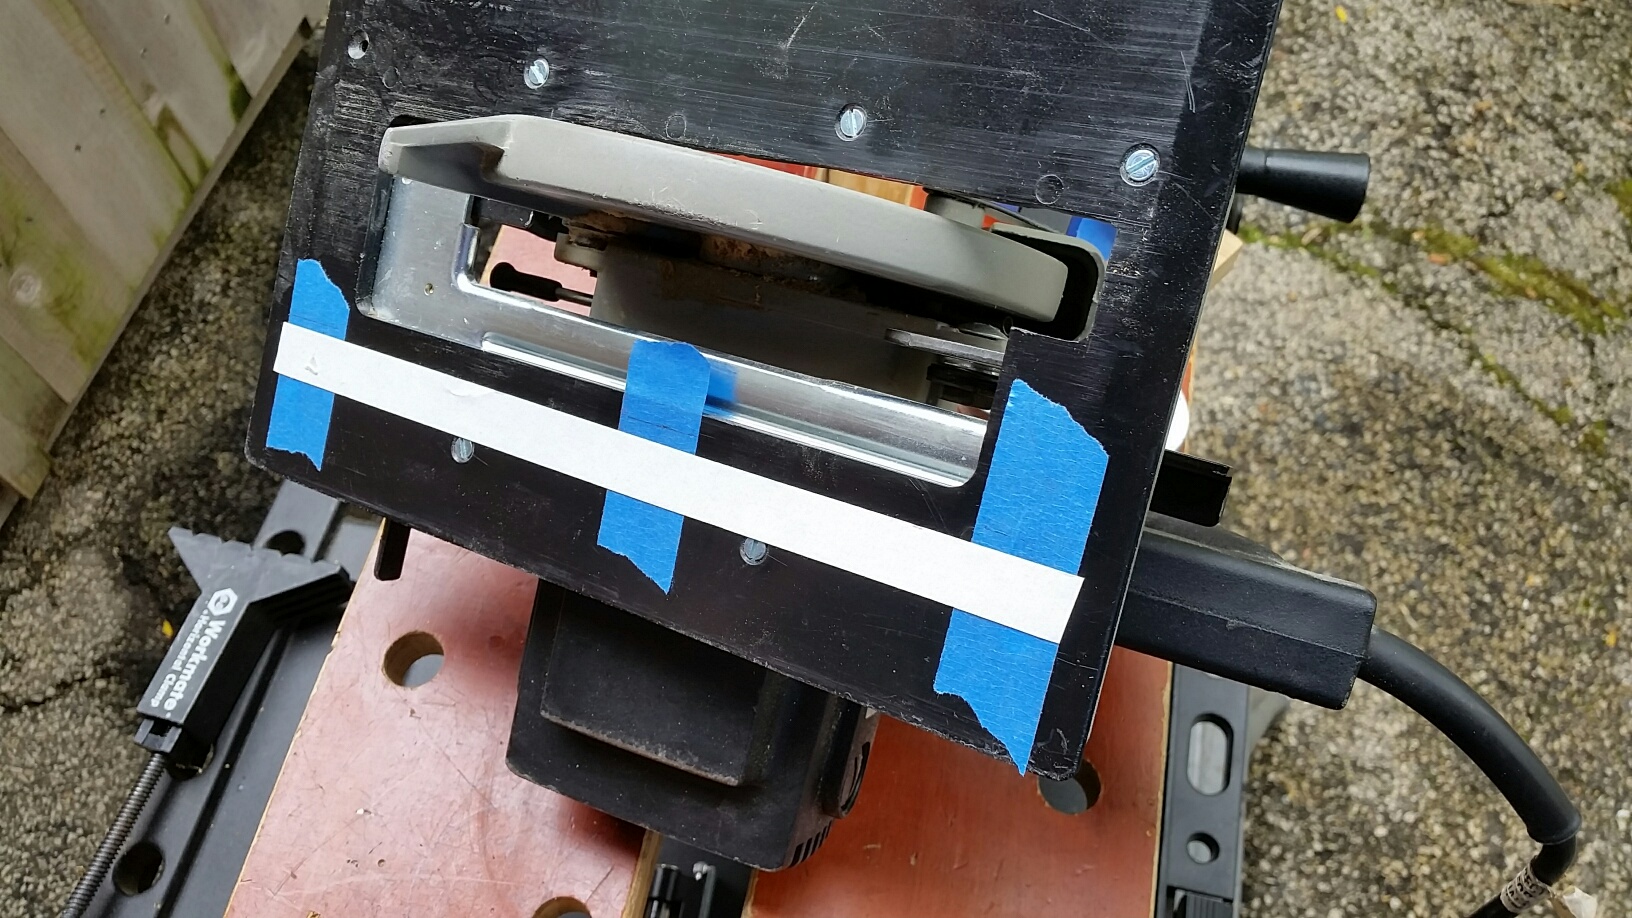
- 20170817_110613_resized.jpg (558.25 KiB) Viewed 20707 times
Next I added a piece of wood as a fence, the double sided tape will hold it in place. With the wood in place I took the tape off the part of the base where it will be sliding along the wood.
- 20170817_110759_resized.jpg (538.88 KiB) Viewed 20707 times
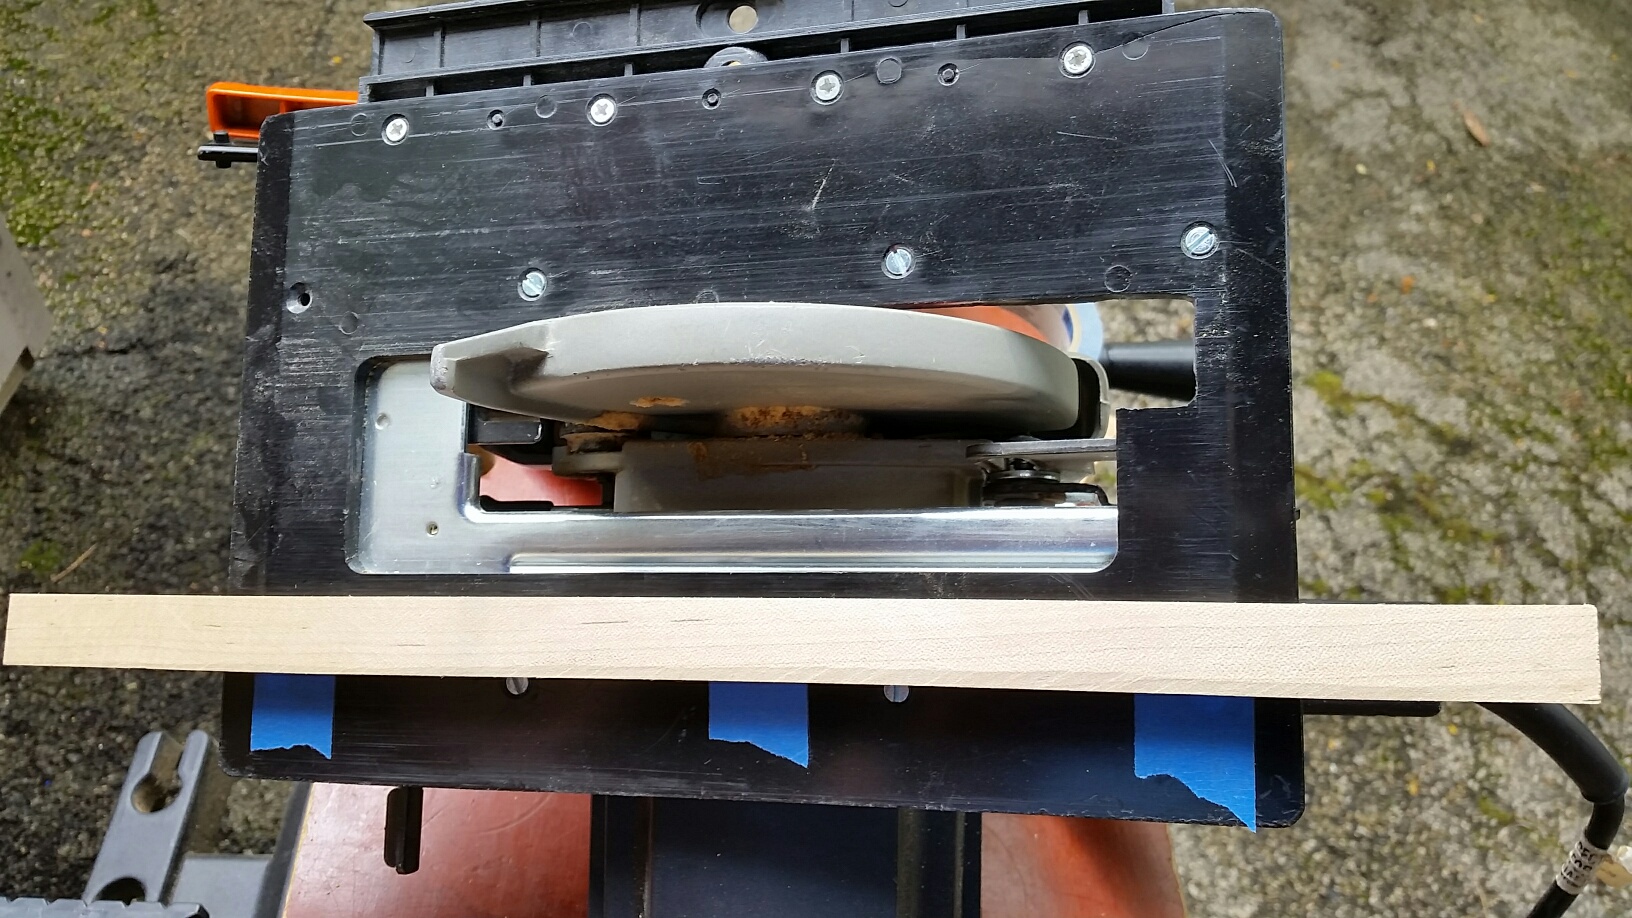
Now I just placed the saw on the wood and got the fence against the edge and I was ready to cut.
- 20170817_110948_resized.jpg (713.92 KiB) Viewed 20707 times
And here are the results:
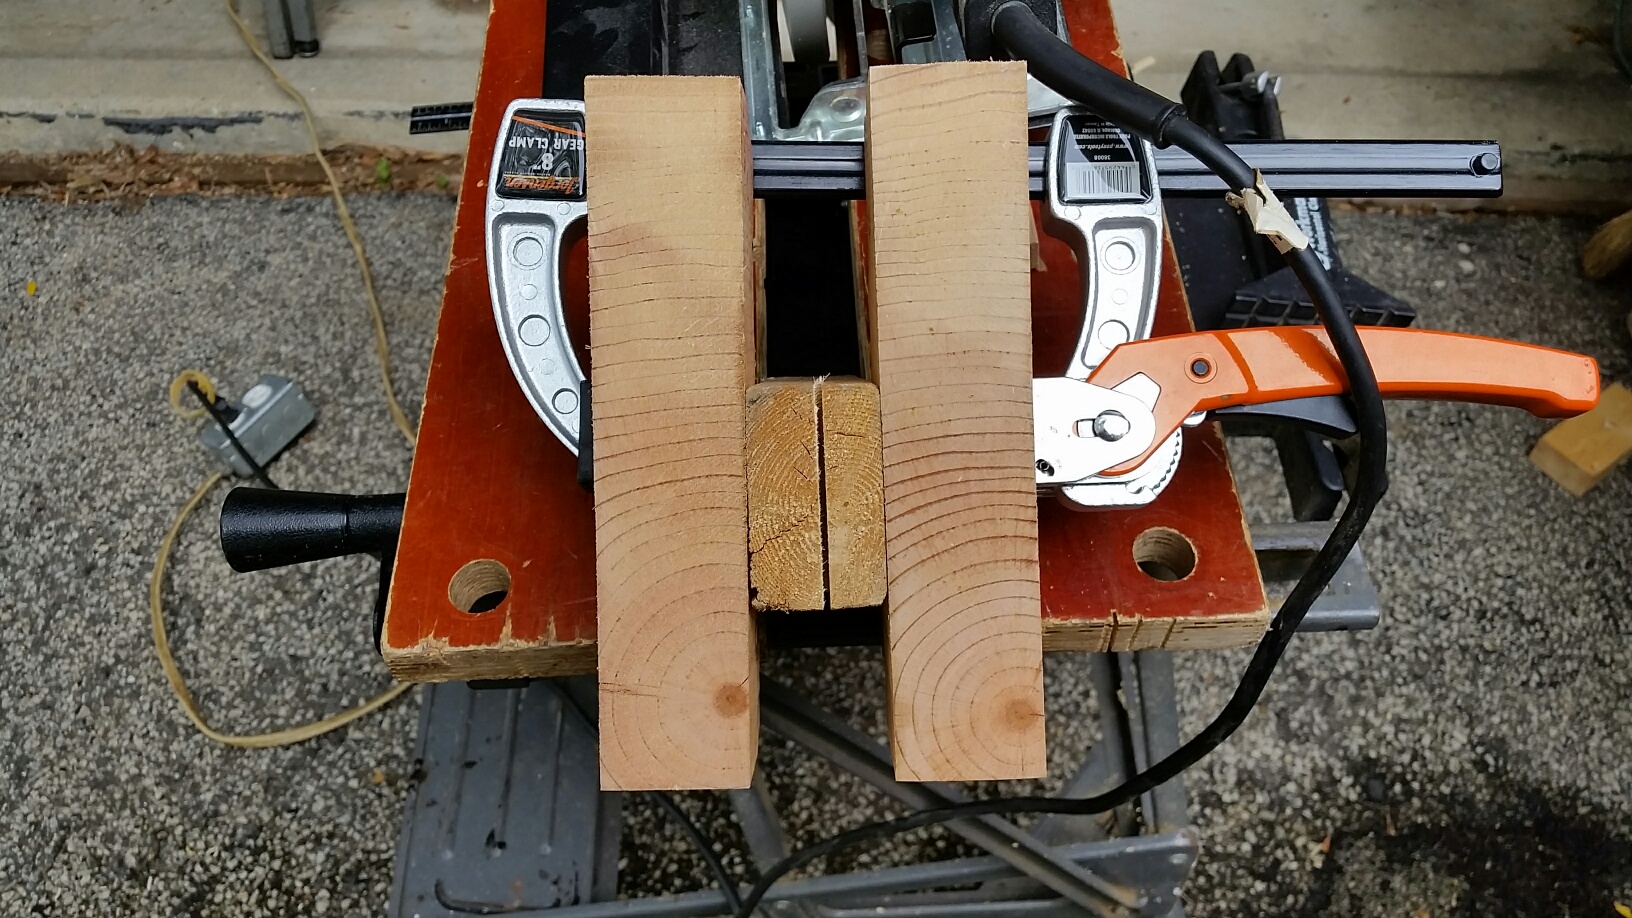
- 20170817_111021_resized.jpg (577.08 KiB) Viewed 20707 times
Now depending on blade width you might have to make more then one pass and depending on how wide the rail is and if you want to do a stop cut or not will add a bit to the process but still this goes really fast, faster then writing it up for sure.
Ed
Re: End Grain Mortising
Posted: Thu Aug 17, 2017 3:14 pm
by videobear
Here is another idea...
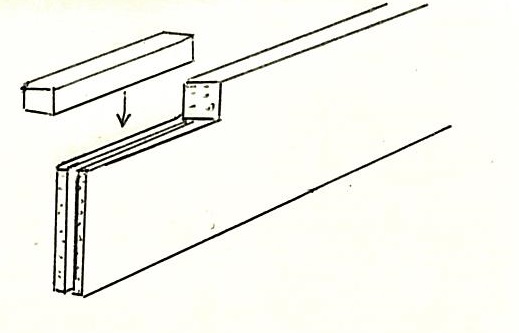
- bedrail.jpg (27.98 KiB) Viewed 20699 times
Re: End Grain Mortising
Posted: Thu Aug 17, 2017 3:50 pm
by Hobbyman2
br549 wrote:
Thanks BigSky for the link to that website. I've bookmarked it for future reference!
If it were me, I would opt for a router, with boards clamped to the sides and flush with the end of the bed rail for router baseplate support and guidance, and use one of the 3" long end mills with the most flute length possible, such as those available in the link BigSky provided. Make multiple passes if necessary to get to desired depth. Might even start the cut with a slot cutter to get the first 1/2" or so of depth.
=============
Like