How about we get this finished?
OK we are now on to the quill bearings. In this case I went to ebay again and got the pair of FAFNIR for $14.25 each or $28.50 for the pair and the shipping was free.
One quick note, bearings normally come sealed in a bag, you should keep them that way until you are ready to use them.
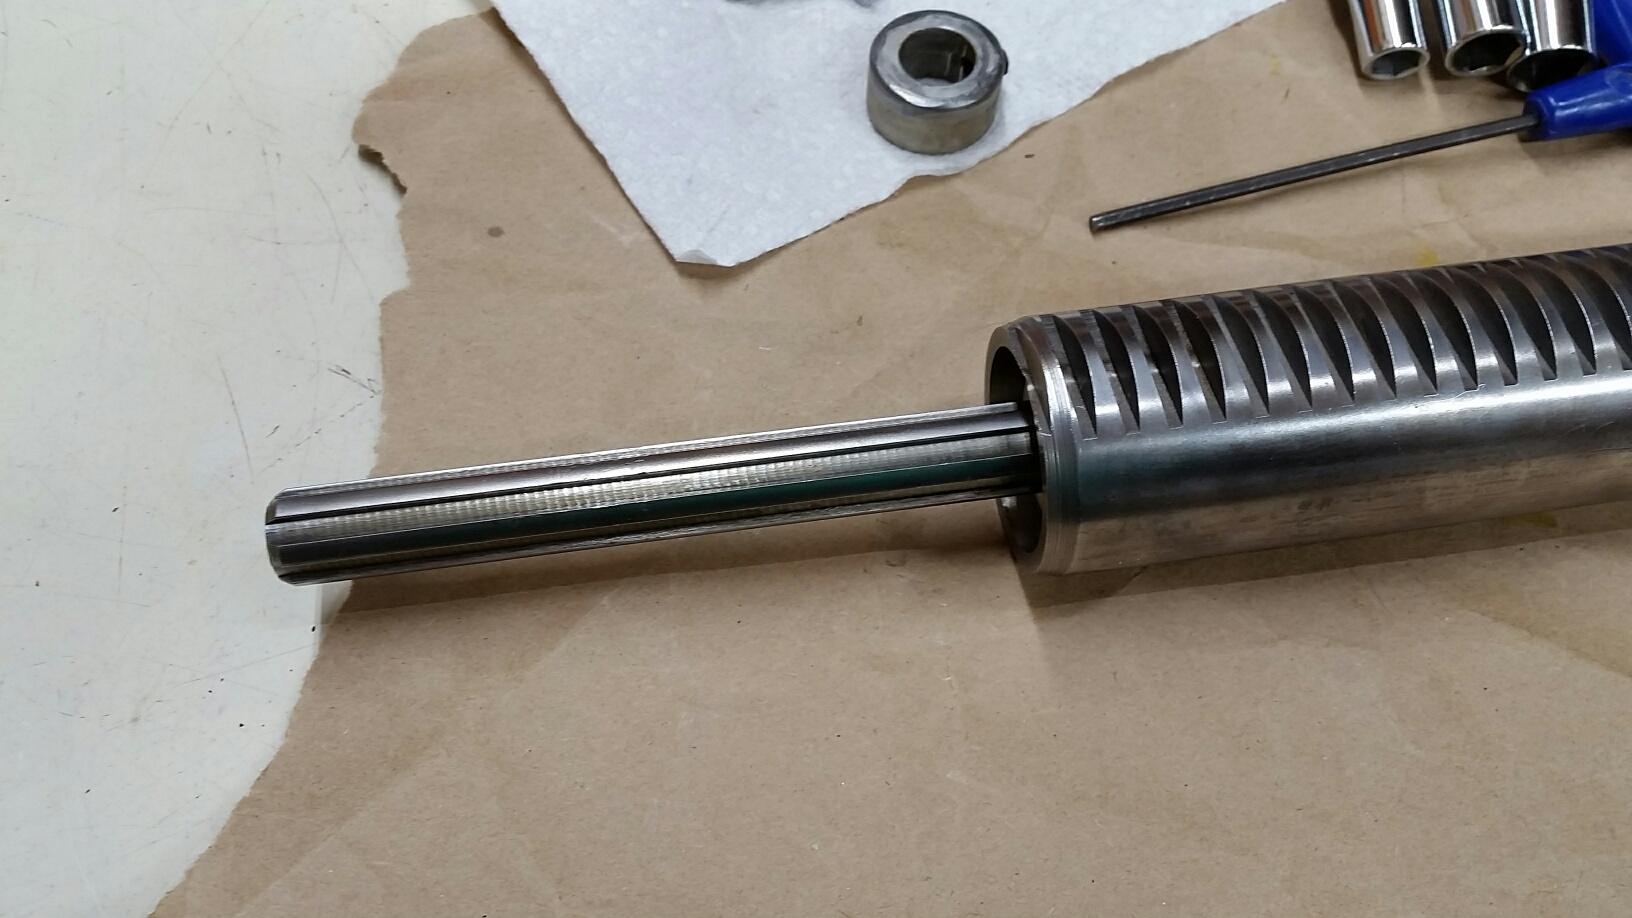
Now we are going to pretty much reverse what we did when we took the quill apart. The rear bearing is going on first.
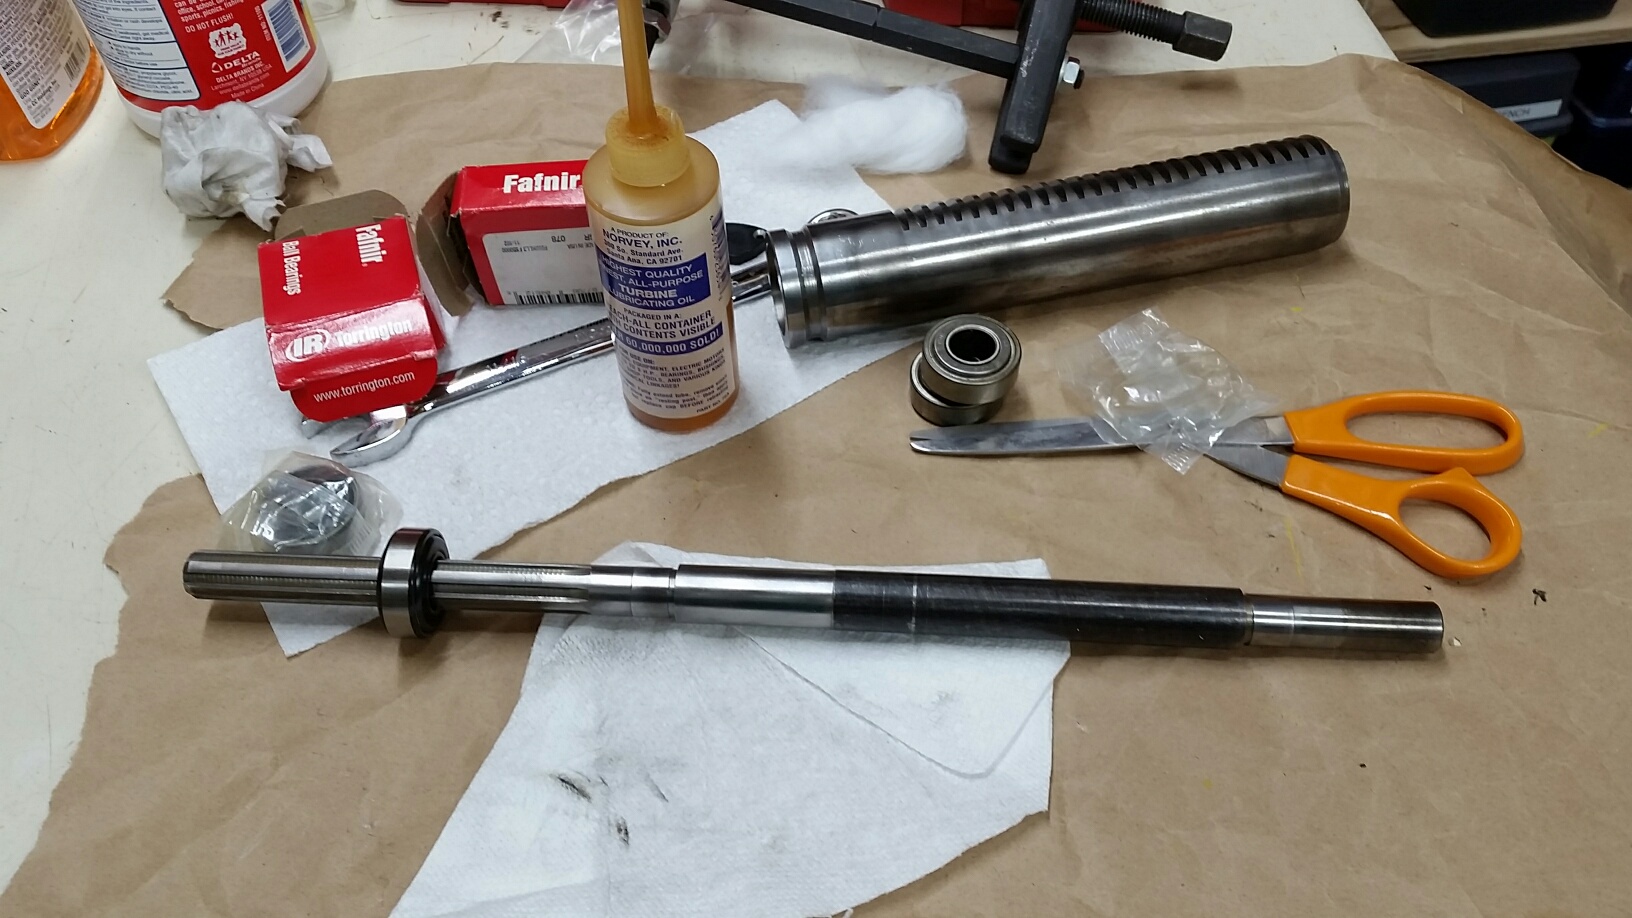
- 20170906_172745_resized.jpg (408.72 KiB) Viewed 4595 times
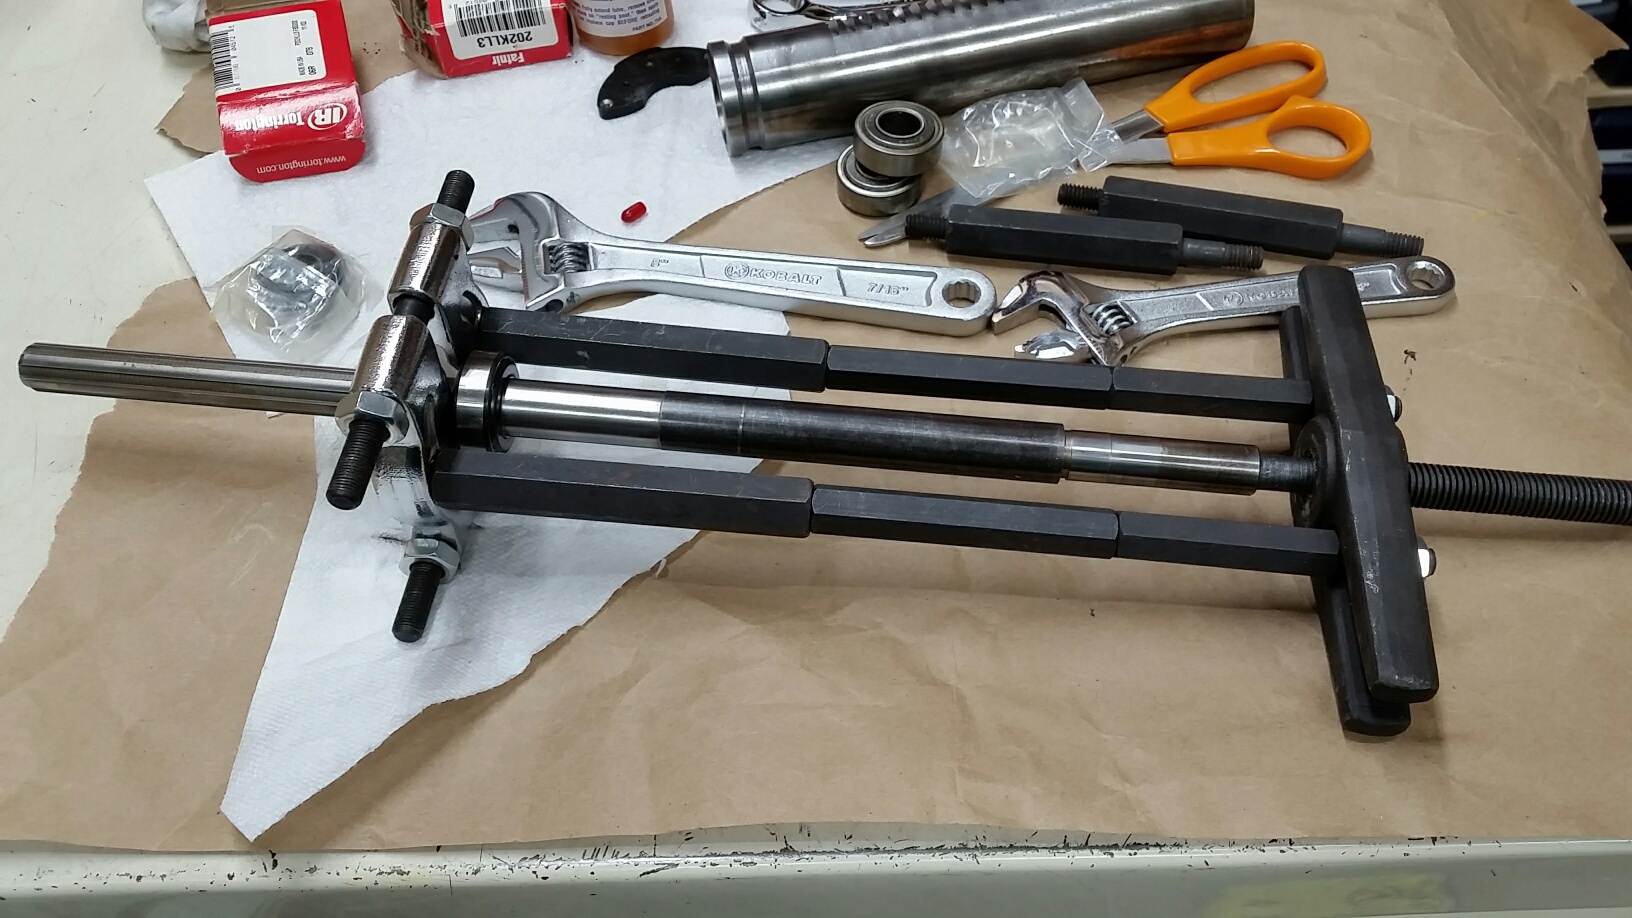
- 20170906_173629_resized.jpg (445.12 KiB) Viewed 4595 times
With that bearing seated remember to put the collar on.
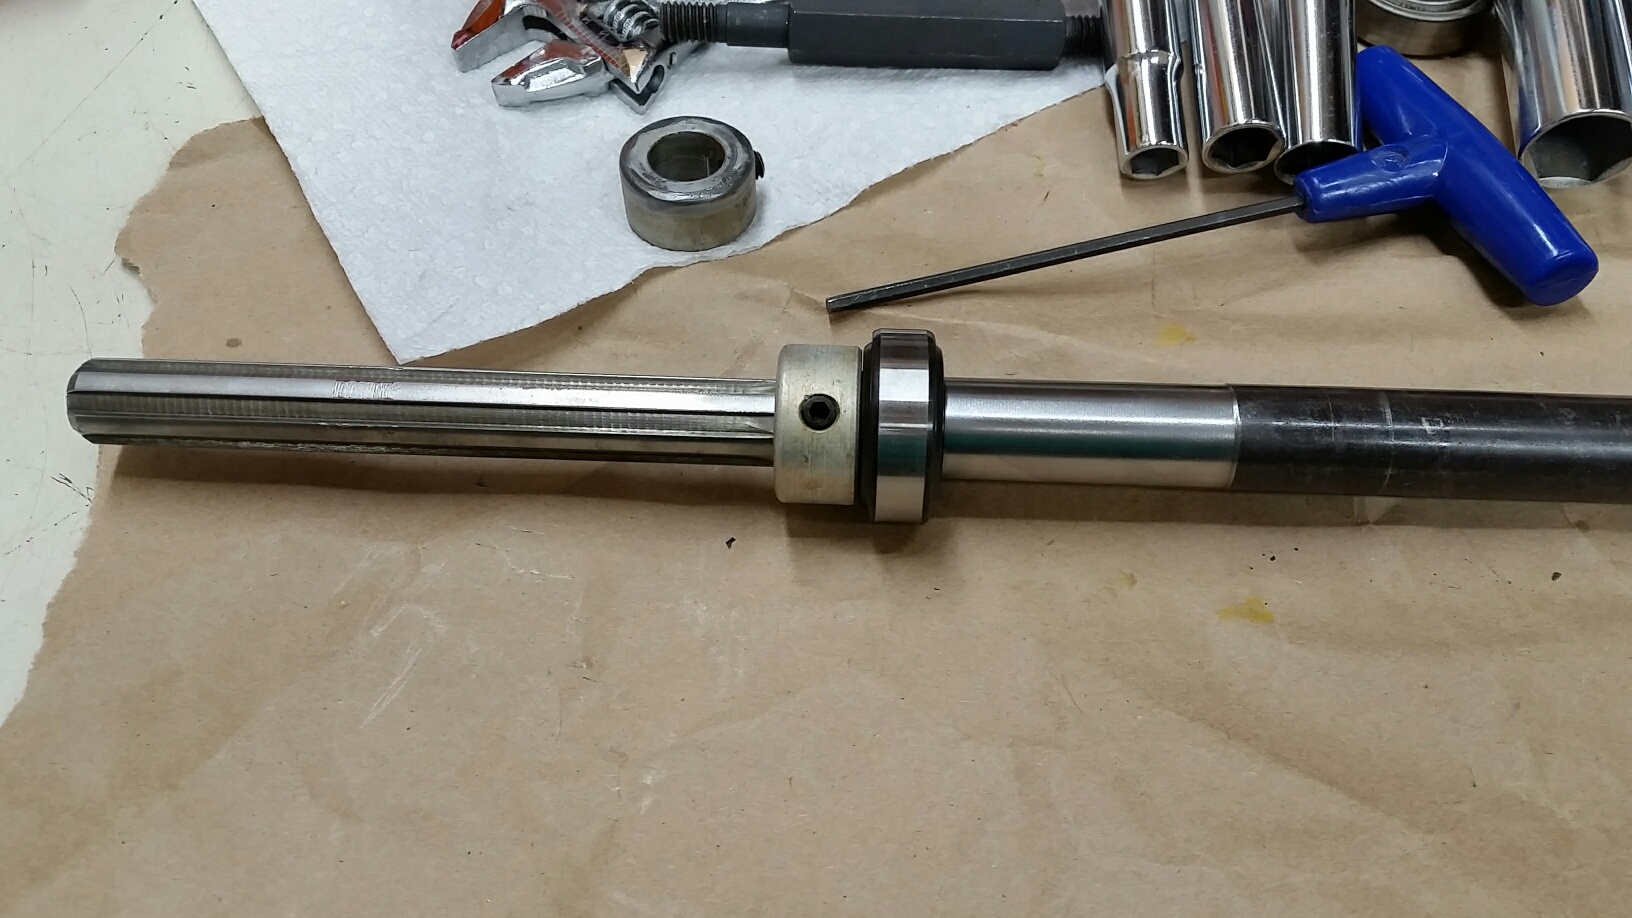
- 20170906_180014_resized.jpg (400.09 KiB) Viewed 4595 times
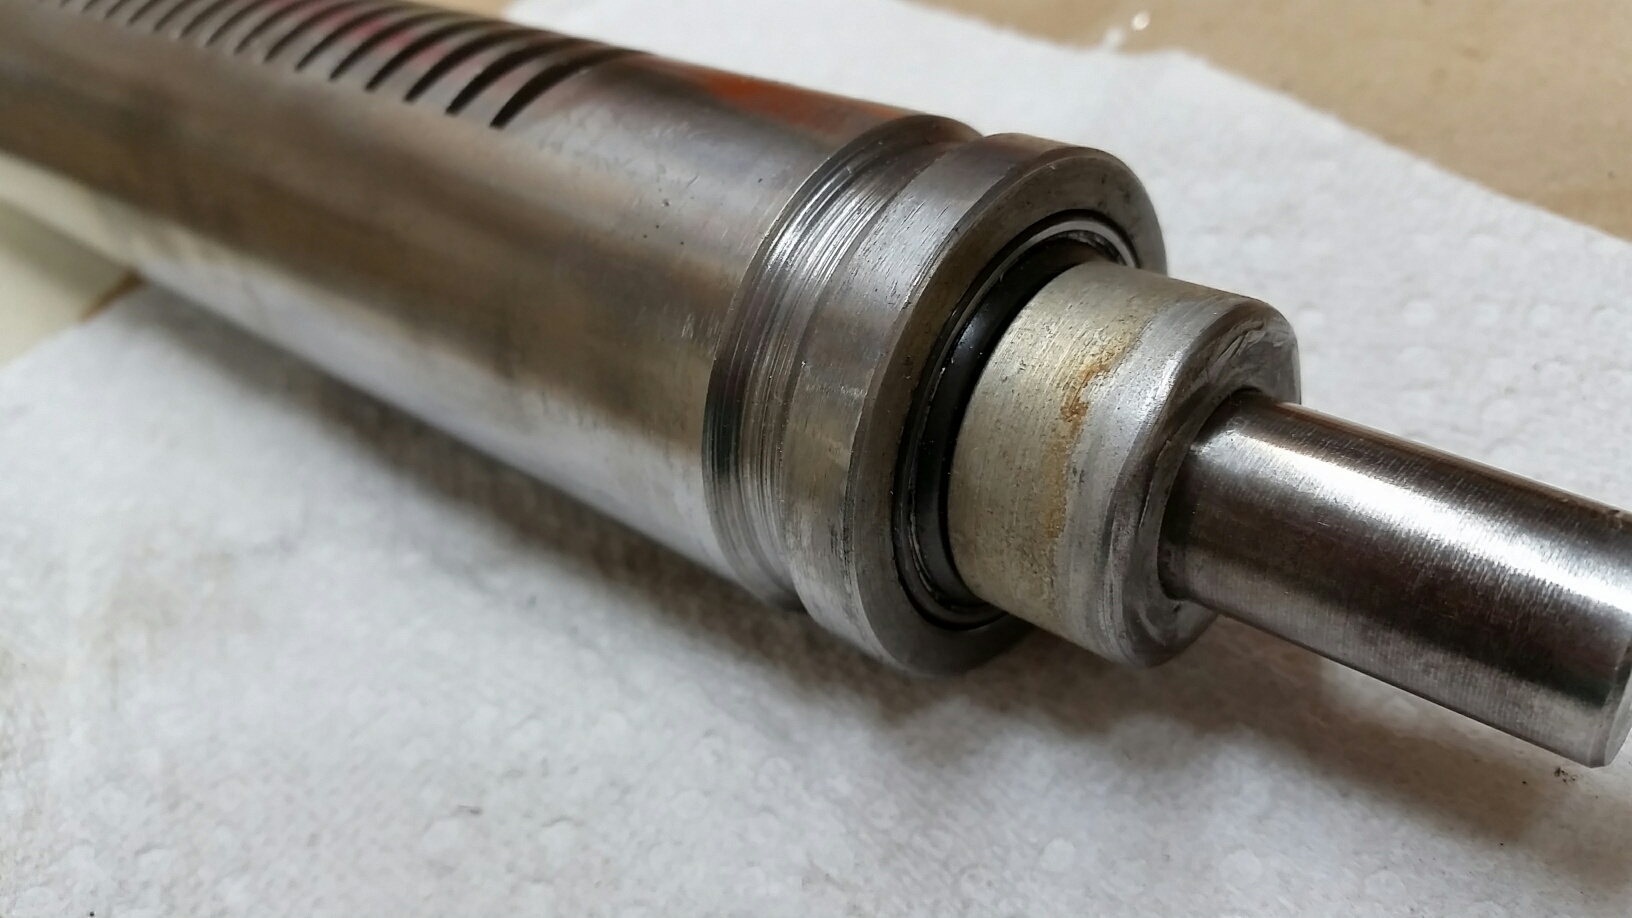
Why do you need to do that? Well as the assembly goes together you will see. At this point the shaft can be inserted in to the housing. No press is needed to do this. You will have to make sure it goes in straight however. Once it gets started it will slide in pretty easy. Remember the question from a moment ago? Well in this next photo you see the stop collar still exposed.
- 20170906_180034_resized.jpg (417.14 KiB) Viewed 4595 times
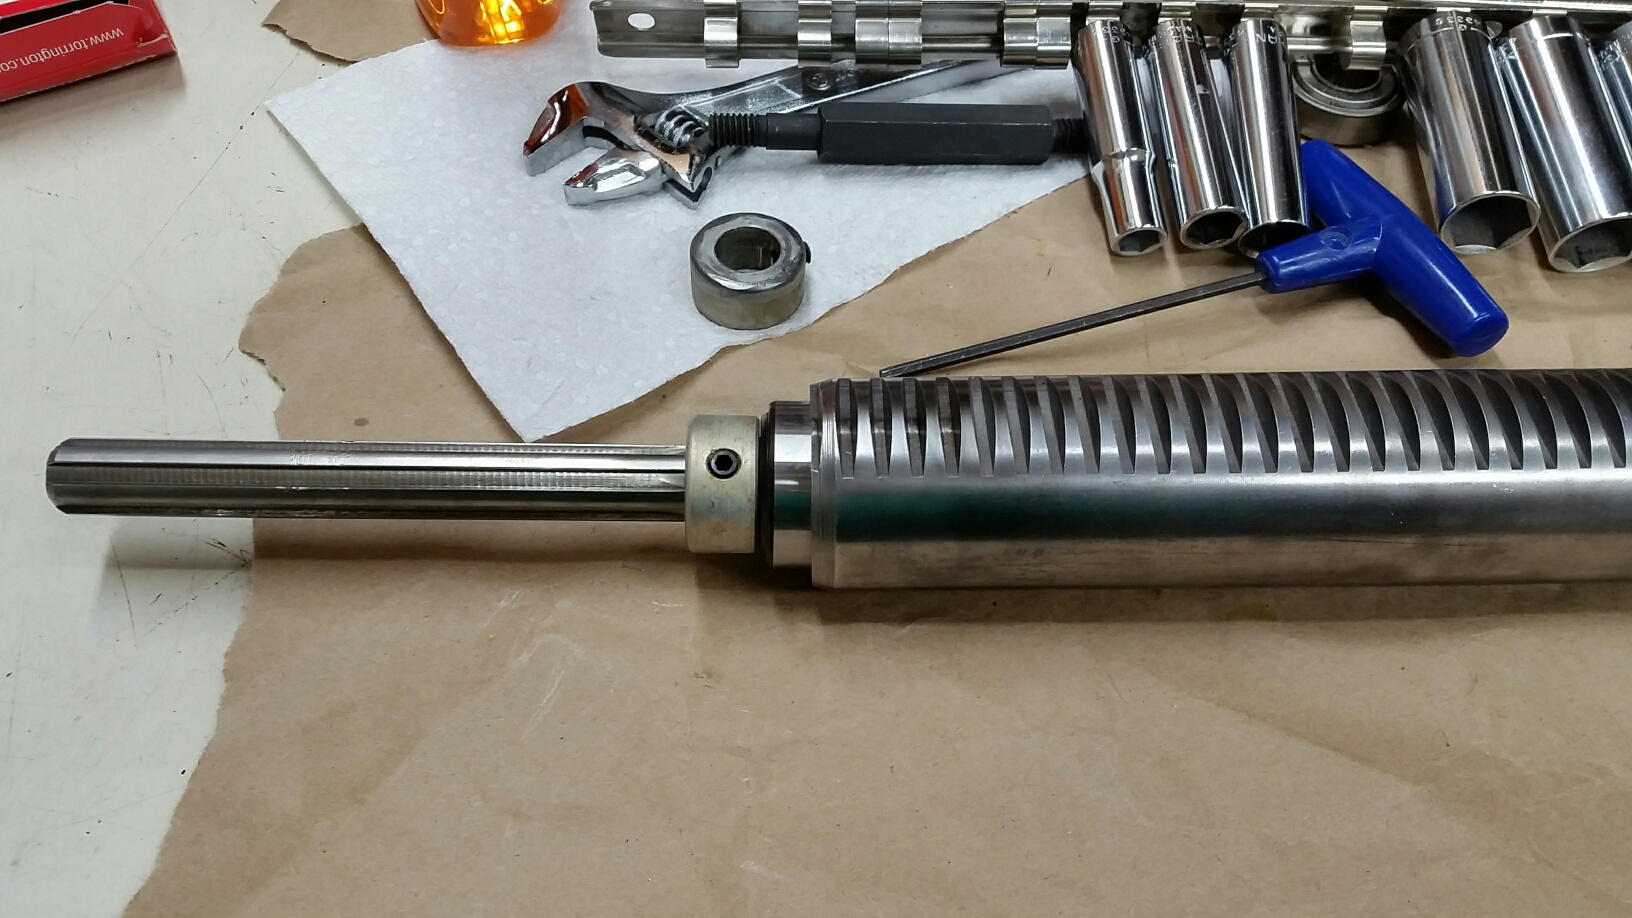
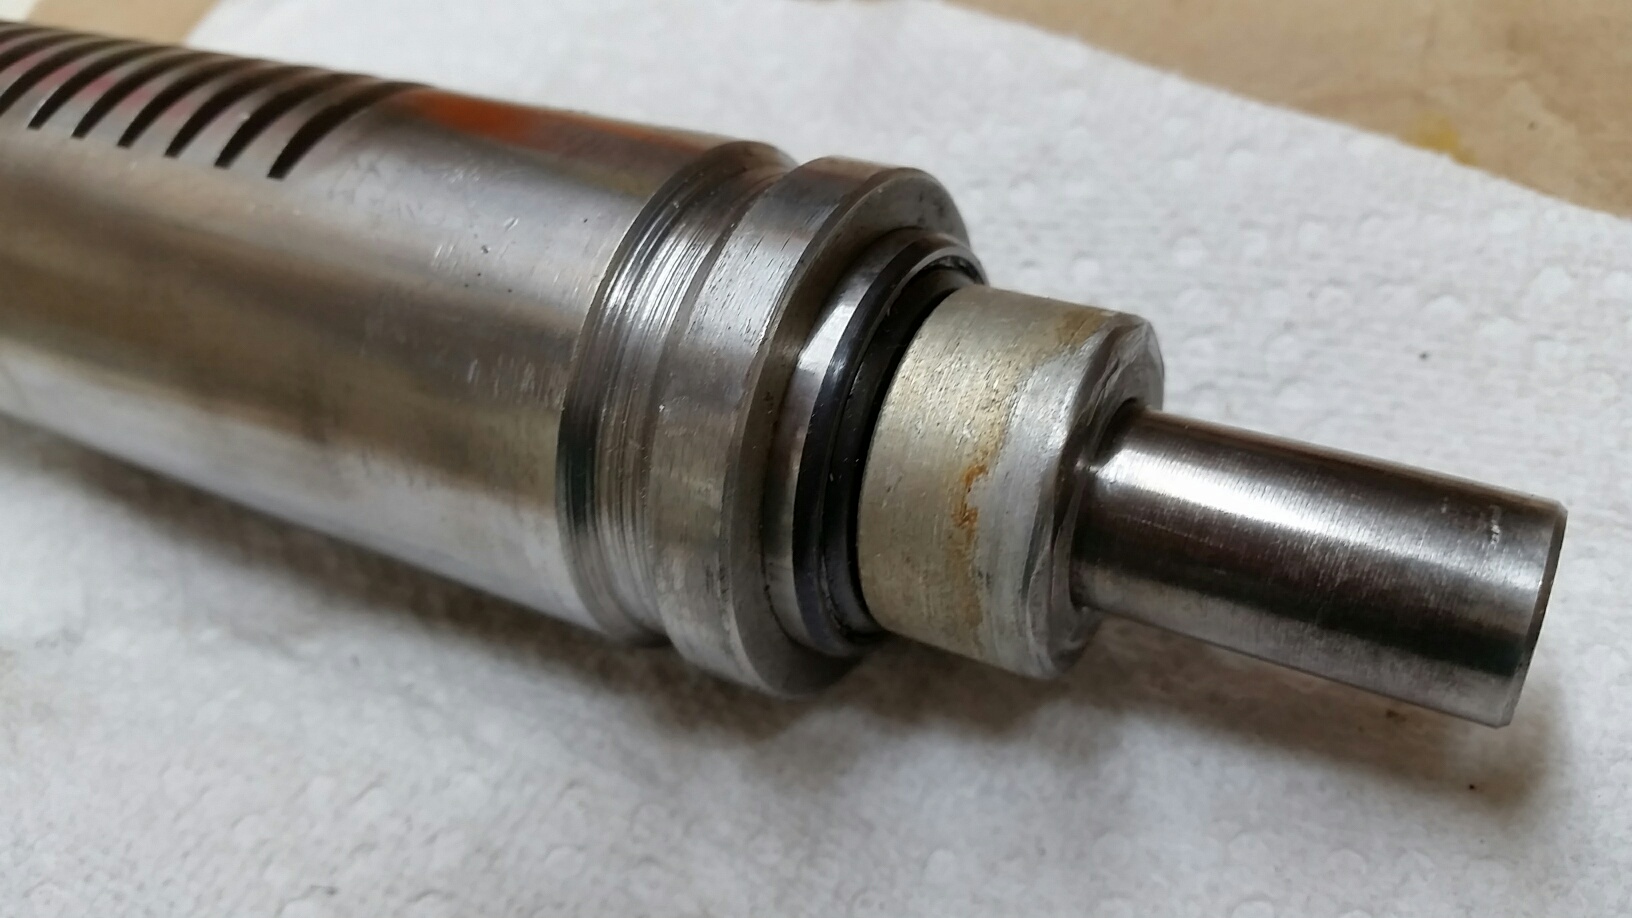
But as you continue to slide it in......
- 20170906_180127_resized.jpg (349.5 KiB) Viewed 4595 times
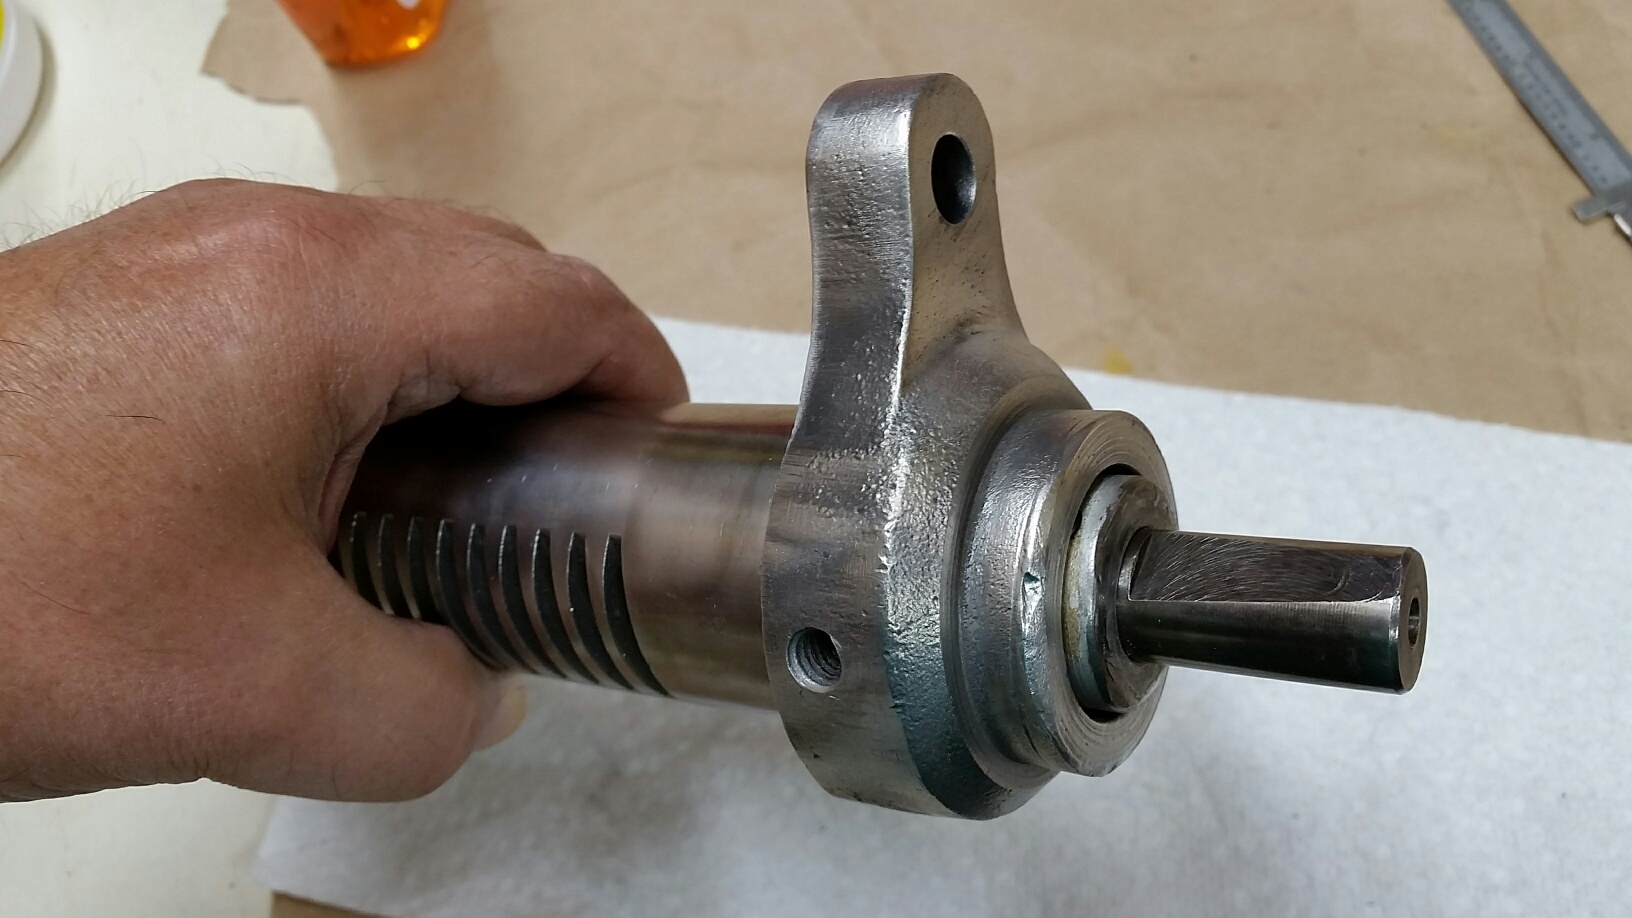
The next part will have to be verbal as my hands were to dirty to pick up my white phone for pictures. The front bearing will not be pressed on with the tool but you can resort to a socket or pipe of the correct size to contact only the inner race. Once you have it started you can pull the shaft back and get the alignment of the outer race to the quill housing then finish putting it in. The bearing is about 1-3/4" back from the tip of the shaft. You will not be able to see how far you are but you can feel it when it hits bottom.
One thing I noticed on the two 10ER quills I have looked at is that the bearing spacing allow for some wiggle room. I guess that is a good idea but it seems a bit strange to see the shaft move in and out the way it does.
So with it fully seated the front bearing can be flush with the end of the quill like this:
- 20170906_190823_resized.jpg (326.21 KiB) Viewed 4595 times
Or pulled forward, in this case about an 1/8"
- 20170906_190838_resized.jpg (311.61 KiB) Viewed 4595 times
Have no fears, when this piece is installed the play goes away.
- 20170906_190959_resized.jpg (338.8 KiB) Viewed 4595 times
So this part of the project is done. Just $53.10 and some elbow grease and you have functionally restored the headstock.
Ed