Page 2 of 2
Re: Today in the shop (GWSS)
Posted: Sat Mar 24, 2018 4:20 pm
by reible
mountainbreeze wrote:That's a really cool idea - especially for mass production. I like it.
One question: is there any concern over the cut off pieces getting caught between the blade and the fence resulting in wood projectiles?
I've not had that happen yet. I've done a lot more of the other type pattern cutting and not had it happen then either. Now you do have to stop from time to time to get rid of the pieces that are left under the attached fence extension.
As always one should stand to the side while doing these cuts so if something were to catch it throws in back where you are NOT standing.
The great part is if you can draw the line you can cut it. Yes there are other ways but this adds to the number of ways you can accomplish your work and is really simple to build and use. I do hope a few people try it out and let me know how it works for them.
Ed
Re: Today in the shop (GWSS)
Posted: Sat Mar 24, 2018 8:52 pm
by berry
I've seen an elevated auxiliary fence extension before but never used in this manner. I think it's a great idea. I've used the Festool replacement foam on a sanding table and it work fairly well. It looks like it works very well for this push/guide. Well done and thanks for sharing this innovative ideas!
Re: Today in the shop (GWSS)
Posted: Wed Mar 28, 2018 10:30 pm
by reible
So lets get to the exciting part....... nae lets wait on that.
So I'm back on an old project that has sat unfinished for maybe a couple of years now. It is a fancy birdhouse. If I find the previous post I'll add it to this thread.
So this is what I'm starting with:

- 20180328_160001_resized.jpg (204.57 KiB) Viewed 10045 times
The first piece I wanted to make was one that would fit inside the octagon. The easiest way to do that was to trace the outside as seen here:
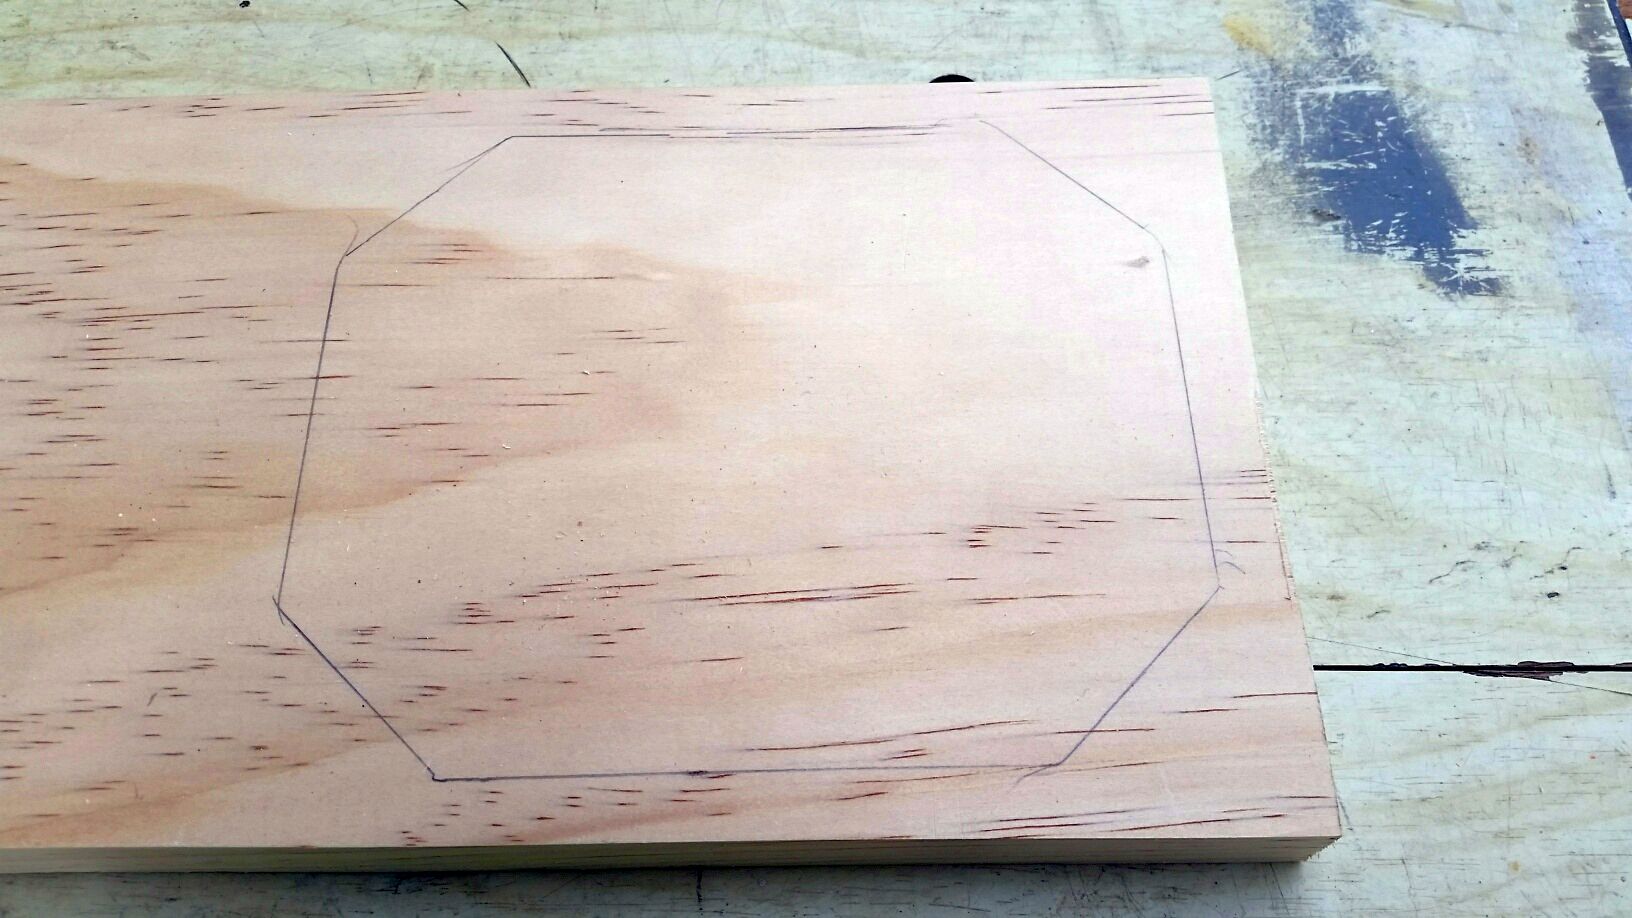
- 20180328_160329_resized.jpg (187.72 KiB) Viewed 10045 times
Now that is the same size as the outside of the box. To get it to the inside size I used a piece of the same stock the box is made of to reduce it by going face to face to face and ended up with this:
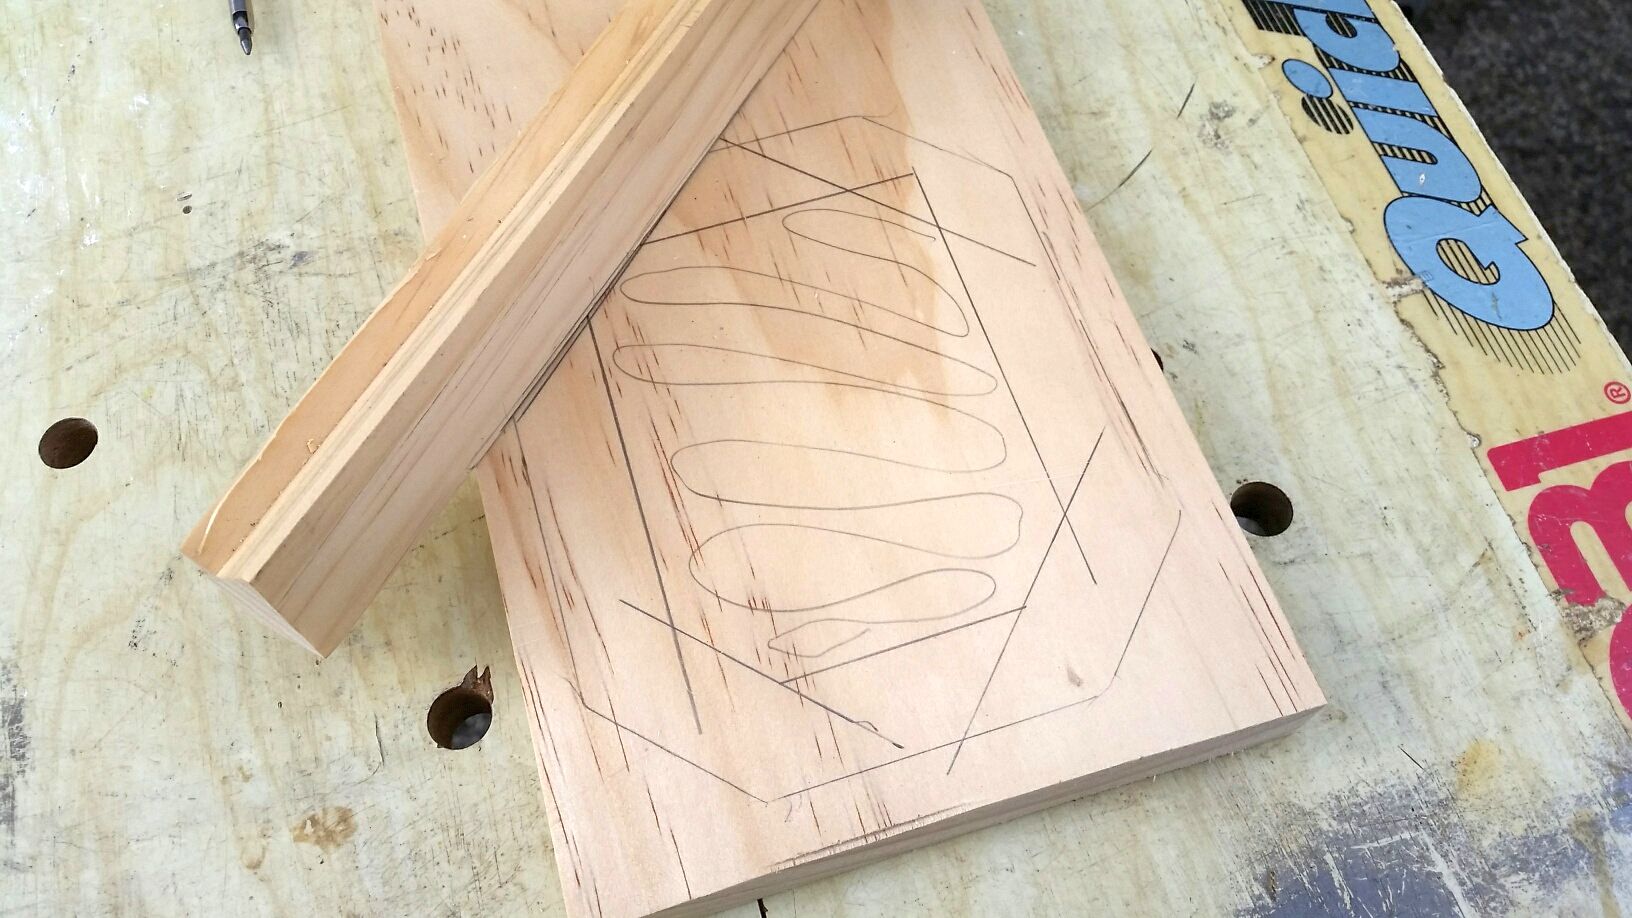
- 20180328_160538_resized.jpg (221.75 KiB) Viewed 10045 times
The resulting part is going to be pretty small and trying to cut it on the table saw trying to use just the miter gauge wouldn't be very safe. Yes there are other methods but you already know I want to use the GWSS. Here you can see the part in relation to my hand to get an idea of the size. The shaded area is what I want as a finished piece.
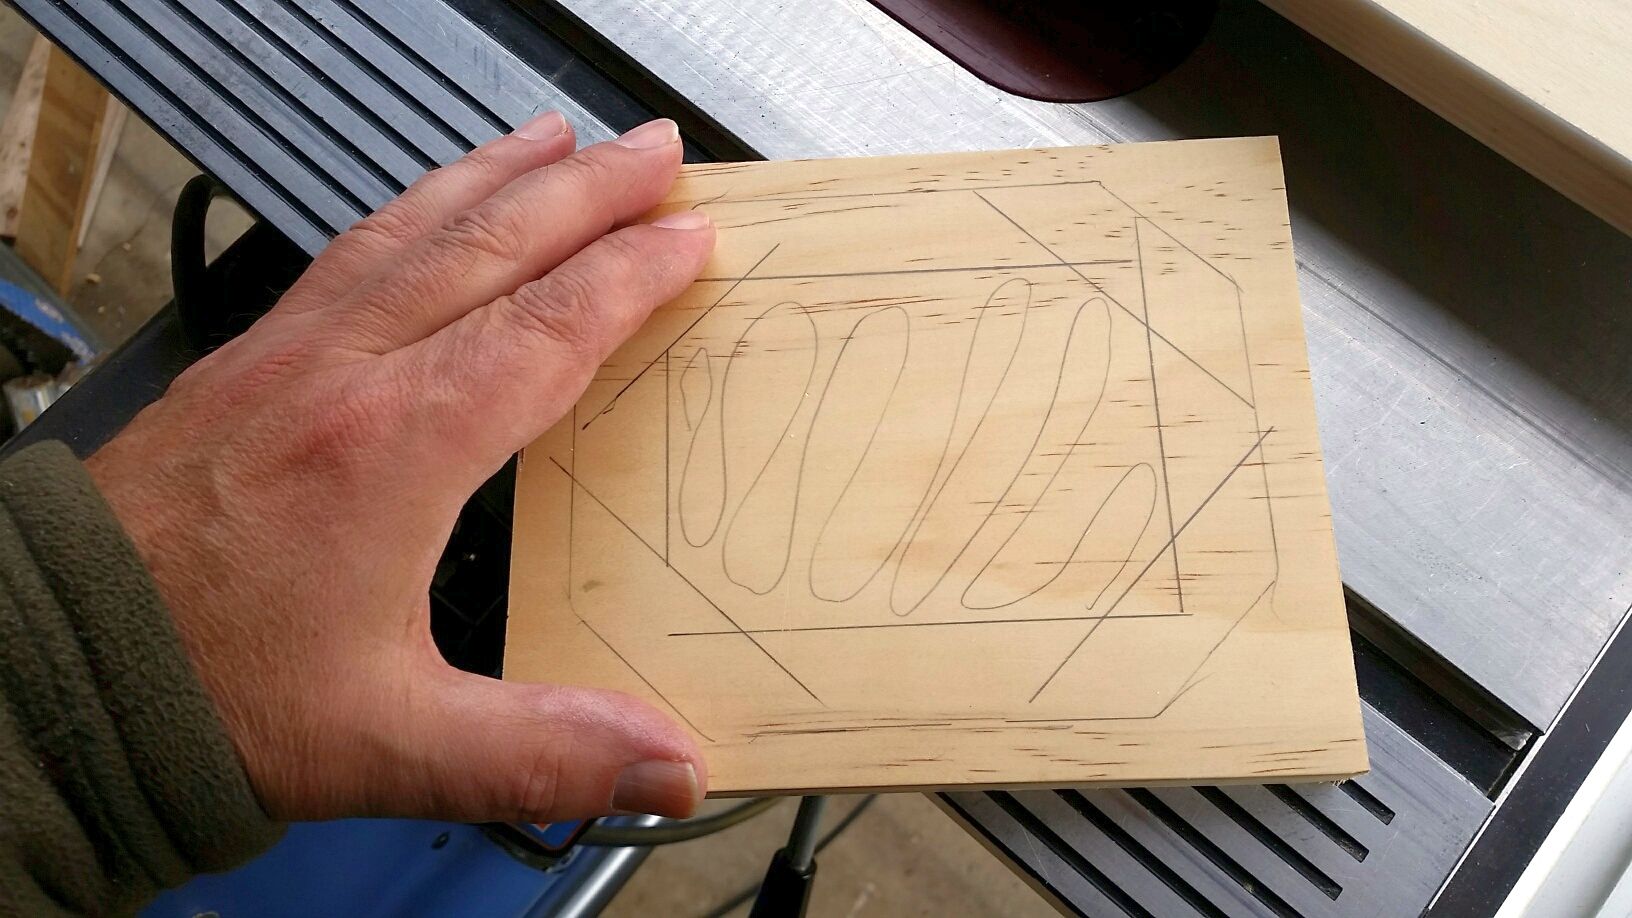
- 20180328_162112_resized.jpg (203.64 KiB) Viewed 10045 times
Now I had mentioned some excitement and you will have to check out this video to experience it. One of the cut offs managed to get into the back of the blade and BANG. Well you will see.
https://www.youtube.com/watch?v=vQKUew5sS3k
After this I realized that the riving knife wasn't in place............ So if you are going to do this then make sure you have it in place BEFORE you start.

- 20180328_171458_resized.jpg (197.66 KiB) Viewed 10045 times
So the small part is now finished and in the next post I'll make the top for the birdhouse.
Ed
Re: Today in the shop (GWSS)
Posted: Wed Mar 28, 2018 10:41 pm
by reible
The top is done in a similar way, by tracing it on the work piece. Note that the part is slightly slued but that is fine and in some case desirable to get the grain pattern you want.

- 20180328_170805_resized.jpg (199.13 KiB) Viewed 10045 times
Now since I want this larger I used a piece of 2 x 2 to extend the pattern to the size I wanted.
As you can see if you love not measuring or getting out the square then this method will work for you. Now we have the part marked for cutting.

- 20180328_171158_resized.jpg (196.68 KiB) Viewed 10044 times
Nothing exciting in this video which is good. It is just a matter of cutting it to shape.
https://www.youtube.com/watch?v=mrX9taEuLDg
Using the same technique was used to locate the parts for assembly.
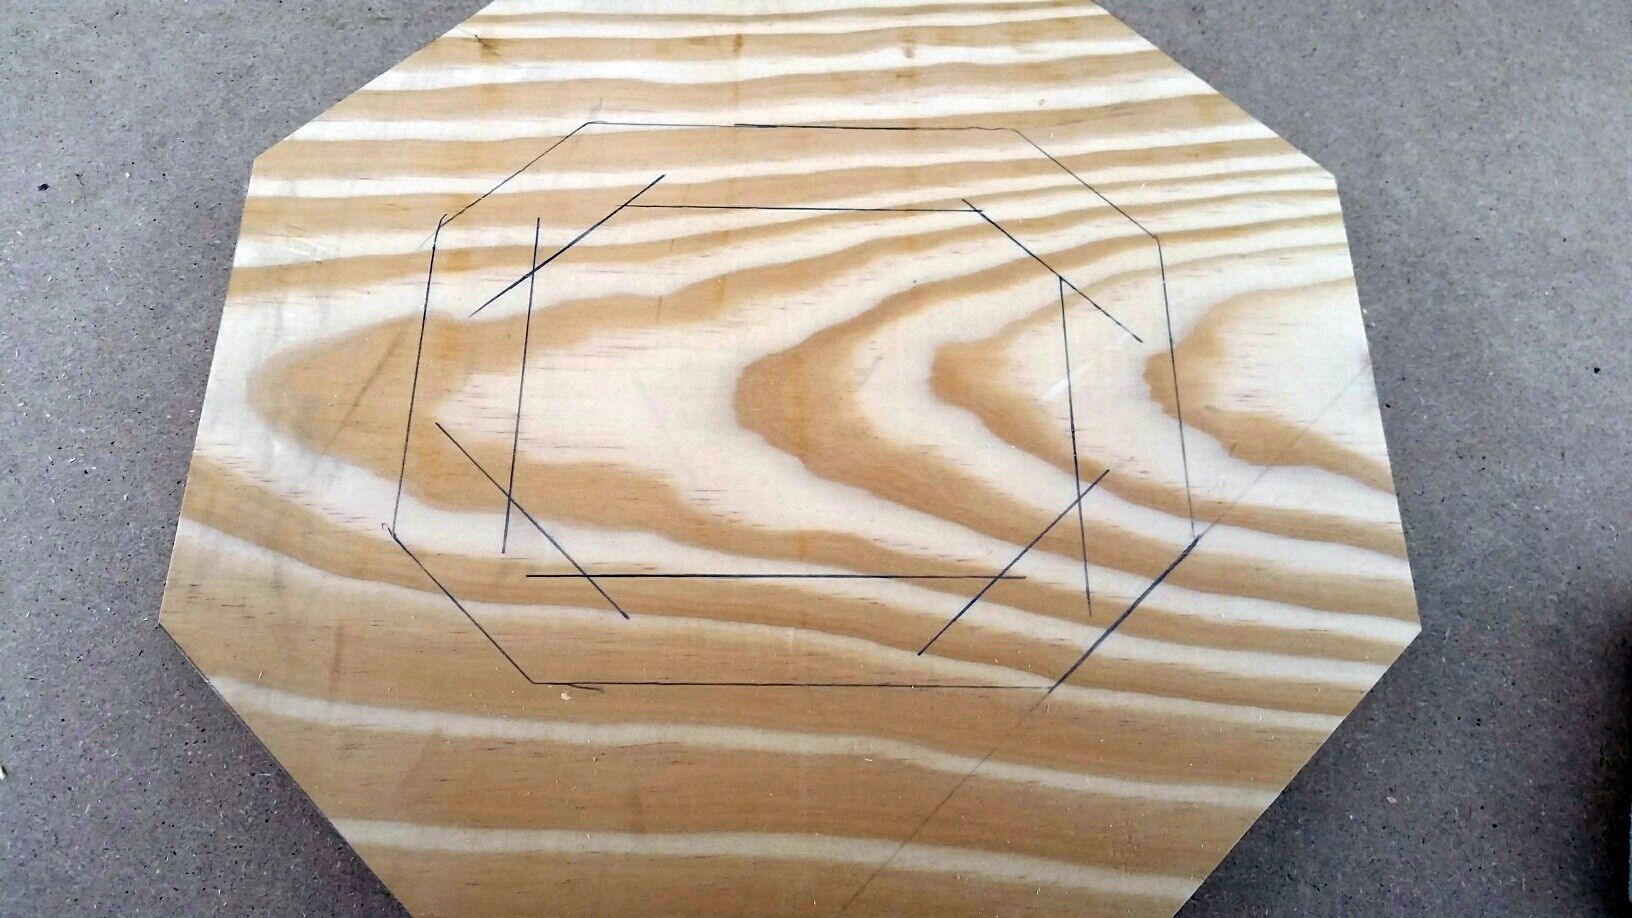
- 20180328_172559_resized.jpg (248.32 KiB) Viewed 10045 times
I just used some double sided tape to check out the fit.
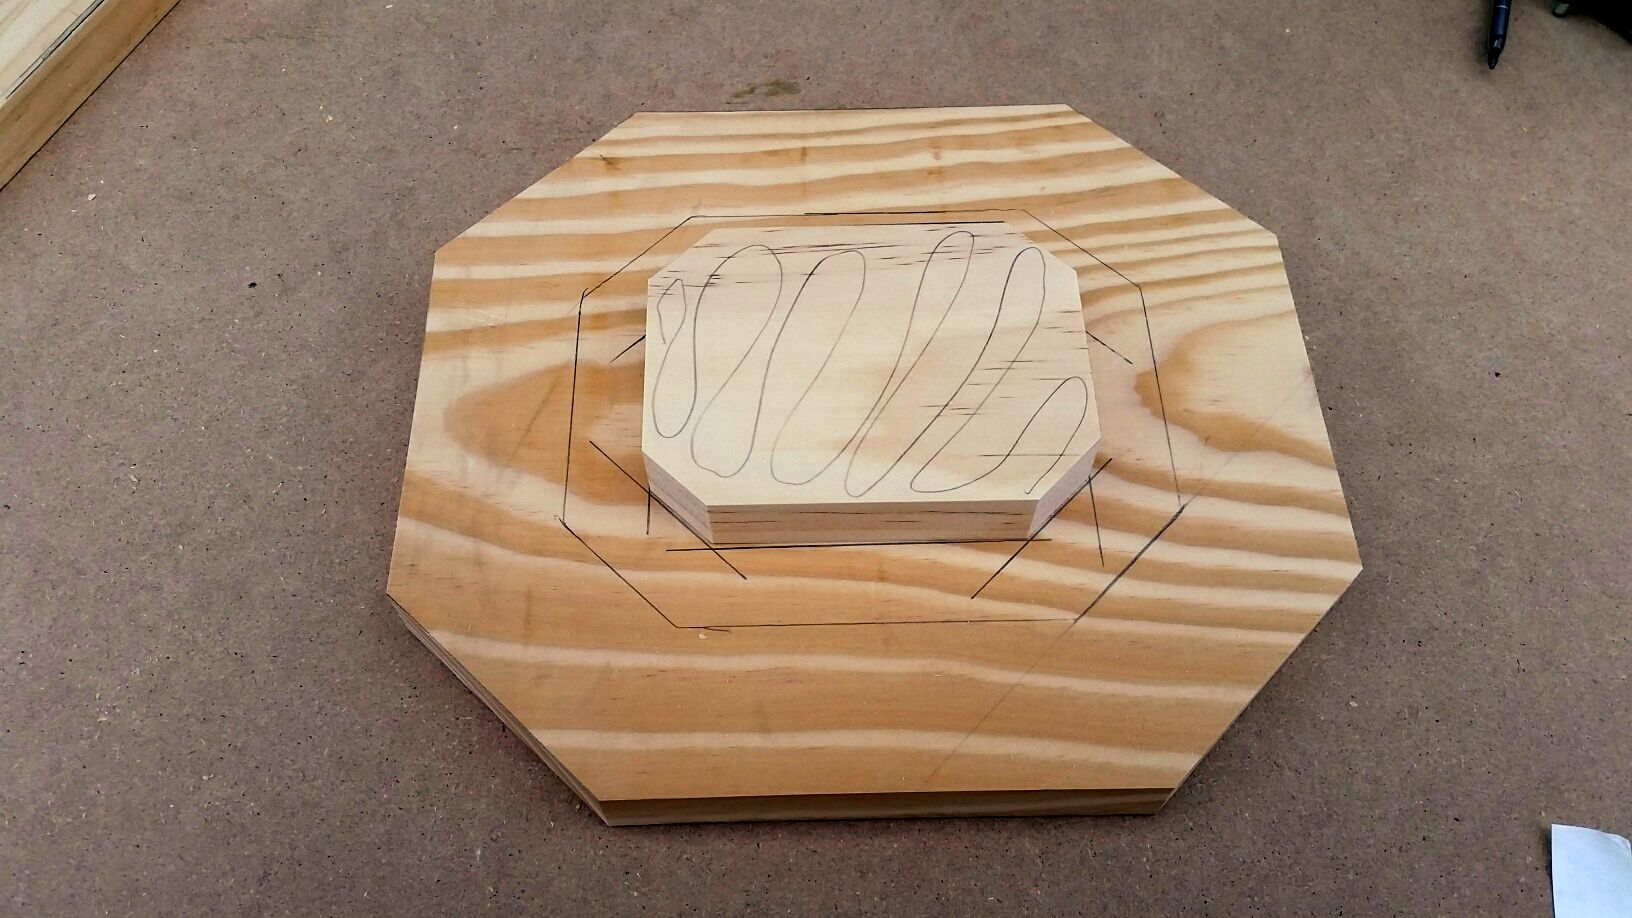
- 20180328_172628_resized.jpg (217.95 KiB) Viewed 10045 times
These last two shots shows how it will fit together:

- 20180328_172641_resized.jpg (146.06 KiB) Viewed 10045 times

- 20180328_172649_resized.jpg (147.9 KiB) Viewed 10045 times
In my next post I will show you how quick it is to adjust the blade to the extension fence. The shopsmith's quill makes it fast and simple.
Ed
Re: Today in the shop (GWSS)
Posted: Wed Mar 28, 2018 10:50 pm
by reible
This is how simple it is to adjust the blade to get it just under the extended fence. Thank goodness for the quill operation. Yes this GWSS works on other saws but you will have to adjust the fence to get the same effect.
Here is the video:
https://www.youtube.com/watch?v=yUQ2IT0ToU0
Ed
Re: Today in the shop (GWSS)
Posted: Thu Mar 29, 2018 8:51 am
by Ed in Tampa
Sure appears to make for a safer Saw with the blade covered as it is.
Maybe competition for SawStop.

What would be neat would be for the top guide to be made of clear plastic so the operator can see the cut being made.
Also I wonder if imbedding the saw blade slightly into the upper guide would provide extra rigidity to the saw blade, making the cut even more precise?
Ed I would suggest you keep working on this concept I really think you may have something that may revolutionize the tablesaw.
Re: Today in the shop (GWSS)
Posted: Fri Mar 30, 2018 11:19 pm
by Hobbyman2
What happens to the cut off's?
Re: Today in the shop (GWSS)
Posted: Sat Mar 31, 2018 2:32 pm
by reible
Hobbyman2 wrote:What happens to the cut off's?
Some fall away, some hang around until you clean them out. A lot depends on the cut offs as to size, shape and situation.
Keep in mind this is the same as any pattern cutting done on a table saw, the only difference is the guide part........ I have no idea where the pattern sawing idea came but I learned it as a kid and this was done with "other" saws as we had no shopsmith. I have an old woodworking book from Sears and I will take a look in there to see if they covered it or not. Again the basic different from what I learn to this is how the wood is presented to be cut.
Ed