Almost a month since my last post on this, and so you might think no progress was made. Though many a cold day was had around here, I did, nevertheless, make progress on this project. Actually, what happened, was that my wife convinced me to donate one of the crokinole boards to our church auction for the parish dinner / auction that we hold the Saturday after Easter.
I agreed and then immediately regretted it. It gave me a deadline that was probably too close for comfort, especially considering the weather which did not cooperate well. I ended up taking two of the four boards and focusing on those two, scrambling to complete them. I chose two, in case one of them took a nose dive during one of the steps. In the end, as things got closer, I focused only on a single board. I will only talk about the board that made it all the way through, as the other board will re-appear when I get back to the rest of them.
After disc sanding the edges per the above contraption, I applied pre-glued veneer edge banding to all four boards.
The board I ended up completing then went to the in-laws basement for finishing work (temp was too cold / inconsistent for the garage here, and my wife can't tolerate weird smells, especially when pregnant). I applied two coats of dewaxed shellac on the board. Then I filled in the routed lines with two-part epoxy which was dyed with Minwax Red Mahogany wood stain. The application of epoxy into lines that are 1/16" wide and approximately 1/16" deep proved rather difficult. I was using a children's Tylenol dosing syringe, but it proved to lay down too wide a bead of epoxy. Also, it was nearly impossible to control the flow--it was pretty much all or nothing, probably because of the consistency of the epoxy. After the first round of epoxy dried, I needed to do another layer, as some had soaked into the wood and the epoxy wasn't crowned above the surface of the wood surrounding the routed lines.
That second coat was fatal in two ways: 1.) I was rushed and ended up with too many air bubbles that I didn't have time to remove because I had to apply and leave for an engagement; and 2.) I crowned it *too* much, to the point where it was heavily overflowing the routed lines and ended up pretty thick on the board. Once that cured, I was faced with the arduous task of epoxy removal. I finally settled on cabinet scrapers, which worked like a charm, but it still took me over 2 hours to scrape the epoxy down flush with the wood and to smooth out the entire board. It was extremely smooth, however, and no sanding was needed at that point (though I did run 320 over it, anyway). It also looked awesome--the lines looked like the synthetic gym floor at my first school. I was quite pleased with how the dyed epoxy turned out, all in all.
After scraping and sanding to 320 grit, I drilled the 8 peg holes using a template I created in Photoshop and printed out, as well as the center hole. I use a drill guide on my DeWalt drill, as the throat capacity of the SS drill press isn't great enough to reach these. Next, I began a series of aerosol spray lacquer coats. I used Minwax glossy spray lacquer for this. I wish I would have gotten more coats in; I lost count, but probably ended up with 8 to 10 coats.
Meanwhile, in the interest of time, I purchased a select 1x6 and 1x2 pine boards from the local Menards. I put a 3/4" rabbet on the 1x6 with the dado blades, ended up having to smooth it out on the jointer, and then I glued the 1x2 as a rail to the 1x6. I wanted to do this prior to cutting the octagon, so I didn't have to cut *two* octagons out (one for the base, one for the rail) like I had in previous boards. The upside to this approach is only cutting one octagon and having grain patterns flow better. The downside is that you can't make as efficient use of material.
The other downside turned out to be some rogue glue squeezeout that didn't get fully wiped down and reared its ugly head when it came time to stain. I cut the octagon as a pinwheel, rather than making the standard regular octagon. This, I think, added some visual interest, but is probably going to be slightly more of a pain to store and to play with, with the protruding edges. Anyway, I cut the 45 degree angles using the SS MiterPro and then I had a stopblock setup to make the 90 degree cuts and keep all the pieces the same. After cutting the octagon, I assembled using pocket holes and screws on the bottom. This has been my method in the past, and speed was the real determining factor here.
After constructing the base, I stained it using the same Red Mahogany used in the epoxy lines. The aforementioned superthin layer of glue caused some places where the rail meets the base to not take the stain. It wasn't heinous, but it wasn't beautiful, either. I used a blend of artists markers to actually darken those areas, which worked pretty well. After the base was stained, I gave it a couple of coats of spray lacquer. Semigloss for the base.
I went back to the deck after giving the lacquer time to cure (as much as I could afford!) and I rubbed it out. Wet sanded 500 grit, 1000 grit, 1200 grit, followed by automotive rubbing compound, followed by automotive polishing compound, followed by automotive wax (Kit wax, which has high carnauba content). This left the deck with somewhere between a satin and semigloss sheen (I would have needed to go 1500 and 2000 grit to get a gloss) and the deck played quite well. It was reasonably fast, which is the modern preference in crokinole for most people.
After the lacquer on the base had dried, I used 0000 steel wool and paste wax to smooth it out and give it a satin finish.
I mounted the deck on the base and secured it with two-part epoxy, as well as with screws from the bottom in counterbored holes. I have used solely the screws in the past, but I didn't want to risk any issues on this board. This was the only point that I took time to snap a few photos, which are below.
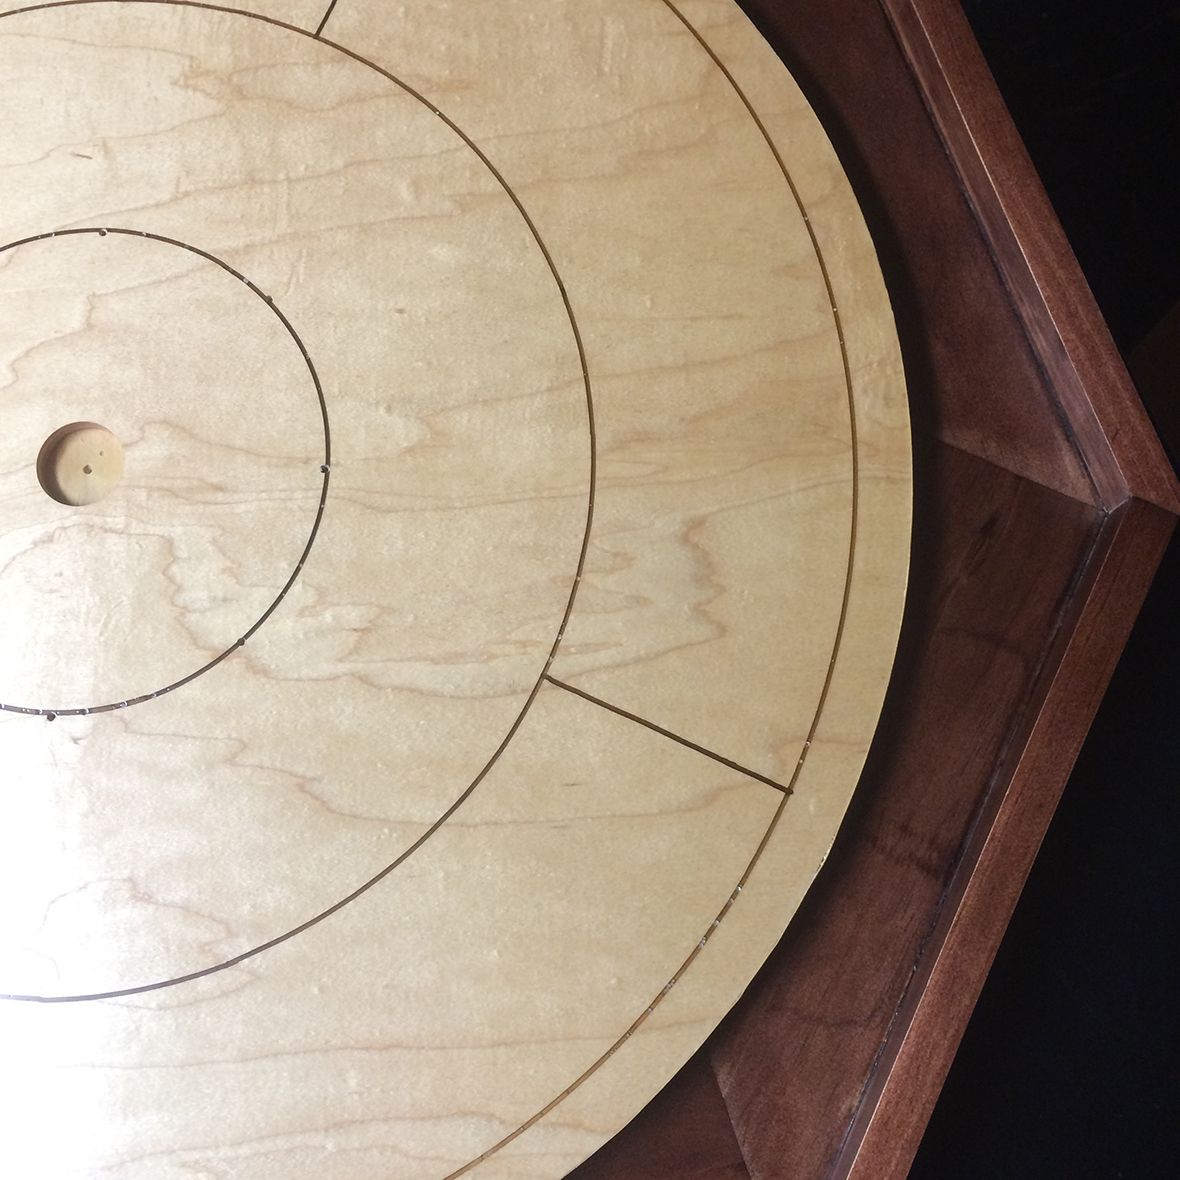
- 20160402_021120252_iOS.jpg (765.69 KiB) Viewed 5535 times
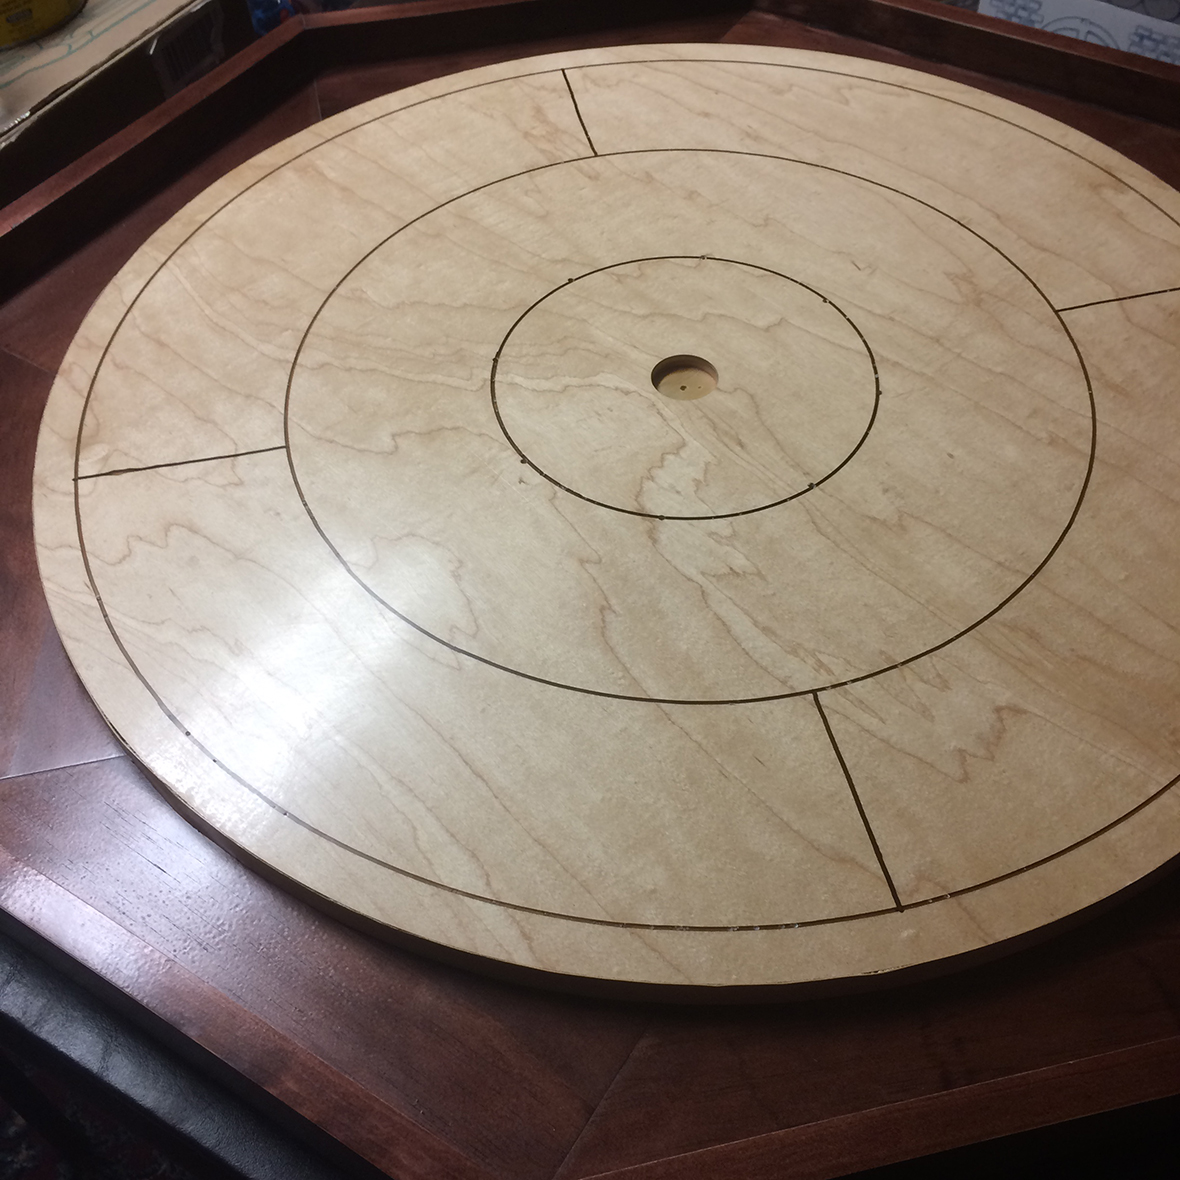
- 20160402_021041041_iOS.jpg (763.76 KiB) Viewed 5535 times
The final steps included spray painting the bottom with a red wine colored spray paint (mostly just to give it a bit more of a finished look) and adding three cork pads to act as a sort of tripod in case the board or the table it rests on has any leveling issues. I also installed the pegs, which are simply robertson drive screws with a half-inch piece of silicone fish tank tubing slid over top of them to make "bumpers". The screws are screwed into the 8 holes that were already predrilled a while back. I also decided to hand paint the center hole with some acrylic paint that roughly matched the red wine paint on the underside of the board. I thought the center hole looked too unpolished otherwise. I did add some wood filler in the pilot hole caused by the forstner bit first and sanded it down.
That acrylic paint was literally drying on the way to the auction (thankfully it dries fast!). However, it was a big success! I was given the opportunity to get up and explain a bit about the game before they live auctioned the board, and it ended up auctioning for $275, which is respectable, in my opinion. Another member of the church came up to me and offered to donate another $275 to the church if I made her a board, so I have added that to my list, though thankfully there is no hard deadline for that.
All in all, the first board in the batch was a success, and a learning experience. I'm excited to tackle the others now. If you stayed awake reading this update--good job!

