Page 3 of 11
Re: Restoration of Mark V / produced on 11/84
Posted: Sun Sep 15, 2024 1:09 pm
by GetterDone
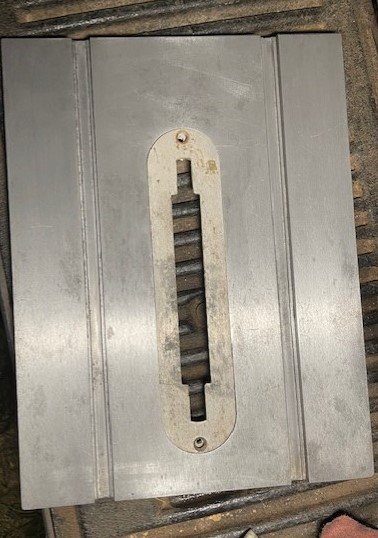
Okay next I am going to work on the table.
It's the worst of all the tables I have.
Although it's not That bad.
I Been searching this forum and I have seen before and after pictures of a Member on this forum using CitriStrip.

I have some on the way to start refurbishing this table.

- tube7.jpg (84.8 KiB) Viewed 1615 times
- tube8.jpg (72.21 KiB) Viewed 1615 times
- tube9.jpg (69.68 KiB) Viewed 1615 times
- tube10.jpg (91.19 KiB) Viewed 1615 times
- tube11.jpg (78.08 KiB) Viewed 1615 times
Re: Restoration of Mark V / produced on 11/84
Posted: Sun Sep 15, 2024 1:31 pm
by JPG
Dirt Dobbers?

Keep it indoors!
Re: Restoration of Mark V / produced on 11/84
Posted: Sun Sep 15, 2024 2:16 pm
by GetterDone
JPG wrote: Sun Sep 15, 2024 1:31 pm
Dirt Dobbers?
Keep it indoors!
Almost every one I have purchased had a Dirt dobber nest somewhere on the machine.
One of them had a mouse nest in the bandsaw above the lower wheel.
Re: Restoration of Mark V / produced on 11/84
Posted: Sun Sep 15, 2024 2:44 pm
by GetterDone
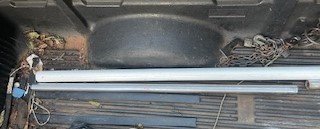
As a few other members have done.
I made some PVC tubes to soak the way and support tubes in Evaporust.
- Tube1.jpg (12.69 KiB) Viewed 1600 times
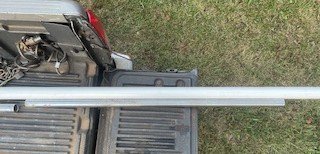
I bought two 10' sticks of the PVC
It was enough to make 4 tubes and the 2 short pieces I capped off for the drip dry of the Evaporust when I remove them from the tubes.
- tube2.jpg (18.44 KiB) Viewed 1600 times
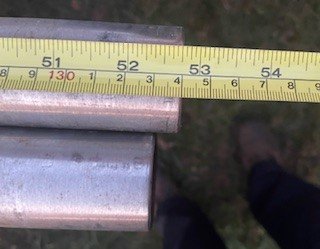
I made my tubes 55" long.
- tube4.jpg (17.35 KiB) Viewed 1600 times
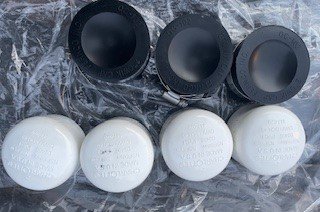
I bought these caps at my local plumbing supply place.
- tube5.jpg (21.75 KiB) Viewed 1600 times
I marked the tubes so I would know which one was which.
I plan to put the way tubes in the lathe and straight them.
I set the on the granite table at work and they are bent ever so slightly
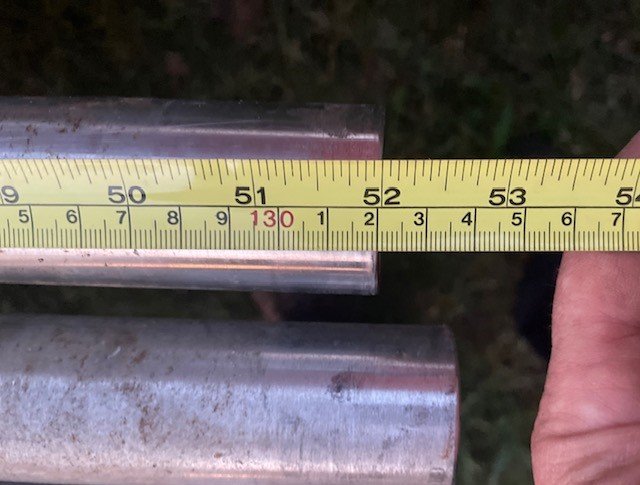
- tube6.jpg (57.53 KiB) Viewed 1600 times
Re: Restoration of Mark V / produced on 11/84
Posted: Sun Sep 15, 2024 10:07 pm
by GetterDone
Re: Restoration of Mark V / produced on 11/84
Posted: Mon Sep 16, 2024 12:46 pm
by chapmanruss
You never know what might be living inside a Shopsmith tool that has been stored for a time. Below is the Headstock from one of the Model 10ER's I have restored.
_

- R57376 HS int pre.jpg (178.29 KiB) Viewed 1397 times
.
I was glad that "squatter" was gone when I bought this "barn" find.
I see you have started taking the Retractable Caster sets apart. Putting them back together is not as easy as putting a part back in place where one of the same parts was originally located. Below is a link to
Yet another "Goldie" Restoration and beginning on page 9 and continuing on page 10 is a discussion on disassembling and reassembling the Retractable Casters.
viewtopic.php?t=35396&start=80
The Retractable Castor sets have (when mounted on the legs) a right and a left set. The one is a mirror image of the other. What makes up each side is a Right-side Bracket and a Left-side Bracket. The Tie Rod keeps them together along with being mounted to the Bench Assembly. The holes drilled for the Roll Pins may be drilled slightly off from one to another. The same is true for Roll Pins that hold the Cams and Foot Pedal to the Drive Rod. Reassembling these parts in different positions than they were originally can have the assembled Retractable Caster Assembly out of alignment. The Plungers, Springs, Retaining Clips, Castors and mounting hardware are not position specific.
Re: Restoration of Mark V / produced on 11/84
Posted: Mon Sep 16, 2024 1:04 pm
by GetterDone
Thanks for the Link I will check it out.

I have done a lot of Reading on this forum.
There was one Thread that suggested to put center puch marks on them.
So that what I done and I keep the 2 sides seperated.
I will be looking at that thread for a Refresher course for sure.

Re: Restoration of Mark V / produced on 11/84
Posted: Mon Sep 16, 2024 3:13 pm
by JPG
There was one Thread that suggested to put center puch marks on them.
So that what I done and I keep the 2 sides seperated.
Very good move(s)!!!
Re: Restoration of Mark V / produced on 11/84
Posted: Mon Sep 16, 2024 10:43 pm
by GetterDone
JPG wrote: Mon Sep 16, 2024 3:13 pm
There was one Thread that suggested to put center punch marks on them.
So that what I done, and I keep the 2 sides separated.
Very good move(s)!!!
I have got a Lot of good info from you and Russ and several others here.
Re: Restoration of Mark V / produced on 11/84
Posted: Mon Sep 16, 2024 11:23 pm
by GetterDone
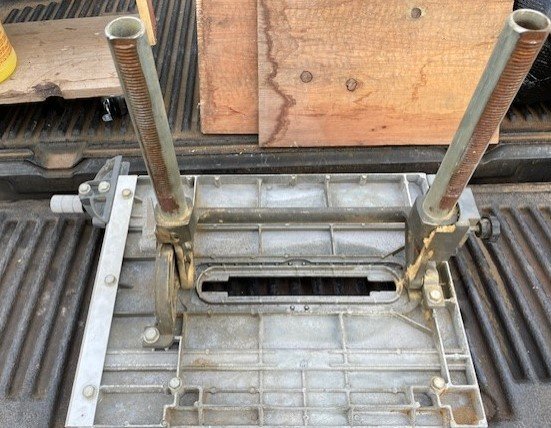
Okay I jumped in with the Orange Strip stuff.
Citrus strip//That Orange stuff.
It worked pretty well.
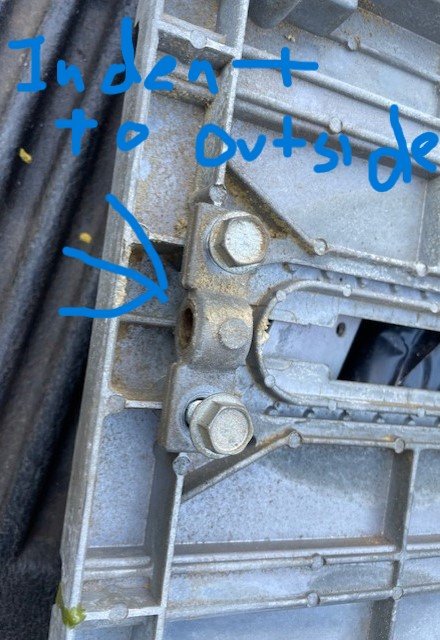
Before disassembly picture
What are these 2 Bolts Circled for?
They had a gap and was just somewhat tight.
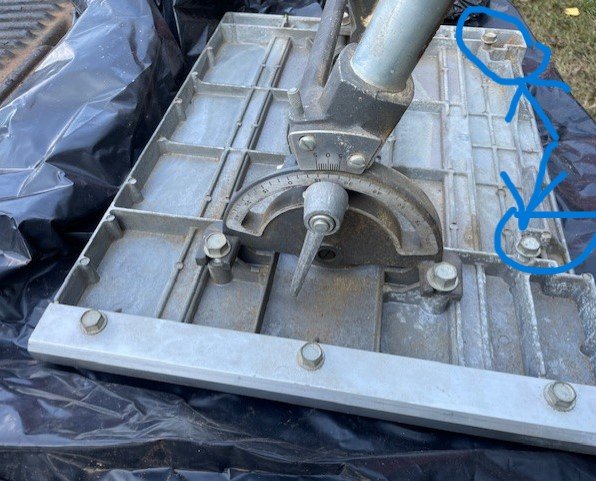
- sst1.jpg (79.35 KiB) Viewed 1349 times
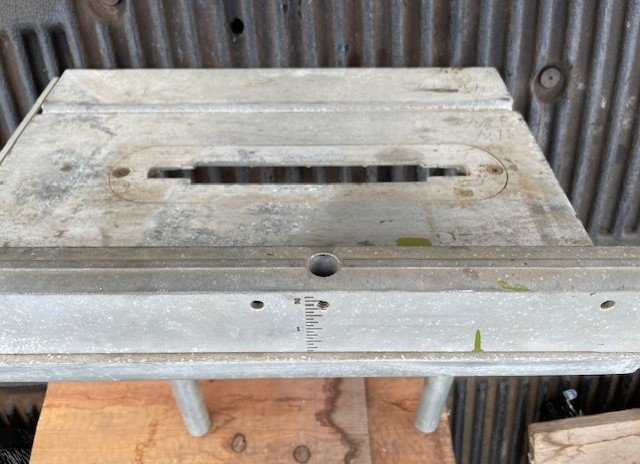
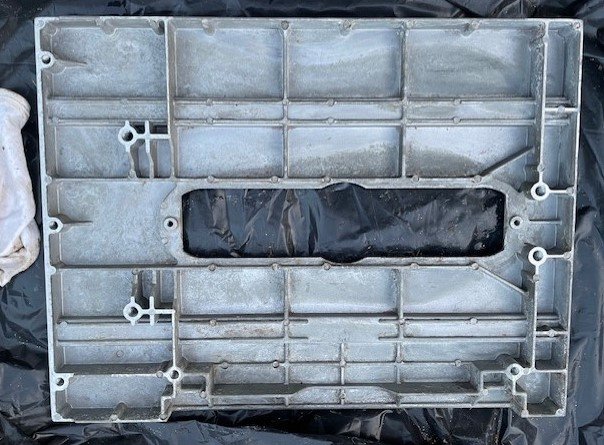
Before picture for / Me / Everyone.
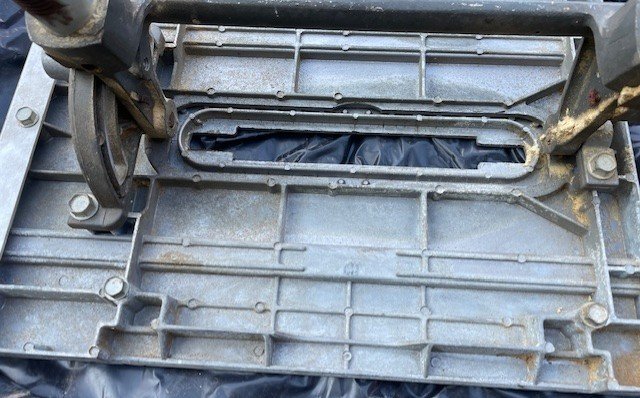
- sst2.jpg (78.64 KiB) Viewed 1349 times
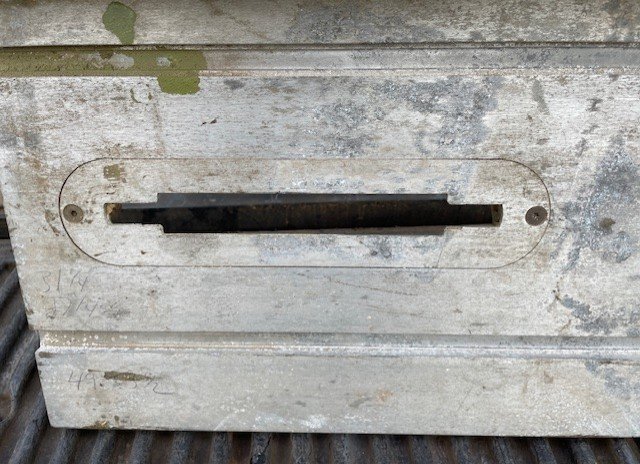
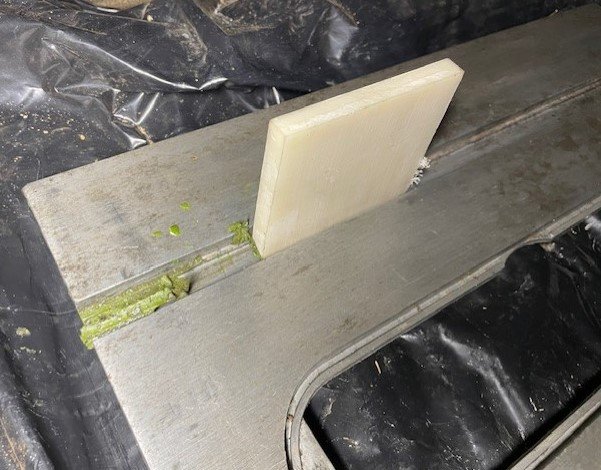
I know I need to read to Manual in More Detail
")
What are these dovetail grooves for below this Knob?
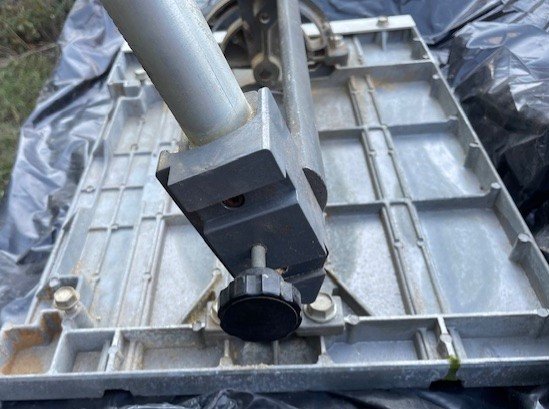
- sst3.jpg (55.54 KiB) Viewed 1349 times
attachment=5]sst3.jpg[/attachment]
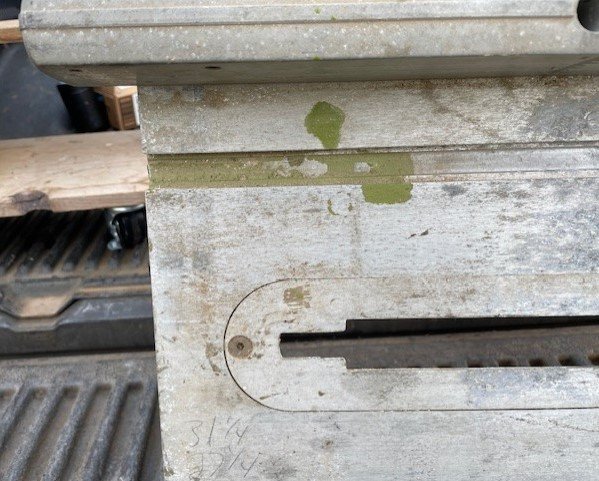
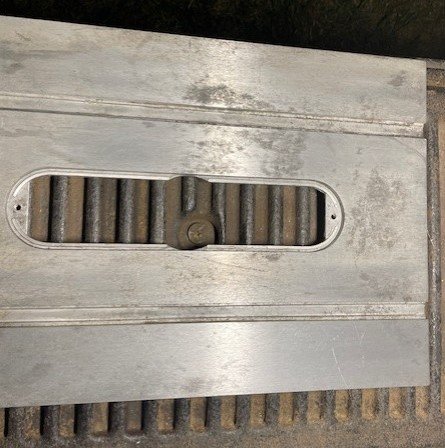
This is reminder for (Me) the position of this bracket.
- sst4.jpg (76.53 KiB) Viewed 1349 times
Working on it.
- sst5.jpg (81.97 KiB) Viewed 1349 times
Then Here We Go.
- sst6.jpg (69.27 KiB) Viewed 1349 times
First cleaning .
- sst7.jpg (50.78 KiB) Viewed 1349 times
Comparison with plate that was not cleaned.

- sst8.jpg (49.78 KiB) Viewed 1349 times