Page 4 of 19
Re: Yet another "Goldie" Restoration
Posted: Sat Jul 20, 2024 5:57 pm
by GetterDone
AllenH wrote: Fri Jul 19, 2024 12:02 pm
I have a question on hardware. I purchased one of the stainless steel kits off of ebay. Has anyone had issues with galling using those? I know when I assemble an antenna for Amateur Radio, they always recommend some kind of copper anti-seize compound.
Great job on the restoration.
I plan to restore mine also.
I will look into that stainless kit you mentioned.
As a common practice I always use Anti seize when dis-similar metals are involved especially stainless steel and aluminum.
Re: Yet another "Goldie" Restoration
Posted: Mon Jul 22, 2024 4:20 pm
by AllenH
OK, I have posted a youtube video of progress so far. I am not the best videographer so, it is what it is.
Progress continues.
Re: Yet another "Goldie" Restoration
Posted: Tue Jul 23, 2024 3:00 pm
by chapmanruss
AllenH,
In watching the video, I have some comments for you.
The paint colors I used for my previous Goldie restoration (shown below) are Rust-Oleum Hammered Finish paints. I used copper for the copper painted parts and the color oatmeal for the "gold" color parts. These were a near perfect match to the original colors which includes the hammered finish of the original paint. Unfortunately, Rust-Oleum has discontinued the oatmeal Hammered Finish Paint. I have not been able to find any more of the oatmeal color paint. Check around your area to see if you can find some. All the Gold color spray paints I have found are too yellow to match the original Goldie paint.
_

- IMG_0273 r.jpg (119.88 KiB) Viewed 2905 times
.
I noticed the Retractable Casters are mounted backwards from normal. The Foot Pedal should be at the front side of the Mark 5. Use caution disassembling them.
The two locks for the bench ends that lock the SPT's, Tailstock and Extension Table in place are simply called "Handle Assembly" in the parts lists.
The plastic collar you removed just before the Carriage is the "Carriage Stop Ring" which puts the proper spacing between the Headstock and Carriage for the saw blade and the table insert. This make set up easier and always the same when changing to the Table Saw mode.
There have been some changes on the Bench Assembly over the years. The Base Arm Pin now being held in place by the External Retaining Rings instead of a roll pin is one of them. Using a parts list and exploded view from the late 1950 or early 1960 would be more helpful than using the current ones online.
The bottom side of the Main Table looks pretty good as you said so just clean up any dust/debris and it should be good.
Re: Yet another "Goldie" Restoration
Posted: Tue Jul 23, 2024 4:18 pm
by AllenH
Russ,
Thanks for the info. As of right now I plan on using Rust-Oleum Hammered Copper and Gold. It's about the best match I can find short of going to the auto parts store and having them mix me up some custom paint. I did figure out the end panels have been painted a brown at some point not matching the rest of the machine.
Good to know what the plastic ring was for. That makes sense. Also I am glad you caught the castor assemblies being in backwards.
I did just received the Mark 500 manual from Shopsmith, so that should help. I also got the roll pin out of the Base Arm pin as JPG described.
Now I have done some media blasting. The damage to the Base Assembly from cutting the pin out is not as bad as I first thought. Just a couple of small scratches. The paint was pretty thick at that point, so it made is look worse. I hope to get some primer and paint on them in the next day or two.
So I did media blast the bottom of the tables, so I assume I need to wax those?
Should be posting some more pics soon.
Allen
Re: Yet another "Goldie" Restoration
Posted: Wed Jul 24, 2024 11:15 am
by AllenH
Now for an update on the Saw and Extension table.
Here is the final result on the table top after a couple of rounds of polishing with Mother's Mag and Aluminum Polish.
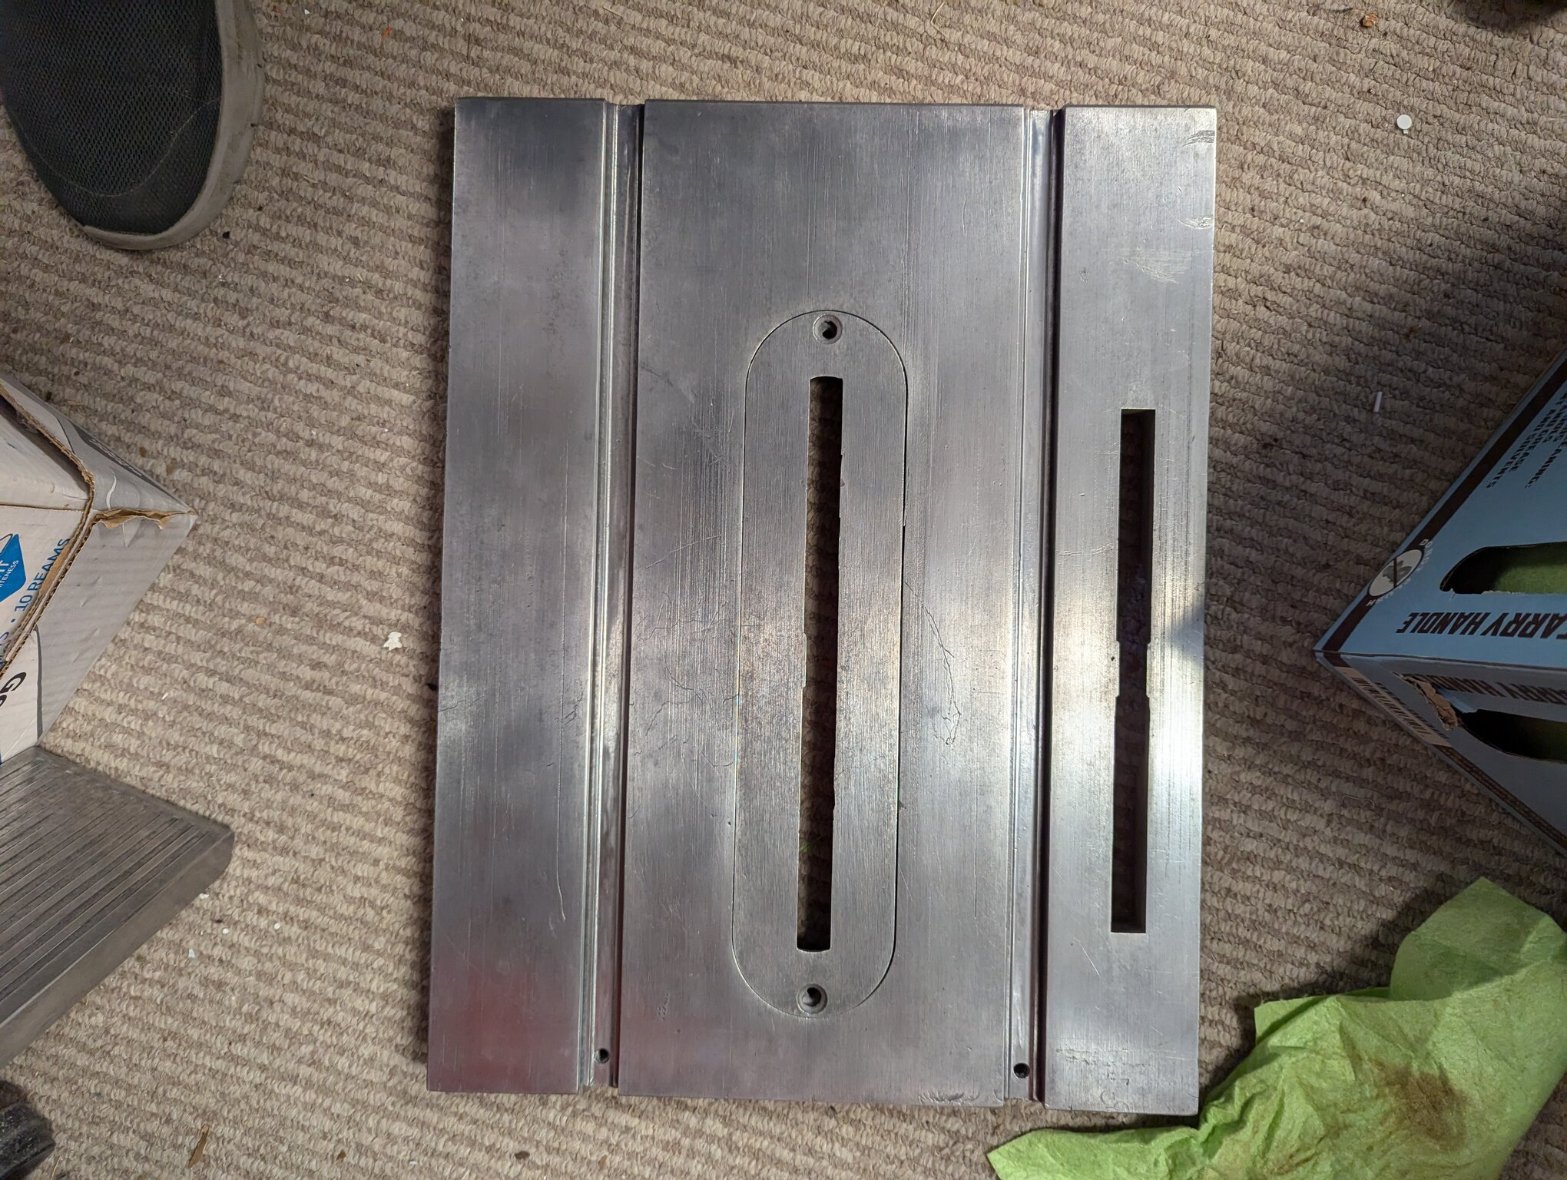
- rsz_pxl_20240724_150520976.jpg (419.99 KiB) Viewed 2843 times
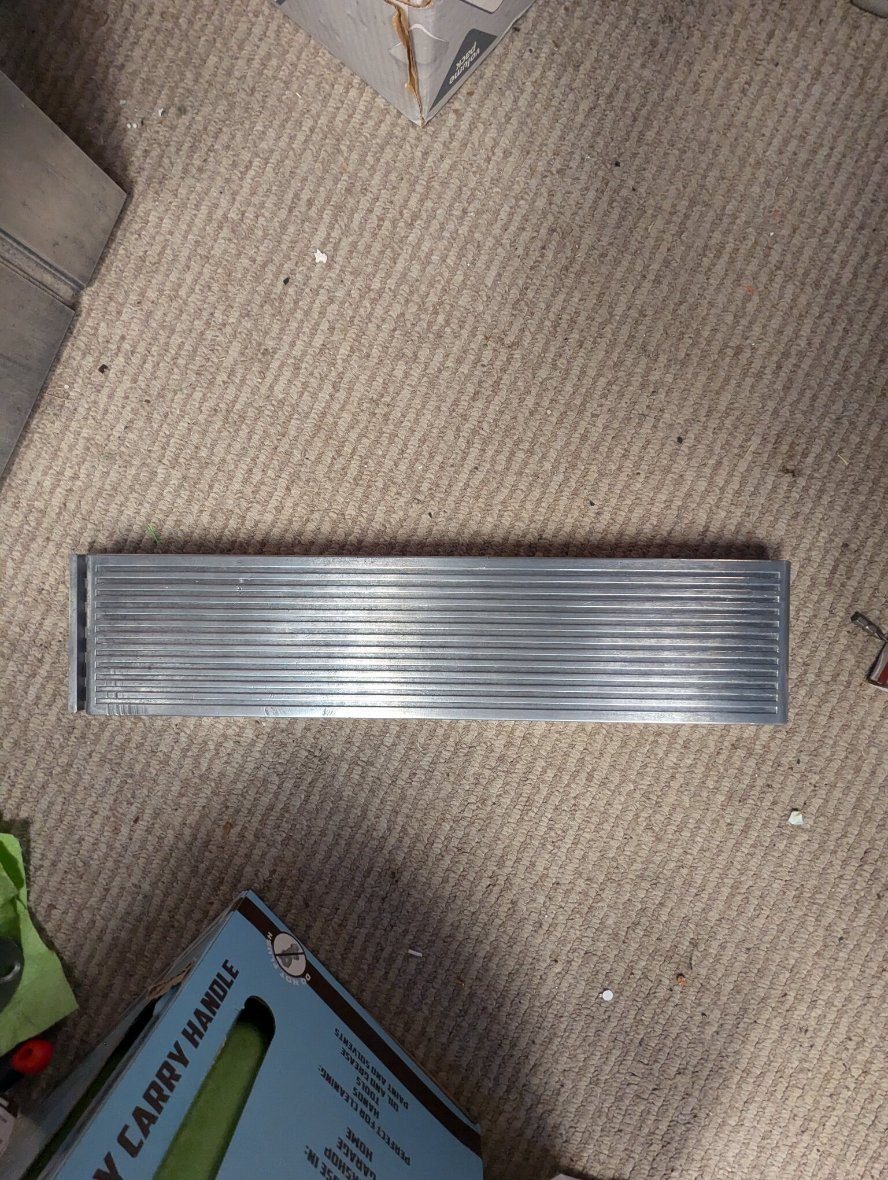
- rsz_1pxl_20240724_150541206.jpg (296.48 KiB) Viewed 2843 times
I am pretty happy with the outcome.
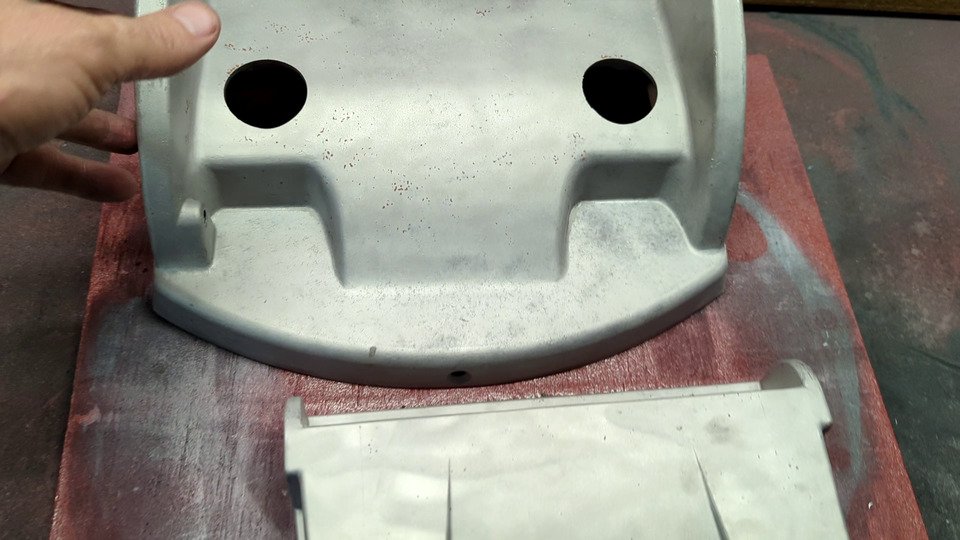
This is the back of the table after media blastings.
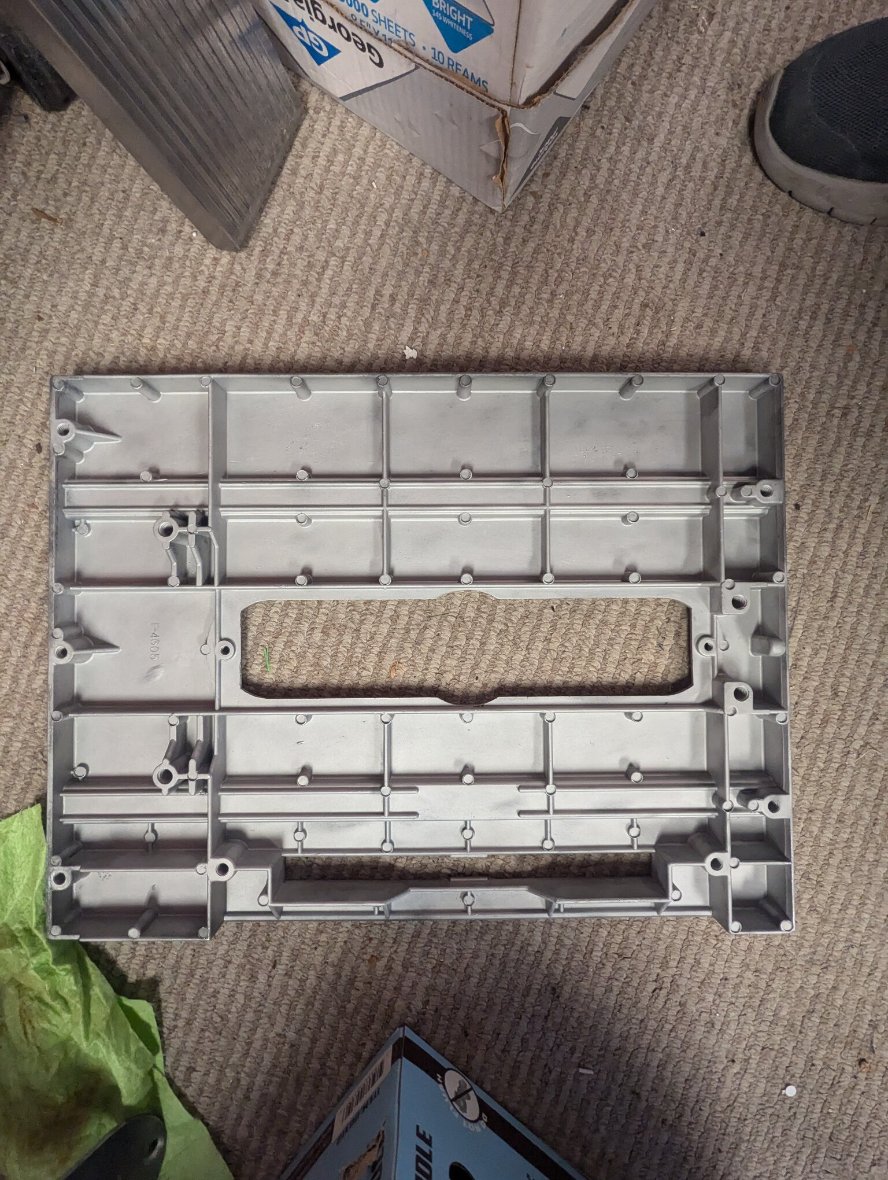
- rsz_pxl_20240724_150609698.jpg (254.55 KiB) Viewed 2843 times
I will put some wax on these after I get a couple of more items ready.
Re: Yet another "Goldie" Restoration
Posted: Wed Jul 24, 2024 1:46 pm
by chapmanruss
The tables look great now. I had noticed the color on the legs not being original. That was the starting reason for posting the picture of the Goldie I restored as a reference for you as to what color to paint different parts. Looks like everything is coming along nicely. Keep us posted.
Re: Yet another "Goldie" Restoration
Posted: Thu Jul 25, 2024 9:27 pm
by AllenH
I have been able to get a little more done this week.
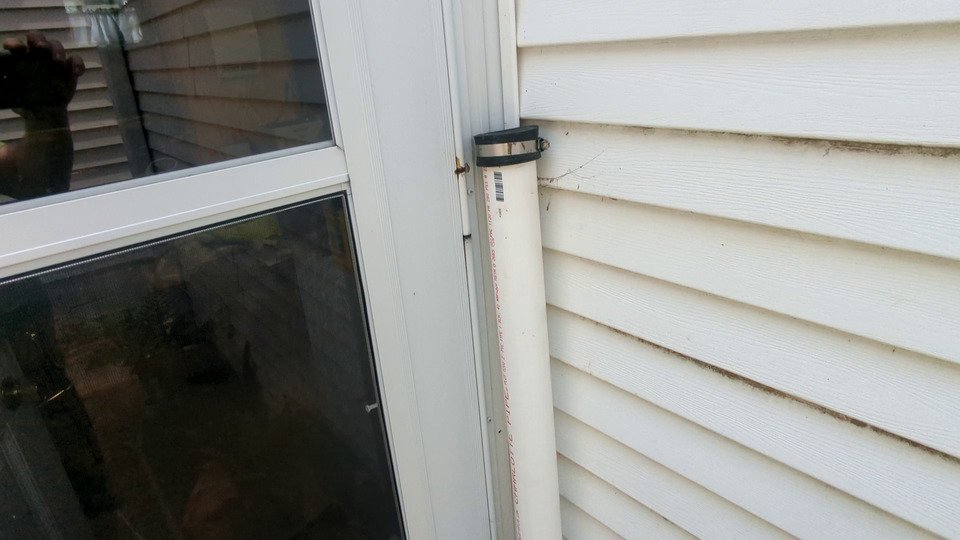
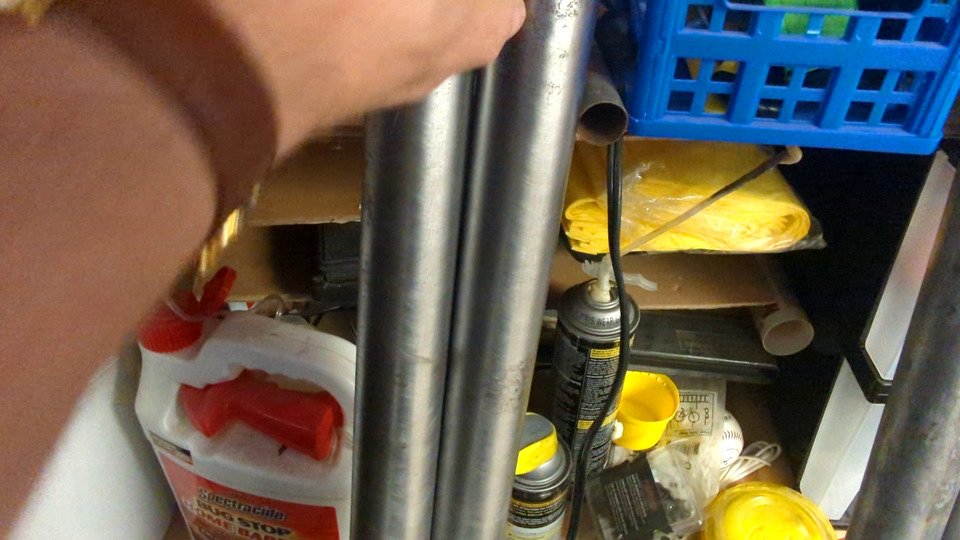
First I made my PVC tube and soaked the Way and Base Tubes in the Rust911 to remove the rust.
For the inside tube, I 3D printed some end caps that where flush to the sides of the pipe so they would slide into the inside of the tubes. The plugs where printed using PETG which is the same material water bottles are made of. You can use regular PVC cement to glue them to the PVC.
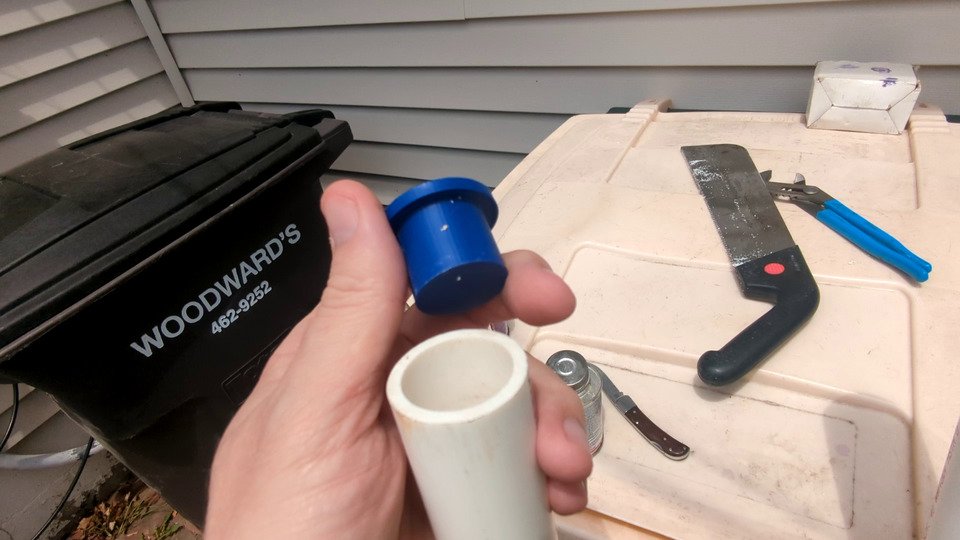
- vlcsnap-2024-07-25-16h37m59s299.jpg (80.27 KiB) Viewed 2777 times
This is a shot of the PVC tube with one of the Base tubes in it soaking overnight.
- vlcsnap-2024-07-25-16h38m50s381.jpg (73.63 KiB) Viewed 2777 times
While the tubes where being de-rusted, I 3D printed some brackets that I used with some 608Z bearings (skate board bearings) to use to clean and polish the tubes after de-rusting.
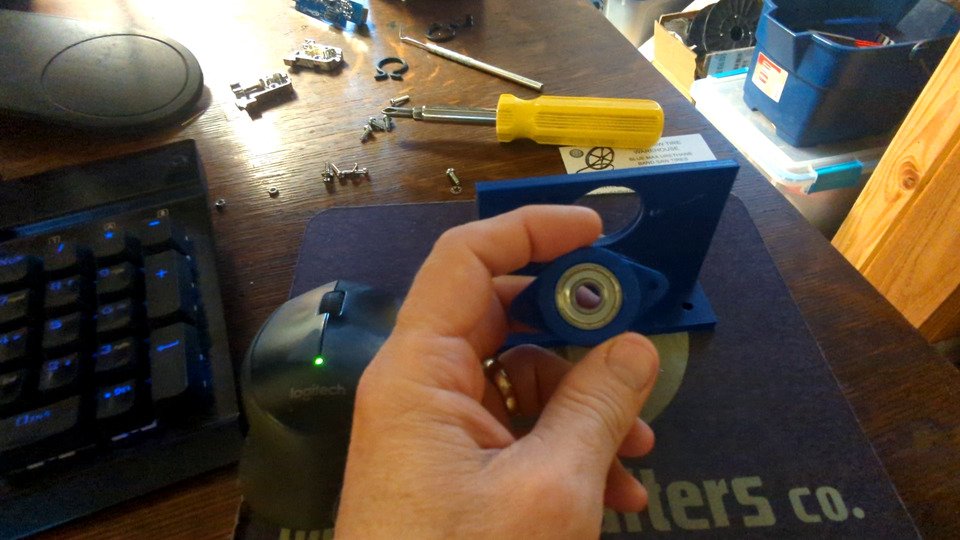
- vlcsnap-2024-07-25-16h39m22s384.jpg (94.33 KiB) Viewed 2777 times
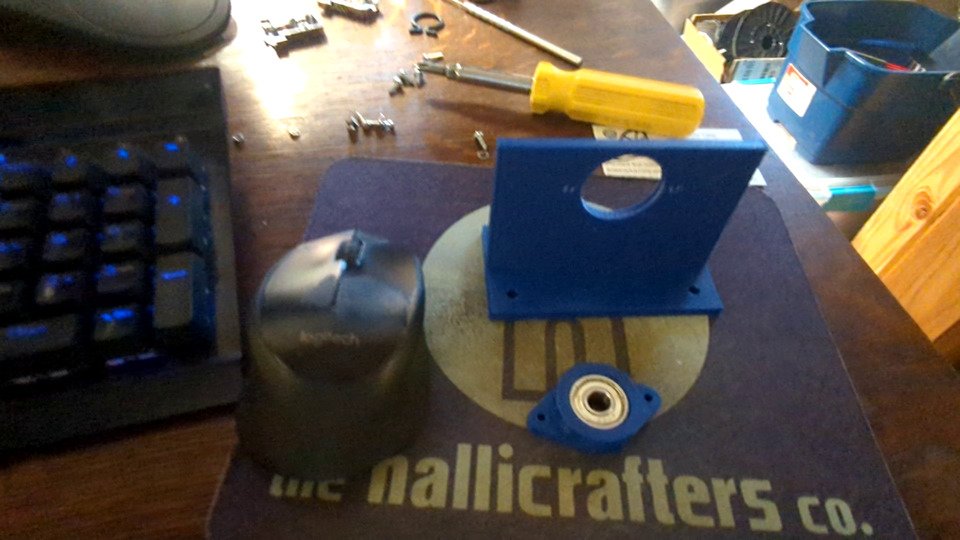
- vlcsnap-2024-07-25-16h39m33s079.jpg (85.6 KiB) Viewed 2775 times
I then used my Eastwood SCT to remove the remaining rust on the Way Tubes, and the paint on the Base Tubes. I followed up that with using a drill on the jig to turn the tubes and finish them with 320 and 400 grit sand paper.
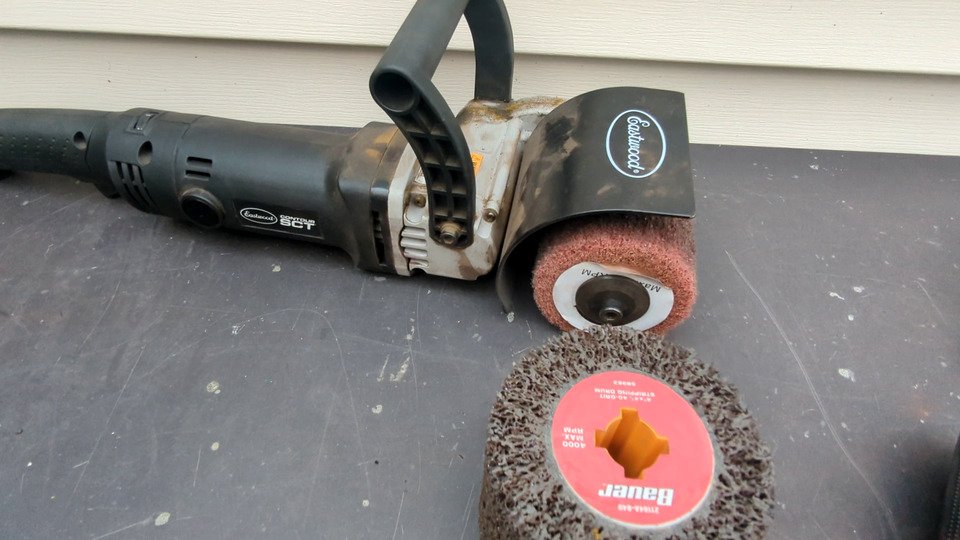
- vlcsnap-2024-07-25-16h43m29s092.jpg (94.38 KiB) Viewed 2775 times
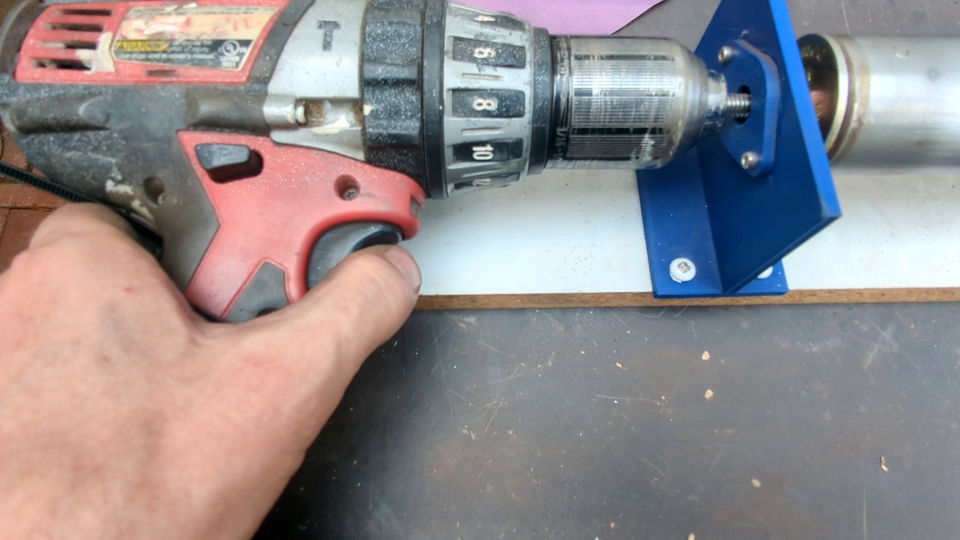
- rsz_1vlcsnap-2024-07-25-20h38m11s620.png (821.79 KiB) Viewed 2775 times
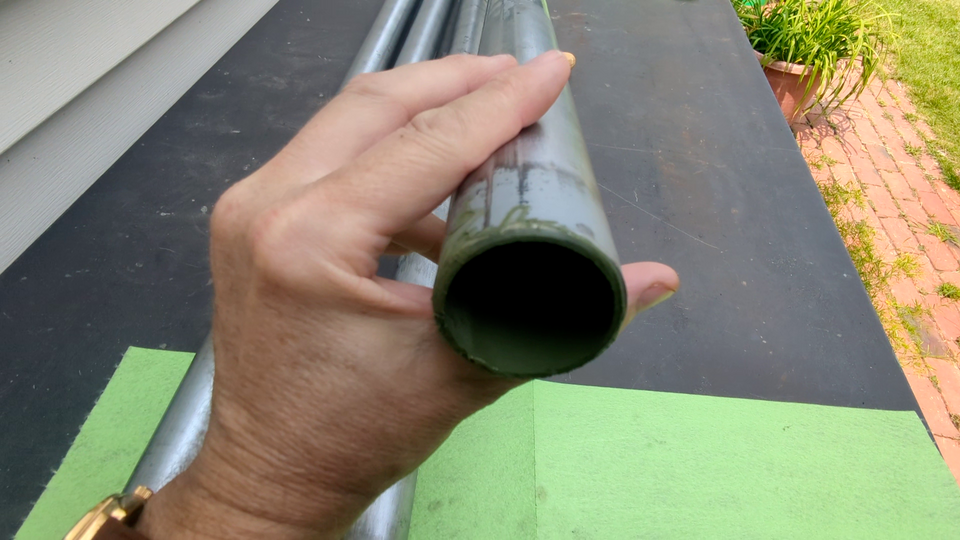
This is what they looked like when finished.
- vlcsnap-2024-07-25-16h49m12s614.jpg (97.98 KiB) Viewed 2775 times
Finally, to prevent them rusting from the inside, I used some Eastwood Internal Frame Coating on them.
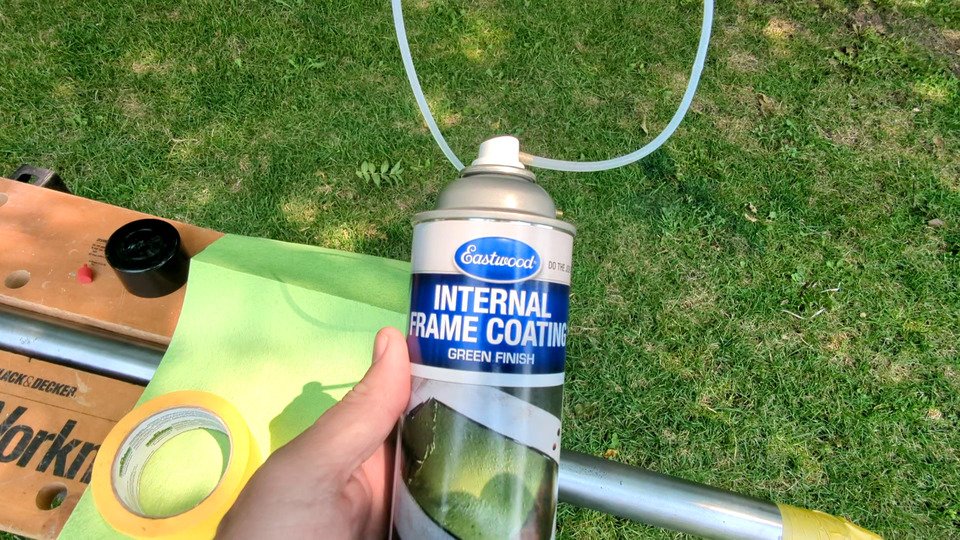
- vlcsnap-2024-07-25-16h53m26s693.jpg (195.4 KiB) Viewed 2775 times
- rsz_vlcsnap-2024-07-25-16h54m15s513.png (872.44 KiB) Viewed 2775 times
Re: Yet another "Goldie" Restoration
Posted: Thu Jul 25, 2024 9:46 pm
by AllenH
Once that was done, I did some media blasting on the base and base arm.
- vlcsnap-2024-07-25-16h50m23s398.jpg (91.8 KiB) Viewed 2774 times
As soon as I can get back out to the shop I will prime and paint them.
These are the colors I have picked out.
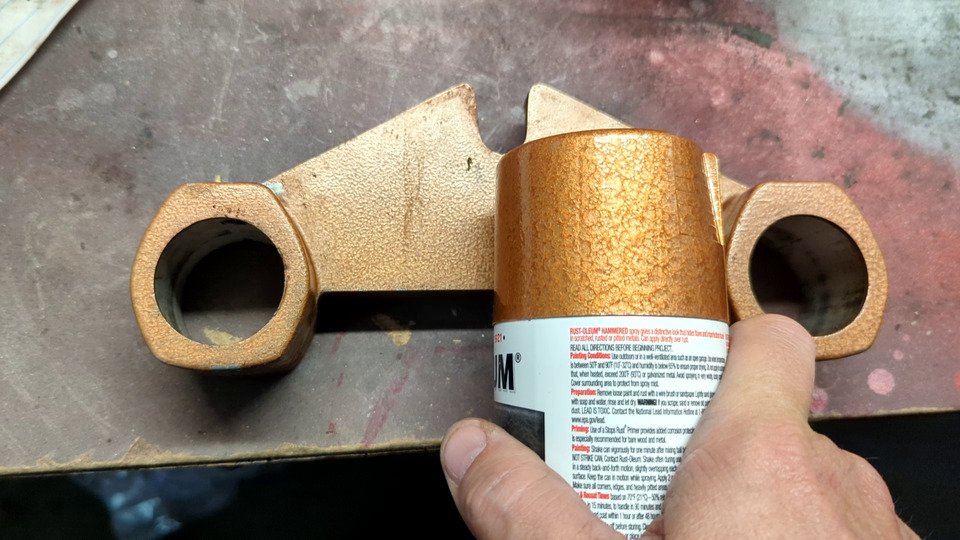
- vlcsnap-2024-07-25-16h52m52s461.jpg (118.67 KiB) Viewed 2774 times
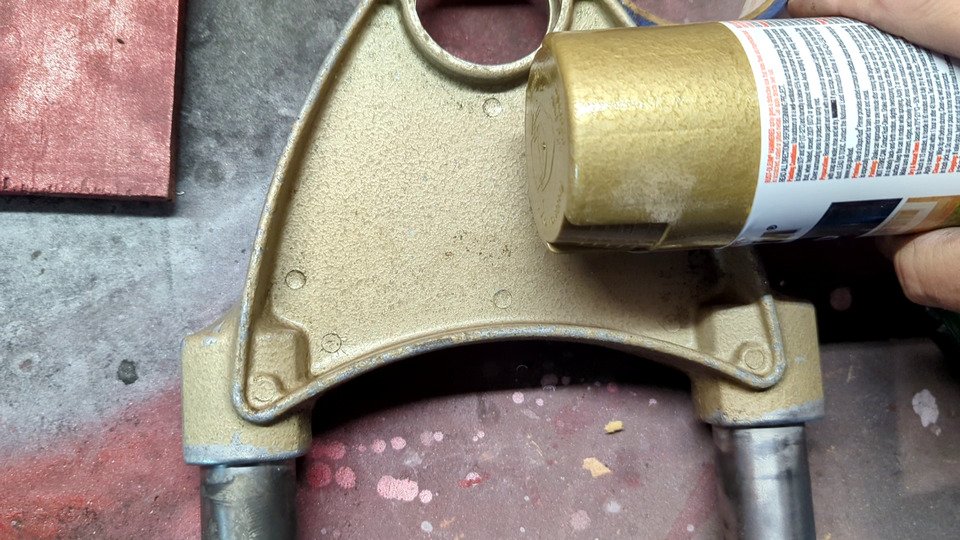
- vlcsnap-2024-07-25-16h51m52s541.jpg (146.01 KiB) Viewed 2774 times
Re: Yet another "Goldie" Restoration
Posted: Thu Jul 25, 2024 9:53 pm
by AllenH
For a little more detail of the process, you can take a look at the video.
Re: Yet another "Goldie" Restoration
Posted: Thu Jul 25, 2024 10:00 pm
by AllenH
OK, I realize I double posted about building the soaking tube. Sorry.