Page 33 of 33
Re: Gallery of Restorations
Posted: Sun Aug 03, 2025 8:05 pm
by rcsaylor
I love that cabinet. That is very cool. Thank you for sharing.
Re: Gallery of Restorations
Posted: Mon Aug 04, 2025 12:49 pm
by chapmanruss
Kent50,
According to the records serial number 265359 was made in April 1954 the first month listed in the records.
Are there holes in the Belt Cover for 8 screws to hold it on the Headstock and Motor Pan? The 7th and 8th screw holes would be where the black circle is in the picture below. The location of the screw on the bottom (opposite the top screw) is not seen in the picture and the other circled spots have corresponding holes on the back side of the Headstock. The red circles indicate the other 6 screws holes that remained after screw 7 and 8 (black circle) were eliminated. The arrow points to the location of the screws when the number was reduced to 2 screws to hold the Belt Cover on. If screw holes 7 & 8 not there, I suspect the Belt Cover was changed at some point.
_

- Belt Cover Screws.jpg (160.9 KiB) Viewed 91759 times
.
The Headstock in the picture above is a "B" Headstock casting from a Mark 5 I restored. The picture below is an "A" Headstock casting. Notice the difference below the Switch location being open behind the Speed Dial Indicator for the High-Speed Lock on the "A" Headstock. Your Headstock should be the "A" Headstock version like the one below.
_

- Headstock A front w-parts.jpg (167.38 KiB) Viewed 91759 times
.
I would recommend you start your own topic about your Mark 5. That way all the questions, answers, information and updates are all in one place.
Re: Gallery of Restorations
Posted: Mon Aug 04, 2025 1:23 pm
by Kent50
Good catch. I replaced that cover because the original had a dent in it. I never noticed that the replacement cover had less screws. I think I will work on fixing the original cover so that I have the correct one.
Thanks
Re: Gallery of Restorations
Posted: Tue Aug 05, 2025 1:30 pm
by Akela9
This is the 10ER that I inherited from my dad. I used it while growing up and have learned a lot more about it (and Shopsmith in general) from reading these forums and getting it back to working order.
It’s not an all-out restoration but more a matter of cleaning things up, and replacing damaged or missing pieces. I’ve also added pieces that to my knowledge my dad never had, such as the speed changer and jigsaw. As you can see, the logo plate was missing so I have no serial number. I repaired the damage to the plate mounting holes and attached a second-hand plate.
The bench and casters are original, as are the headstock, carriage, main table, and rip fence.
I’ve replaced the inoperative motor with a new one from Skip Campbell, along with new belts, headstock and motor pulleys. Replaced the drive sleeve bearings, and cleaned up all of that assembly and the quill. New drill chuck and bits, 12” sanding discs, extension table (plus another tailstock and extension table for the headrest end), and all things lathe related except for the cup center. I also outfitted it with a modified Mark V 500 upper and lower saw guard.
Unfortunately I didn’t have the presence of mind to take any overall “before “ pictures, but closeups of the way tubes and headstock will give you an idea of what I started with. I still have a couple of minor things to do but overall I have it where I want it, and use it frequently. I love Shopsmith. Some day I hope to have room for a second brand-new one.
Re: Gallery of Restorations
Posted: Tue Aug 05, 2025 2:41 pm
by jpdalton
Akela9 wrote: Tue Aug 05, 2025 1:30 pm
I still have a couple of minor things to do but overall I have it where I want it, and use it frequently. I love Shopsmith.
Congratulations on rehabilitating this one! The family history and satisfaction of restoring it yourself will make its use that much more enjoyable.
Re: Gallery of Restorations
Posted: Wed Aug 06, 2025 2:04 pm
by chapmanruss
Nice job on getting it back to working condition. Even though not completely restored it looks great. Having that connection to it makes it something special to hold on to.
Looking at the Headstock I see it is the 7th version which serial numbers started in the early 50,000 for those made in the Eastern Plant and mid 60,000 for those made in the Western Plant going to a bit over 100,000 before the Model 10ER was discontinued prior to the introduction of the Mark 5. The Logo/Serial Number plate you added appears to be a lower S/N one. Not a real problem since you know the reason.
I believe you will be happy having the Speed Changer especially when doing Lathe work. The Speed Changer can give you lower speeds than the OEM Pulleys. Having the Retractable Casters on the bench is nice to have too.
As for the Mark 5 Upper and Lower Saw Guard set, I have the same ones for use on my Model 10's. Below is the Lower Guard mounted on my Model 10ER. Notice the washer and spacer placement on the arbor when using this Mark 5 Guard.
_

- 505628 on 10ER.jpg (103.15 KiB) Viewed 91661 times
.
Below shows the complete Guard set on my Model 10ER. Yes, the Saw Blade is mounted backwards but you can see the Shopsmith name that way.

_

- 505627-505628r.jpg (61.58 KiB) Viewed 91661 times
.
This Mark 5 guard set is easier to use since once set to the blade it can be removed and put back on with the blade/splitter alignment remaining in place. Any time the OEM Upper Saw Blade Guard for the Model 10E and 10ER is put back on the Main Table it must be realigned to the blade. The OEM Lower Saw Blade Guard for the Model 10E and 10ER is a rare find and doesn't have dust collection with its square dust chute. Another plus for using the Mark 5 Saw Blade Guard set part numbers 505627 & 505628 is the 2-1/2" saw dust port.
I have the OEM Model 10 Upper (for each one I own) and 2 Lower Saw Blade Guards for my Model 10's only for show. For actual Table Saw work use the Mark 5 Saw Blade Guard set.
Re: Gallery of Restorations
Posted: Tue Sep 09, 2025 11:16 am
by jpdalton
1960 Yuba Greenie Mark 5, Serial Number 362118
1960 Yuba Greenie Model 620-C Jointer, Serial Number M070521
So, this is about the fastest turnaround I've ever had on a Mark 5 restoration that needed a legitimate overhaul. I picked it up on Saturday morning of Labor Day weekend, and finished it up this past Sunday night...
And it did need some work. It unfortunately was left outside for a bit through some rain before I picked it up, resulting in a pretty good coat of rust on the usual suspects (jointer, drill chuck, bench/way tubes). Worse yet was the
water accumulation in the headstock(!) that became evident as the rusty water poured out in the back of my car when I turned it on its side to load it up...
All that motivated me to act more quickly than usual to break it down to begin the cleanup. Also given that this was a freebie pickup, where I was personally only interested in the included Magna American Goldie bandsaw (that part is staying with me...), I really wanted to get this turned around for a new user as quickly as possible. Luckily, the paint was passable - sure a little scuffed up on the bench legs, but I think Magna/Yuba had really figured out how to get their paint to adhere better to the aluminum castings, so I didn't have to do any painting! The porkchop on the speed changing mechanism also had a little life left in it, and generally the headstock innards only needed degreasing/cleaning and lubrication.
As this was the first Yuba Greenie I'd ever seen in-person, it was interesting to view a few of the peculiar features of this one:
- The drive sleeve was still nice, machined metal, as opposed to the cheaper nylon spline sleeve that appeared in Goldies soon after this.
- Yuba had started looking for cost-cutting measures, and introduced the two-piece main table with the extruded fence track (I'm a much bigger fan of the earlier Mark 5 one-piece cast aluminum table...) - as well as the secondary saw blade slot cut in the table.
- This one had funny bench tubes that were way tubes with an insert to extend them to bench tube length, although they hadn't yet modified the bench end castings for these smaller OD bench tubes.
All in all, I'm very happy with the result on such a quick effort. I'm really learning some techniques that are simplifying and speeding up my restorations, so I'll have a few more out the door shortly!
.

- IMG_6498.jpeg (710.59 KiB) Viewed 60592 times

- IMG_6499.jpeg (703.22 KiB) Viewed 60592 times

- IMG_6500.jpeg (326.67 KiB) Viewed 60592 times

- IMG_6501.jpeg (628.79 KiB) Viewed 60592 times

- IMG_6502.jpeg (478.64 KiB) Viewed 60592 times
Re: Gallery of Restorations
Posted: Fri Jan 09, 2026 12:03 pm
by AllenH
OK, since the forum has been down, I have added the following two machines to my collection. They are waiting in line to be restored later this year after I get a couple other projects done. The first one is serial #273446, the second one is missing the serial #, but I have purchased a new vent plate for it, so it will become serial# 266645.
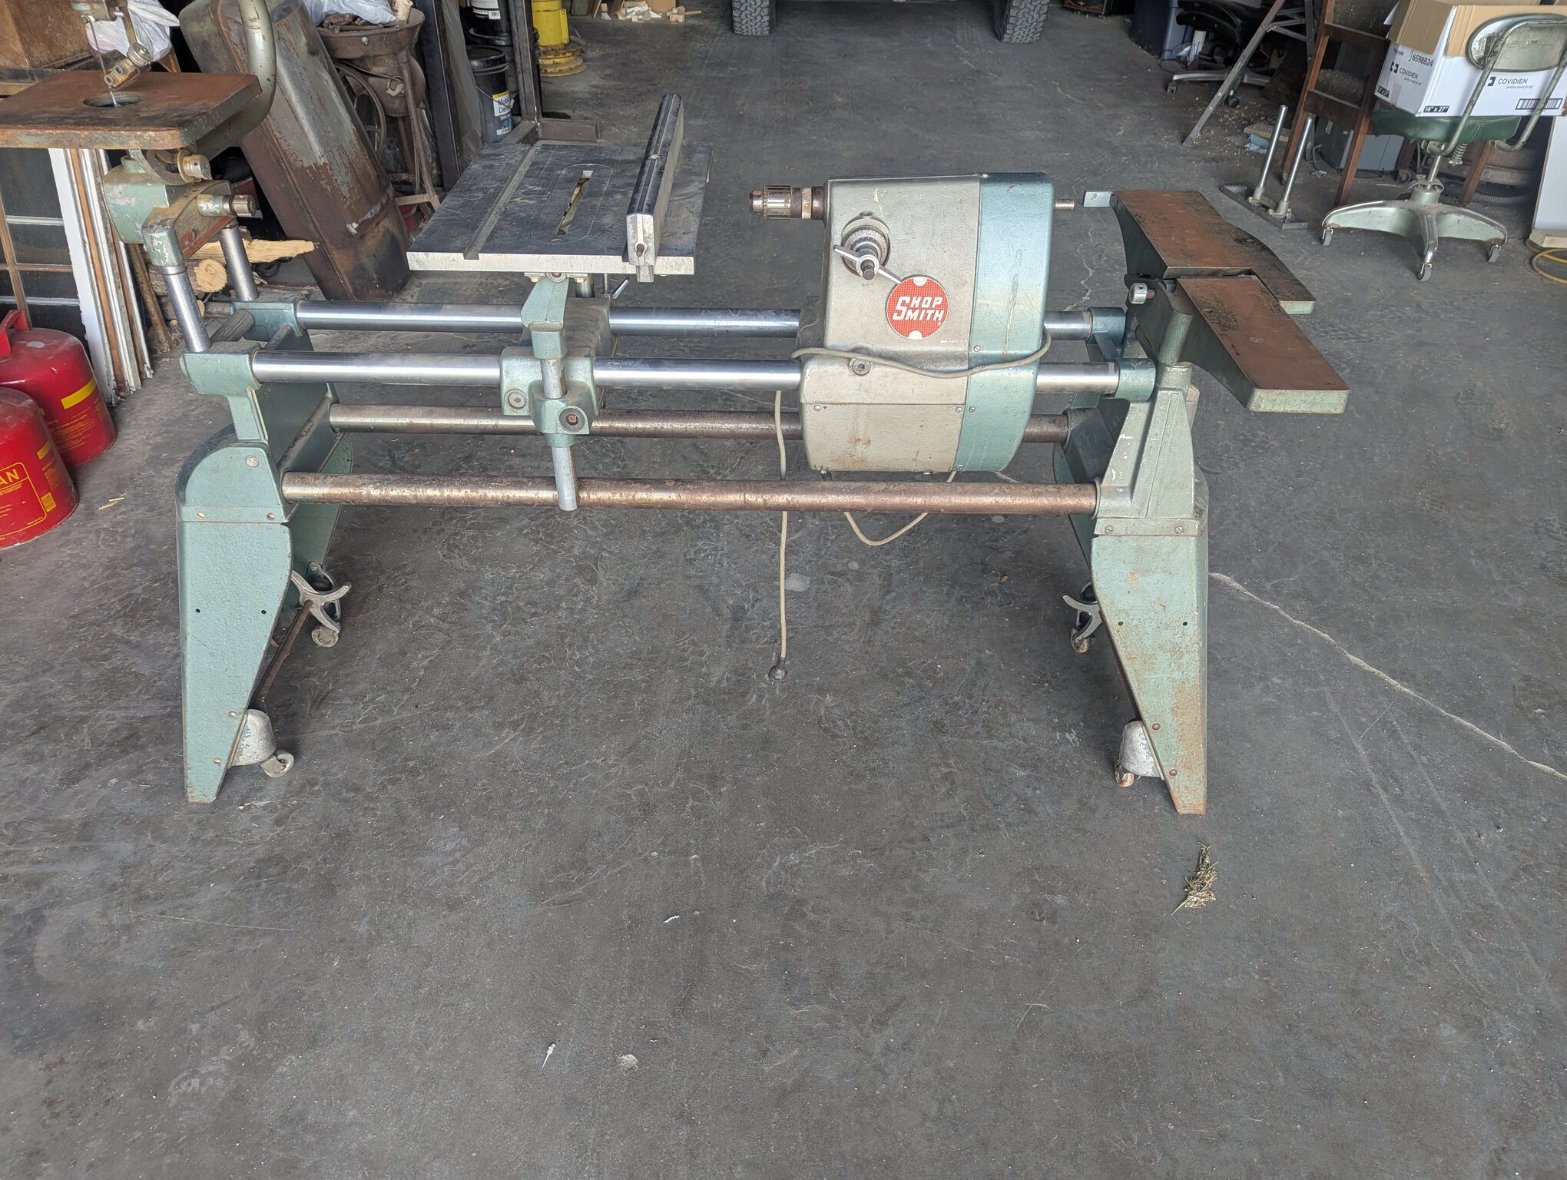
- rsz_pxl_20250315_135831463.jpg (401.33 KiB) Viewed 54523 times
![rsz_20260105_144535_[g]pxl_20260105_204535854mp.jpg](./download/file.php?id=65435)
- rsz_20260105_144535_[g]pxl_20260105_204535854mp.jpg (374.36 KiB) Viewed 54523 times
Re: Gallery of Restorations
Posted: Fri Jan 09, 2026 12:57 pm
by chapmanruss
Nice additions Allen. You found a different Vent/Serial Number Plate than the one I was looking at. That puts its new identity at May of 1954. The other one is from July. They should be very similar unless upgrades have been done to either or both of them. I look forward to seeing them finished and how the custom paint you have looks compared to the original color.