Using a Shop Smith Mark V on a Chris Craft Roamer refit

Moderator: admin

roamer46
Platinum Member
Posts: 627
Joined: Mon Nov 18, 2013 10:22 am
Contact:

Re: Using a Shop Smith Mark V on a Chris Craft Roamer refit

Post by roamer46 »

I wrapped up the back panel framing for the V-berth closet, then varnished the panels and solid mahogany door opening parts in preparation for final assembly. Since this is just a closet interior, I used a Varathane varnish product. Low odor and water clean-up are nice, but this stuff just doesn't flow out like traditional varnish. And they call it "GLOSS" but it's more like semi-gloss. I won't be using this ever again.

1969 Chris Craft Roamer 46 Refit: Still More On the V-berth Closet

Cheers
Q

Image
roamer46
Platinum Member
Posts: 627
Joined: Mon Nov 18, 2013 10:22 am
Contact:

Re: Using a Shop Smith Mark V on a Chris Craft Roamer refit

Post by roamer46 »

I finally got the V-berth closet installed. Then I very carefully cut and fitted the 1/4" ribbon-striped mahogany panel to the outside of the closet. It turned out pretty good, if I do say so myself. But...dang...it takes me a ridiculous amount of time to fit even one panel like this. Lotsa curves and angles.

1969 Chris Craft Roamer 46 Refit: Installing the V-berth Closet

Cheers,
Q

Image
User avatar
algale
Platinum Member
Posts: 4827
Joined: Thu Nov 04, 2010 8:13 am

Re: Using a Shop Smith Mark V on a Chris Craft Roamer refit

Post by algale »

Beautiful! I can't wait to see this epic project finished and re-launched!
Gale's Law: The bigger the woodworking project, the less the mistakes show in any photo taken far enough away to show the entire project!

roamer46
Platinum Member
Posts: 627
Joined: Mon Nov 18, 2013 10:22 am
Contact:

Re: Using a Shop Smith Mark V on a Chris Craft Roamer refit

Post by roamer46 »

Thanks! I really appreciate the kudos!
roamer46
Platinum Member
Posts: 627
Joined: Mon Nov 18, 2013 10:22 am
Contact:

Re: Using a Shop Smith Mark V on a Chris Craft Roamer refit

Post by roamer46 »

With the closet wall in place and the bed foundation done, next I cut the panels that go around the Vee and connect the curvy mahogany side walls to the bed foundation. This is looking pretty good, if I do say so myself!

1969 Chris Craft Roamer 46 Refit: More V-berth Cabinetry

Cheers,
Q

Image
roamer46
Platinum Member
Posts: 627
Joined: Mon Nov 18, 2013 10:22 am
Contact:

Re: Using a Shop Smith Mark V on a Chris Craft Roamer refit

Post by roamer46 »

After getting the panels rough cut, next I did the final fit and screwed them together. Then I started cutting and fitting the top panels that will connect the upright ones to the curvy mahogany walls. Lots of compound angles and curves makes this very challenging work. But at the end of every day, I've got a couple more panels cut.

1969 Chris Craft Roamer 46 Refit: Still More V-berth Cabinetry

Cheers,
Q

Image
roamer46
Platinum Member
Posts: 627
Joined: Mon Nov 18, 2013 10:22 am
Contact:

Re: Using a Shop Smith Mark V on a Chris Craft Roamer refit

Post by roamer46 »

I cut and fitted the mahogany panels that attach to the curvy V-berth wall on the starboard side, then started dry-fitting panels on the port side. It's slow-going, but it's all headed in the right direction.

1969 Chris Craft Roamer 46 Refit: Even More V-berth Cabinetry II

Cheers,
Q

Image
masonsailor2
Platinum Member
Posts: 1564
Joined: Wed Feb 05, 2014 11:57 am
Location: Las Vegas NV

Re: Using a Shop Smith Mark V on a Chris Craft Roamer refit

Post by masonsailor2 »

That is going to be one gorgeous boat. That is really nice woodworking !
Paul
roamer46
Platinum Member
Posts: 627
Joined: Mon Nov 18, 2013 10:22 am
Contact:

Re: Using a Shop Smith Mark V on a Chris Craft Roamer refit

Post by roamer46 »

Thanks Paul!

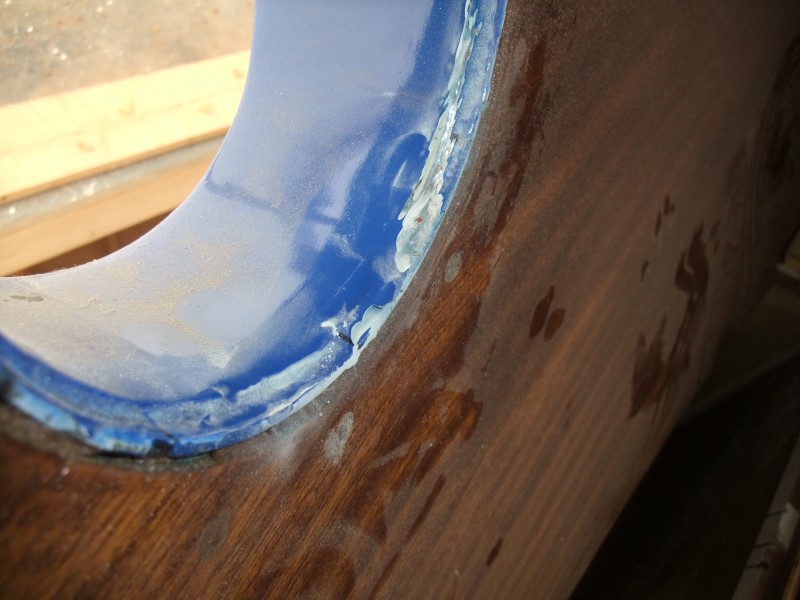
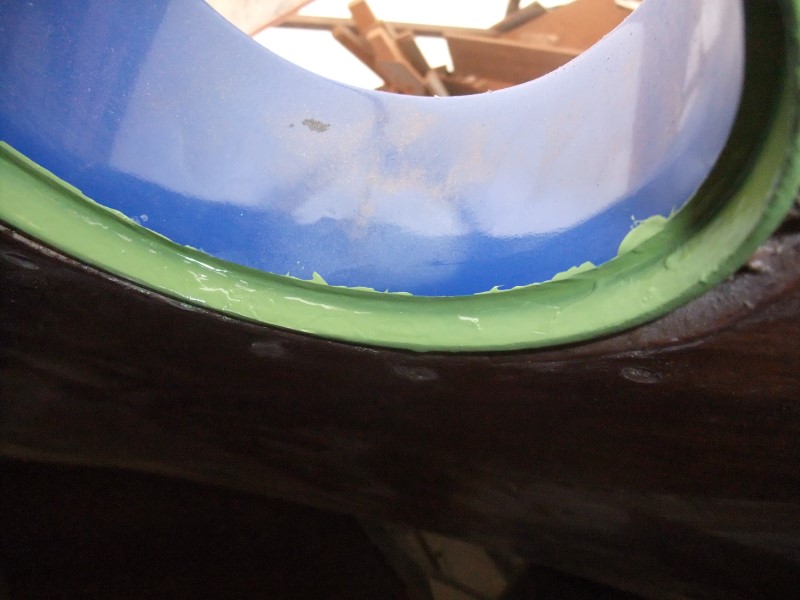
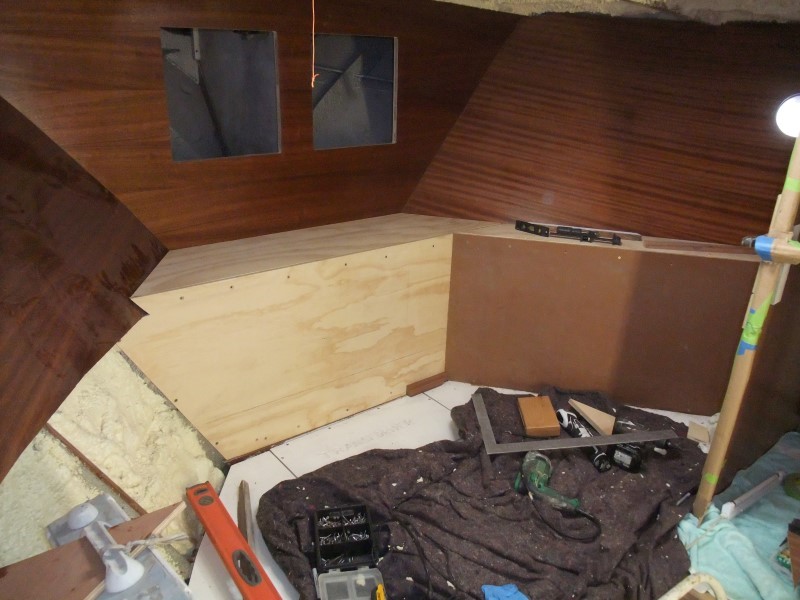
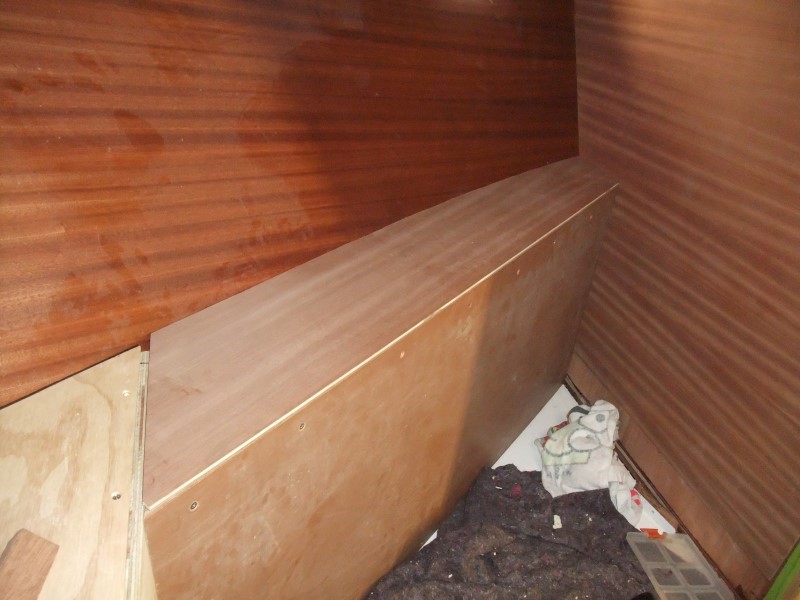
With the bed foundation done, that nice, flat surface has given me a good perch to see the porthole openings better. And the more I looked, the less I liked what I saw. When we were prepping for paint, we missed a few spots where there was corrosion remaining under the original barrier coat. The fairing crew had also left a lot of filler in two porthole openings, which had to be cleaned up. All of those spots were starting to show signs that the topcoat and primer were failing. In one spot, a 1-1/2" chunk of paint popped off! So I broke out a rotary sander and some sanding drums and got to work. Now it's all cleaned up and re-primed. We have to do a few touch-ups on the white exterior paint anyway, so we'll airbrush here at the same time. It sucks that I had to dig into it. But in retrospect I'd rather have a couple of days spent doing touch-ups now than to have a much larger area fail after a few years with the boat in service.

1969 Chris Craft Roamer 46 Refit: Paint Repair

Cheers,
Q

Image

Image
charlese
Platinum Member
Posts: 7501
Joined: Fri Dec 08, 2006 10:46 pm
Location: Lancaster, CA

Re: Using a Shop Smith Mark V on a Chris Craft Roamer refit

Post by charlese »

Geeze! I really admire your dedication to that boat, and am hoping your wife feels the same. When you finally get it cutting through the water, hope you will be able to completely enjoy all of your effort and forget most of your frustrations.

I think I would have surrendered to the salt water gremlins by now. Ha! Guess my love of dry land is has taken over here.
Octogenarian's have an earned right to be a curmudgeon.
Chuck in Lancaster, CA
Post Reply