Using a Shop Smith Mark V on a Chris Craft Roamer refit

Moderator: admin

roamer46
Platinum Member
Posts: 627
Joined: Mon Nov 18, 2013 10:22 am
Contact:

Re: Using a Shop Smith Mark V on a Chris Craft Roamer refit

Post by roamer46 »

I've got bad news.

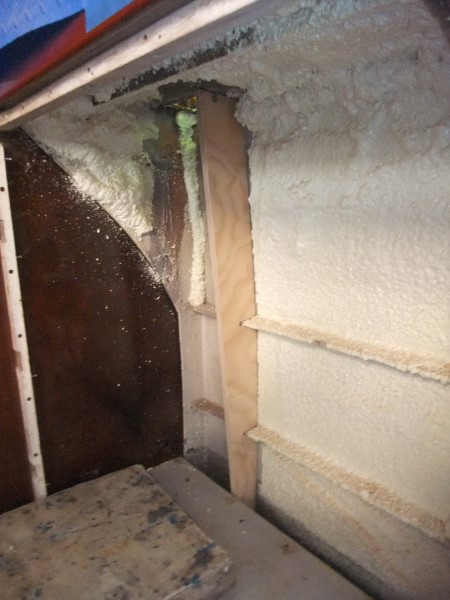
The Nor'easter that ripped up the east coast got me. Or, rather, it damaged Tent Model XXX, which subsequently beat the heck out of my Awlgrip paint job. I spent last weekend patching up the tent, but I need to file an insurance claim for the damage to the boat. At this point, it looks like the aft deck hardtop and the cabin top will need body work and repaint. The powdercoating on the new center windshield frame is also beat up. I suspect I'll find more damage once I clean off all the debris and wash the boat. This is very discouraging.

1969 Chris Craft Roamer 46 Refit: The Big 2018 Nor'easter Whooped Tent Model XXX

Cheers,
Q

Image
User avatar
Billdit
Gold Member
Posts: 142
Joined: Tue Nov 22, 2011 10:01 am
Location: Greenville, SC

Re: Using a Shop Smith Mark V on a Chris Craft Roamer refit

Post by Billdit »

Sorry for the problem !

It's not right that water can damage a boat... 😉

As a percentage of the time you have spent on this project, this will be next to nothing when you can look back on it..

Years ago , in my money days, I bought a Chris Craft... what I remember is it was a 1965, about 49 feet long, had two big gas engines (Volvo I think), had been in dry dock about 10 years... I am not a boat guy... owner owed me money, worked on it for several months, took pictures, then sold it before floating it... that was before home computers, pics are probably in one of the many boxes of pictures in the basement...ahh...the good old days...
Bill

Mark V 1981 upgraded to 520 and PowerPro, w/ Band Saw, Belt Sander, Jointer, Jigsaw, and a bunch of previous owners 1980's jigs, accessories, and unknown parts.
User avatar
Billdit
Gold Member
Posts: 142
Joined: Tue Nov 22, 2011 10:01 am
Location: Greenville, SC

Re: Using a Shop Smith Mark V on a Chris Craft Roamer refit

Post by Billdit »

More I think about it I think it was 1955, not 65... it was a wood boat, beautiful in its day,
Bill

Mark V 1981 upgraded to 520 and PowerPro, w/ Band Saw, Belt Sander, Jointer, Jigsaw, and a bunch of previous owners 1980's jigs, accessories, and unknown parts.
User avatar
BuckeyeDennis
Platinum Member
Posts: 3801
Joined: Tue Jul 24, 2012 10:03 pm
Location: Central Ohio

Re: Using a Shop Smith Mark V on a Chris Craft Roamer refit

Post by BuckeyeDennis »

Dang, Q. It’s like they used to sing on Hee Haw: If it weren’t for bad luck, you’d have no luck at all. :(
roamer46
Platinum Member
Posts: 627
Joined: Mon Nov 18, 2013 10:22 am
Contact:

Re: Using a Shop Smith Mark V on a Chris Craft Roamer refit

Post by roamer46 »

Thanks guys!

Yeah, this sucks. But the insurance company appears to be cooperating. We'll get it fixed one way or another.
roamer46
Platinum Member
Posts: 627
Joined: Mon Nov 18, 2013 10:22 am
Contact:

Re: Using a Shop Smith Mark V on a Chris Craft Roamer refit

Post by roamer46 »

I'm deep into putting the insurance claim together now, but before the Nor-easter struck I'd gotten some more panels installed in the salon. So the blog gives the appearance that progress is happening even now, but this article covers stuff I got done in February.

In the blog, I describe how I used my tracksaw to cut a decreasing depth rabbet in mahogany solid stock. I'd be interested in hearing how the Shopsmith crew might have done the same thing.

1969 Chris Craft Roamer 46 Refit: More Salon Plywood Panels

Cheers,
Q

Image

Image
roamer46
Platinum Member
Posts: 627
Joined: Mon Nov 18, 2013 10:22 am
Contact:

Re: Using a Shop Smith Mark V on a Chris Craft Roamer refit

Post by roamer46 »

I had a couple of estimators out over the weekend to look at the damage from the Nor-easter. Another storm has come through, but the winds are nothing like the big one two weeks ago. Hopefully the patches to the tent will hold up.

I'm still catching the blog up on work I'd done before the big storm hit. The big port-side engine room vent panel is installed now, and I built hatches so I can block the exterior vents during winter. They're not pretty, but they won't be visible once the salon is all built out. I also installed the last insulated wall panel on this side of the salon. "Progress"

1969 Chris Craft Roamer 46 Refit: Installing More Salon Plywood Panels

Cheers,
Q

Image
roamer46
Platinum Member
Posts: 627
Joined: Mon Nov 18, 2013 10:22 am
Contact:

Re: Using a Shop Smith Mark V on a Chris Craft Roamer refit

Post by roamer46 »

I'm still waiting for estimates to arrive so I can move forward on the insurance claim. But while that's going on, I'm still making progress in the salon. I got the last bilge vent chute installed. My approach--using epoxy sealed marine plywood and mahogany solid stock--was more time consuming than Chris Craft's painted press board, but unlike the original stuff, I suspect mine will last as long as the rest of the boat.

1969 Chris Craft Roamer 46 Refit: Installing The Last Port Salon Vent Panels

Cheers,
Q

Image
roamer46
Platinum Member
Posts: 627
Joined: Mon Nov 18, 2013 10:22 am
Contact:

Re: Using a Shop Smith Mark V on a Chris Craft Roamer refit

Post by roamer46 »

I'm still working on getting the estimates for repairs for the damage caused by the recent Nor'easter. But in the meantime, I'm getting more panels installed in the salon.
"Progress."

1969 Chris Craft Roamer 46 Refit: Cutting and Fitting More Port Salon Panels

Cheers,
Q

Image
roamer46
Platinum Member
Posts: 627
Joined: Mon Nov 18, 2013 10:22 am
Contact:

Re: Using a Shop Smith Mark V on a Chris Craft Roamer refit

Post by roamer46 »

I cut a couple more panels in the port salon, dry-fitted the rest of the mahogany backing cleats, varnished the panels, and wrapped up the final test fit. Next I'll seal and insulate the backsides, then they'll be ready for final install. The plywood stack is getting shorter. When it's gone, the boat better be done. Booyah.

1969 Chris Craft Roamer 46 Refit: Fitting Still More Port Salon Panels

Cheers,
Q

Image
Post Reply