Page 7 of 8
Re: Adding a new Incra fence
Posted: Fri Oct 04, 2019 7:47 pm
by masonsailor2
I have been using this incra setup on that SS for a while now and it so far is working very well. The one limitation is that it doesn’t work at all for the drill press mode. It is not a factor for me because I have a dedicated SS set up as a drill press but if you need to be able to utilize the machine in drill press mode another option for the fence would have to be used. The incra rails are as easy to remove as the SS tubes but once they are removed you have nothing to attach a fence to. It would not be too difficult to come up with a solution to this problem but no matter what the solution it would take longer to go to drill press mode. The easiest solution would be to order two short pieces of the incra extrusion and slip them on and then manufacture a fence of either wood or aluminum that would clamp to those extrusions. The added two minutes to set that up would be worth the benefits of having the incra fence. That fence system is a real game changer for the SS. I have it on my Grizzly table saw and the SS and will never go back.
Paul
Re: Adding a new Incra fence
Posted: Wed Oct 09, 2019 10:06 pm
by SkullsquadronX
Thanks for your post.
I thinking of take this route with my shopsmith also.
Re: Adding a new Incra fence
Posted: Tue Dec 31, 2019 8:06 pm
by BlueViffer
It's been a while since I posted my set up and with all the questions about it I thought I would update you all. I did some table saw work where I needed to tilt the table to 45%. Well taking the rails off and putting them back was not really that hard but it got me to thinking. Since I have two carriages i thought about my previous set up with the router table to the left and having to move the positioner to use it with the router table. I then decided to make a new router table to the right side. So I took off the table on the right carriage and made a longer table that included the router table with it. Then I added the SS tables on the left side and free floated the main table with the motor and saw blade. Now if I need to cut at a angle I just remove the left side tables and rail connector tilt the table and go. My positioner is mounted to the right carriage and is just moved over. My rails mounted on the right side carriage extend to just past the saw blade so the positioner and fence work great up to the blade. Also works great for the router table. My rails on the right side are 41" long, the ones on the left side are 32" long connected using a connector I got off of amazon. ...
https://www.amazon.com/gp/product/B07BL ... UTF8&psc=1 If you want a quality fence system and would like something other than SS 520 update then this is a good option. With this Incra Fence system ...
https://www.incrementaltools.com/INCRA_ ... s32-ts.htm
Re: Adding a new Incra fence
Posted: Tue Dec 31, 2019 8:15 pm
by BlueViffer
Pics of my improvements.
Re: Adding a new Incra fence
Posted: Wed Jan 01, 2020 10:21 pm
by RFGuy
Very interesting solution....so for the 45° cuts, you disconnect the table from the Incra rails. Are you using a miter gauge in the left slot of that table then for the 45° cut?
Re: Adding a new Incra fence
Posted: Wed Jan 01, 2020 11:20 pm
by rpd
Spotted this "Bevel Rip Tip" in ShopMag #2 the other day.

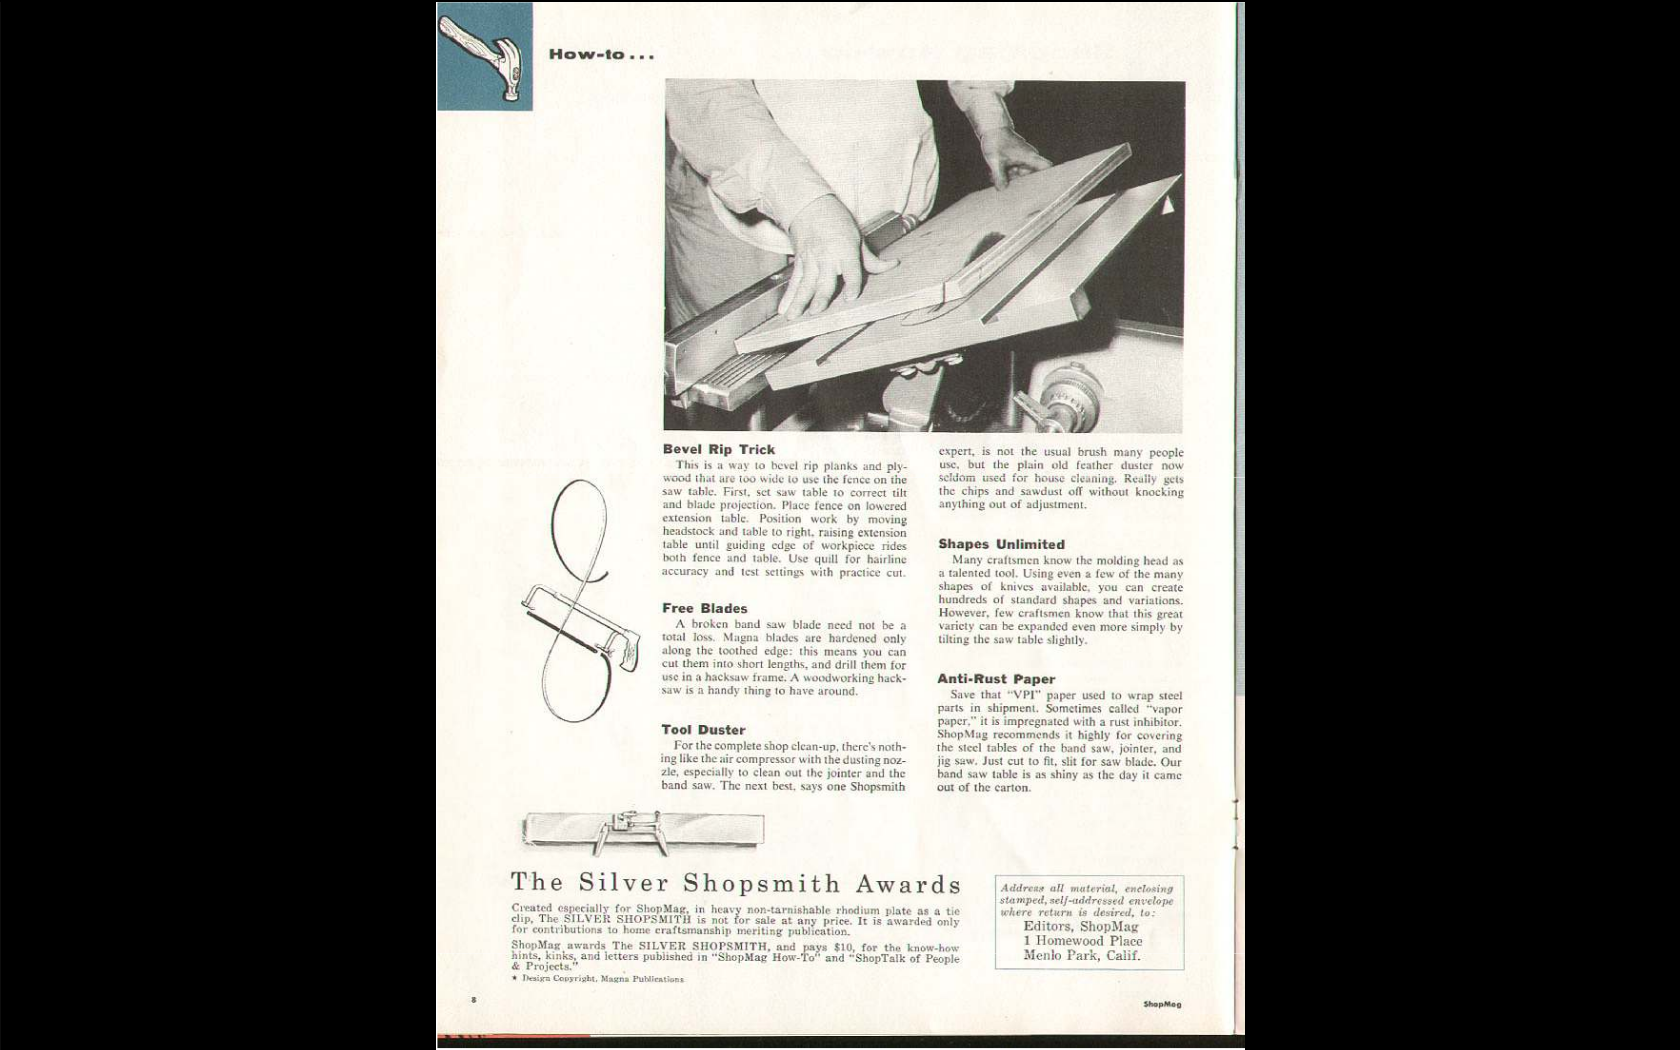
- Screenshot from 2020-01-01 20-01-27.png (1.05 MiB) Viewed 22268 times
Re: Adding a new Incra fence
Posted: Thu Jan 02, 2020 4:22 pm
by PuppyDoc
Vince and Paul - You both really caught my attention with your Incra setups. I have a few questions as I start on my own quest to make such upgrades. First - was there anything special about what you ordered to get your setups to be compatible with SS. I have a Mark V 510 now with the PP upgrade and I am the original owner so I have all the pieces and parts purchased at that time - not that it matters. Second, I am looking for a system that will allow breaking down sheet goods, have you used yours for such a task and if so, is it much less fighting? Follow up to that brings me to your flip up outfeed tables - could you post pictures of what you have for add on tables and how you have them mounted? I'd love to even "borrow" a set of plans if you have any... Vince - I do like your solution to bevel cuts - I hadn't thought about that originally and would definitely be a show stopper for me. My shop is quite small (10 by 20) so anything I can do to optimize space and utility would be great.
Thanks,
Bob
Re: Adding a new Incra fence
Posted: Thu Jan 02, 2020 8:45 pm
by BlueViffer
RFGuy wrote:Very interesting solution....so for the 45° cuts, you disconnect the table from the Incra rails. Are you using a miter gauge in the left slot of that table then for the 45° cut?
RFGuy,
No I do not disconnect the rails from the table. I have two carriages so I took the table off the right carriage and made a router table with the Incra Positioner mounting to the far right of that table. I leave it there so I can use the fence with the router table also. Then I shortened my rails so they are just past the saw blade of my main carriage. I added floating tables on the left and have a connector if needed to strengthen the rails that are on those floating tables. With said connector I can tie the rails together as if they were not cut in the middle. The main carriage is free of the rails and pivots just like before I added the Incra rails. Before I cut the rails in the middle and allowed the main table to pivot, I would need to take the rails off to pivot the table and cut at a 45% angle.
Re: Adding a new Incra fence
Posted: Fri Jan 03, 2020 7:38 am
by RFGuy
BlueViffer wrote:RFGuy wrote:Very interesting solution....so for the 45° cuts, you disconnect the table from the Incra rails. Are you using a miter gauge in the left slot of that table then for the 45° cut?
RFGuy,
No I do not disconnect the rails from the table. I have two carriages so I took the table off the right carriage and made a router table with the Incra Positioner mounting to the far right of that table. I leave it there so I can use the fence with the router table also. Then I shortened my rails so they are just past the saw blade of my main carriage. I added floating tables on the left and have a connector if needed to strengthen the rails that are on those floating tables. With said connector I can tie the rails together as if they were not cut in the middle. The main carriage is free of the rails and pivots just like before I added the Incra rails. Before I cut the rails in the middle and allowed the main table to pivot, I would need to take the rails off to pivot the table and cut at a 45% angle.
Guess I am confused because you stated:
Then I added the SS tables on the left side and free floated the main table with the motor and saw blade. Now if I need to cut at a angle I just remove the left side tables and rail connector tilt the table and go.
As you describe and as the picture shows, the main table (left carriage) is free floating for the angled cut. Is this new, or was the main table, left carriage always free floating and unattached to the Incra rails. I get the part about moving the router table over, etc. I am just curious about the main table operation before and with your new changes.
Re: Adding a new Incra fence
Posted: Mon Jan 06, 2020 9:59 pm
by BlueViffer
RFGuy,
I did some cuts at 45% for french cleats when I first had installed the fence and rails, I removed the rails and fence not to bad but a pain. After using for 6 months or so I thought about cutting the rails down to about 41" on the right side and attach it to the right carriage table only.
So yes this is new, with the rail not cut and connected to both carriage tables I would need to remove the rails to tilt the main table. Set up this way I lower or tilt the right table then can rotate the main table for what ever I need to do with it. I can rotate the right one after removing the positioner I remove the extension table with floating table rotate the left table and move it into drill press position move the motor over and lift the rails into position like you would with yours.
Then I thought about the fact with a left side router table I would need to move the positioner to reach the router. I decided I would then move the router to the right side. It would make it easier to take the tables on the left side off with having lighter tables there. So I ordered a new rail and cut two lengths to about 34" so I have a total of 75" length front and rear rails when connected with a 6" sliding t nut. When tightened it connects the two rails together for strength if needed and works out well.
So not connecting the rails to the main table allows me to rotate the table easily and when I remove the stationary tables which have the shorter rail connected to them from the left side (which is easily done) I can quickly connect a band saw or scroll saw the same as a regular SS. Hope this helps you understand my setup a little better.
Vince