Page 7 of 8
Posted: Thu May 19, 2011 9:37 pm
by jayp413
80 cents to replace. I can deal with that.

Posted: Thu May 19, 2011 9:42 pm
by JPG
jayp413 wrote:Thanks everyone for helping out! i'm going out right now to see how it goes.
*&%$#@ I said
TAP!
All is not lost! Get a SMALL screwdriver(blade NARROWER than the width of the key SLOT) and GENTLY at first wedge it between one end of the key and the shaft(keyway). You are attempting to LIFT the key out of the keyway(slot).
Once it starts to lift, then you can be more 'forceful'.
After it is out, file down the 'mushrooming' to its original thickness(it should slide in the keyway slot in the bushing)
Posted: Thu May 19, 2011 9:50 pm
by jayp413
JPG40504 wrote:*&%$#@ I said TAP!
All is not lost! Get a SMALL screwdriver(blade NARROWER than the width of the key SLOT) and GENTLY at first wedge it between one end of the key and the shaft(keyway). You are attempting to LIFT the key out of the keyway(slot).
Once it starts to lift, then you can be more 'forceful'.
After it is out, file down the 'mushrooming' to its original thickness(it should slide in the keyway slot in the bushing)

My father always called me a "Bull in a china shop". And for good reason! Hopefully I will be able to reshape it to fit nicely. Thanks for the tips! And I really am listening, sometimes my impatience gets the best of me
")
Posted: Thu May 19, 2011 9:57 pm
by JPG
jayp413 wrote: My father always called me a "Bull in a china shop". And for good reason! Hopefully I will be able to reshape it to fit nicely. Thanks for the tips! And I really am listening, sometimes my impatience gets the best of me
He must have thought you took after HIS father!:D
Posted: Thu May 19, 2011 10:03 pm
by jayp413
JPG40504 wrote:He must have thought you took after HIS father!:D
The more I break, the more I learn how to fix
Posted: Mon Jul 04, 2011 7:41 pm
by jayp413
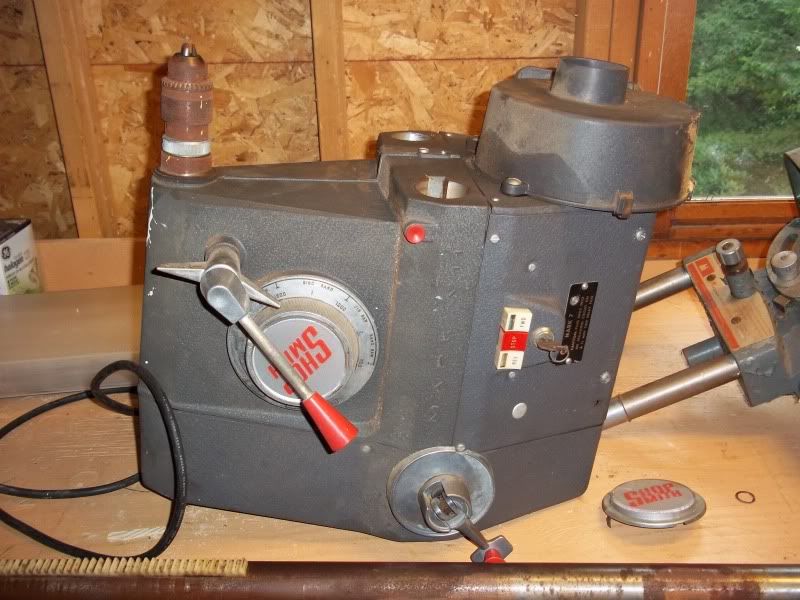
Well now that the Mark V is dissasembled I am begining to break down my mark V11. My idea is to take a Mark V headstock and possibly put my Mark V11 motor in it to allow for forward and reverse. Then I want to put the headstock on the Mark V11 carrige and have a Mark V11 that I can easily get parts for.
The Mark V11 headstock came off really easy. There are eight allen screws that hold the tubes to the end caps. One on top of each end cap where the tubes meet. They came out nice. Popped off the end cap and slid the headstock off.
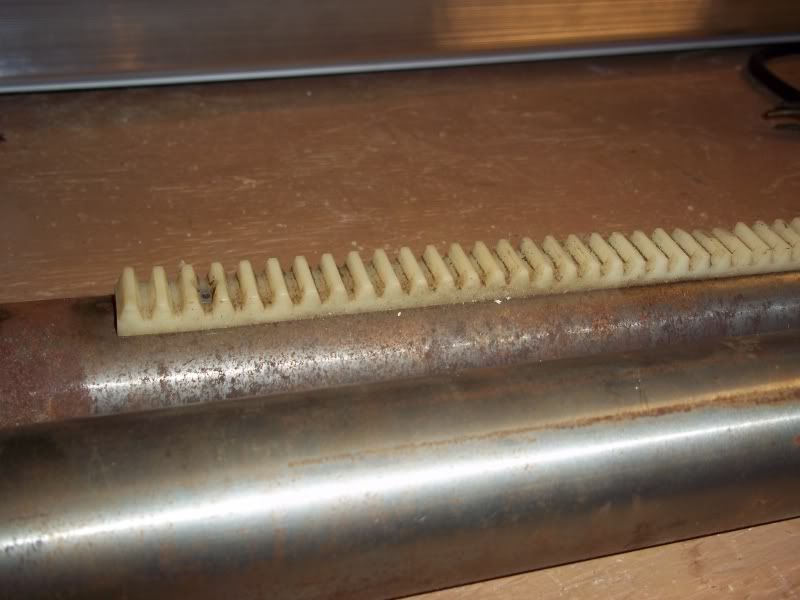
The tubes slid out easily as well. The track system is still intact, except for one tooth that had snapped, but a little crazy glue and it's back inline. It was a very clean break.
Posted: Mon Jul 04, 2011 7:41 pm
by jayp413
The lower tubes remain connected by the system that locks and pivots the Shopsmith in both directions.
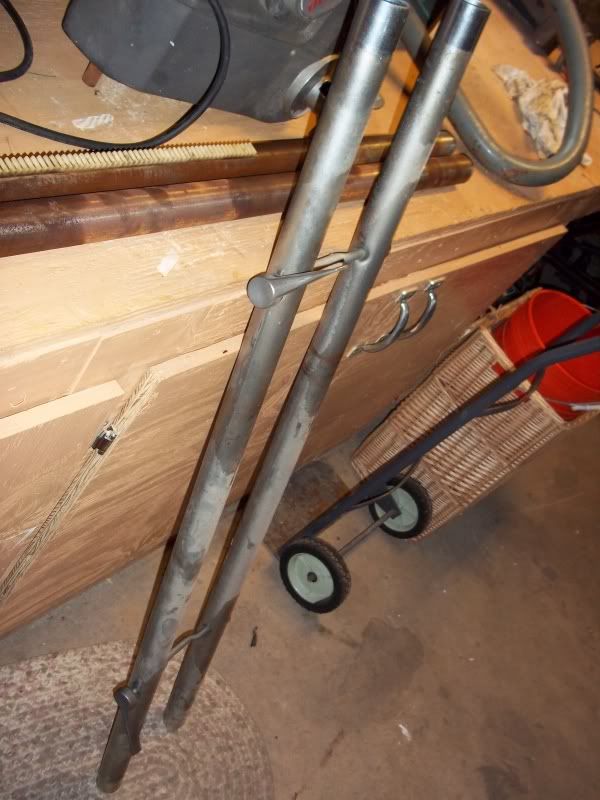
Now I want to strip and derust then paint the Mark V11 base.

As far as the Mark V11 headstock, I will be parting it out on ebay within the next couple of weeks. With a baby on the way I need to make some room and some money

Everything is is good condition on the Mark V11 and I hope the base cleans up well. That will decide to route I take.
Posted: Tue Jul 05, 2011 10:18 pm
by wannabewoodworker
jayp413 wrote:The lower tubes remain connected by the system that locks and pivots the Shopsmith in both directions.
[/IMG]
Now I want to strip and derust then paint the Mark V11 base.
[/IMG]
As far as the Mark V11 headstock, I will be parting it out on ebay within the next couple of weeks. With a baby on the way I need to make some room and some money
Everything is is good condition on the Mark V11 and I hope the base cleans up well. That will decide to route I take.
If your Mark VII inner sheaves, quadrant and cam are in good condition you might consider offering to seel them to Iaokie who just bought a Mark VII with a buggered speed control setup and he wants to use it as a Mark VII. You are making good progress and the more you do the more you will learn. I have three machines now. 1- Mark VII fully functional, 1- Totally refurbed to new condition 54' greenie Mark V and 1- 83' Mark V that was rebuilt with all new headstock innards and put right back to work. I did all of the rehabbing myself as i used to be a mechanic and it was fairly simple straight forward work for me. I also can be impatient at times and have broken a few parts not being careful and more patient so please be patient and if you run into a snag just post it up here and someone or myself should be able to point you in the right direction. Enjoy the build that is 3/4 of the fun of these machines IMHO. Reuilding and restoring my three Marks was so enjoyable and rewarding that I am always looking for others although I may be looking at a divorce if I even mention buying another SS.............

Posted: Wed Jul 06, 2011 1:25 pm
by iaokie
Thanks Wannabe
Yes let me know what you decide on your M 7 parts
I'm in the middle of a restore myself
Posted: Wed Jul 06, 2011 3:07 pm
by jayp413
I hear you. Wannabeewoodworker. Patience is not something I was blessed with, but I try. My wife couldn't for the life of her understand why I brought a third machine home
. I think I better stop there until I finish one completely.
When I dismantle the headstock I will pm you Iaokie and see what we can work out. It would be nice to see them put into action and stay alive.