Page 10 of 11
Re: Occasionally In The Shop
Posted: Thu Jan 22, 2015 7:19 pm
by mbcabinetmaker
Re: Occasionally In The Shop
Posted: Thu Jan 29, 2015 6:37 pm
by mbcabinetmaker
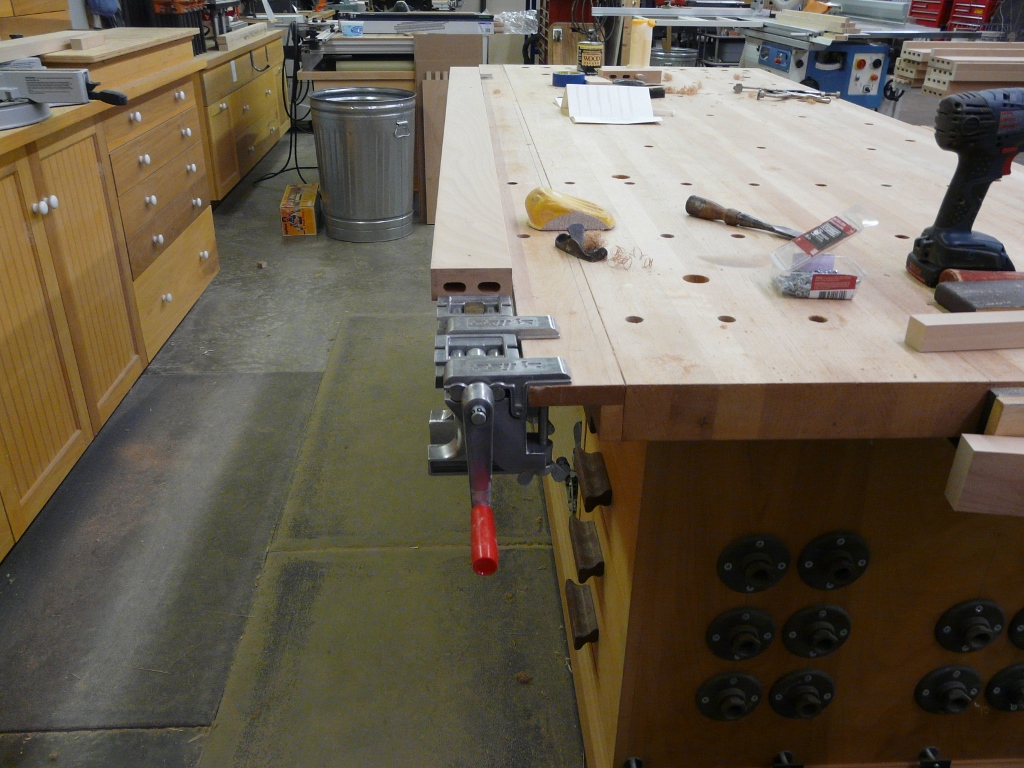
- 1.jpg (448.7 KiB) Viewed 3819 times
The new Zyliss in action.
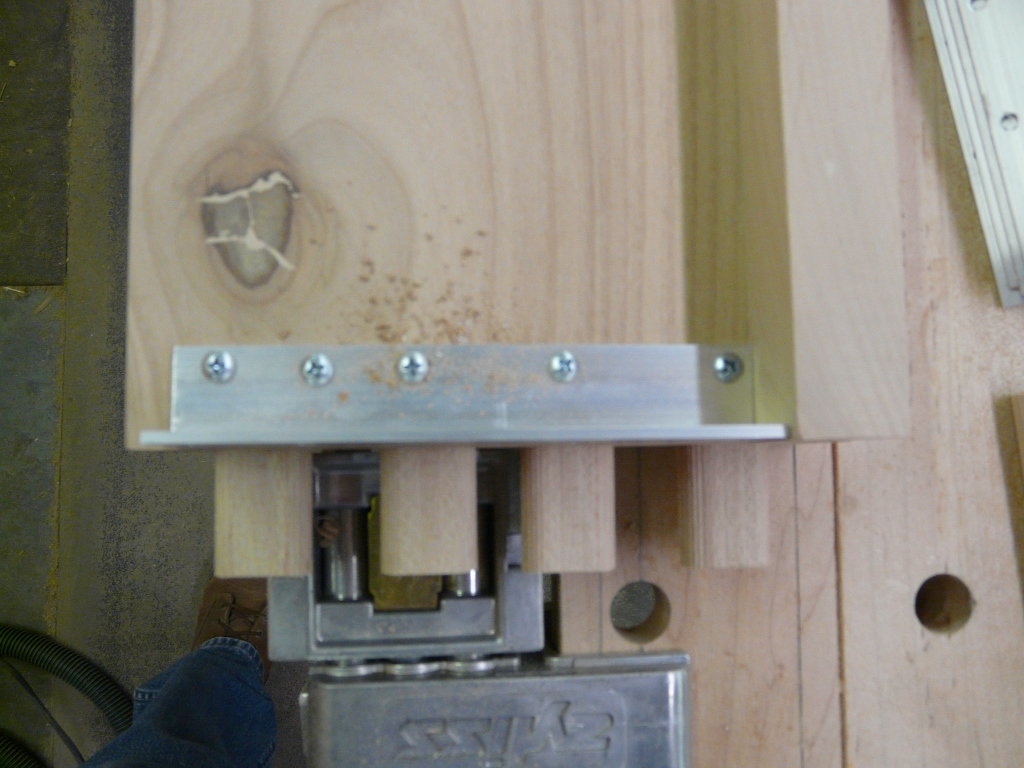
- 2.jpg (373.4 KiB) Viewed 3819 times
It worked great holding the rails for sanding and attaching the aluminum angles.
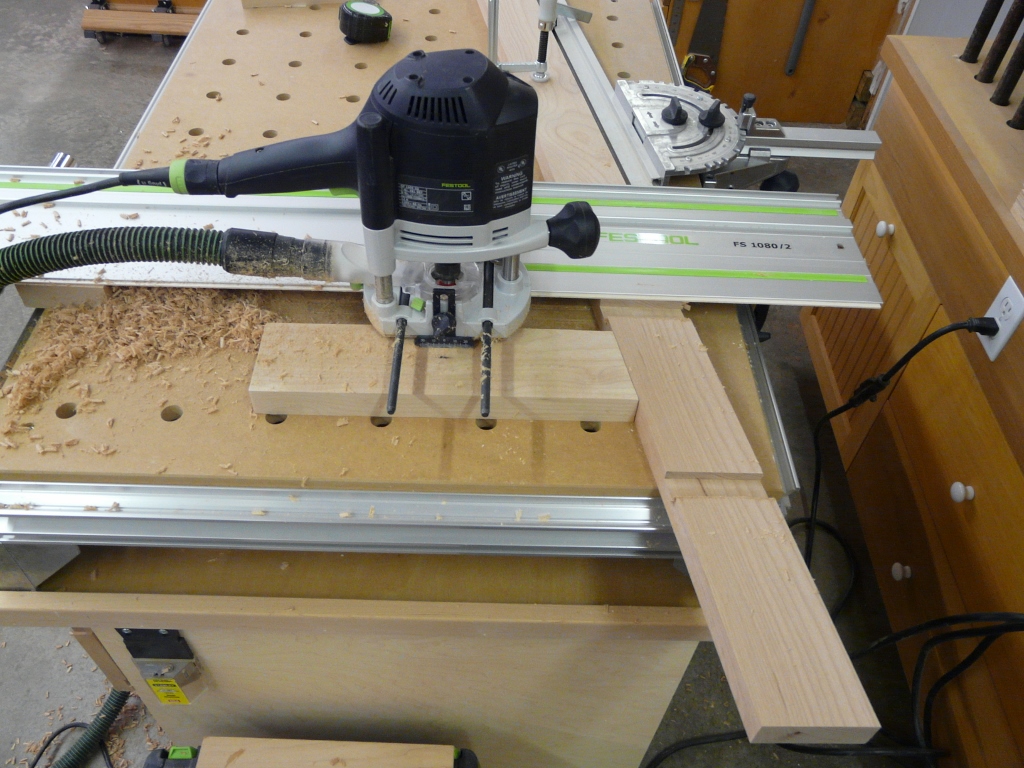
- 3 (1).jpg (444.02 KiB) Viewed 3819 times
Next step was to route the left and right ladder sides.
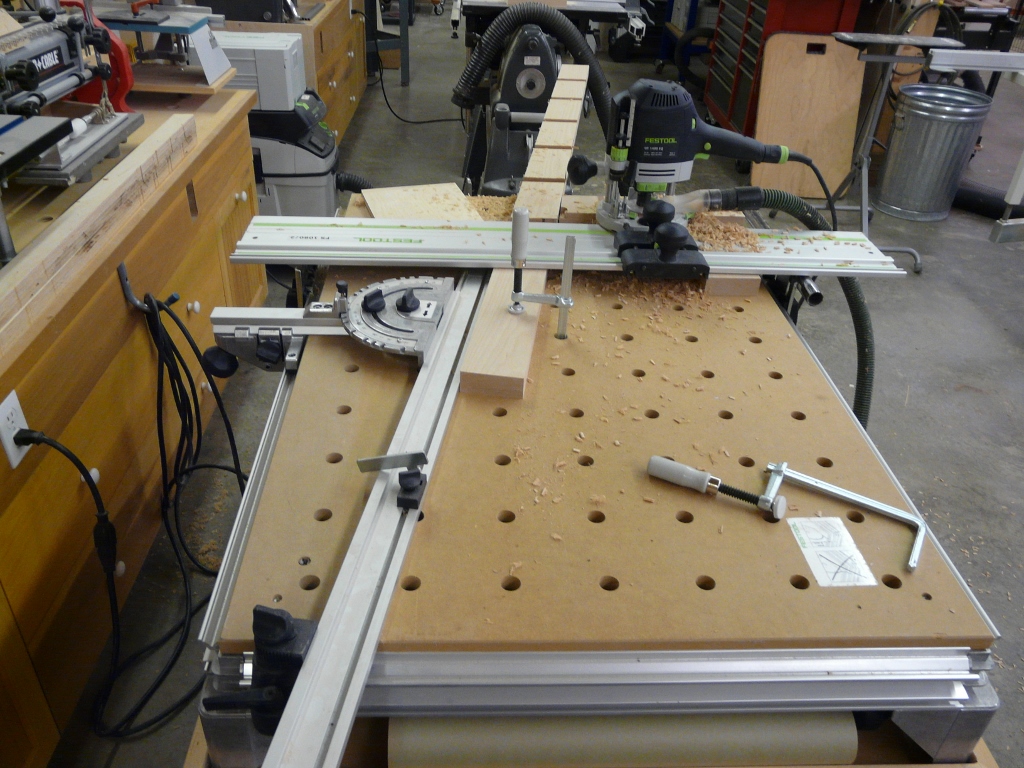
- 4.jpg (460.34 KiB) Viewed 3819 times
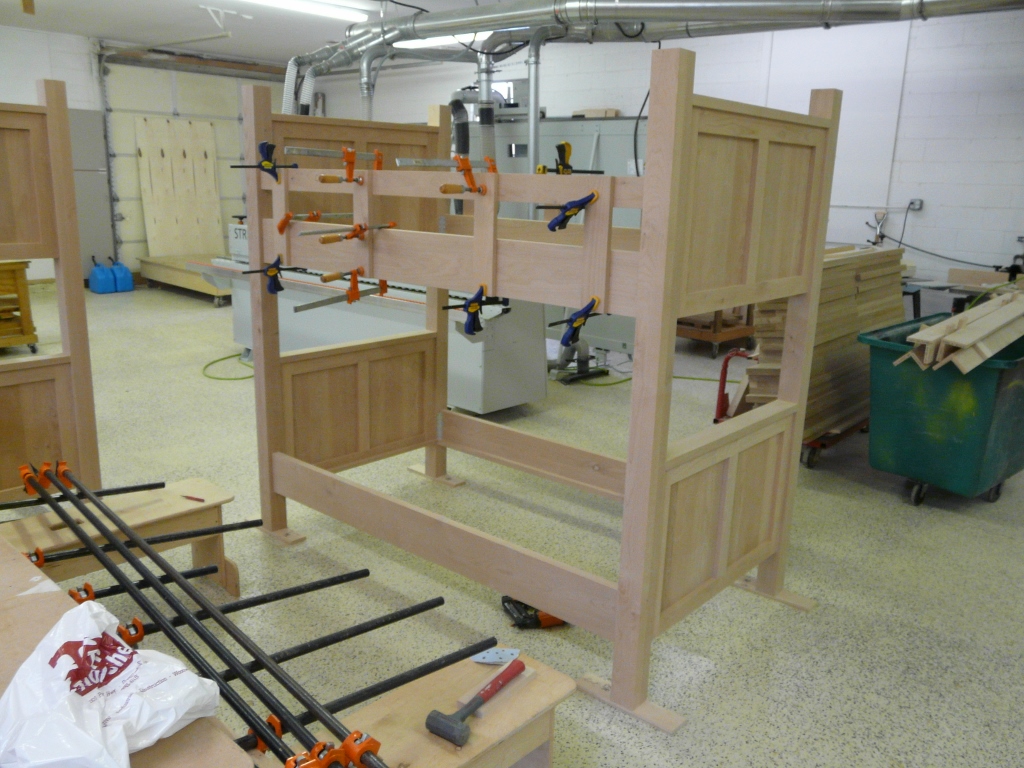
- 5.jpg (442.11 KiB) Viewed 3819 times
Due to a time crunch it was also time to take all the parts to a secret location for some help with assembly and finishing up.
Gee I wonder who runs this place. The floor is really clean!

Re: Occasionally In The Shop
Posted: Fri Jan 30, 2015 12:10 am
by JPG
Does your 'employer' know it is there?
Re: Occasionally In The Shop
Posted: Sat Jan 31, 2015 11:54 am
by mbcabinetmaker
JPG wrote:Does your 'employer' know it is there?
What he don't know wont hurt him!
Re: Occasionally In The Shop
Posted: Sat Jan 31, 2015 12:17 pm
by mbcabinetmaker
Today was to be a day to tidy up and do some maintenance in the shop.
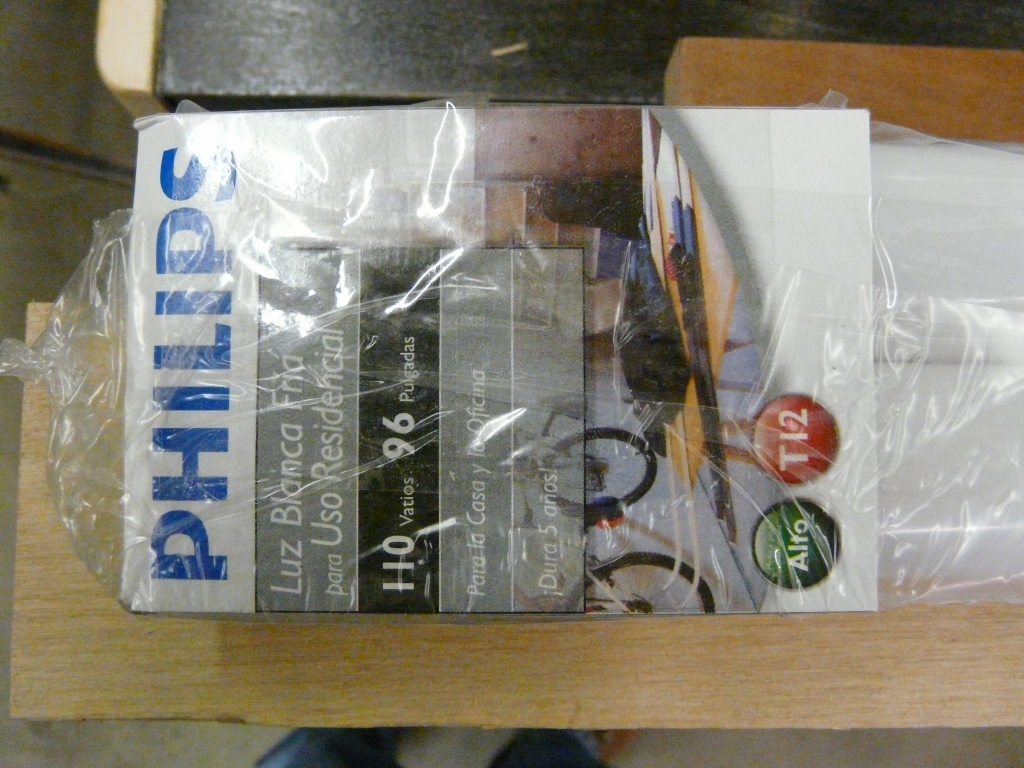
- 1.jpg (438.83 KiB) Viewed 3755 times
First thing that I encountered is the fact that I picked up the wrong bulbs at Lowes.

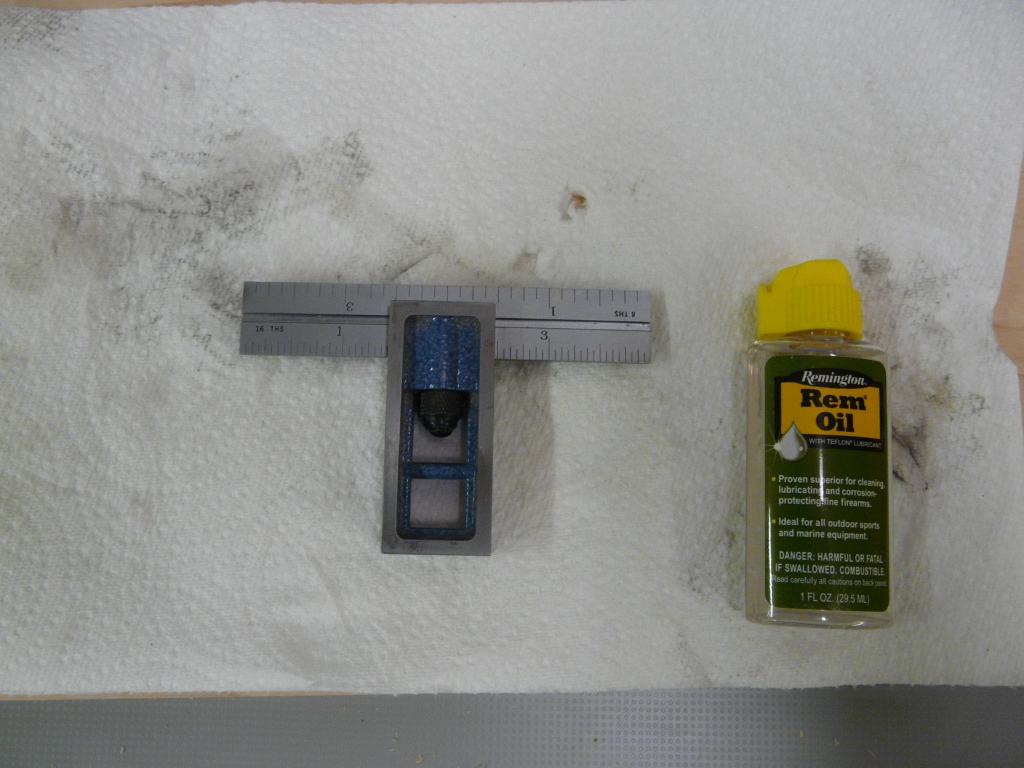
- 2.jpg (374.97 KiB) Viewed 3755 times
Be careful with those glue spills. I had some dried glue on this little square and when I scraped it off it had caused rust. I cleaned it up and oiled it.
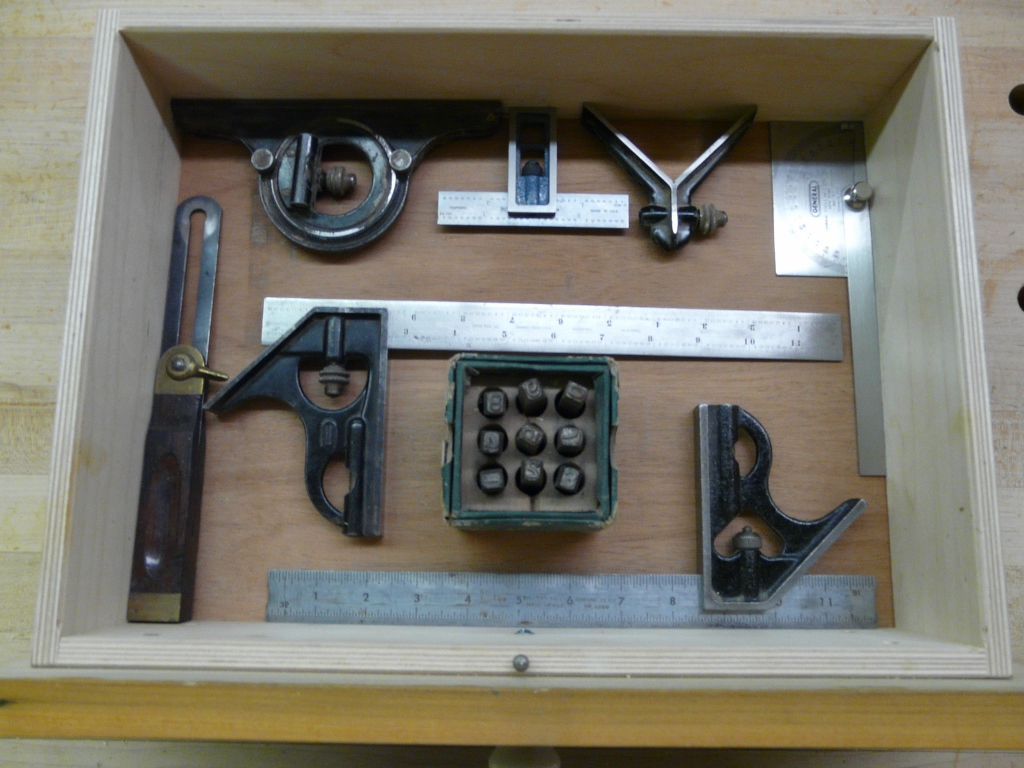
- 3.jpg (399.46 KiB) Viewed 3755 times
In the for ground is an old Millers Falls combo square that I bought at an auction about 27 years ago. It is my all time favorite but over the years the little scribe tool had become so loose that I just left it in the drawer. I decided to drill a hole in the drawer to make it a little raiser to find. The 3 piece Starrett in the back ground belonged to my father in law. He was a machinist by trade. Those sell new now for well over $200.00.
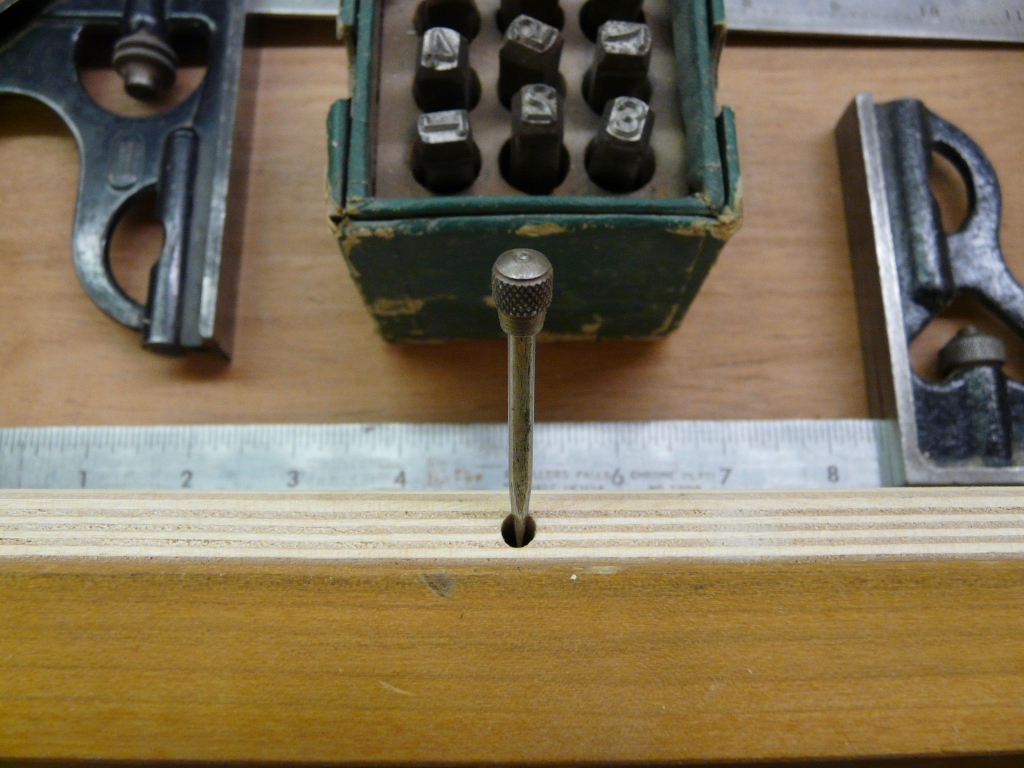
- 4.jpg (417.59 KiB) Viewed 3755 times
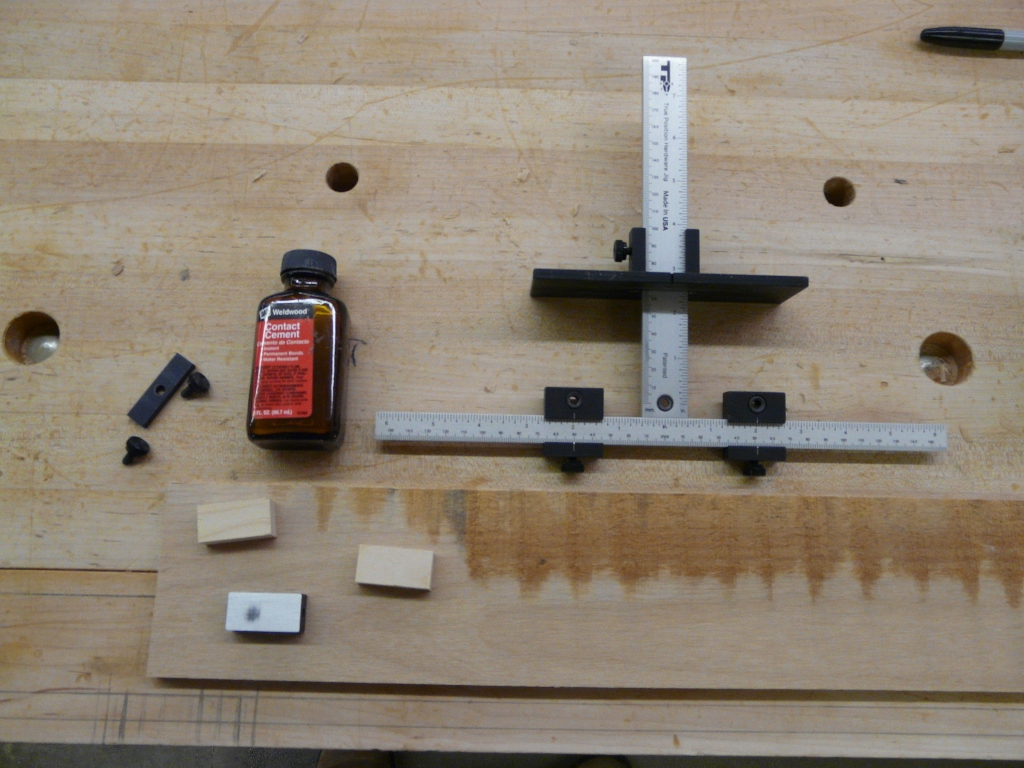
- 6.jpg (421.56 KiB) Viewed 3755 times
Next project was to modify this hardware drilling gig. It is a very nice and expensive one but the design of the stop for drilling doors caused me to make a mistake and drill holes about 1/2" too high last week.

My careless really but a simple modification will eliminate the problem.
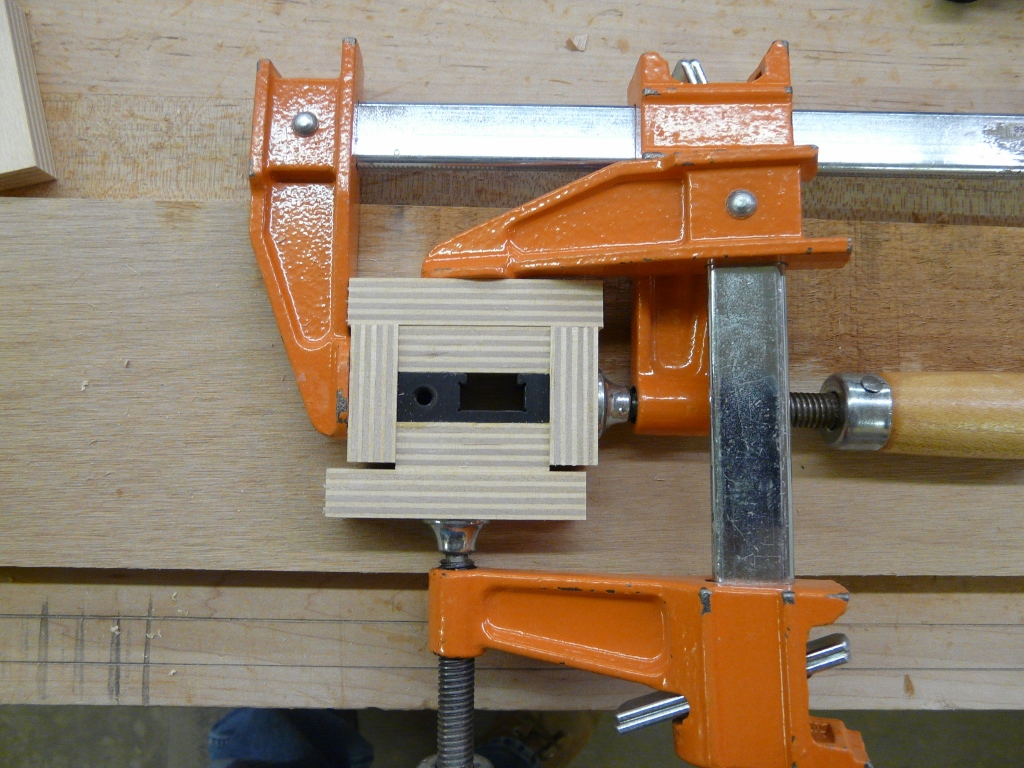
- 5.jpg (497.88 KiB) Viewed 3755 times
I am just gluing some wooden blocks to the stop. I am using contact cement and although not entirely necessary clamping it up will make the bond stronger. Much like using a jay or pinch roller for laminating.
Re: Occasionally In The Shop
Posted: Sat Jan 31, 2015 12:42 pm
by mbcabinetmaker
Re: Occasionally In The Shop
Posted: Sat Jan 31, 2015 12:56 pm
by JPG
I do not understand how that helped.
But then the same can be said for my understanding of how the tool is used to begin with. Hinge pilot holes????
The 'extra parts' in the first pix also cornfuzes me. They screw into the 'end' holes the blocks were glued to?
Re: Occasionally In The Shop
Posted: Sat Jan 31, 2015 8:09 pm
by mbcabinetmaker
JPG wrote:I do not understand how that helped.
But then the same can be said for my understanding of how the tool is used to begin with. Hinge pilot holes????
The 'extra parts' in the first pix also cornfuzes me. They screw into the 'end' holes the blocks were glued to?
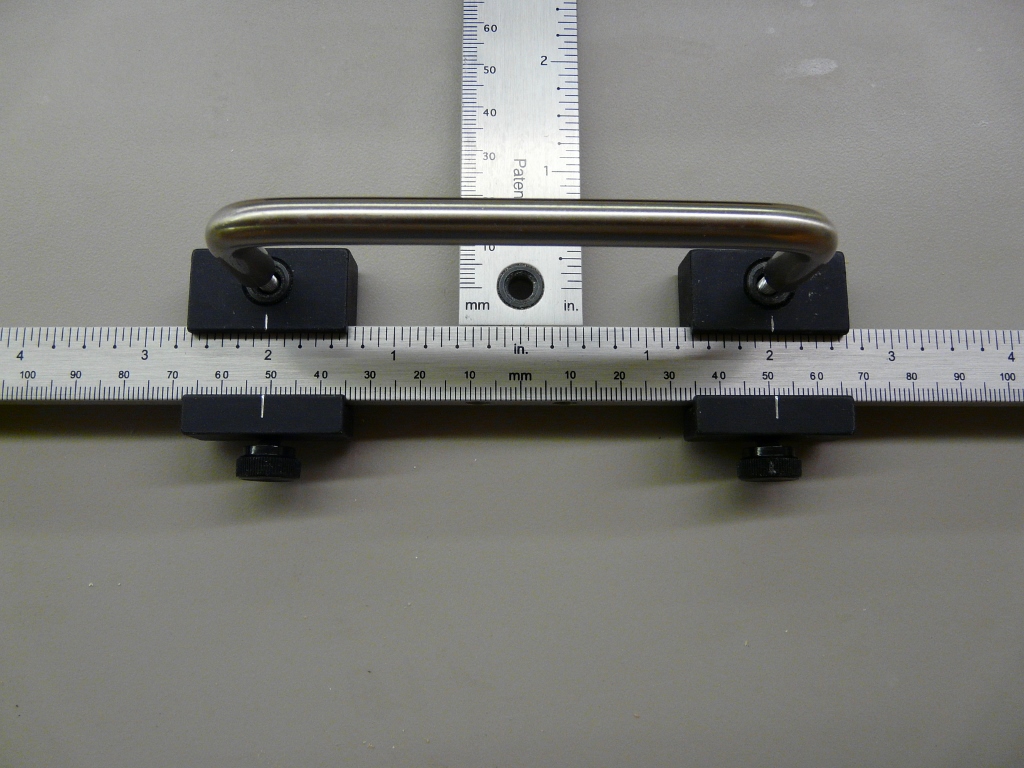
Maybe this will clear up your confusion. And yes the spare parts are part of the original stop.
- 1.jpg (378.3 KiB) Viewed 3728 times
First you set the jig up with the pull. This on is a standard 4" on center wire pull standard on a lot of commercial jobs.
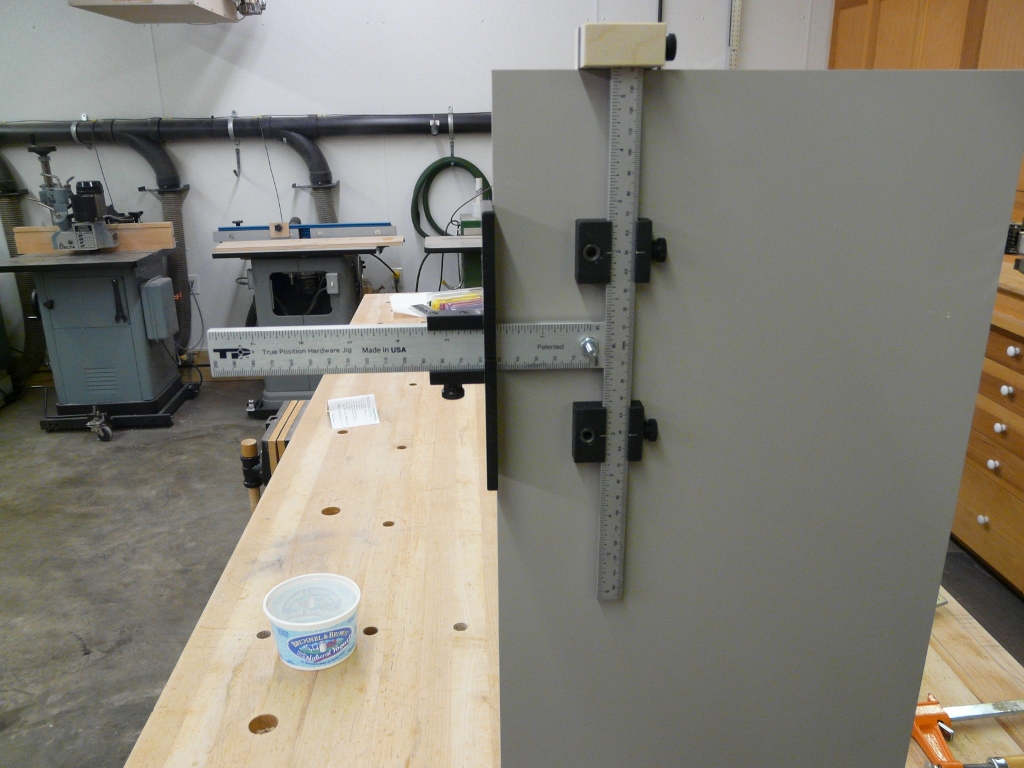
- 2.jpg (381.95 KiB) Viewed 3728 times
Now it is ready to drill and with my new modification there is no chance of placing the stop in the wrong position.
Re: Occasionally In The Shop
Posted: Sat Jan 31, 2015 8:23 pm
by JPG
And the purpose of the added screw and nut is to provide a handle'?
Re: Occasionally In The Shop
Posted: Sat Jan 31, 2015 8:26 pm
by mbcabinetmaker

 The hardest part of this job was removing the radiator hose.
