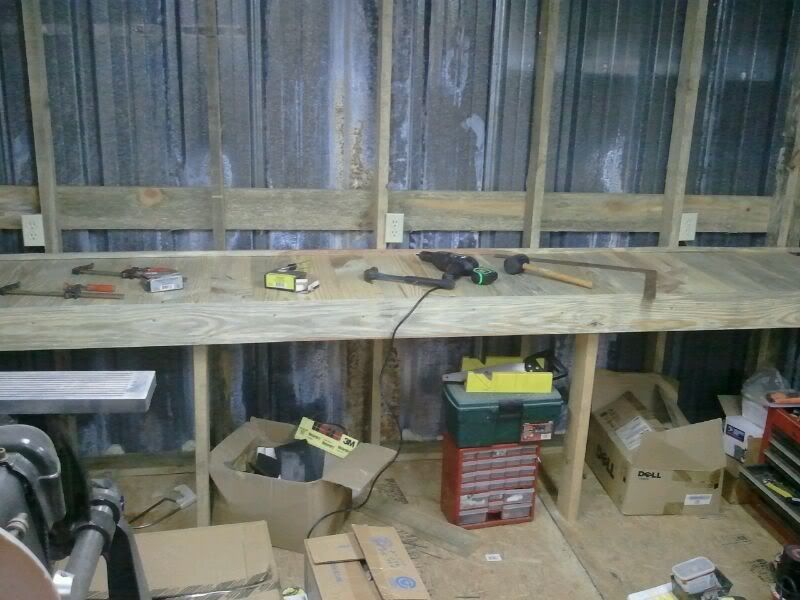
First order of business is to build a shelf/counter/work area against the back wall. This will extend 2' from the wall and extend across the entire back wall. I'll probably add some shelves under it on either end, leaving the middle open so I can sit there with a stool or chair. I'll add some shelves above it on either end as well with maybe a pegboard above it between the shelves for hanging tools.
No time to do alignments on my machines - I've got to get to work on shelves so I can get organized! And this isn't really "woodworking" but "carpentry" so woodworking level of accuracy isn't required.
I was having too much fun making sawdust to stop and take pictures. My shelf/counter/work area will be 2"x4" supports and 1"x6" planks for the surface. I cut lengths of rough cut 1"x6" lumber to roughly 25" long (just using a circular saw), then used light passes on the planer to get them flat and consistent in thickness. This brought them down to about 15/16". Then I jointed one edge on the jointer, and ripped the other side parallel on my Craftsman table saw. I decided to use tongue and groove joinery between boards. I've never cut tongue and groove before, but this was a stunning success!
I wanted to use my Craftsman wobble dado (which I use when there is no benefit to using my stacked dado set over the wobble) on my Mark 5 to cut the tongues. But before I could do that, I had to make a dado insert. This was also my first attempt at making table inserts. It took me a few minutes of thinking and planning and a couple false starts to figure out the best way to go about making them.
My bandsaw is out of commission (just before I had to pack everything up for the move, I accidentally started the Mark 5 on a high speed with it attached to the bandsaw and the old tires were slung off the wheels in several pieces - scary learning experience!), so used the planer to plane a couple pieces of oak (?) to the right thickness. Then used my Craftsman table saw to rip them to the right width. I didn't measure anything - just set them on a flat surface with the existing insert to judge thickness, then used the existing insert to set the fence width on the table saw. I used the disc sander on a 10ER to round the ends.
Then I used the Mark 5 as an overhead router (along with the shaper/drum sander fence) to route the lip around the edge of the underside. Again, I just used an existing insert to set the depth and width of cut. Finally I used the Mark 5 in drill press mode to drill and countersink the screw holes. I made two inserts as I was going in case I messed one of them up. I figured if both survived, it wouldn't hurt to have that extra one anyway.
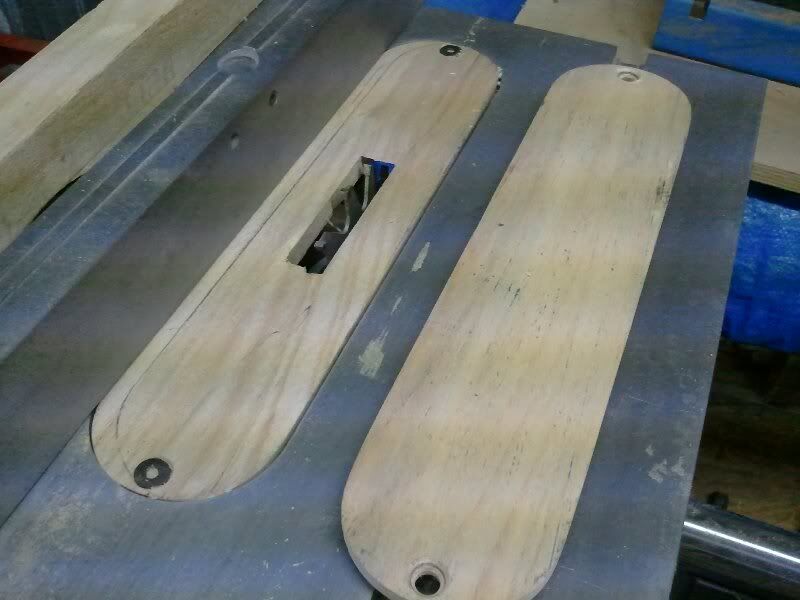
I then installed an insert, mounted the dado blade to the Mark 5, clamped a board over the insert, and slowly lowered the table onto the blade until I had the depth I wanted. Raised the table, added the sacrificial fence and adjusted it to the width I wanted then lowered the table back down to make the cut into the sacrificial fence. Width and depth of cut was just eyeballed. I don't know what the best practice is, but I wanted the tongue to be about 1/3 the thickness of the board. So I eyeballed a couple marks on the edge of a board and used that to set the blade height.
To cut the grooves, I used my Craftsman table saw. Again, no measurement. I used one of my boards to set the fence so the outer edge of the blade was even with the outer edge of the tongue and made some test cuts. Run a board through, flip it around and run it again, clean out any strip in the middle with my pocket knife, and see how the tongue fit the groove. A couple of tiny adjustments and I had a nice snug fit.
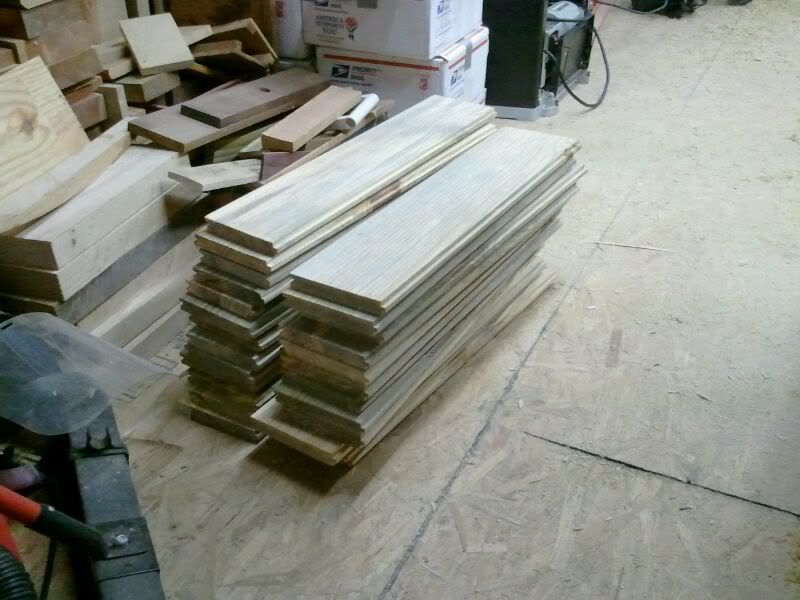
With the planks done (except cut to final length) I started framing out the platform they would sit on. I didn't get far with that until it was time for supper and my workday was done. All said, I think that was great progress but I would have loved if I could have gotten that shelf/work area finished.
Not a bad day! I got to use my planer, jointer, table saw, Mark 5 (dado, router, drill press) 10ER (disc sander). I did some things I've never done before (tongue and groove, custom zero clearance inserts). I made a lot of sawdust and made great progress on my first shelf/counter thingy!