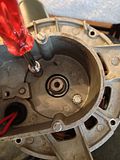
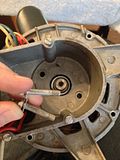
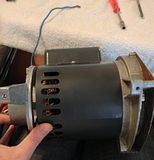
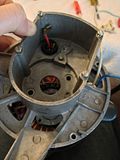
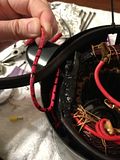
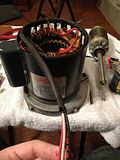
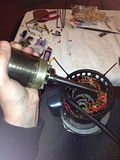
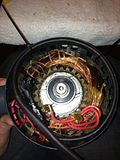
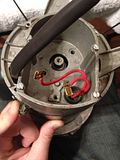
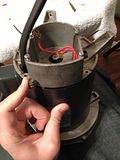
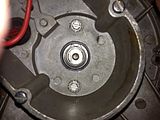
Shopsmith Motor Guide - Bearings, Wiring, Reversing, Dual Voltage 115v/230v
Posted: Mon Apr 29, 2013 3:49 pm
Updating Currently In Progress...the guide is accurate but I am changing it to make it easier to read.
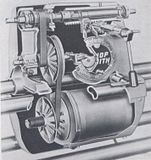
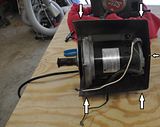
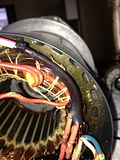
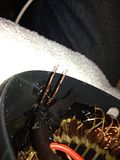
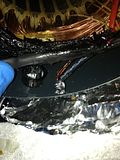
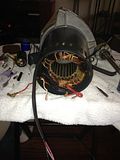
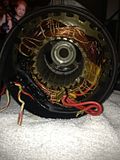
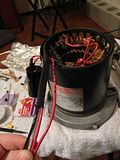
The thread will cover replacing bearings, rewiring to be reversible, and rewiring for 115v or 230v. The motor example used is an AO Smith 1 & 1/8th Horsepower motor, but the process is similar for the 3/4 HP and GE motors as well. Links to tools or products are simply what I use and am happy with, but not necessarily linked to where I bought them.
Your safety is your responsibility! If you are not confident that you are able to complete this entire process safely, please consult a motor shop or one of the forum members who offers this service.
Clicking any image will open a larger photo gallery in a new window. When referring directly to a picture, (parenthesis and italics will be used). When referring to wire colors, colored font will be used, e.g. red, white, black, etc.
Tools Needed For Bearing Replacement / Rebuild:
Bearing Puller or Press
Good Snap Ring Pliers
Needle Nose Pliers
5/32" Allen Wrench
#2 and #3 Phillips Head Screw Drivers
Flat Head Screwdriver
1/4" Socket
1" x 4" x 30" board
Marker / Sharpie
Additional Tools Needed For Re-wiring / Reversing:
Ohmmeter / Voltmeter
Soldering Iron and Solder
Wire Stripper and Cutter
Sharp Knife, Razor, X-Acto Blade, etc.
Parts List:
NTN 6203LLBC3 Electric Motor Bearings or Equivalent (17mm x 40mm x 12mm)
Insulating Spray Varnish
Forward / Reverse Switch (DPDT On/On Rated for Machine Tools)
If you are replacing bearings and not re-wiring / reversing your motor, follow through post # 6
If you are reversing your motor, I strongly recommend replacing the wiring with 12 gauge wiring. This will allow the motor to take full advantage of a 15 or 20 amp power source. The best forward/reverse switch would be a DPDT On/On, but a DPDT On/Off/On switch could be used also. If an On/Off/On is used and the motor is started with the switch in the center position, the motor will hum but not spin. If the operator allows the motor to stay on like this for too long, it will burn up.
If upgrading to a 20 amp circuit, everything in that circuit should be rated for 20 amps. This includes the wall outlet and wiring, power cord, On/Off switch, Forward/Reverse switch, and wiring. I found the wiring for less than $5, the switches for $8.50 each, and the new power cord is just as cheap. The switches I purchased specifically said for machine tools up to 1.5 horsepower.
