Ed sent his file, however I wasn't awake enough when I replied to remember that the trial version files can't be opened in non-trial software on other computers. It will open in full versions on the same version.
I did this in Aspire, however, the same methods are available in VCarve Pro.
Created a new job, made the material size 10" x 10".
Copied graphic from PDF onto the drawing area.
Traced the bitmap. There were a lot of extraneous vectors from noise that I didn't want, so I moved the vectors that I wanted to keep to a new layer, then deleted the original layer with its trash and the bitmap layer.
If this were a real project that I was doing, I would have cleaned up the vectors as needed.
This left me with the vectors, image below, ready to set up the toolpaths.
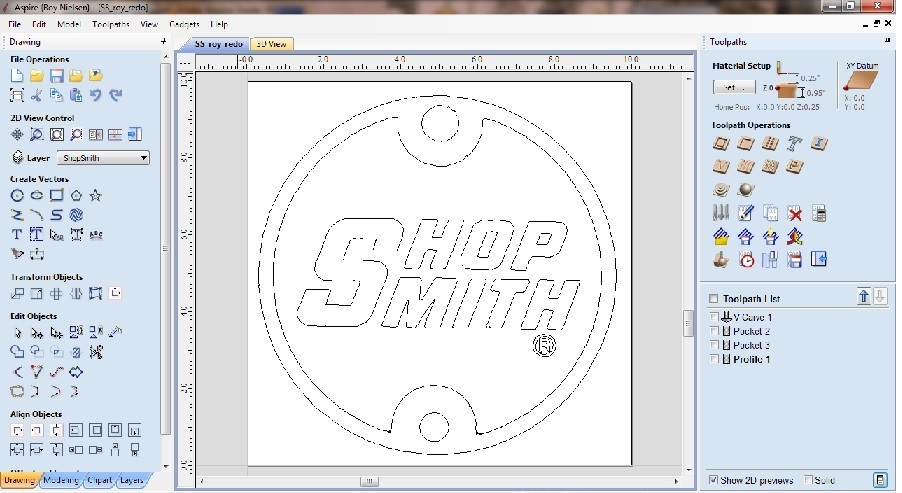
- CNC_Shopsmith_01.jpg (133.43 KiB) Viewed 2534 times
I knew that the area of the Registered could not be pocketed as most of the areas would be too small for a flat end mill. The solution is to vcarve the area using a v-bit. I want to do this toolpath first, all other toolpaths will use the same bit so I wouldn't have to change bits more than once during the job.
To vcarve the Registered symbol, I selected all of the (R) vectors except the outermost circle. Then, I selected the VCarve Toolpath tool, selected a 90 degree v-bit, calculated, and previewed (image below). I changed the machined area color to orangeish to make it easier to see the removed area.
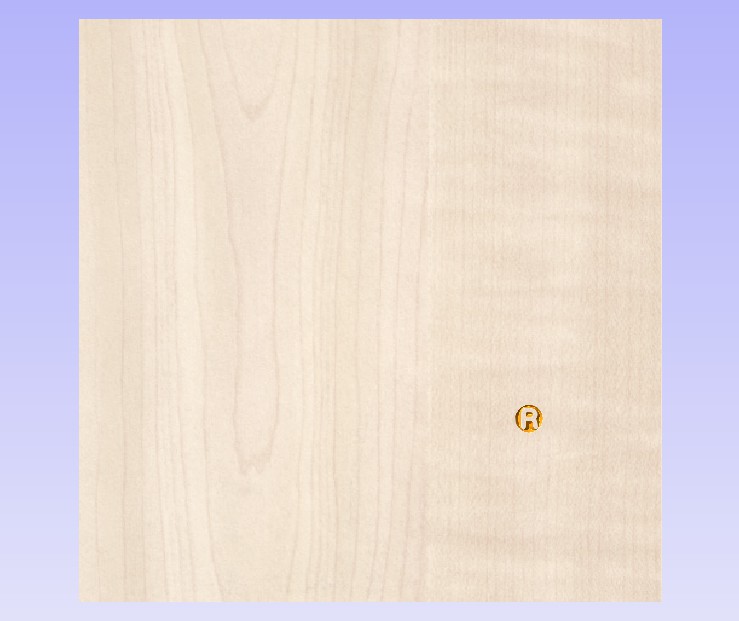
- CNC_Shopsmith_02.jpg (53.49 KiB) Viewed 2534 times
The next thing I wanted to work was to pocket the Shopsmith area. I selected the letters, the inner big circle and the outer (R) circle, clicked on the pocket tool, set depth to 0.10", selected a 1/8" end mill which I will use for the rest of the process, created the toolpath and ran the preview, below.

- CNC_Shopsmith_03.jpg (66.12 KiB) Viewed 2534 times
I'm assuming that the upper and lower holes are through-holes. With the size of this project, the mill size (1/8) must be considered against the hole size. I could have used a profile cut, but I would have had to leave tabs in place so that the waste material didn't come loose and potentially damage the mill; however, these tabs must be cut out by hand and cleaned up. I instead chose to pocket the hole completely out which will take longer to machine but probably save that back versus hand cleanup. I selected the two holes, ran the pocket tool, set depth to material thickness, generated the toolpath and preview, below.
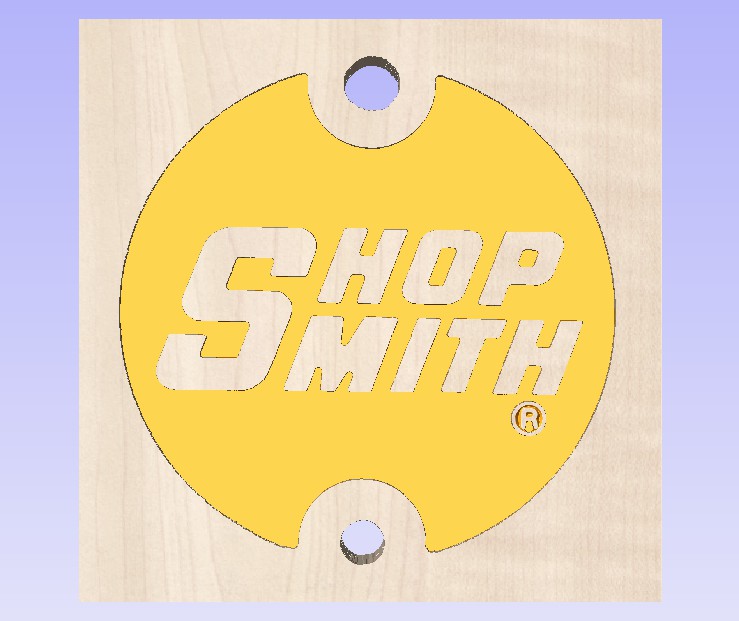
- CNC_Shopsmith_04.jpg (67.73 KiB) Viewed 2534 times
The last job was to cut the project out of the material by selecting the outermost circle and using the Profile tool, same bit, depth set to material thickness, I added four tabs, generated the toolpath and preview, below.
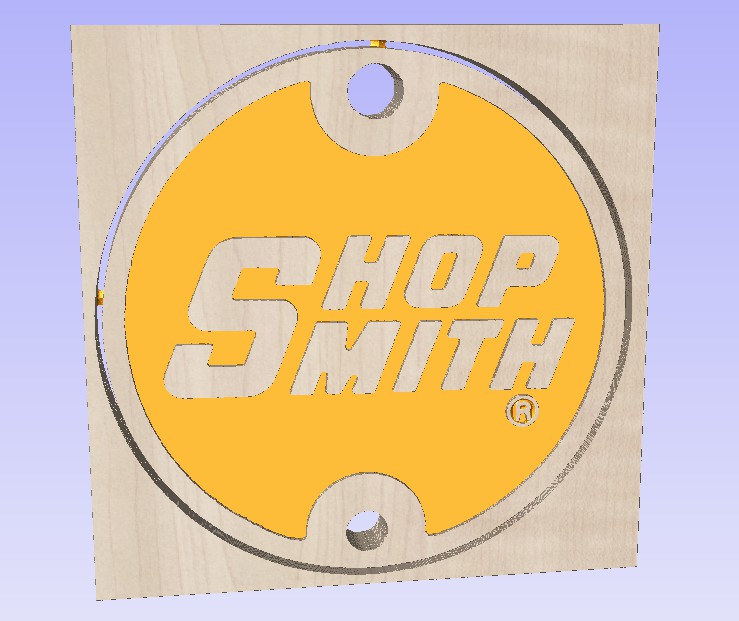
- CNC_Shopsmith_05.jpg (80.71 KiB) Viewed 2534 times
The following images were rotated so that I can better see the depth and the tabs from the back. If I desired, I could modify, delete, add, whatever and regenerate the toolpaths and preview.

- CNC_Shopsmith_06.jpg (78.03 KiB) Viewed 2534 times
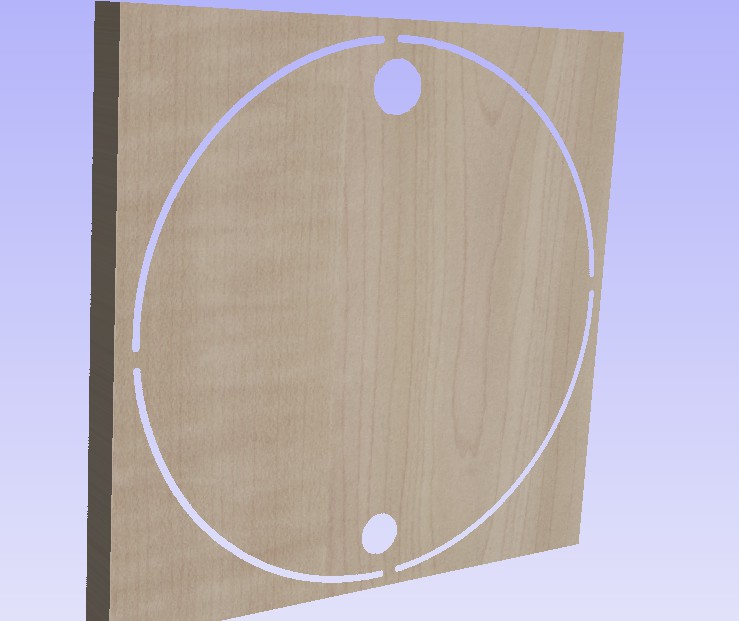
- CNC_Shopsmith_07.jpg (58.56 KiB) Viewed 2534 times
 ) included a DVD (three I think) with a complete tutorial on how to set up the software and when to use (or not use) specific functions. I know they have a site on YouTube because I just checked.
