Page 1 of 1
Greenie Reconditioning
Posted: Mon Jan 09, 2017 5:25 pm
by wesneveu
I first introduced this Greenie two days prior to my surgery at that time my goal was to dismantle it and store it so when I got home from the hospital I could start the reconditioning one part at a time without any heavy lifting.
http://www.shopsmith.com/ss_forum/viewt ... 80#p224780
After much cleaning and rust removal it's showing good progress
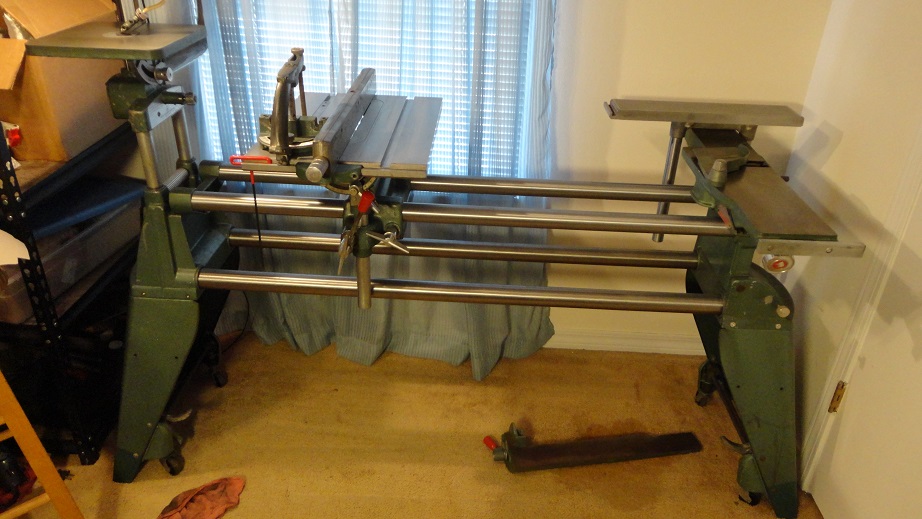
- DSC02640.JPG (171.43 KiB) Viewed 4405 times
- DSC02638.JPG (151.92 KiB) Viewed 4405 times
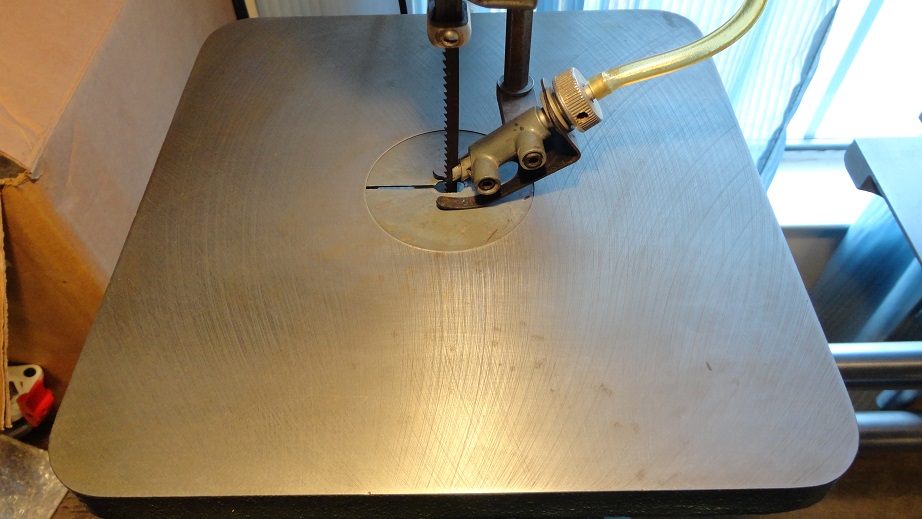
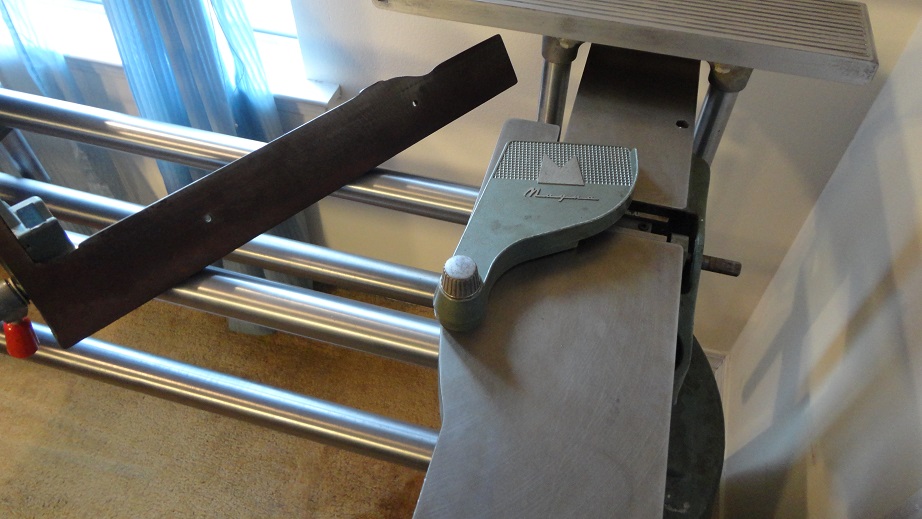
The jigsaw table and Jointer Tables cleaned up nicely, they were as rusty as the jointer fence which I have yet to do.
- DSC02637.JPG (160.14 KiB) Viewed 4405 times
I hesitate to call this a restoration, it's more a reconditioning because I am only attending to the mechanicals in order to press it into service as soon as possible.
Re: Greenie Reconditioning
Posted: Mon Jan 09, 2017 5:43 pm
by wesneveu
Today I focused on removing the non clutch Gilmer drive which was stuck on the drive sleeve.
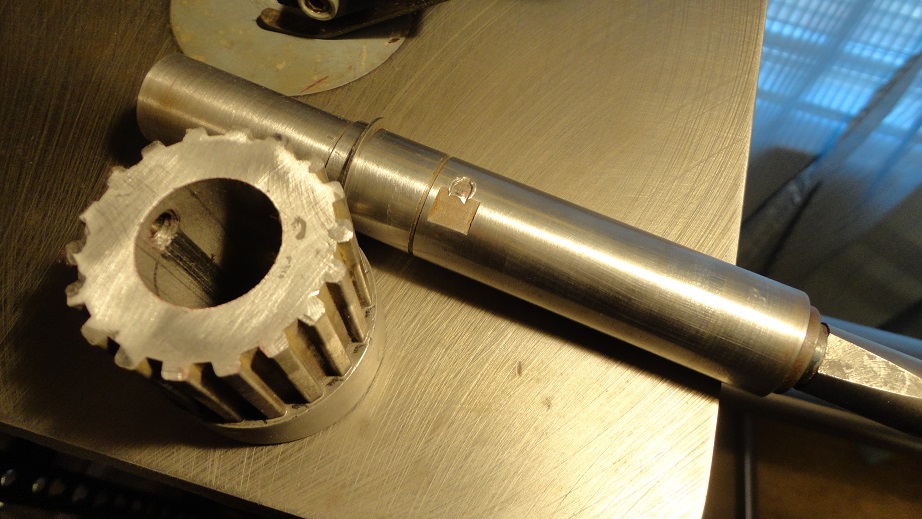
- DSC02633.JPG (183.4 KiB) Viewed 4401 times
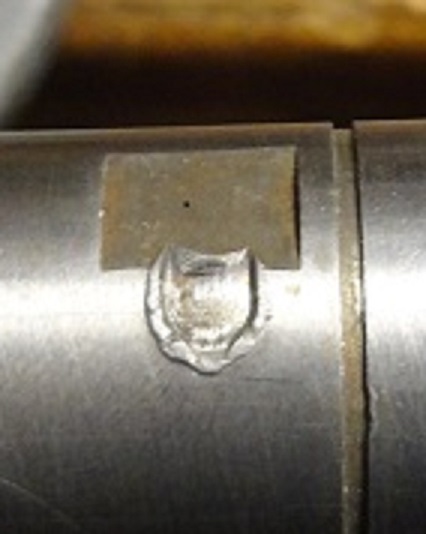
It looks like the previous owner crashed the machine causing the drive to turn a little and dig the set screw into the shaft. In hindsight I should have pressed it off in the other direction to minimize the scraping which the burr on the shaft caused.
DSC02634.JPG[/
After cleaning up the shaft with a swiss 00 file and the inside of the Gilmer drive with 220 shop cloth to achieve a slip fit with the hand I think it will be serviceable.
[attachment=1]DSC02634.JPG
Re: Greenie Reconditioning
Posted: Mon Jan 09, 2017 9:34 pm
by ERLover
Nice redo!!
Re: Greenie Reconditioning
Posted: Mon Jan 09, 2017 10:16 pm
by BuckeyeDennis
ERLover wrote:Nice redo!!
The OP, or his machine?

Re: Greenie Reconditioning
Posted: Mon Jan 09, 2017 10:59 pm
by JPG
BuckeyeDennis wrote:ERLover wrote:Nice redo!!
The OP, or his machine?
I say both!

BTW I do not think the pulley was originally set screwed on the flat, but on the edge of the flat.
Re: Greenie Reconditioning
Posted: Mon Jan 09, 2017 11:07 pm
by ERLover
BuckeyeDennis wrote:ERLover wrote:Nice redo!!
The OP, or his machine?
Never seen the OP, was she nice?
Re: Greenie Reconditioning
Posted: Tue Jan 10, 2017 9:14 am
by wesneveu
JPG wrote:BuckeyeDennis wrote:ERLover wrote:Nice redo!!
The OP, or his machine?
I say both!
BTW I do not think the pulley was originally set screwed on the flat, but on the edge of the flat.
I had considered that seeing as how there are no other set screw marks in the flat. It did however slip a bit owing to the shape of the set screw mark, possibly because it did have a good purchase on the flat.
- DSC02635.JPG (54.73 KiB) Viewed 4303 times
Re: Greenie Reconditioning
Posted: Wed Jan 11, 2017 9:18 am
by wesneveu
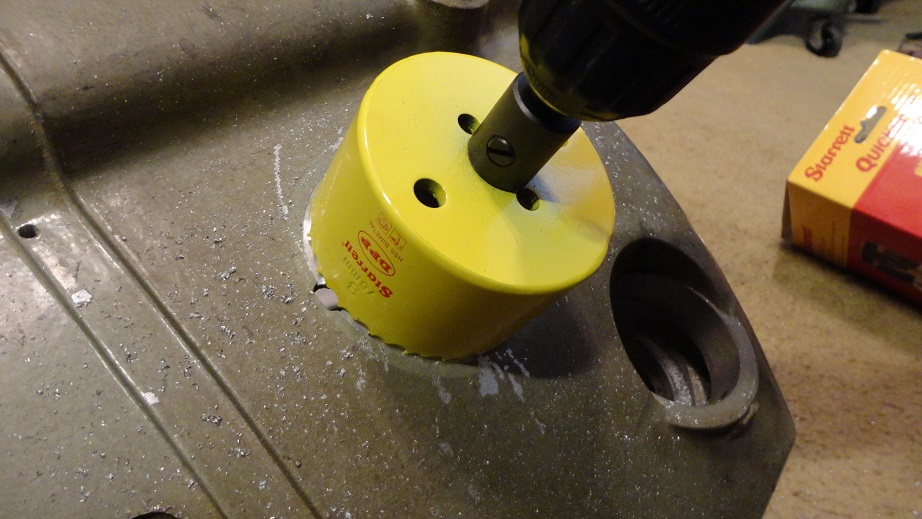
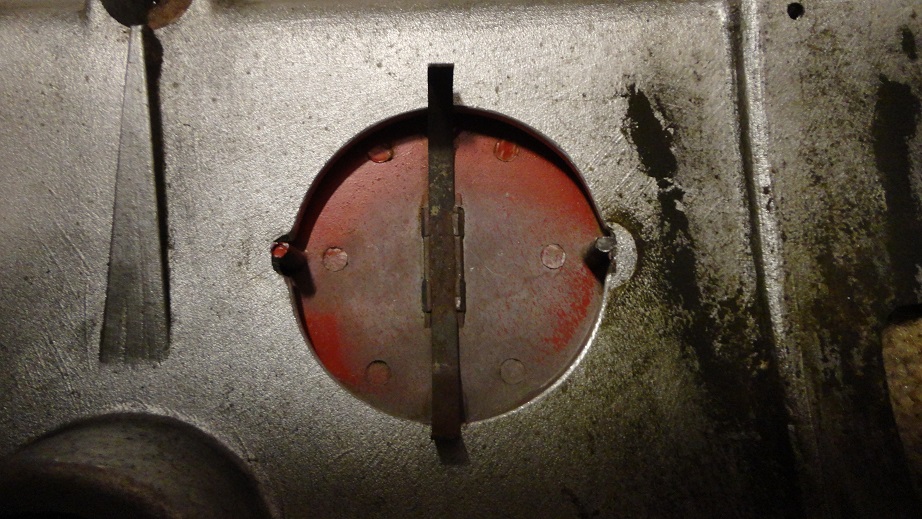
Latest update, turning to the headstock I installed 8 32 Helicoils into the motor pan and belt cover mounting holes as well as cutting a 3 inch access hole behind the logo cover, I had to bend the spring a little to get it to fit properly. Now i can service it easier and have stainless mounting screws to match all the stainless fasteners i used mounting the legs and table insert.
- DSC02643.JPG (174.45 KiB) Viewed 4246 times
- DSC02648.JPG (226.03 KiB) Viewed 4246 times
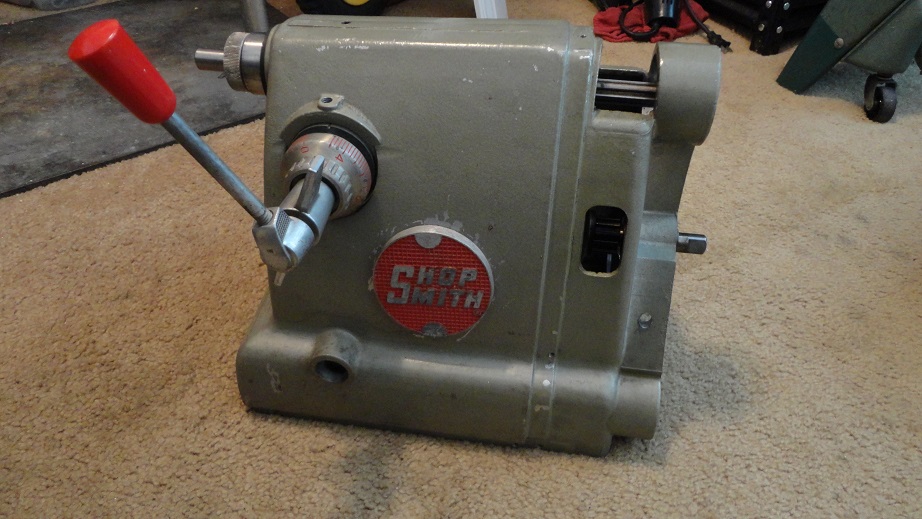
Clean up with mineral spirits followed by Dawn dish washing detergent and a mock build while waiting for the bearings and belts.
- DSC02650.JPG (186.23 KiB) Viewed 4246 times