Page 1 of 3
Rebuild of demonstrator 24616
Posted: Fri Sep 25, 2020 6:39 pm
by DOWeaver
Here is the form for adding and starting post
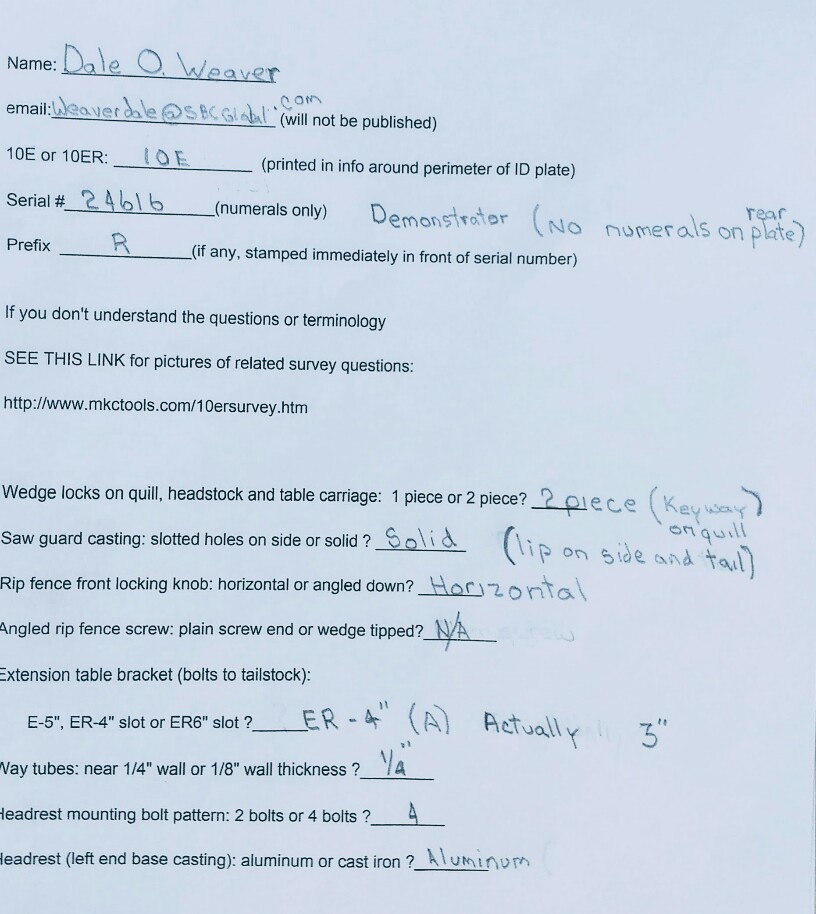
- IMG_20200925_153419705_copy_816x914.jpg (128.55 KiB) Viewed 4519 times
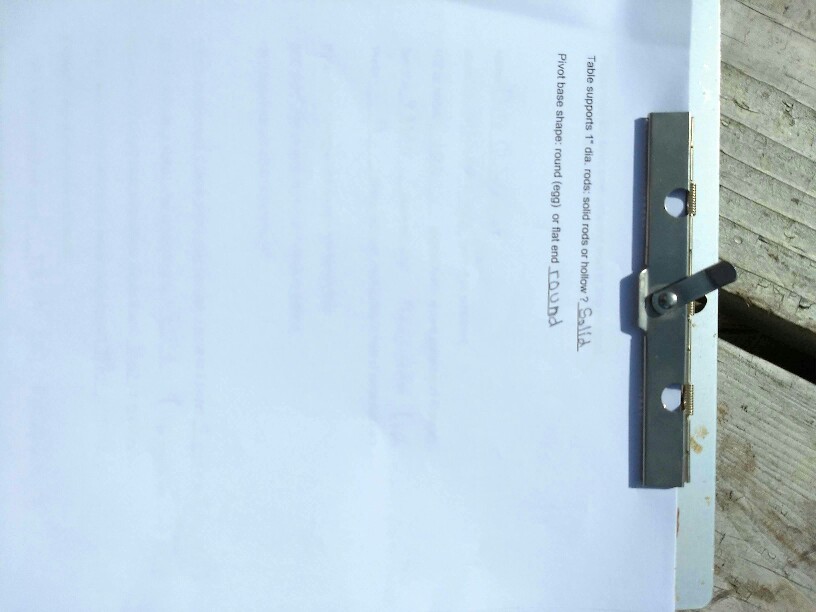
- IMG_20200925_153451337_copy_816x612.jpg (66.09 KiB) Viewed 4519 times
Now I must start working on this one. Pictures will be forthcoming. DOWeaver Indy
Re: Rebuild of demonstrator 24616
Posted: Sun Sep 27, 2020 5:47 pm
by DOWeaver
Re: Rebuild of demonstrator 24616
Posted: Fri Oct 02, 2020 1:55 pm
by DOWeaver
First question of rebuild. I have decided to build with jointer in place. Got the bench that this one was on when I picked it up. The foot prints are for the round end , And has the longer center board so the jointer rests upsidedown when not in use. Question will someone show a picture of how the planer, the tie bar, the headstock support (for planer) all goes together ? Having trouble with the hold-down knob and how this all goes together. DOW Indy
Re: Rebuild of demonstrator 24616
Posted: Fri Oct 02, 2020 10:09 pm
by rpd
DOWeaver wrote:First question of rebuild. I have decided to build with jointer in place. Got the bench that this one was on when I picked it up. The foot prints are for the round end , And has the longer center board so the jointer rests upsidedown when not in use. Question will someone show a picture of how the planer, the tie bar, the headstock support (for planer) all goes together ? Having trouble with the hold-down knob and how this all goes together. DOW Indy
Link to the manual for the Jointer mounting kit.
http://vintagemachinery.org/pubs/detail.aspx?id=2704
Link to the manual for the Jointer.
http://vintagemachinery.org/pubs/detail.aspx?id=2692
Re: Rebuild of demonstrator 24616
Posted: Sat Oct 03, 2020 10:19 am
by DOWeaver
RPD :Thank you, that is better than hoped for. DOW Indy
Re: Rebuild of demonstrator 24616
Posted: Sun Oct 04, 2020 1:49 pm
by chapmanruss
In your second post you commented,
Some of the parts had numbers others had just an (A). I can't remember what (Russ) said about that ? Change over to new parts #.
You are referring to the casting mark found on the Motor Mount and the Lathe Tool Rest above. I do not know the reason for that mark. I have talked about the part number change that occurred in November 1951 and that it took some time for the new numbers to show up on parts.
You posted about the Jointer for your Shopsmith. I have one for my Model 10ER but I do not keep it mounted when it is not going to be in use for a project. On mine while flipped upside down it does not rest on the bench. For storage I made a stand with a cut out for the bracket to go through and the adjustment handle to clear. I don't have a picture of the Jointer on the 10ER flipped out of the way. I'll try to do that the next time I have it mounted on the 10ER. Below is a picture of it sitting on it's stand with my Jig Saw on it's stand behind it.
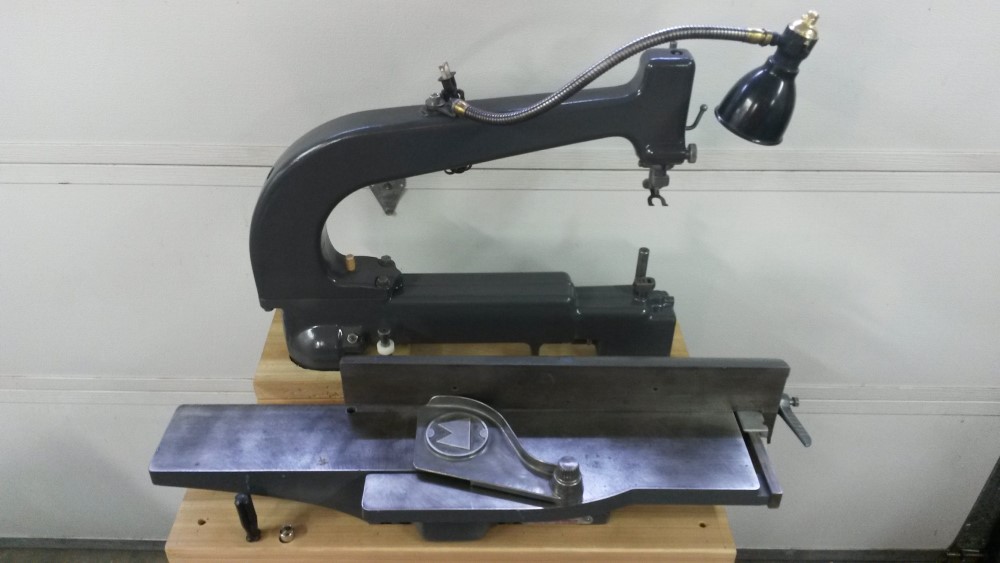
- 4E Jointer and Jig Saw.jpg (82.41 KiB) Viewed 4247 times
Do remember to remove the blade guard before flipping the Jointer upside down so it doesn't fall off and get damaged unless the guard has been upgraded and bolts on.
Re: Rebuild of demonstrator 24616
Posted: Wed Nov 04, 2020 5:53 pm
by DOWeaver
Re: Rebuild of demonstrator 24616
Posted: Thu Nov 05, 2020 1:07 pm
by chapmanruss
I like the color. It is a nice contrast to the bare metal parts. An interesting thing I noted is you have the fence for the wood extension table with the rear lock add on and not one of the metal extension table fence versions.
Re: Rebuild of demonstrator 24616
Posted: Thu Nov 05, 2020 1:13 pm
by RFGuy
I agree with Russ. I really like this color combination too. Makes me want to go out and get a 10ER to restore and copy your design...the look of bare metal next to that shade of blue looks really good (IMHO).
Re: Rebuild of demonstrator 24616
Posted: Thu Nov 05, 2020 3:26 pm
by DOWeaver
Russ : I'm a little lost on your comment? I have the wooden extension table and bracket. And the table in the picture is the pot iron one, with the shortbracket. Now as for the fence after you put on the new rear lock bracket you dont use the wooden extension ? The holes for the bolts and wing nuts are filled with bolts for rear lock bracket? DOWeaver INDY TY As for the color it is the true color ! If you dont think so wait 70 years and I will post pictures after sun, greese, saw dust and general where and tear change the blue to turquoise gray. he he he ..I like the contrast of color also with the bare medal . also as far as color goes , it seems that the spring houseing for the quill has a silver white color of paint. rfguy : TY also for the very kind words