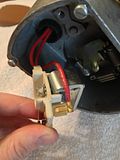
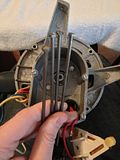
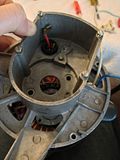
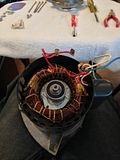
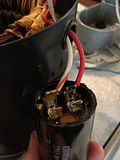
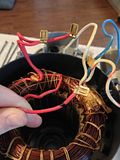
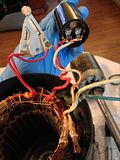
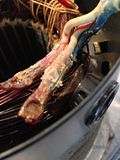
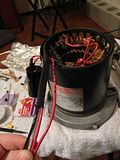
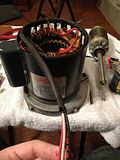
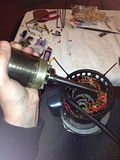
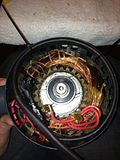
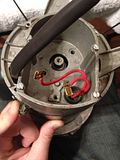
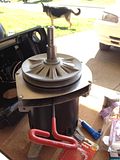
Connect a 3 foot length of
red, 16 gauge stranded wire to the bare start wire. If you choose to crimp, make sure the connector is similar to the original one and rated for VAC. I chose to solder the connection after braiding the new stranded wire around the bare start wire. Connect a 3 foot length of
white, 12 gauge stranded wire to the two remaining bare run wires. Cover the connections with heat-shrink tubing
(I used red tubing for this first layer and black for the next to aid in photography). Slide heat-shrink down the unattached ends of the
white and
red wires
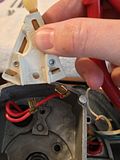
(with both wires bundled together) as far as it will go
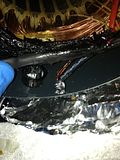
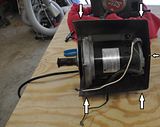
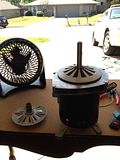
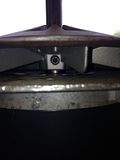
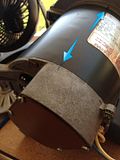
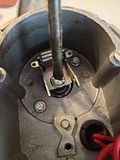
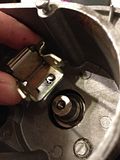
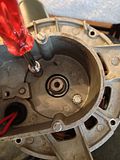
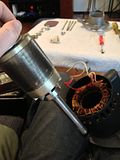
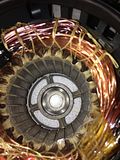
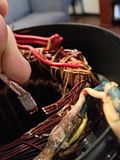
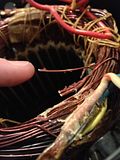
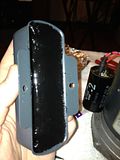
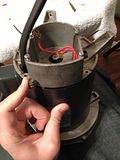
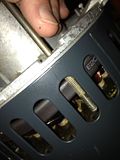
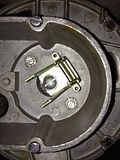
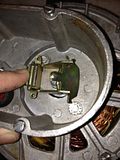
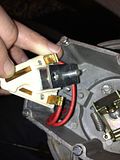
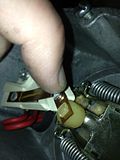
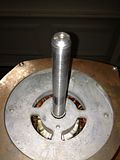
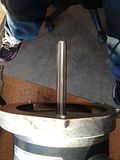
(2nd picture). Next, slide heat-shrink over the connections from the opposite end. This provides stability and double-insulation to the soldered wires. I painted the top of the windings underneath the new connections with liquid electrical tape in case I nicked anything or rubbed the varnish off. Bill Mayo told me that he used liquid tape before he found a spray varnish that he now uses. The varnish is a better solution if available. The liquid electrical tape will harden quicker if you blow on it after application.
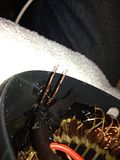
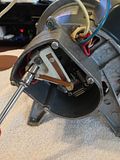
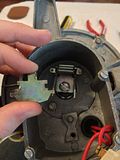
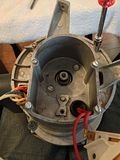
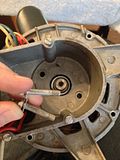
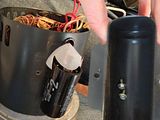
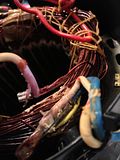
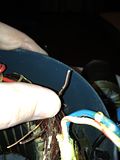
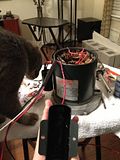
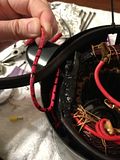
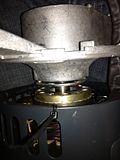
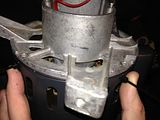
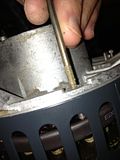
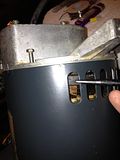
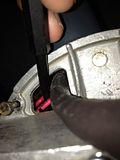
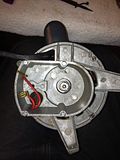
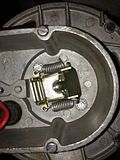
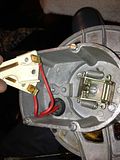
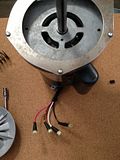
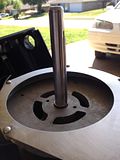
(The 1st picture shows the start wires grouped with the new white wire, I had not yet braided or soldered it yet. The last picture shows the splice heat-shrinked, and with the remaining splice dissected as described in the next step)
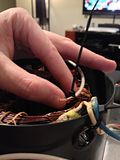
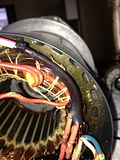
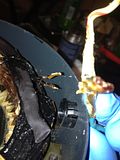
If you are
not upgrading to 12 gauge wiring, do
not dissect the splice connecting the
blue wire and
white/
red wire. Instead, cut the
white/
red wire off near the splice and insulate it
properly (This is a "HOT" wire when in operation). It will not be connected to anything other than the splice it's part of. Skip to the next post.
If you are upgrading the wiring to 12 gauge, dissect the splice connecting the
blue wire and
white/
red wire. Seperate, cut, and scrape / clean the bare wires as before. The
white/
red wire is no longer used, do not reconnect it. Connect a 3 foot length of
black, 12 gauge stranded wire to the 2 bare run wires
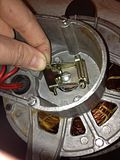
(you can use blue if you wish to match the original, but I used black to match corresponding wire on the power cord) Crimp or solder the connection and heat-shrink. Bundle your new
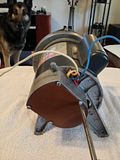
red,
white, and
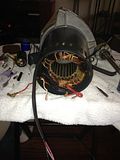
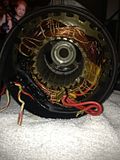
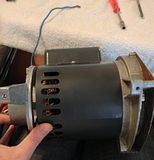
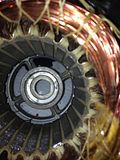
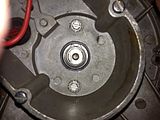
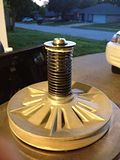
black wires together and slide a long piece of heat-shrink over them. Add heat to the bundle while making sure the 3 wires stay flat vs round in the tubing. The exit for the wires through the end cap is directly above the splices. This was not a problem with 16 gauge wire as it is much more flexible. To not stress the windings, route the bundle around the outer rim of the motor housing a full circle (picture 4 and 5) and zip-tie in place so it lies flat against the housing.