Using a Shop Smith Mark V on a Chris Craft Roamer refit

Moderator: admin

charlese
Platinum Member
Posts: 7501
Joined: Fri Dec 08, 2006 10:46 pm
Location: Lancaster, CA

Re: Using a Shop Smith Mark V on a Chris Craft Roamer refit

Post by charlese »

roamer46 wrote:After the epoxy cured, we got busy with carbide saws and shaped the FRP to the hardtop. Gotta love fiberglass work. Note to self: no matter how itchy the FRP dust can be, DO NOT use the missus' loofa sponge to scrub it out of your pores. The resulting reaction from the better half is not good. :angry:

Cheers,
Oh My, Yes! We all seem to learn over time. :rolleyes:
Signed: Even after 58 years :eek:
Octogenarian's have an earned right to be a curmudgeon.
Chuck in Lancaster, CA
roamer46
Platinum Member
Posts: 627
Joined: Mon Nov 18, 2013 10:22 am
Contact:

Re: Using a Shop Smith Mark V on a Chris Craft Roamer refit

Post by roamer46 »

Indeed. ;-)

Before we spray shiny Awl Grip Matterhorn white on the hard top (again), we decided to get the windshield frame painted first. It turned out surprisingly nice, especially considering how nasty and dusty the tent is inside from all of the fiberglass and fairing work we've been doing.

1969 Chris Craft Roamer 46 Refit: Sparkly Shiny Helm Windshield Frame

Cheers,
Q

Image
User avatar
rcplaneguy
Platinum Member
Posts: 549
Joined: Mon Sep 23, 2013 6:33 pm
Location: Chapel Hill, NC

Re: Using a Shop Smith Mark V on a Chris Craft Roamer refit

Post by rcplaneguy »

Good work, overwhelming I am sure. Do you think it might be possible to get it in the water (even though not finished) in 2016?
I've just "finished" refurbishing this (tiny by comparison) 1987 Chaparral runabout.
Image
Image
Image
Image
roamer46
Platinum Member
Posts: 627
Joined: Mon Nov 18, 2013 10:22 am
Contact:

Re: Using a Shop Smith Mark V on a Chris Craft Roamer refit

Post by roamer46 »

That's a good looking Chaparral, rcplaneguy. Assuming no thieves clean me out again, no "mechanics" or "good but slow woodworkers" throw a wrench in my schedule, and no more boats that explode in the vicinity of mine, I do believe we'll splash in 2016.

Over the weekend, we got the Matterhorn White Awlcraft 2000 sprayed on the helm hard top and cabin top. It's been 16 months, but that finally gets me caught up to where I was before the thieves stole my stuff back in May 2014. From now on, it's all progress toward (hopefully) splashing in 2016.

1969 Chris Craft Roamer 46 Refit: Shiny Matterhorn White on the Hard Top (again)

Cheers
Q

Image
roamer46
Platinum Member
Posts: 627
Joined: Mon Nov 18, 2013 10:22 am
Contact:

Re: Using a Shop Smith Mark V on a Chris Craft Roamer refit

Post by roamer46 »

I'm shifting gears back down to the aft stateroom head, where I left the walls fiberglassed and faired a few months back. Before I install the ceiling panels and start the priming and painting in there, I needed to make the moldings and corner piece for the door opening. My ShopSmith got a good workout during this phase of the operation, and the parts all turned out pretty darned nice (pats self on back). :)

1969 Chris Craft Roamer 46 Refit: Moldings for the Aft Stateroom Head

Cheers,
Q

Image
User avatar
nuhobby
Platinum Member
Posts: 2359
Joined: Fri Sep 21, 2007 4:34 am
Location: Indianapolis

Re: Using a Shop Smith Mark V on a Chris Craft Roamer refit

Post by nuhobby »

Here's another pat on your back; great work!

Chris
roamer46
Platinum Member
Posts: 627
Joined: Mon Nov 18, 2013 10:22 am
Contact:

Re: Using a Shop Smith Mark V on a Chris Craft Roamer refit

Post by roamer46 »

Thanks, Chris!
roamer46
Platinum Member
Posts: 627
Joined: Mon Nov 18, 2013 10:22 am
Contact:

Re: Using a Shop Smith Mark V on a Chris Craft Roamer refit

Post by roamer46 »

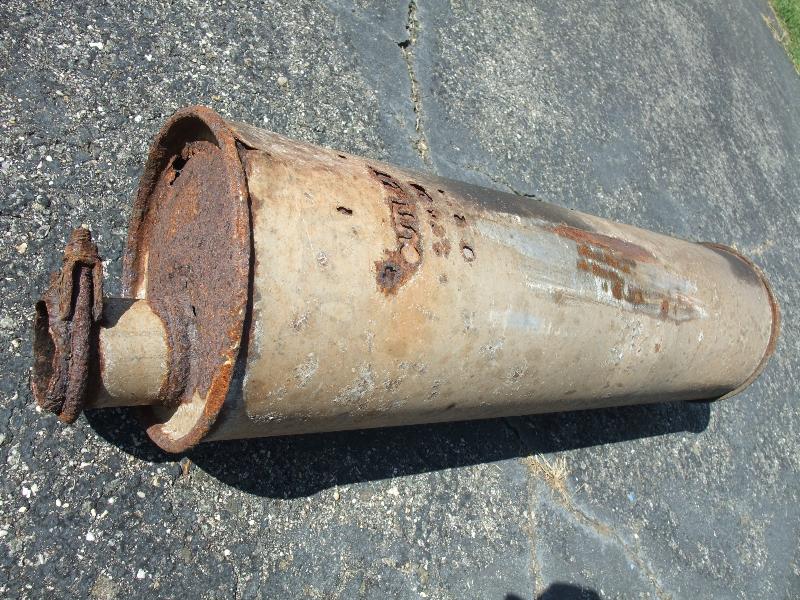
I installed the corner piece/door pocket that I made last week, but I did it in kind of a slick way that allows me to hide the wiring for the aft head light switch. But I had to call it a short weekend when the muffler on my beater boatyard truck bounced off while I was driving back from the yard! I knew the exhaust system had a leak or two, but didn't pay much attention to it until I saw the muffler in my side mirror! I ended up spending an afternoon crawling around under my old Ford with a grinder and MIG gun, but got the new muffler and pipe installed.

1969 Chris Craft Roamer 46 Refit: Wiring the Aft Head Lights

Cheers,
Q

Image

Image

Image
roamer46
Platinum Member
Posts: 627
Joined: Mon Nov 18, 2013 10:22 am
Contact:

Re: Using a Shop Smith Mark V on a Chris Craft Roamer refit

Post by roamer46 »

In other news, I got the ceiling panels in the aft head installed. For a boat that's only a 46 footer, this thing's gonna have the most awesome bathroom afloat. Cuz if it doesn't, I am in serious dutch with the missus. :p

1969 Chris Craft Roamer 46 Refit: Installing the Aft Head Ceiling Panels (more fillets!)

Cheers,
Q

Image
roamer46
Platinum Member
Posts: 627
Joined: Mon Nov 18, 2013 10:22 am
Contact:

Re: Using a Shop Smith Mark V on a Chris Craft Roamer refit

Post by roamer46 »

We got the fillets and walls sanded, then sprayed Awlquik, sanded again, then sprayed Awlgrip 545 primer. We'll have the aft head paint work done this week.

1969 Chris Craft Roamer 46 Refit: Prepping the Aft Head for Paint

Cheers,
Q

Image
Post Reply