Update:
Bought a sheet of maple ply this weekend, which will get me four boards + ditches. Had a request for a fifth, so will need to go back and buy another, maybe do an oak for change of pace.
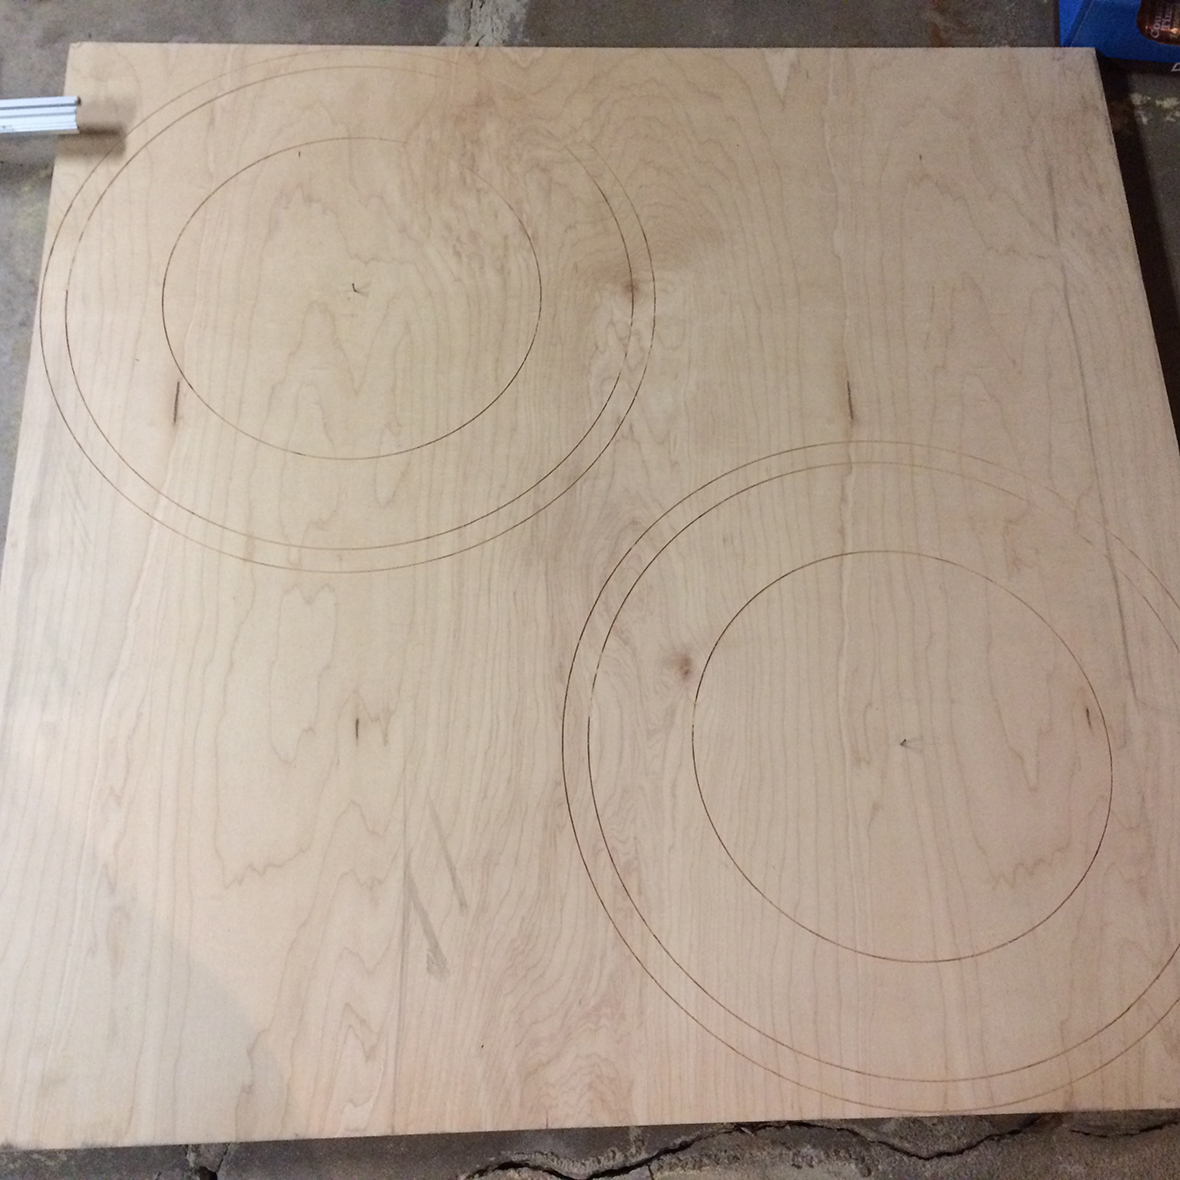
I used my Milescraft router circle guide to mark cut lines (13" from center) as well as scoring lines (12", 8" and 4" from center). I routed the lines approximately 1/16" deep (my Skil plunge router accuracy is questionable) and I used the 1/16" carbide straight plunge bit, which gave me some satisfactory lines.
Two of the four boards:
- File_000.jpeg (734.69 KiB) Viewed 7862 times
You may notice that the 4" radius scoring line is not in that picture. That is because the Milescraft guide can only be used on 5" radius circles or larger. I certainly would have hit this limitation on my first board, and I obviously came up with some kind of solution, but it was clearly an ugly hack as I neither remember it nor kept it.
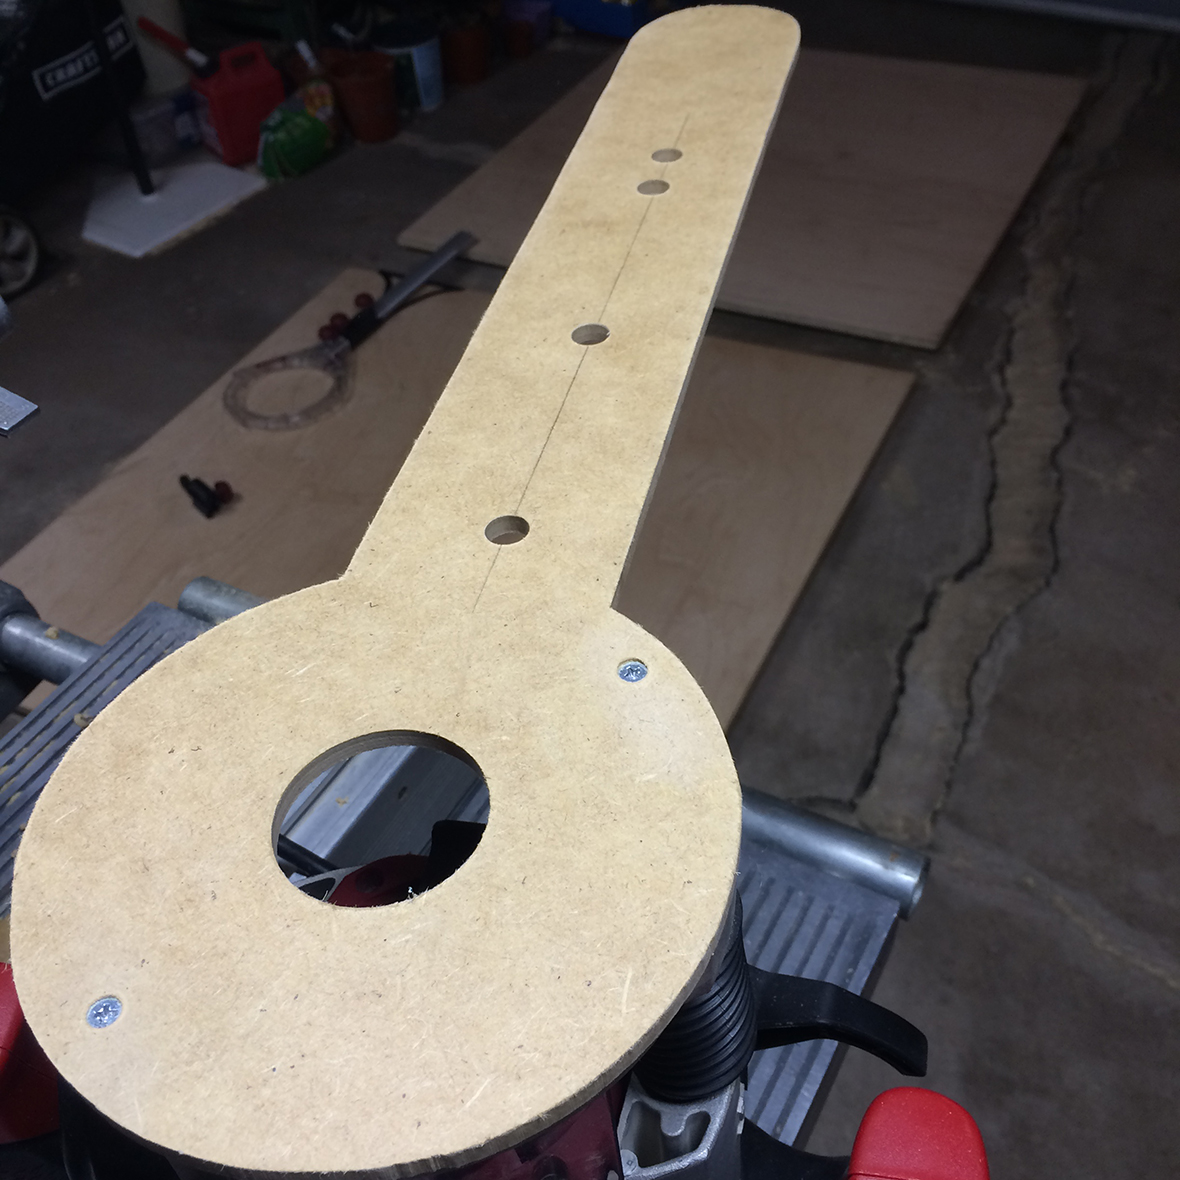
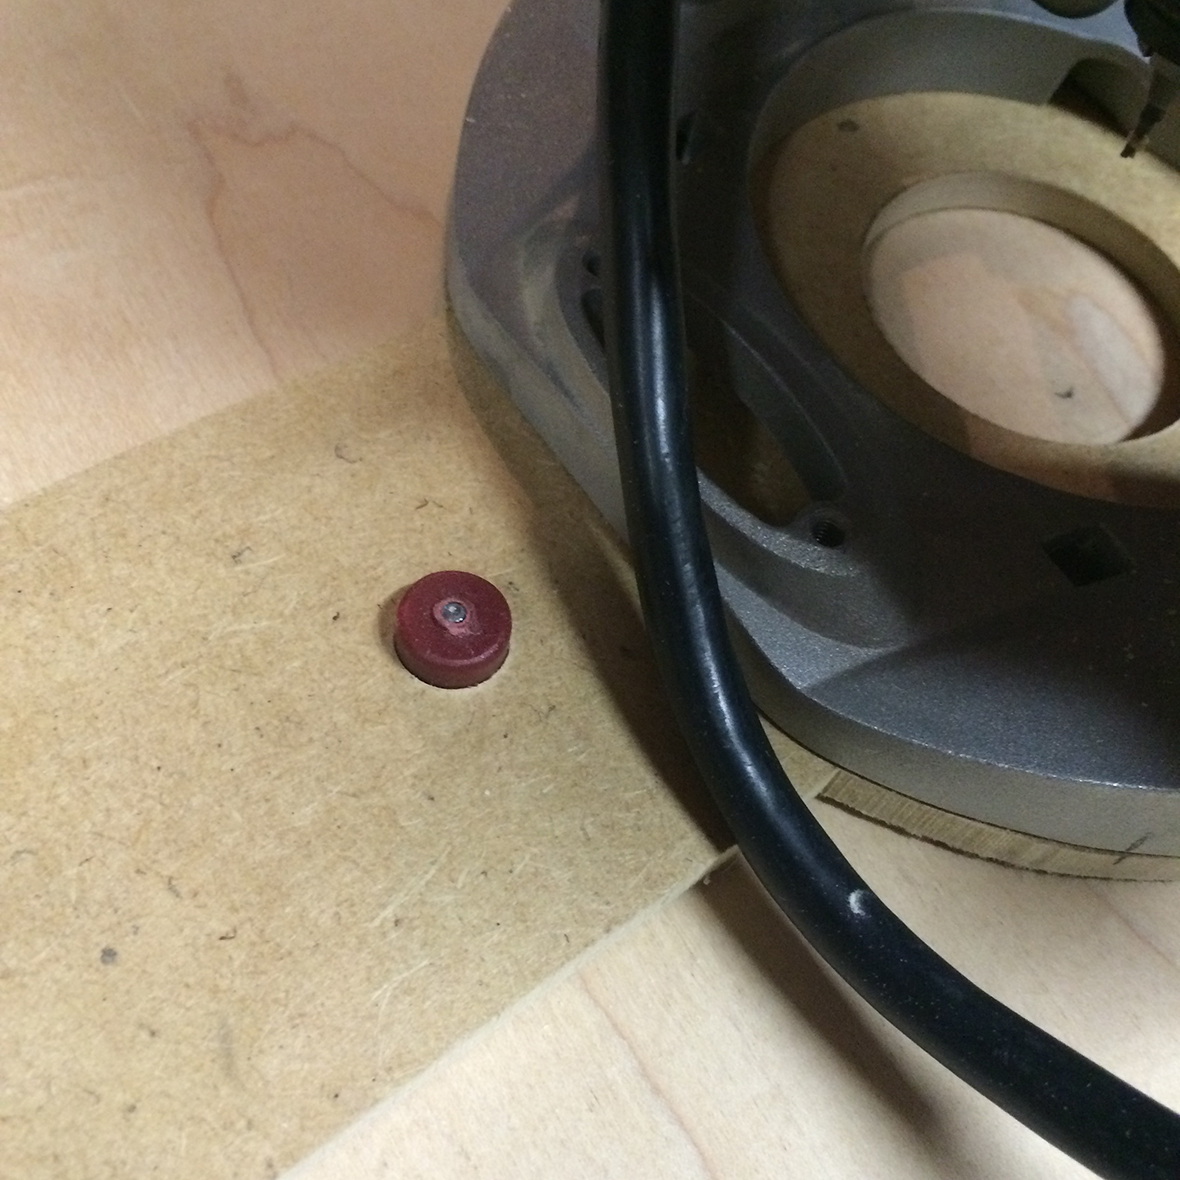
To get around this problem, and to make routing these lines easier in the future, I made my own circle routing jig tonight. I used 1/4" hardboard and made a base to attach to the router, and extended it out with 1/2" holes marked at 4", 8", 12" and 13". The 1/2" holes are made to fit over the 1/2" plastic bushing that the Milescraft guide uses (no sense reinventing the wheel) and the bushing, in turn, is inserted on top of a finish nail.
- File_001.jpeg (718.08 KiB) Viewed 7862 times
- File_002.jpeg (777.42 KiB) Viewed 7862 times
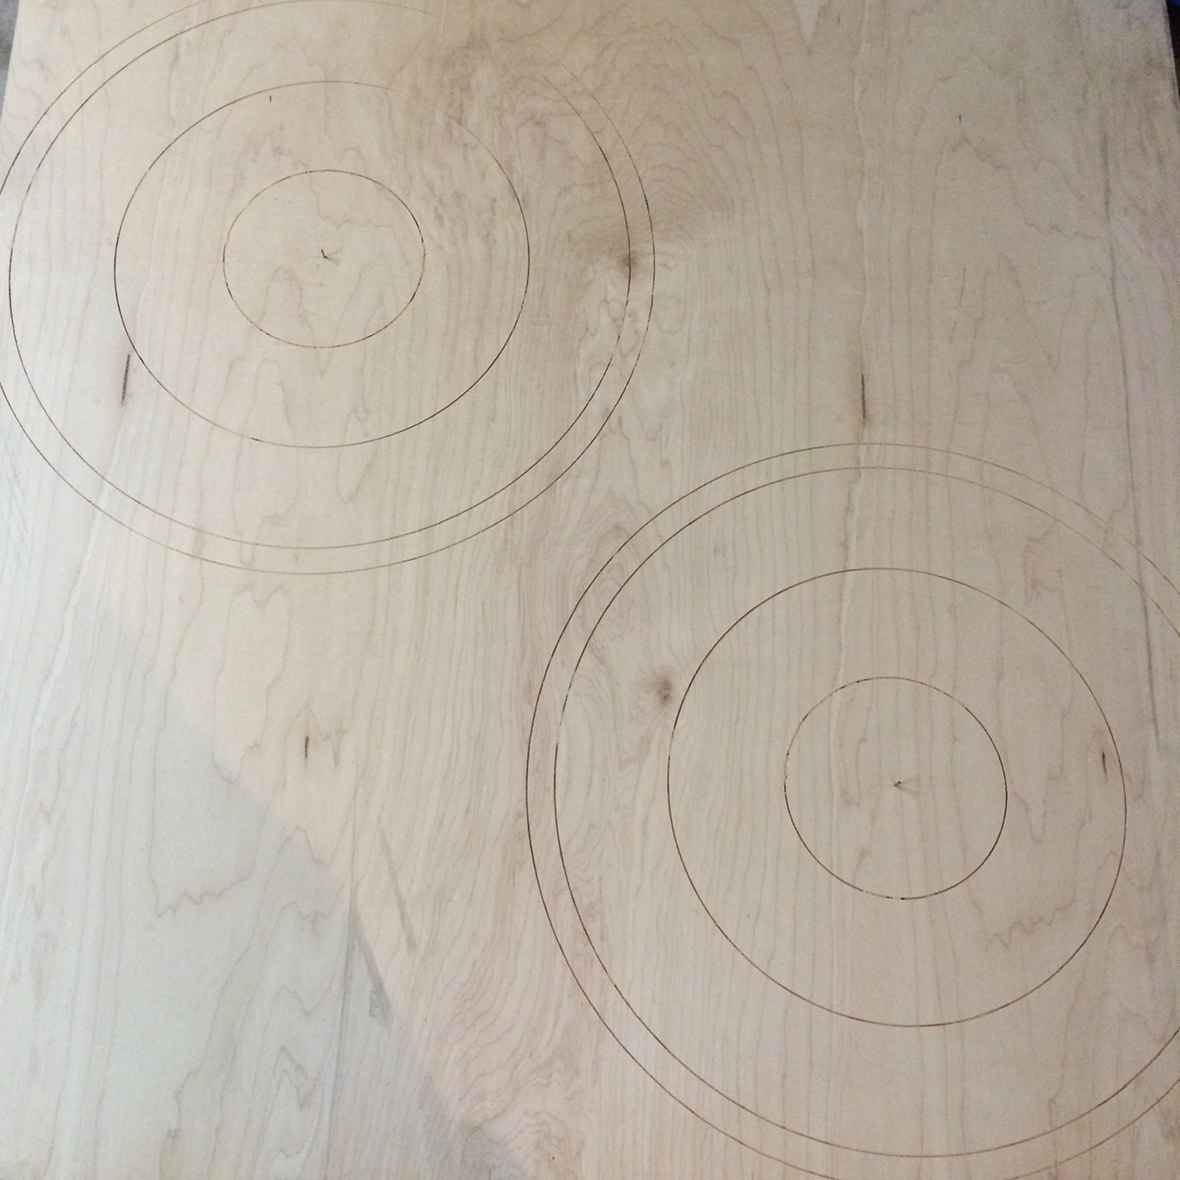
Happy to report, it worked like a charm, and I was able to get the final scoring circles routed on all four boards.
- File_003.jpeg (714.35 KiB) Viewed 7862 times
Next up is the straight lines for the quadrants. On my first board, I think I used the Milescraft edge guide to make those straight lines, but it lacks a lot of stability and so I think I need to come up with another jig--a short carriage or guide to run my router in a straight line for four inches and stop. Hopefully won't be too difficult to create, but tomorrow I might be swapping my band saw table for the aluminum one, so the router jig for the Crokinole boards might have to wait until later this week.
I also ordered some materials this week to fill in the routed lines, using some of the suggestions on this thread. I think I'm going to try the following:
- Using an aluminum powdered metal inlay for one of the boards
- Making and using a walnut inlay for another board (I will use walnut for the outer rail for that board, too)
- Using a color-dyed epoxy filler for one board
- Using an epoxy filler with a UV reactive powder for the fourth board
On the fifth board, I own a Silhouette cutting machine, so I think I'm going to try creating my own stencil and using a dry brush technique for the lines.
After I get the straight lines for the quadrant routed, next step is to using the bandsaw to cut the boards a little proud (another reason I need to get the new band saw toys installed) and then use a flush cut bit on my router to finish them smooth. Hoping you all will keep me accountable and keep me moving on this!
Alec S.
1985 Mark V upgraded to 520 and Power Pro (SN 000527)
1983 Mark V Shop Deputy (SN 163487)
1982 Mark V headstock (SN 122265)
1949 (?) 10 ER in transition to dedicated drill press (SN 18677)
11" Band Saw (Aluminum Table System upgrade) (SN 34026)
4" Jointer (SN 02-18-98)
6" Belt Sander (SN 19012)
18" Jig Saw (SN 17407)
20" Scroll Saw (SN 010593)
12" Thickness Planer (SN 10406)
Strip Sander (SN pending)
DC3300 Dust Collector (SN 102088)



