We are now at the fun part where we do some routing. As I mentioned I want to use may new router so I will be using that but there is no reason that you can not use your shopsmith to do the same function.
You will need to do a few things first and we will cover those first before we finish setting up to route.
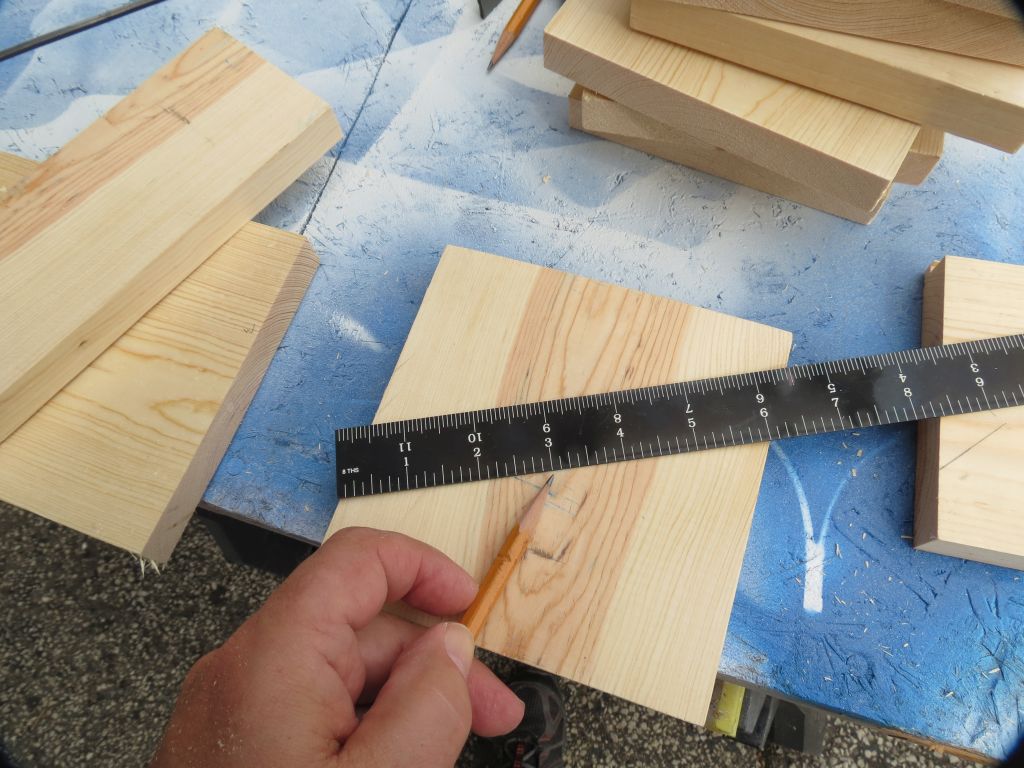
We need to divide up our rack so we can route 7 slots. I've provided a drawing at one point but who wants to do all the measuring??? I will now show you an old wood workers trick to make this pretty easy and still be accurate.
You start by laying the rule so the edge of the rule is on the edge of the work piece. They you find a nice even number to use to divide into. In this case 6 is our number.
- IMG_1082sc.jpg (140.43 KiB) Viewed 13324 times
Half of 6" is 3" so we can mark that and that will be the center of the board.
- IMG_1083sc.jpg (151.9 KiB) Viewed 13324 times
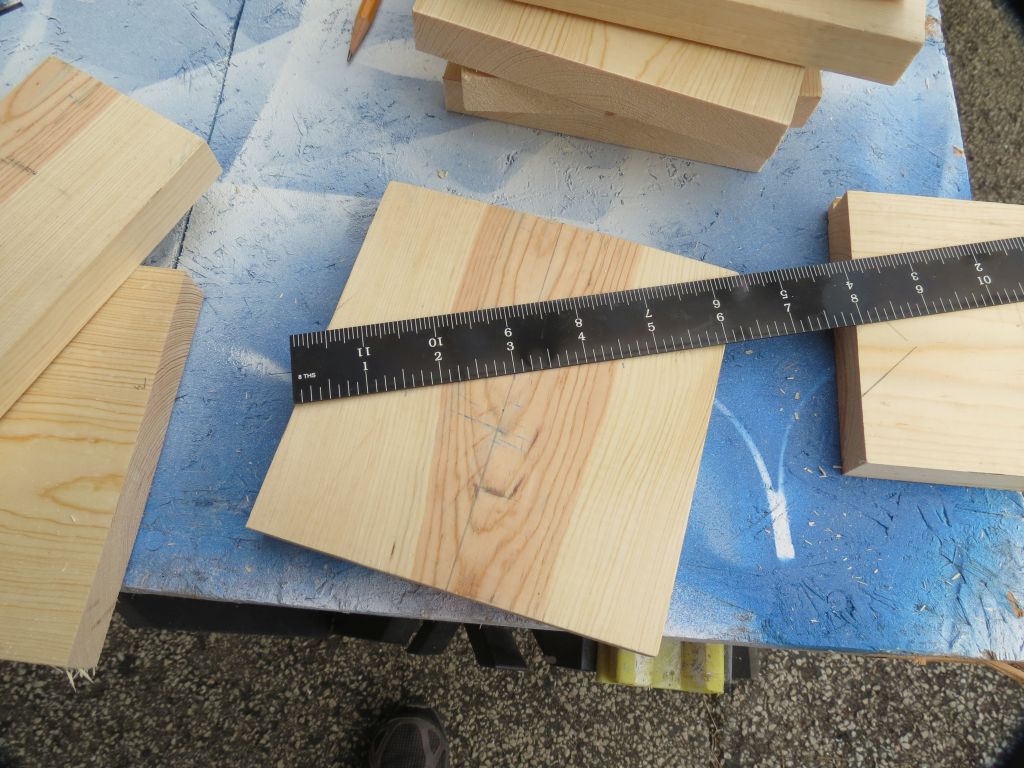
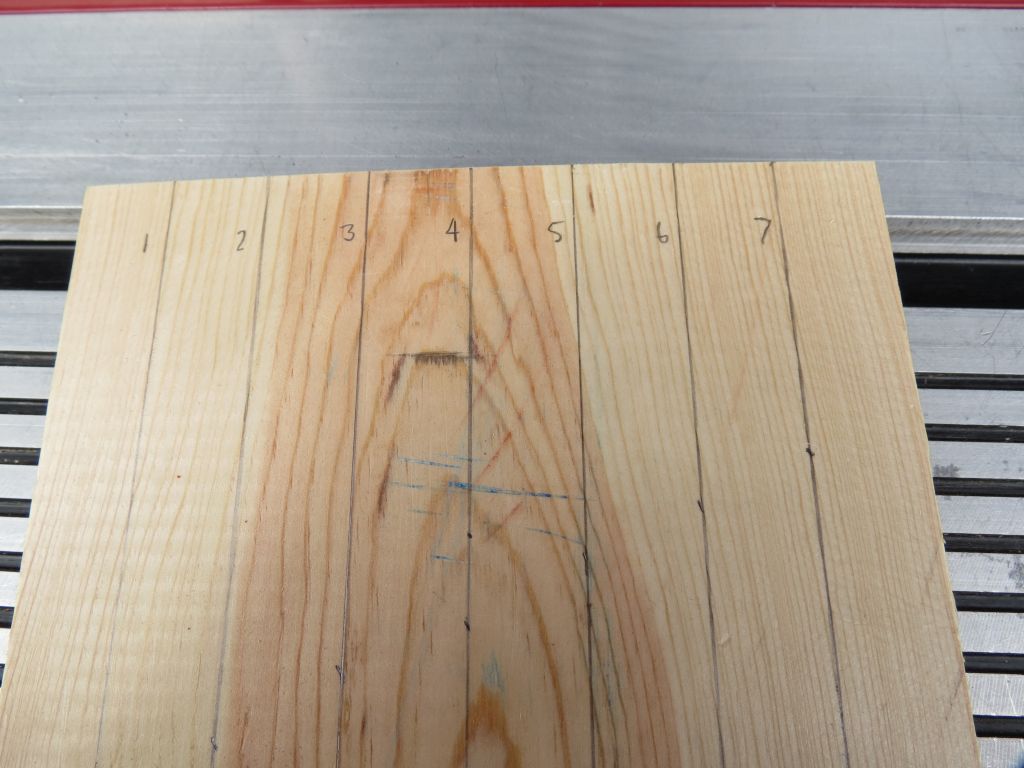
And of course half of 3" is 1-1/2 and half of that is 3/4". I went ahead and did all of them but we really only need half of the lines as you will see later. Here are the seven lines which will become the 7 slots.
- IMG_1084sc.jpg (104.46 KiB) Viewed 13324 times
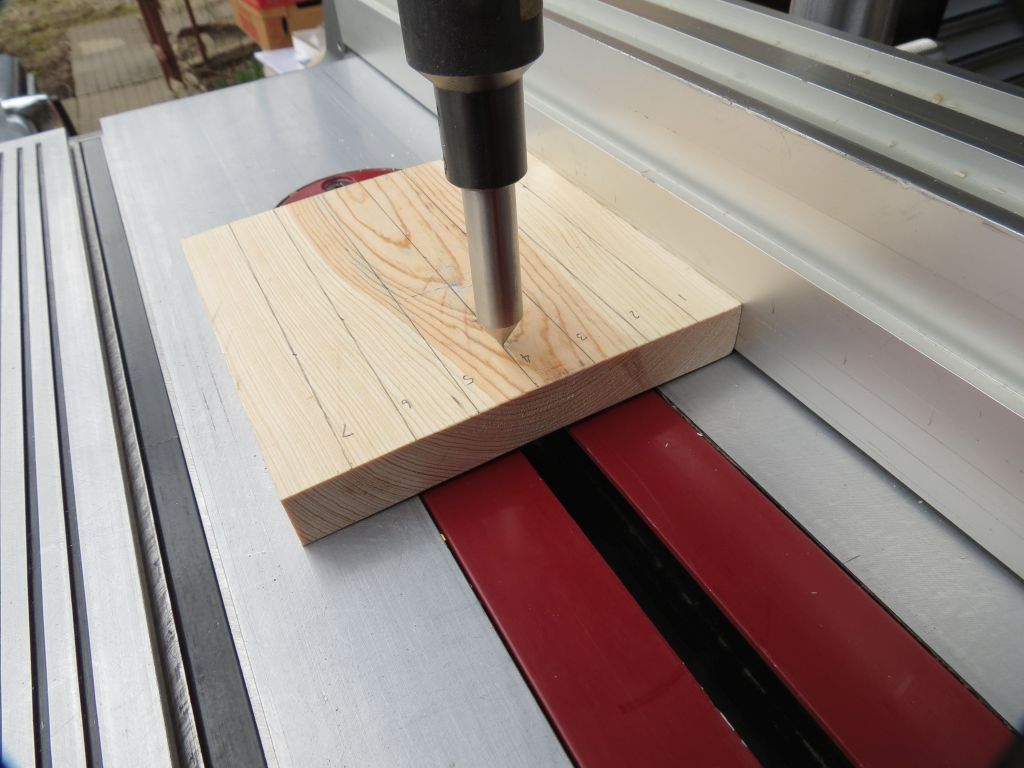
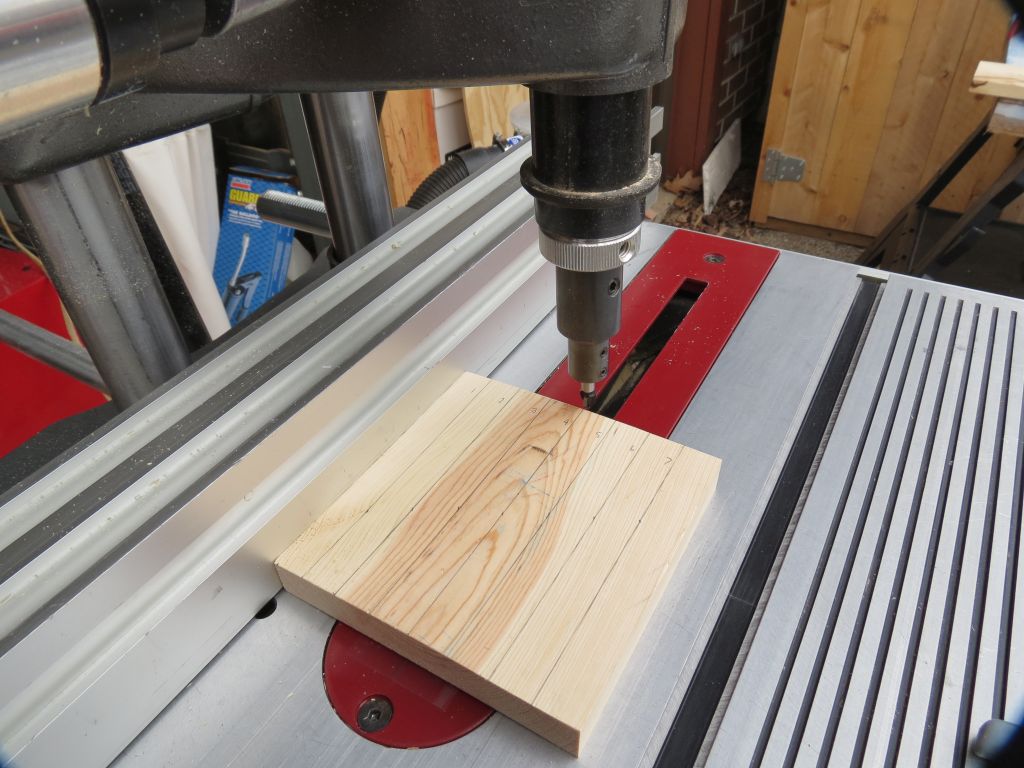
Now that we know where you want the slots we can set up to route them. First I'll show you have it is set up on the shopsmith then we will go to my router table and so the routing.
The shopsmith runs a little slow as a router but if you go slow and let it cut you will get there. First you need to go vertical, well unless you have the powerpro and dual tilt but we are not going there today.
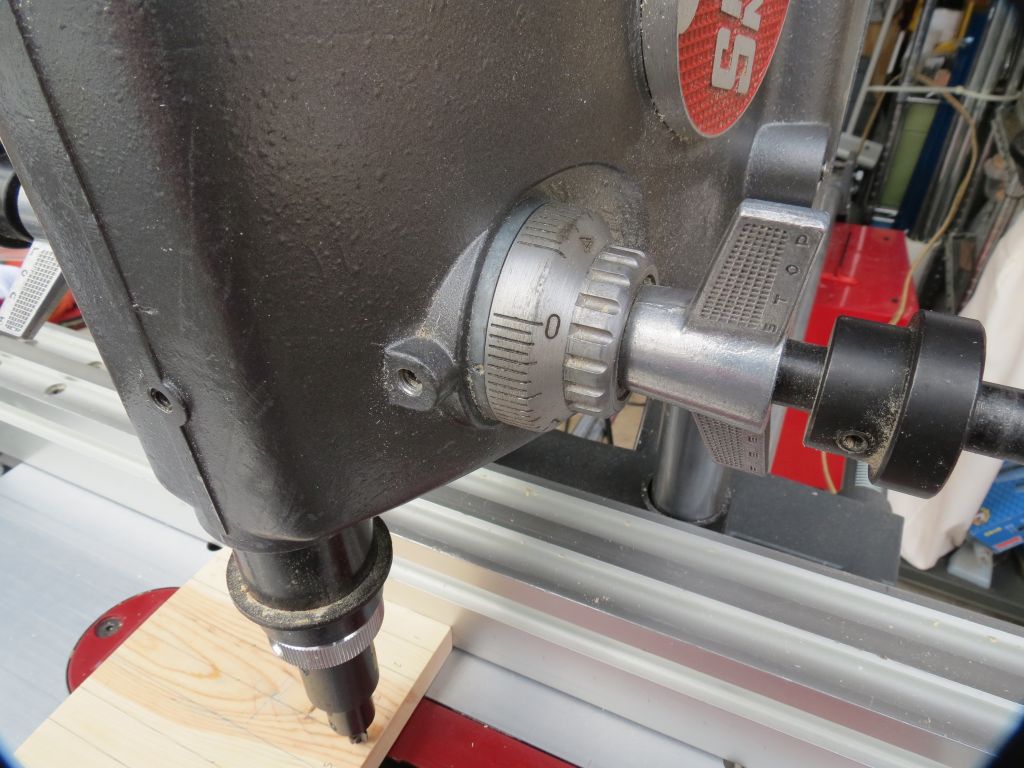
Next you need to set the fence so you can route where the lines are. They make a device to help you do that as seen here:
- IMG_1085sc.jpg (105.94 KiB) Viewed 13324 times
Or just a visual with the bit works for this as the bees will not be complaining if the holes are a bit off.
- IMG_1086sc.jpg (134.9 KiB) Viewed 13324 times
You should be able to make these cuts in one pass but if it feels to hard to do then do it in two passes. We want something on the order of 5/16" deep but again that is not critical.
- IMG_1088sc.jpg (131.59 KiB) Viewed 13324 times
Since you have the router above you then use the right hand rule. The thumb faces the fence and the fingers point the direction you move the work piece.
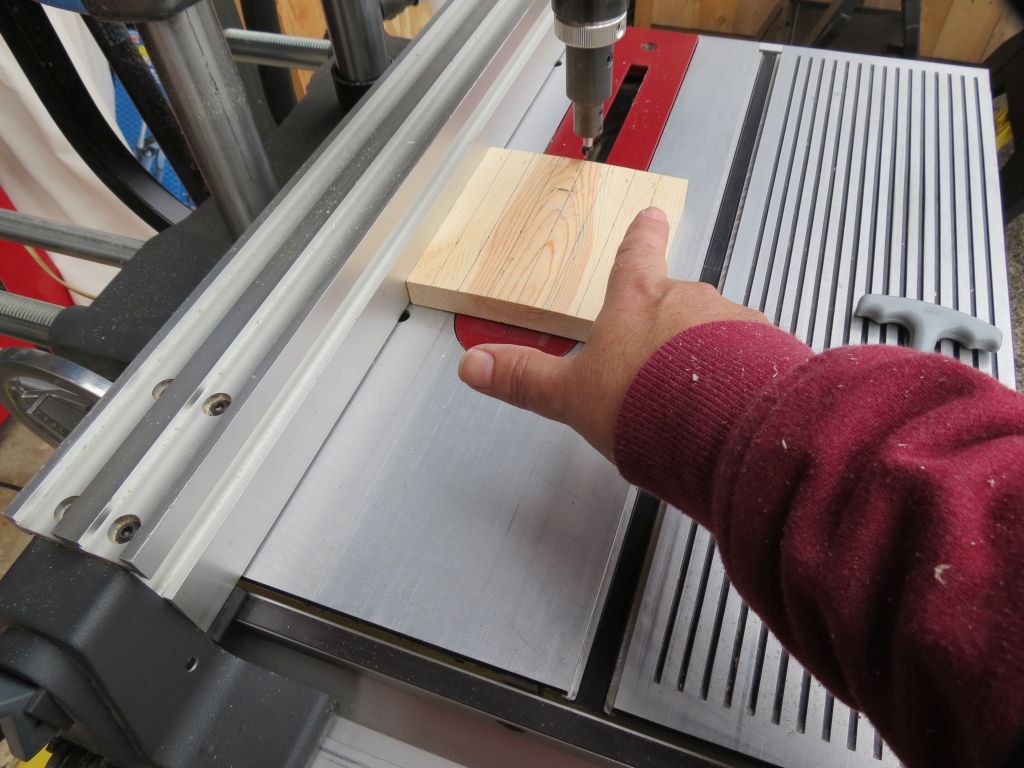
- IMG_1087sc.jpg (128.28 KiB) Viewed 13324 times
There is one more important thing to talk about before we actually get to the cutting of the slots. Since this stock is not likely to be flat and since we are doing noting to make it flat this can be a problem. If you look at this picture you can see that it is not even close to flat.
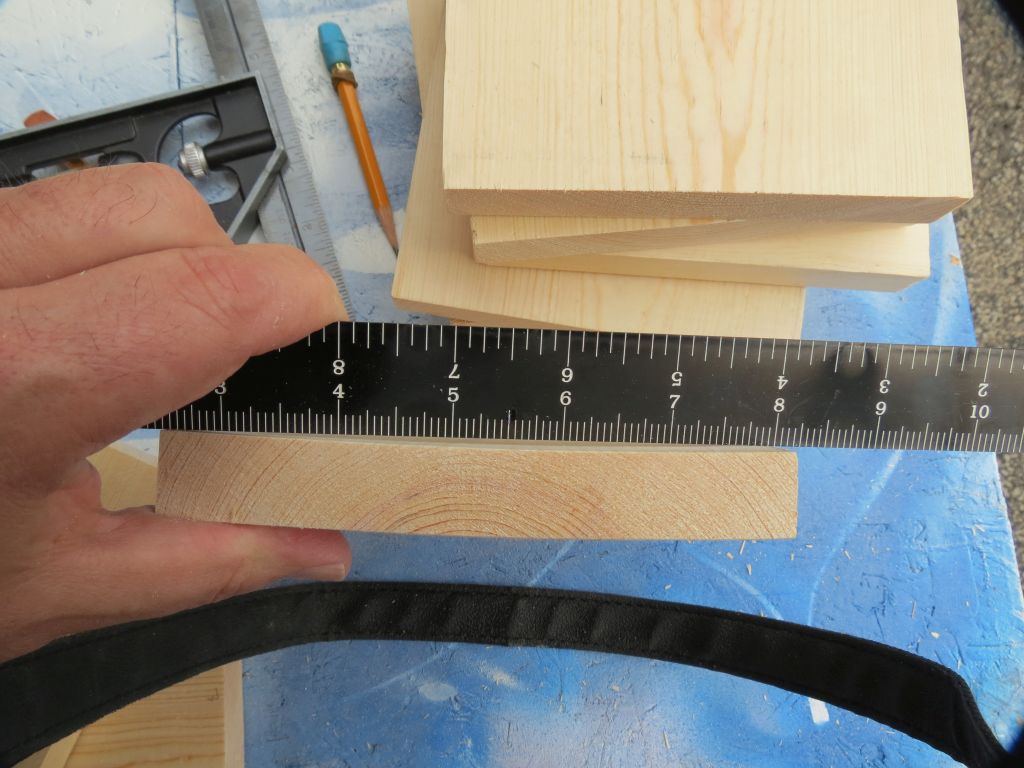
- IMG_1081sc.jpg (118.75 KiB) Viewed 13324 times
When you go to select which side is against the table it should be the one that has the two edges touching. If you go the other way the piece will rock which is not a good thing. So remember the two edges are against the table so it sits stable.
Ed

