So it looks like the weather is not going to let me work outside today. So I went to work inside and that will have to make do.
I would have liked to give everything a light sanding but such as things are I'm going to assemble without that and catch what I can after assembly.
So now is time to put this thing together. I'm going to use nails and glue for the box and screws for the top and the back bracket. If you would gather use all screws that's fine. I would not use nails for the whole thing, especially the top and we will get into that later.
- IMG_1105sc.jpg (100.25 KiB) Viewed 13583 times
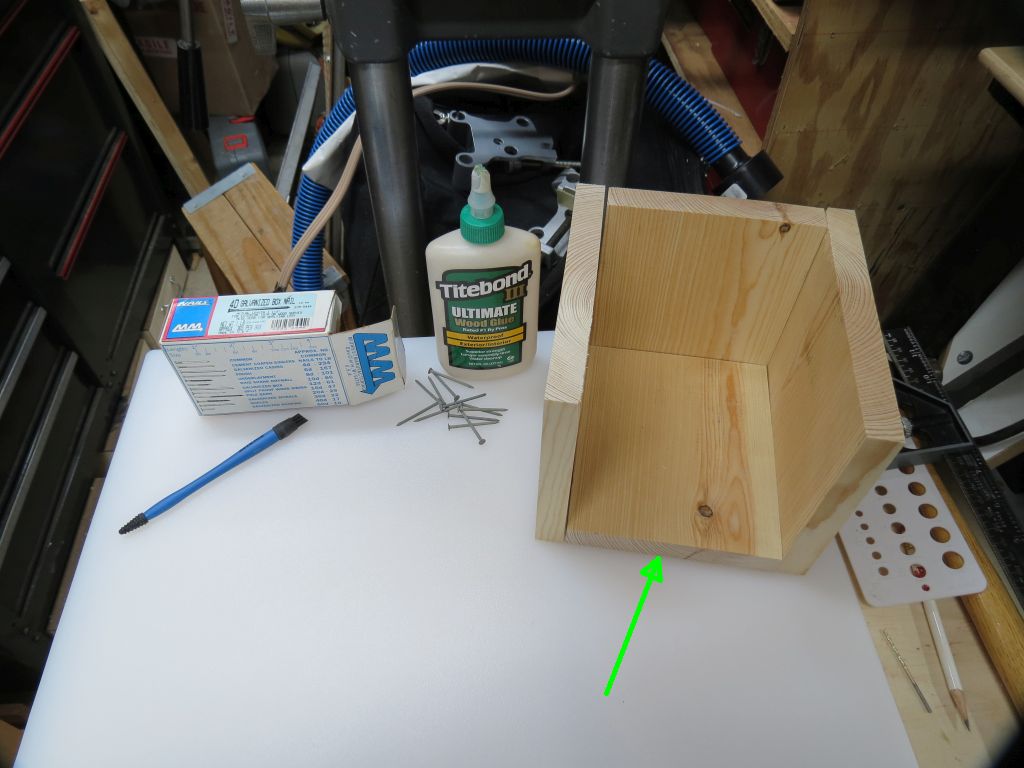
Special note here. The green arrow is pointing at the bottom. Before putting this piece in note the curve (warp) it might have. It should match the warp of the trays in order to have the trays fit together with the bottom which is the floor of the last tray.
Weatherproof glue, galvanized nails are pretty much what you need and anything else is up to you, it is your bee house. I went ahead and pre-drilled for the nails, just didn't want to take a chance of messing it up and its pretty fast to do. I also drew lines and marked where I wanted the holes, just how I felt today but again not necessary.
- IMG_1106sc.jpg (95.89 KiB) Viewed 13583 times
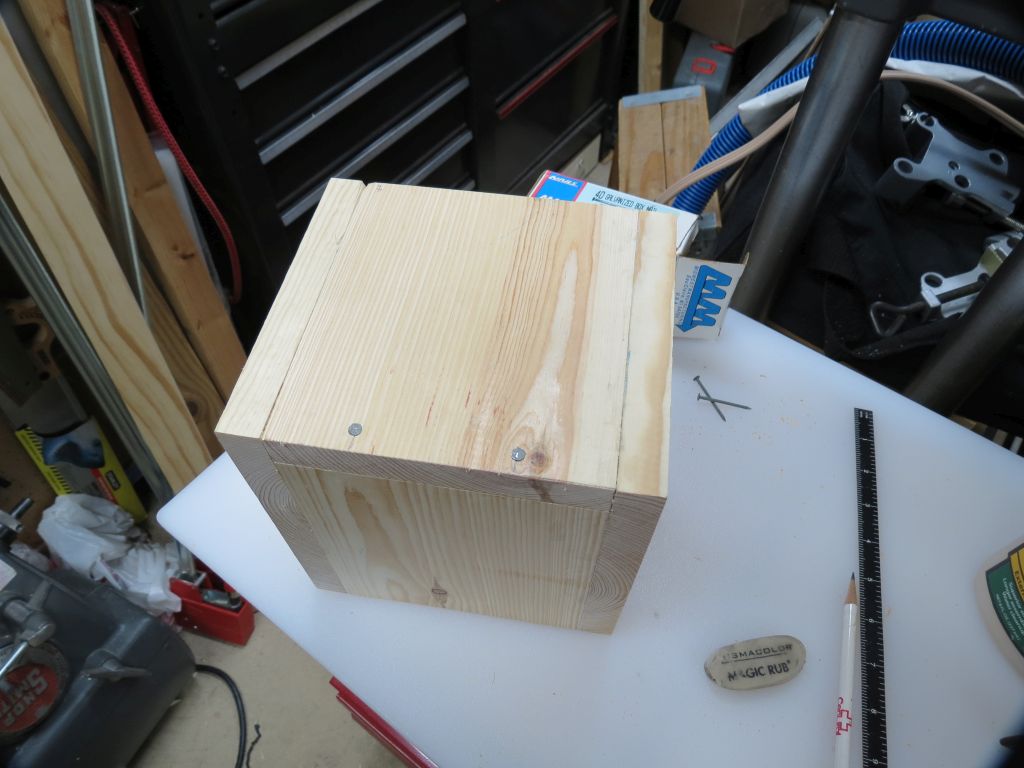
I started with the sides and hand held them and used my fingers to find the edges, if you want to use clamps that's fine too.
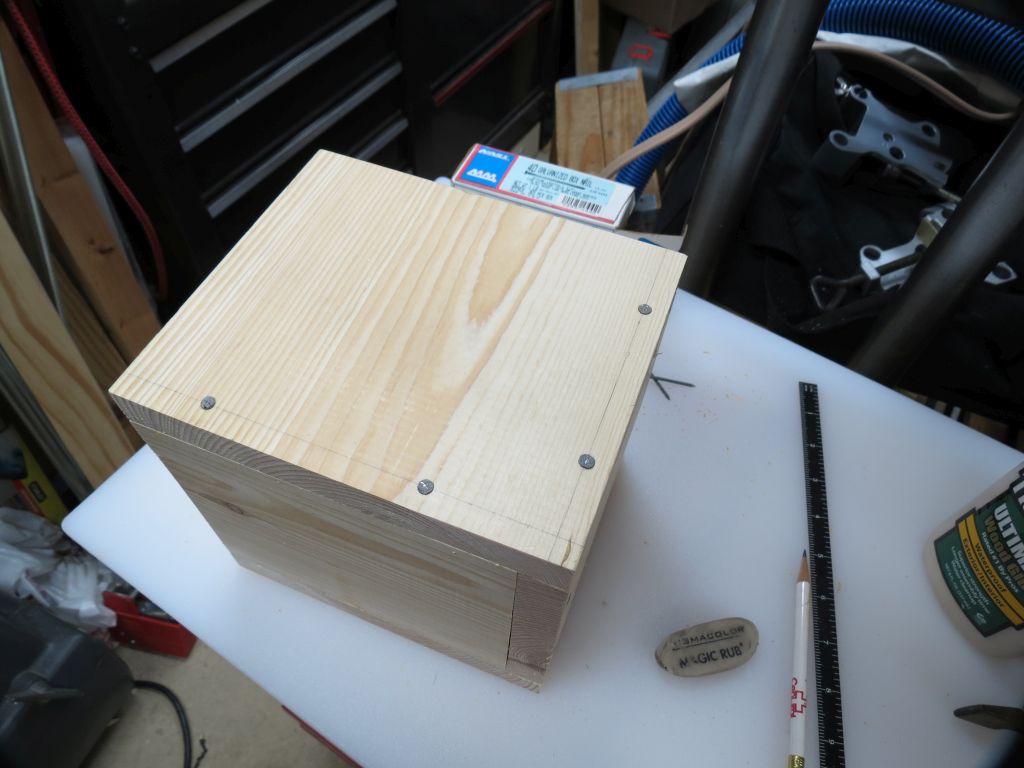
On the bottom there is a joint where it is end grain so I put glue on the end grain and let it soak for a short while then added more glue before putting it together and nailing. You could skip the glue and for that matter the nails but I went ahead and added them.
- IMG_1107sc.jpg (102.16 KiB) Viewed 13583 times
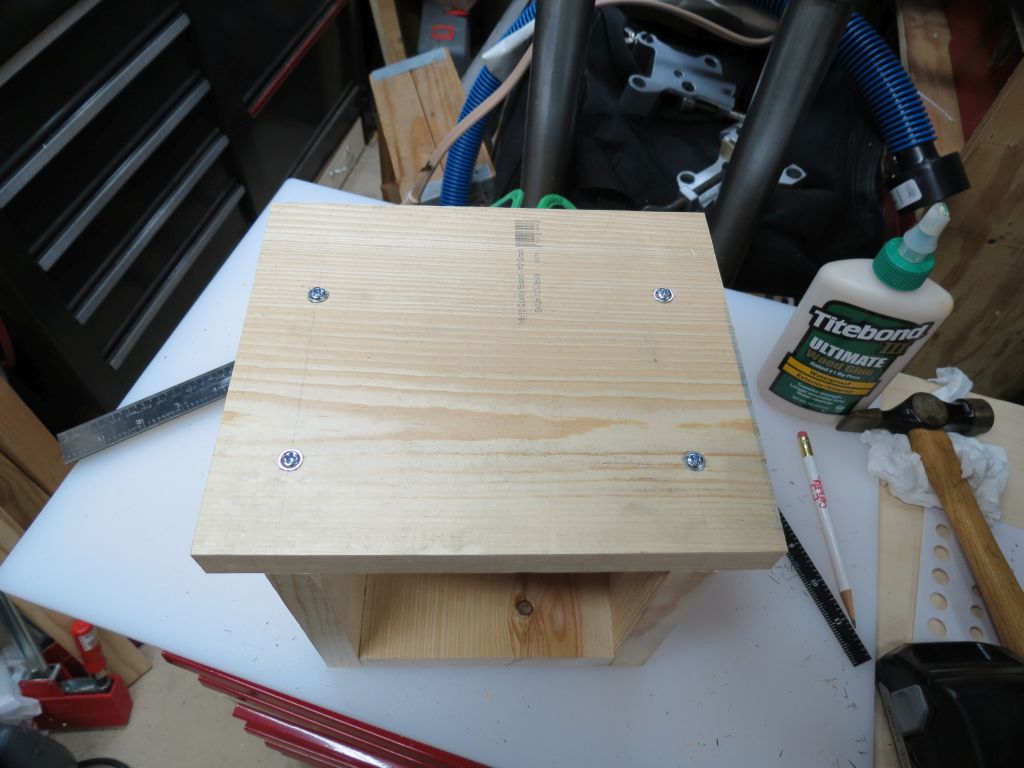
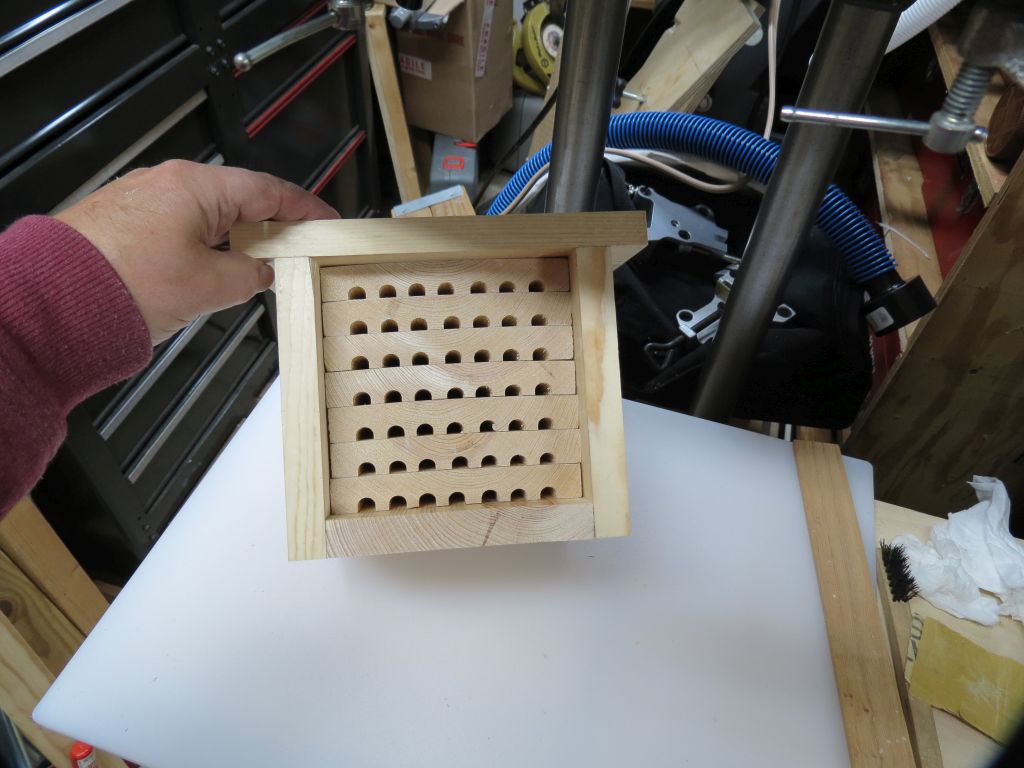
The top is aligned flush with the sides and centered. I used some pocket screws because that is what I had that were 1-1/2" long and that is a good length. Other screws can be used but you will want something that you can loosen later on. This is how the trays are held in place, they will be a snug fit in the height I gave in the drawing because of the warp that is in the cheap wood we are using. If your wood was really flat or you post processed it to make it flat then you may have to add a thin scrap to the top of the stack to fill in the space and have the roof hold the trays in place.
- IMG_1108sc.jpg (103.02 KiB) Viewed 13583 times
If you have too much warp you may have to do a little sanding to get the stack to fit, mine is quite tight but it fits. Since we did nothing to the warp you get what you get at this point. I would go after the crown on each of the trays until they fit.
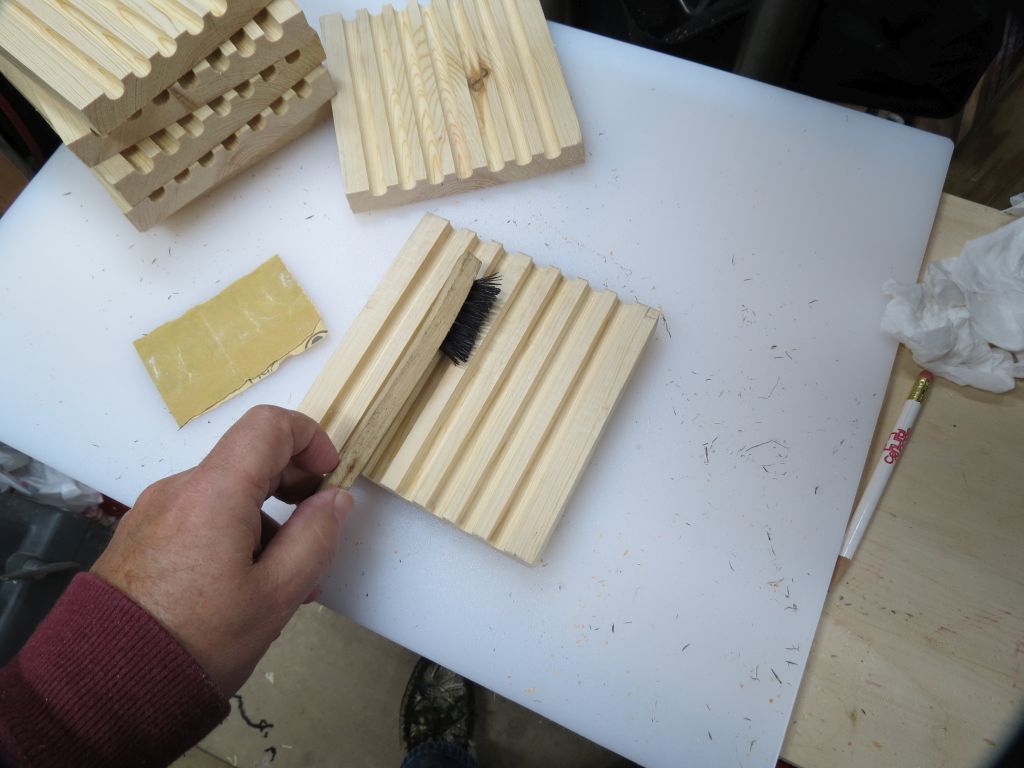
Speaking of trays, we will now clean up after the routing operation. I started by using a nylon(?) brush (kind of like a stiff tooth brush feel).
- IMG_1109sc.jpg (94.13 KiB) Viewed 13583 times
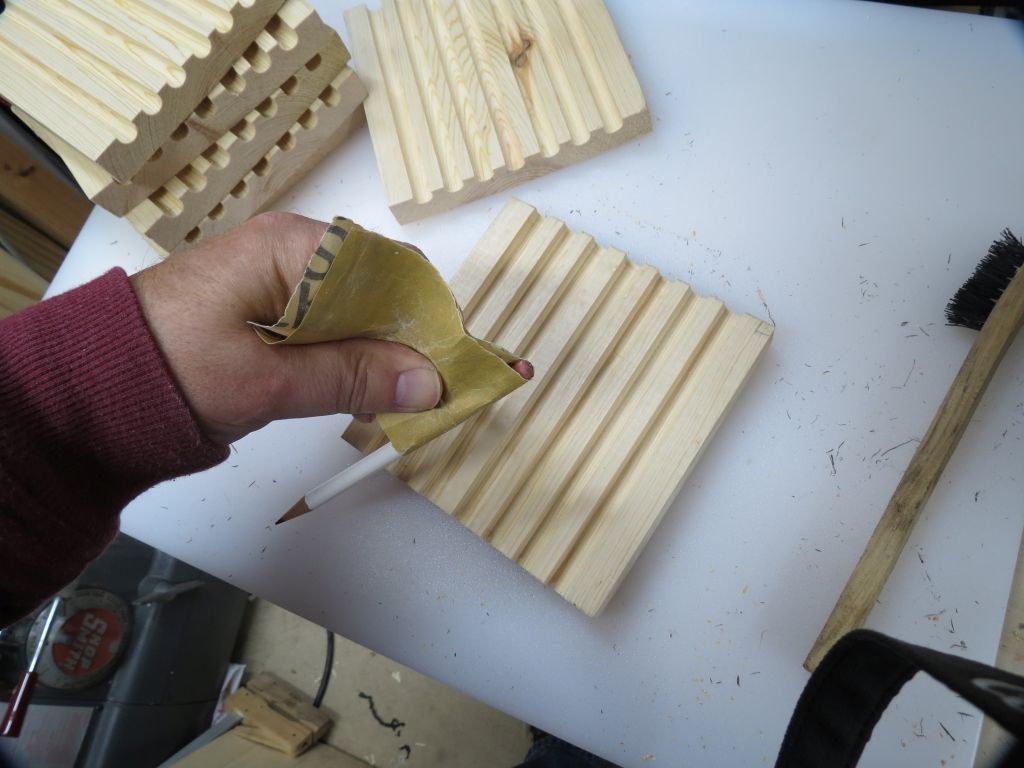
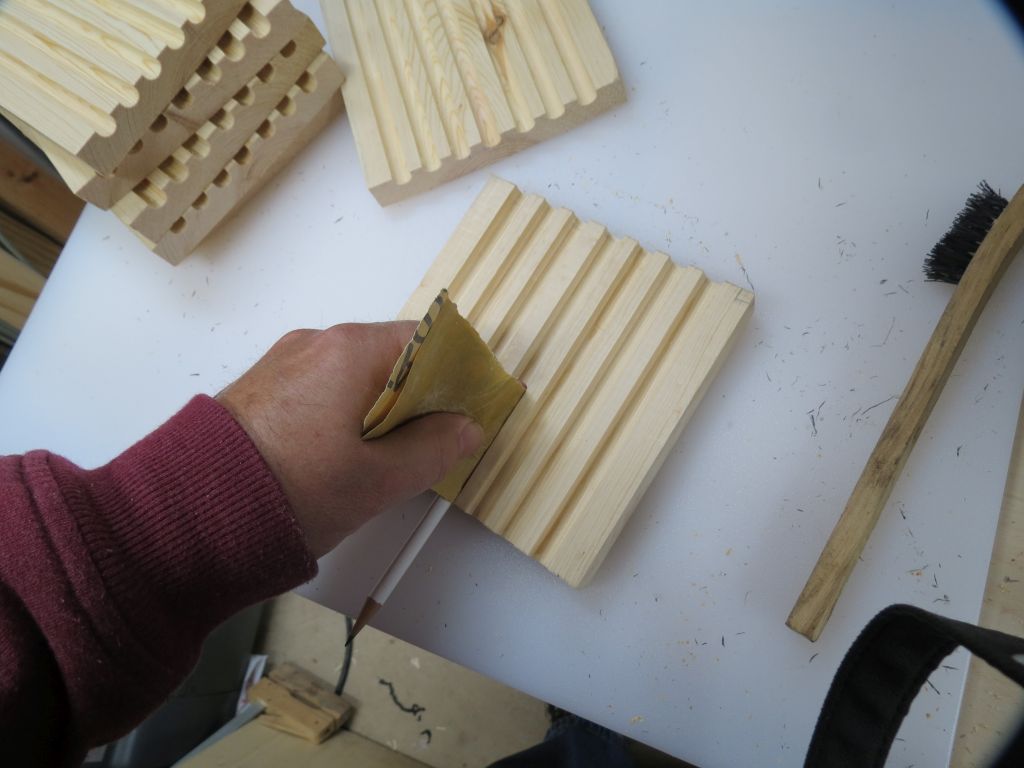
Blame the wood if it didn't come out very clean, the router bit should have done a good job but still you end up with gain issues from time to time. Any places or just for good measure I went at the grooves with a bit of sandpaper. Due to the size a pencil works as a good holder but so would a dowel.
- IMG_1110sc.jpg (100.14 KiB) Viewed 13583 times
- IMG_1111sc.jpg (88.21 KiB) Viewed 13583 times
This brings us to the point where the case can get painted. The trays should be left raw or if you want to darken them with a torch that is nice too. This is one reason you want to be able to remove the trays, the second is that after use they slots need to be cleaned out and going back to a brush and sand paper may be needed.
I've also heard that birds might find this as a nice snack shop so some damage can happen from that and replacement trays might have to be made.
Not sure when I will start the painting, sounds like a wet week and I have some other things going on but I wasn't going to cover painting here anyway.
When you get yours done remember to post a picture here.
- IMG_1112sc.jpg (108.97 KiB) Viewed 13583 times
Ed

