I really like that lap, Ron. But making a D reamer, I'm afraid, is beyond my very modest metal-working skills and resources.
The tiny little steam-engine video was fascinating -- I watched the whole thing. And it has motivated me to take the Craftsman lathe to the next level. The lathe was actually manufactured by Atlas Press for Craftsman, and one of the options was a compound slide for metalworking. As it happens, a while back I lucked into a brand new compound slide from a mini-mill for only $30. I bought it with the idea of using it on my 10ER for drilling and possibly some light milling, but I think it should work just fine on the Craftsman as well.
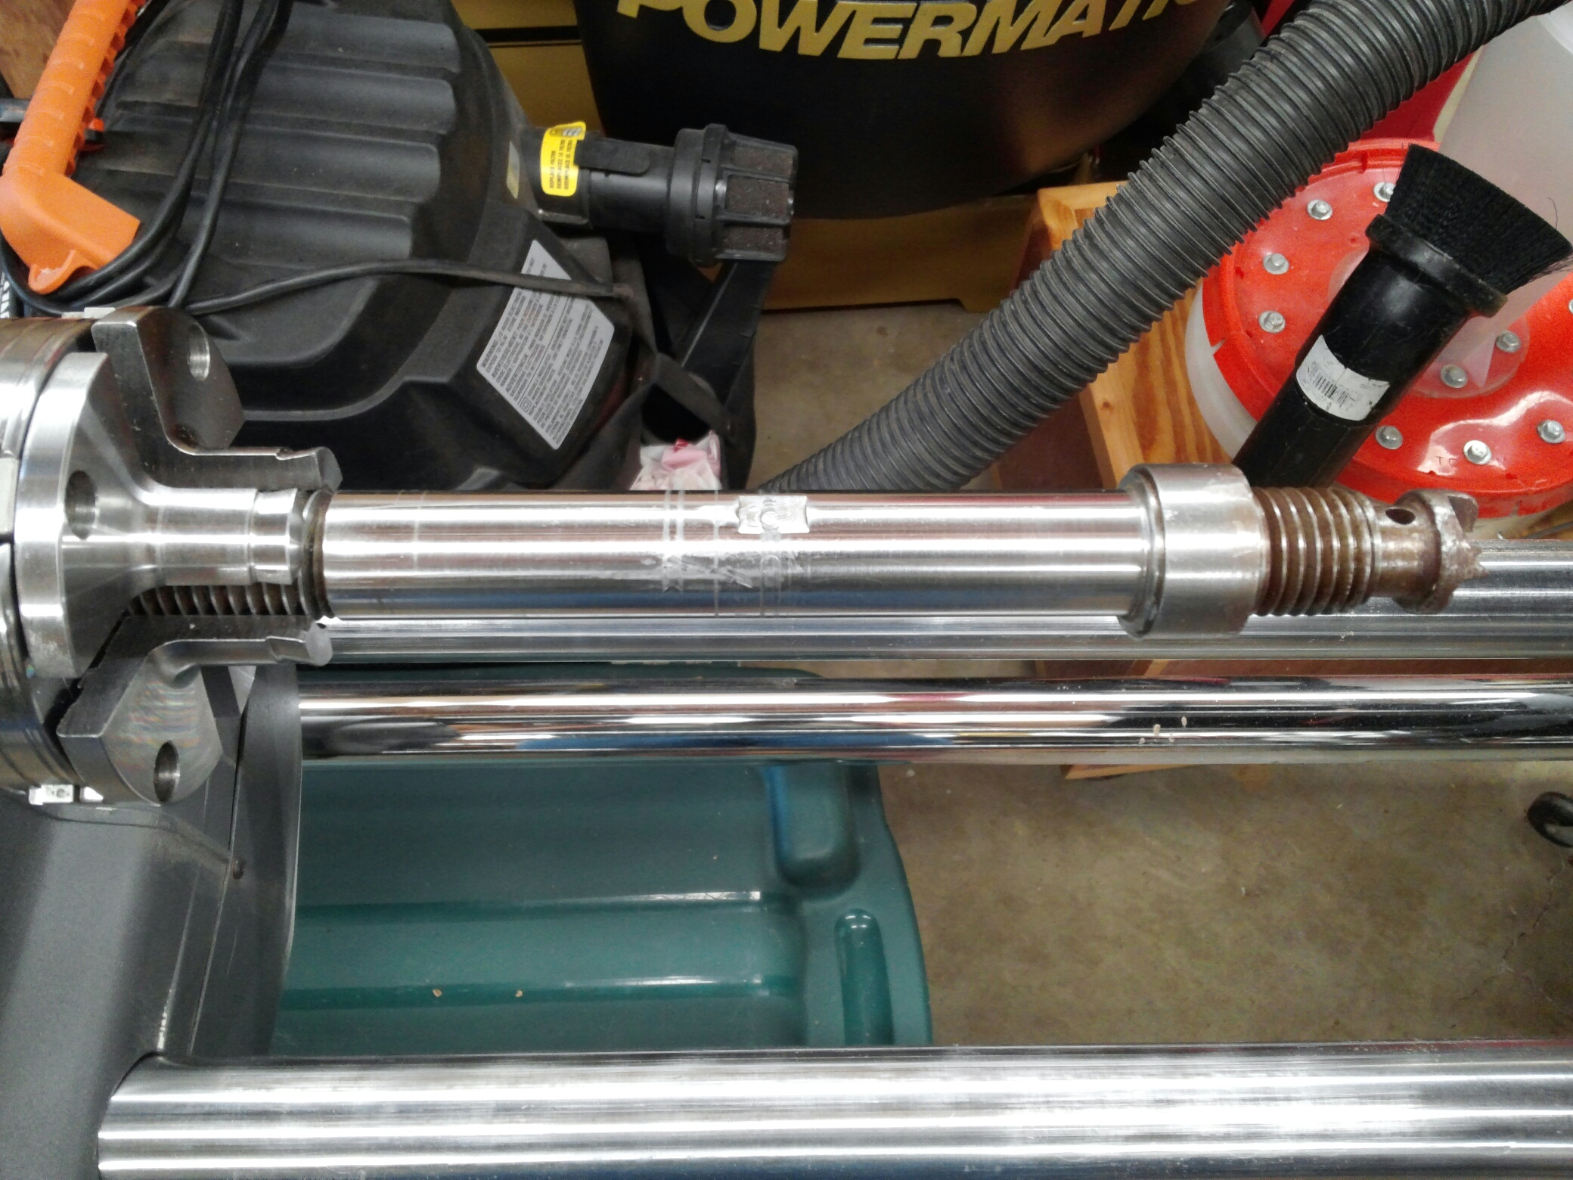
This morning, I pressed the front bearing and spacer off of the Craftsman spindle, and then cleaned up the OD. I started with a flat file to knock down the highest points on the burrs, then stoned them flush with the unmarred OD, and finally smoothed with 220 grit and 400 grit sandpaper. It came out pretty good. The undamaged ends, where the bearings seat, miked out at 0.9841", or 24.996 mm. Plenty good for me, and the bearings fit with a light press. The center of the spindle measured about 0.0002" less, where I had to clean up more aggressively, but that should be plenty good for the pulley fit.
- 20170813_104331_resized.jpg (1.62 MiB) Viewed 15006 times
In the photo above, I was using just my Shopsmith for a workholding fixture. I can't spin up that Craftsman spindle until I can get that old spur center out, and support it with a live center. So far the live center has resisted a couple weeks of PB Blaster soak, the full force capability of a Harbor Freight bearing splitter, and a few medium hammer whacks via a long punch. So now it's on to a nice long Evaporust soak.
- 20170813_094233_resized.jpg (690.43 KiB) Viewed 15006 times
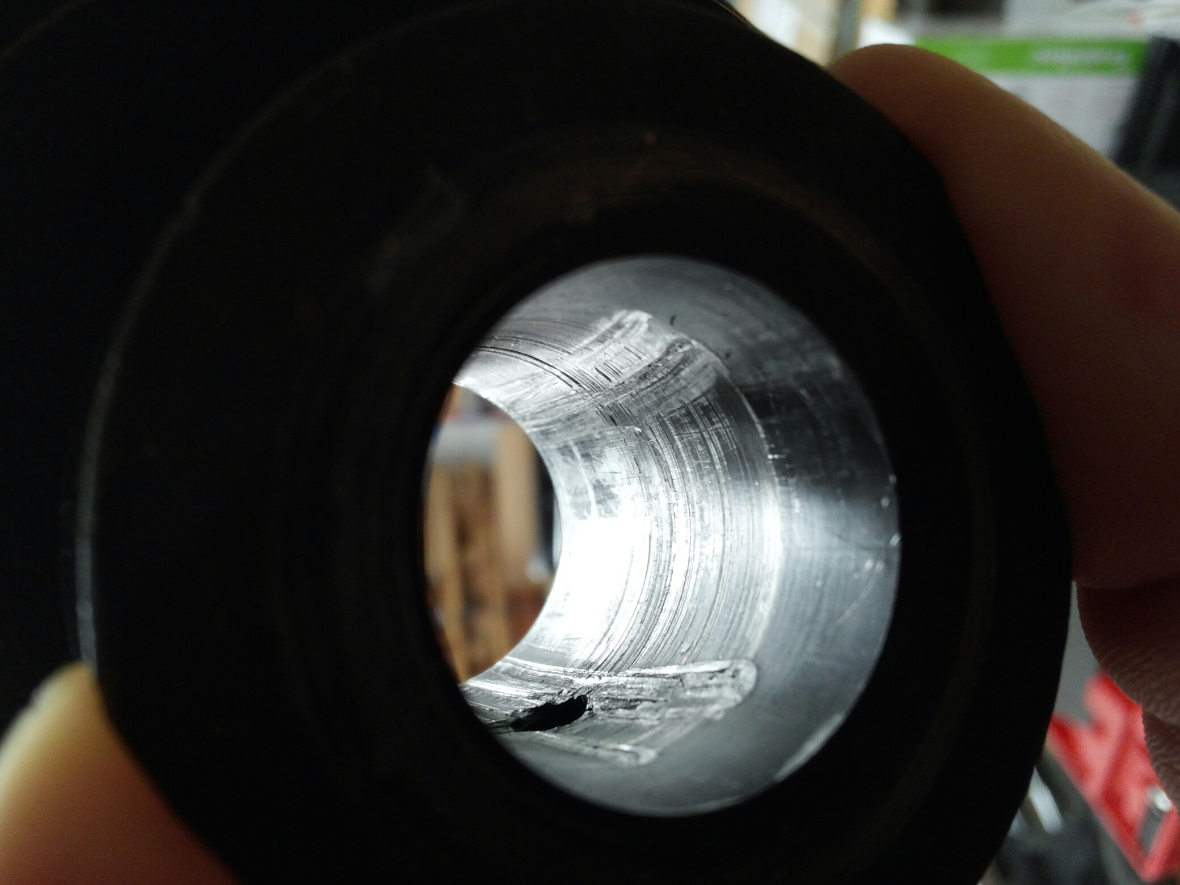
But first, I tested the fit of the burred-up pulley (above) on the spindle. And as they say, sometimes you get lucky. It turned out that the spindle itself made a dandy broaching tool. With only a few pounds of hand pressure, the outboard spindle threads sheared the taller burrs off of the aluminum pulley ID, and after a couple of passes I had a nice slip fit. To which I say "good enough". It still ain't pretty, but then it can't be seen. And anything I do to pretty it up will just give me a sloppier fit.
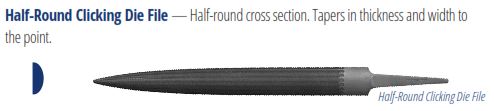
One of the steel bearing spacers also had a single small burr kicked up near the end of the bore. For that one, I carefully filed the burr flush with the nose of a small file like the one below. I don't have a clue where I got that file, but it was perfect for the job. I just took the burr down a bit at a time until I got a nice slip fit, and called it good.
- Capture.JPG (16.09 KiB) Viewed 15006 times
So Dan, I think the trick to filing is to use the right type of file. Personally, I'm more concerned about using abrasives, because they remove material relatively indiscriminately. Which is great for polishing, but in this case I wanted to remove only the burr, and not remove any material elsewhere in the bore.