Tomorrow in the shop (Third SO Project)

Moderator: admin

Post Reply
User avatar
reible
Platinum Member
Posts: 11283
Joined: Thu Jul 20, 2006 12:08 pm
Location: Aurora, IL

Tomorrow in the shop (Third SO Project)

Post by reible »

My last foray with making a MFT like table (for the drill press) I used on board tools to do the job. This was in the form of specifying a hole size and grid location then coping the hole to the next grid location. While that seemed to work pretty well it was time consuming.

So this time I have a sketchup file that I have converted to the proper type for the Shaper to use. It is a plug-in and to be honest I don't know much about it but I did get it to generate a file so tomorrow weather and time permitting I hope to put it to the test. If this works it will save me from having to learn yet another CAD package.

It has a series of 20mm dog holes and the typical 96mm spacing. I also went with the 70mm edge spacing...... not all that fancy but it will be another step in my learning curve.
ScreenHunter 45.jpg
ScreenHunter 45.jpg (64.9 KiB) Viewed 6257 times
So if all goes well by the end of my workday tomorrow I will have a real one to look at.

Since I'm not all that confident I went will doing a hand layout on the work piece to make sure it looks like it is doing the "right" thing. I'd really like to do away with that step in the future and just know it is going to be right.

Ed
{Knight of the Shopsmith} [Hero's don't wear capes, they wear dog tags]
sehast
Gold Member
Posts: 497
Joined: Sun Apr 12, 2015 6:53 pm
Location: Milpitas, CA

Re: Tomorrow in the shop (Third SO Project)

Post by sehast »

Hi Ed,

I don't know which plugin you used but this one has been specifically tuned for Shaper.

https://community.shapertools.com/t/ske ... 2-2-0/1205


Steve
User avatar
reible
Platinum Member
Posts: 11283
Joined: Thu Jul 20, 2006 12:08 pm
Location: Aurora, IL

Re: Tomorrow in the shop (Third SO Project)

Post by reible »

sehast wrote:Hi Ed,

I don't know which plugin you used but this one has been specifically tuned for Shaper.

https://community.shapertools.com/t/ske ... 2-2-0/1205


Steve
That is the one!

Ed
{Knight of the Shopsmith} [Hero's don't wear capes, they wear dog tags]
User avatar
reible
Platinum Member
Posts: 11283
Joined: Thu Jul 20, 2006 12:08 pm
Location: Aurora, IL

Re: Tomorrow in the shop (Third SO Project)

Post by reible »

It looked like rain but I decided to take a chance anyway. Never did rain so I'm glad I did.

Let us start with a picture of the table after I had finished the cutting.
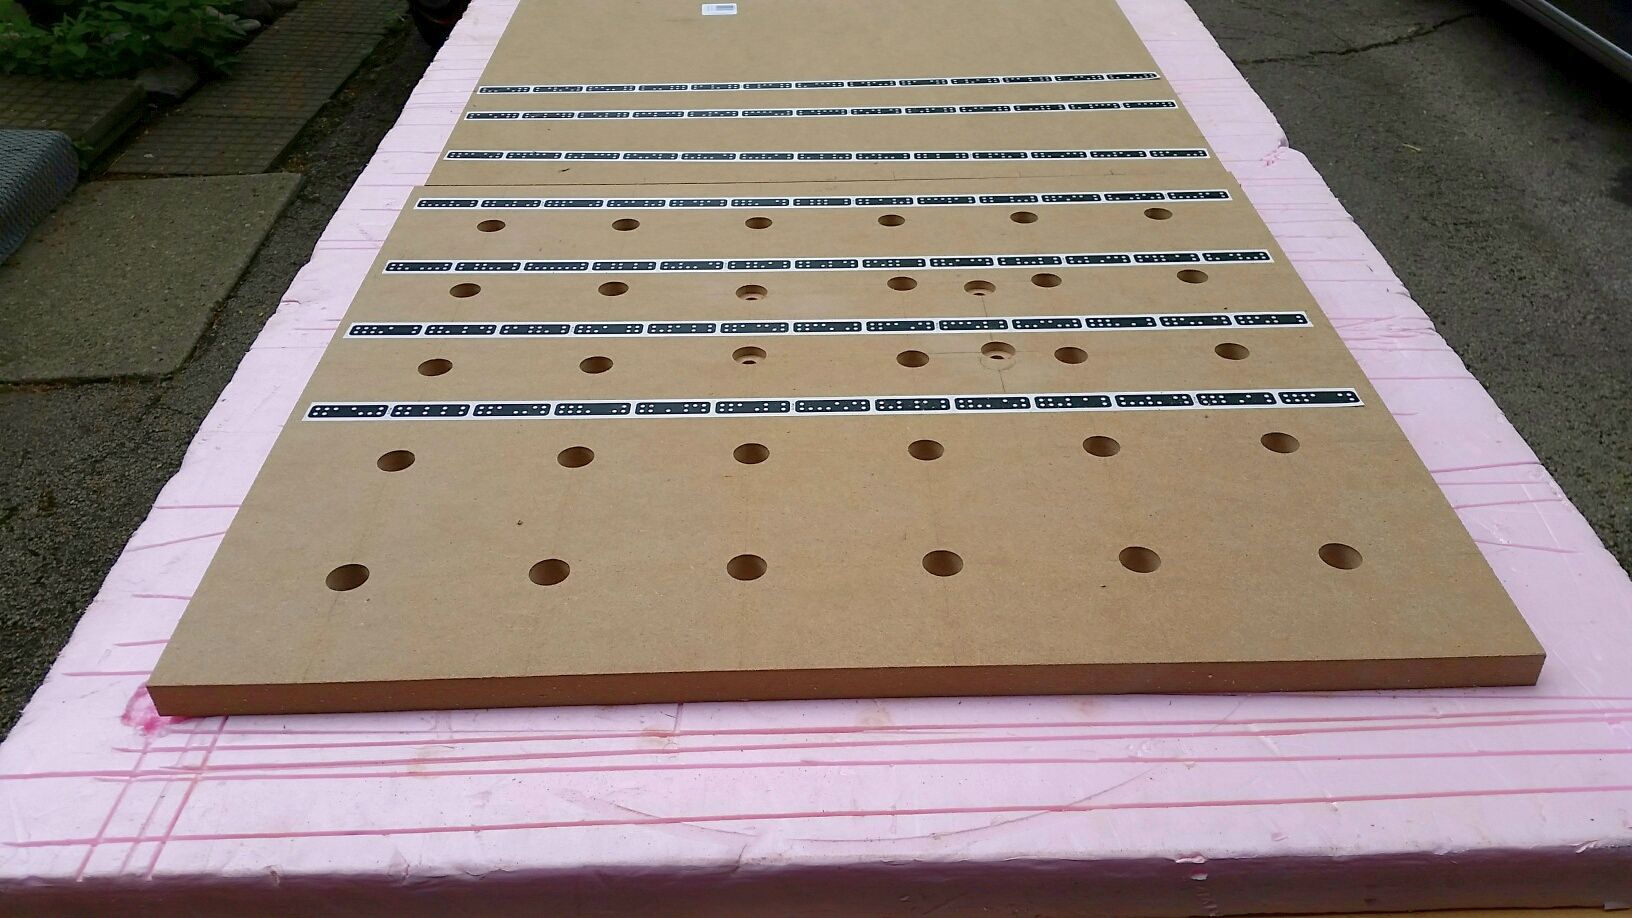
20180519_151605_resized.jpg
20180519_151605_resized.jpg (215.33 KiB) Viewed 6174 times
The other 4 hole pattern had a reason, it is set up to receive 3/8-16 carriage bolts. For some of you that will look familiar. Here is a shot with the bolts in use:
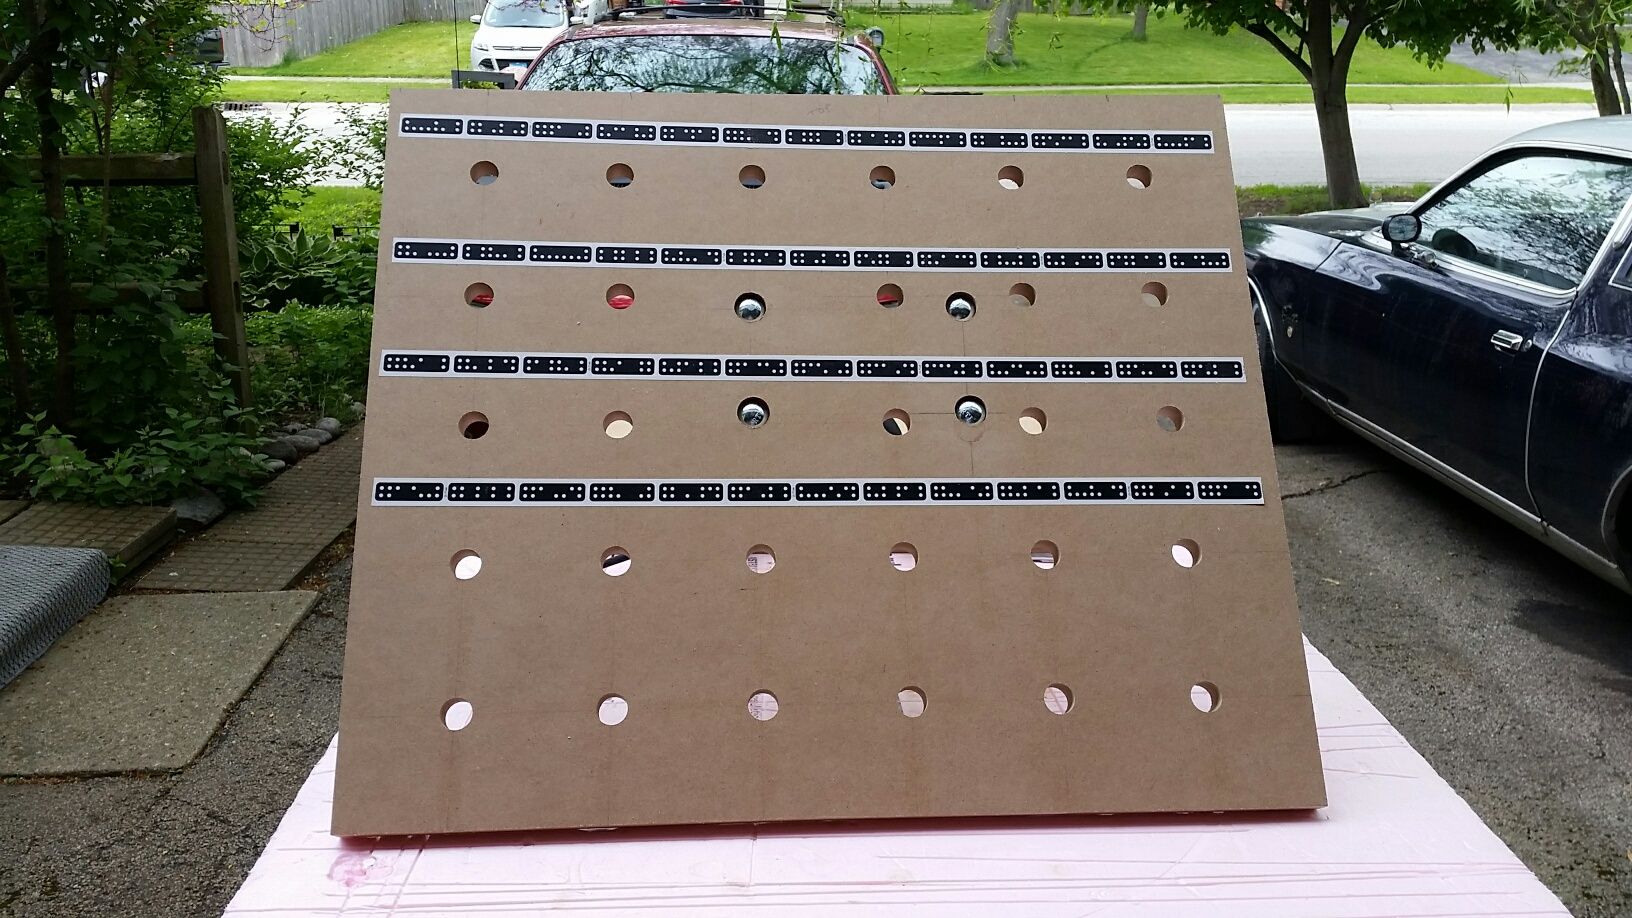
20180519_153314_1526765166821_resized.jpg
20180519_153314_1526765166821_resized.jpg (283.18 KiB) Viewed 6174 times
Of course after this next picture you will all know what uses that pattern and size of bolt.
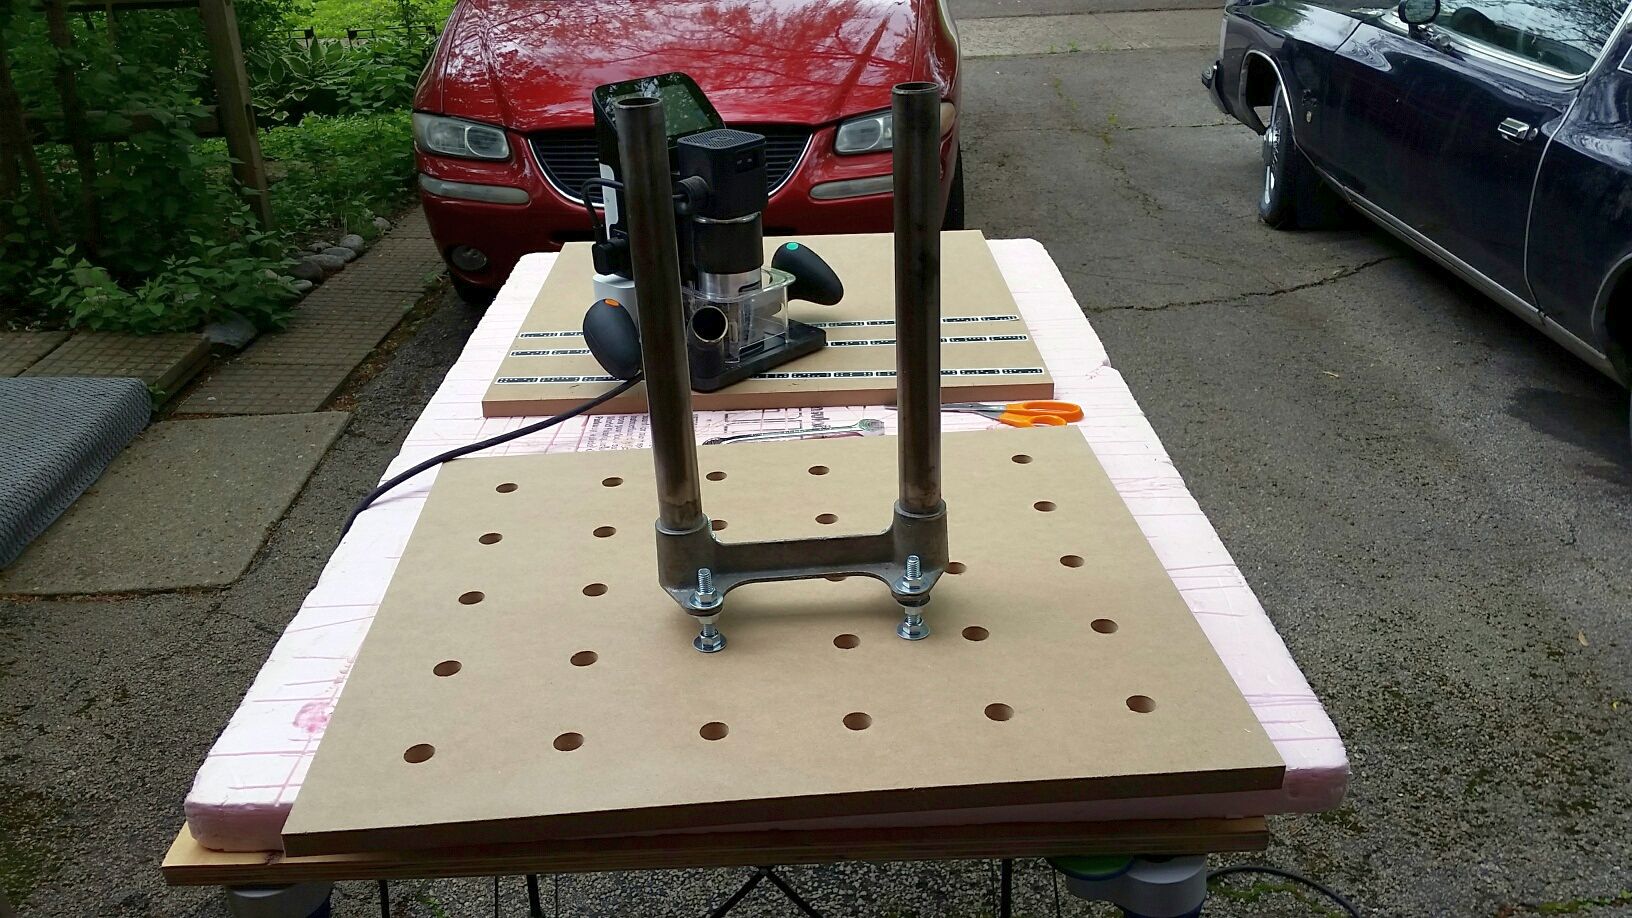
20180519_153334_resized.jpg
20180519_153334_resized.jpg (305.5 KiB) Viewed 6174 times
And you will all guess where it mounts, but here is the picture anyway.
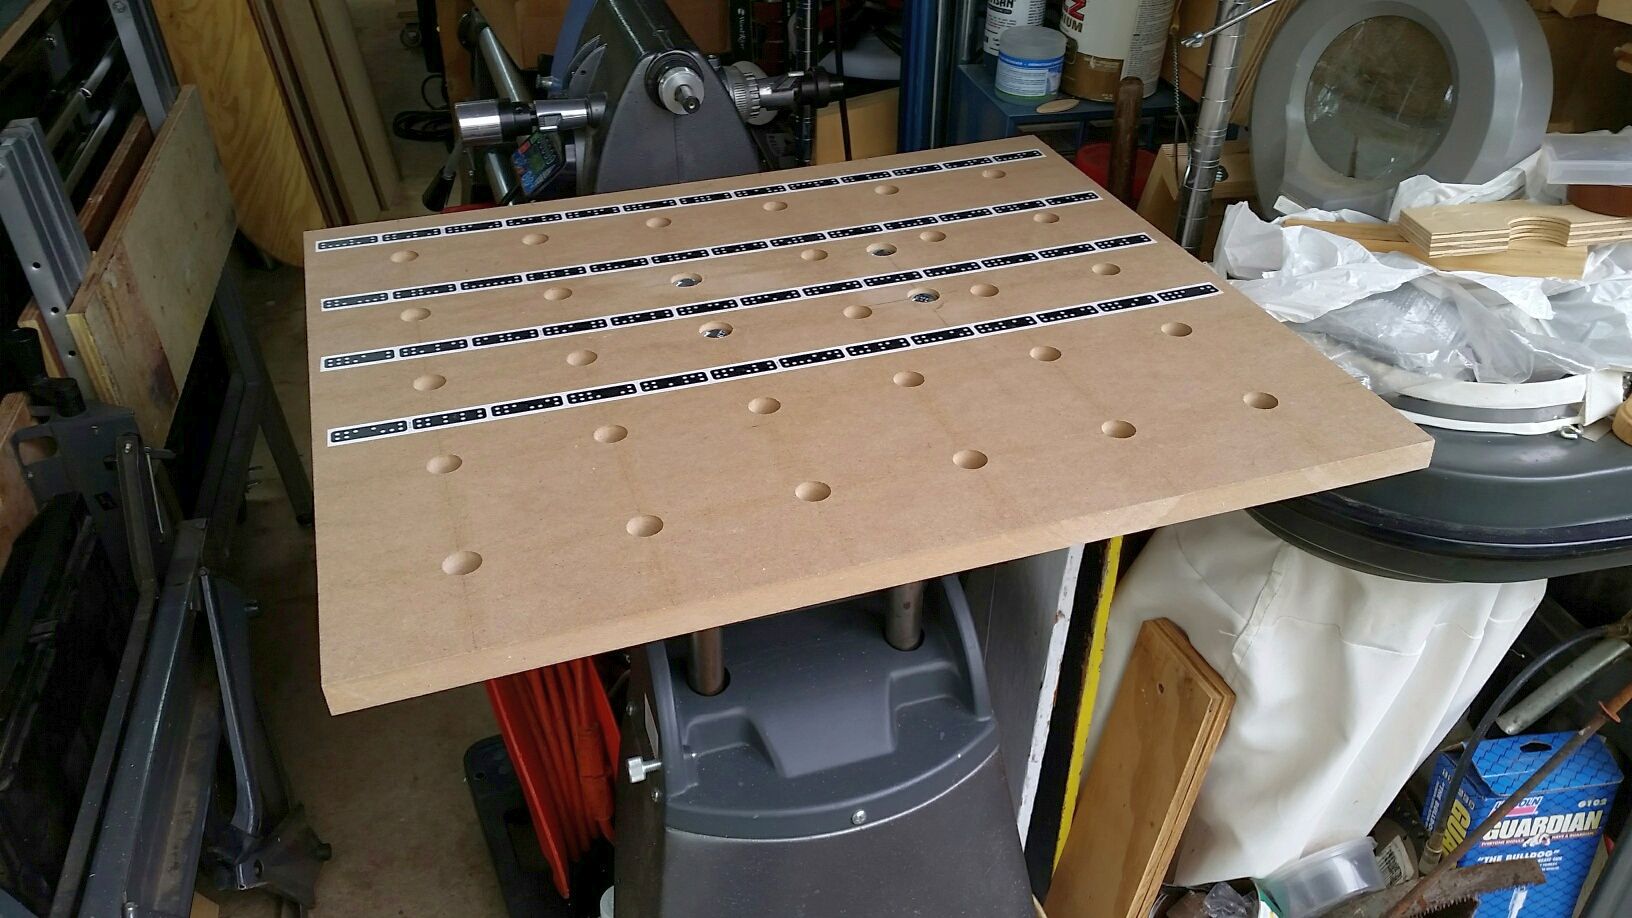
20180519_153808_resized.jpg
20180519_153808_resized.jpg (217.27 KiB) Viewed 6174 times
Then there was the job of leveling it.......... glad I've had practice on this sort of thing.
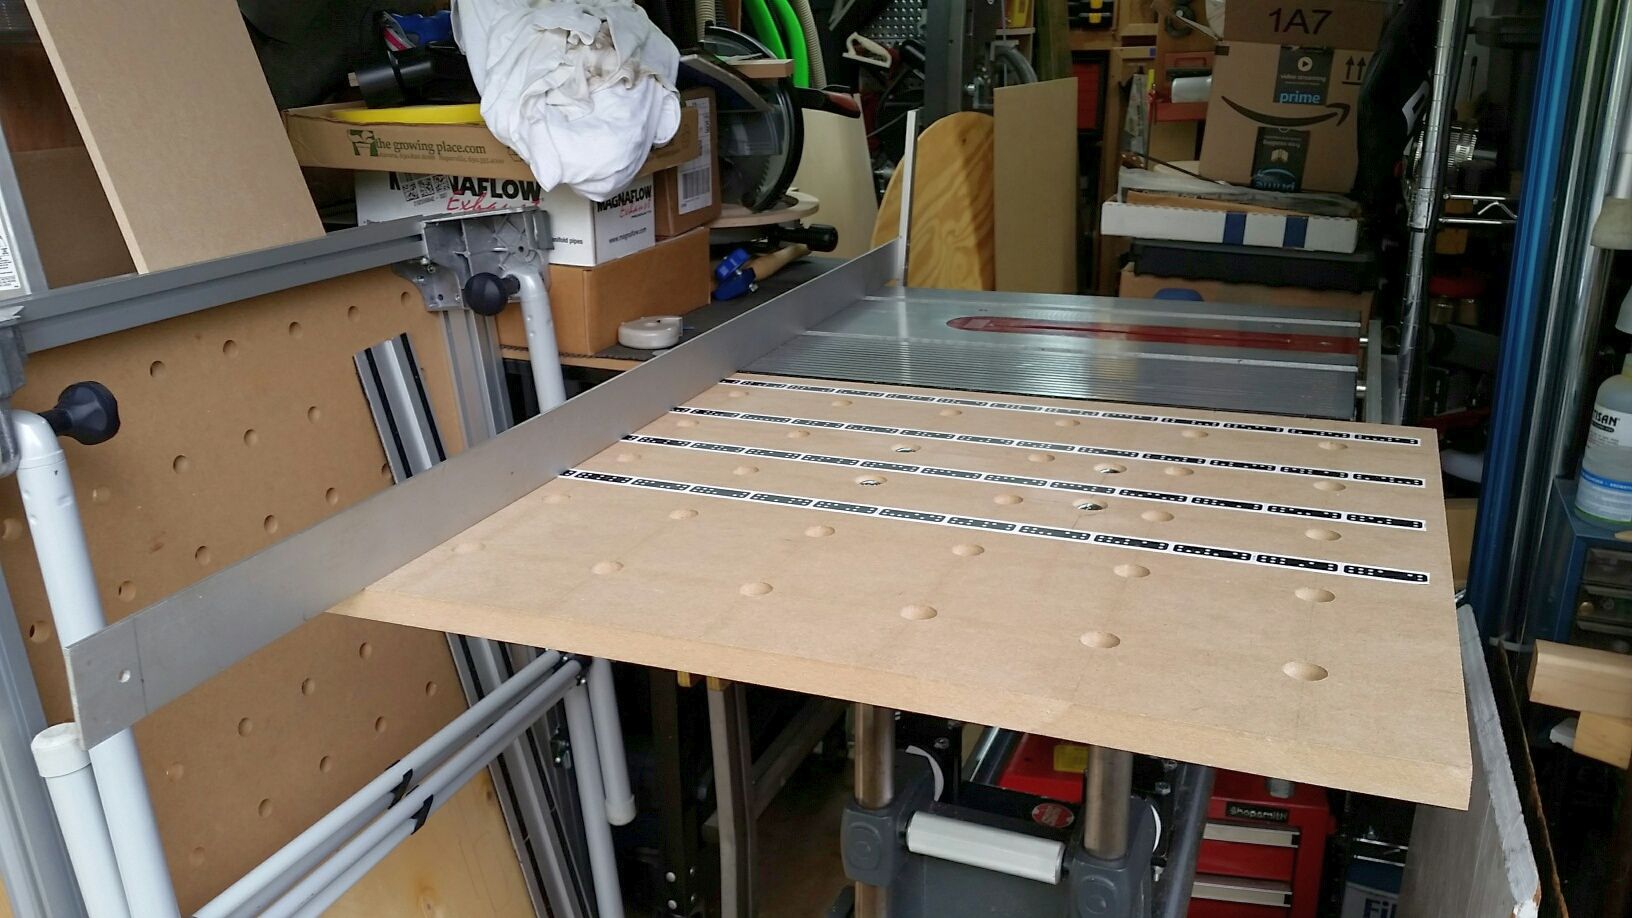
20180519_160239_resized.jpg
20180519_160239_resized.jpg (204.73 KiB) Viewed 6174 times
So now I have a mini MFT that is shopsmith mounted. Should be useful. But that is not all it will be able to do. The shaper wants the tape to be on a level/flat surface and at the same height as the work piece. That is fine if you are working on a single surface but then comes the case where someone wants to use a tape board to save on the consumables. Many solutions but if you have a shopsmith then why not take advantage of the flexibility it offers.
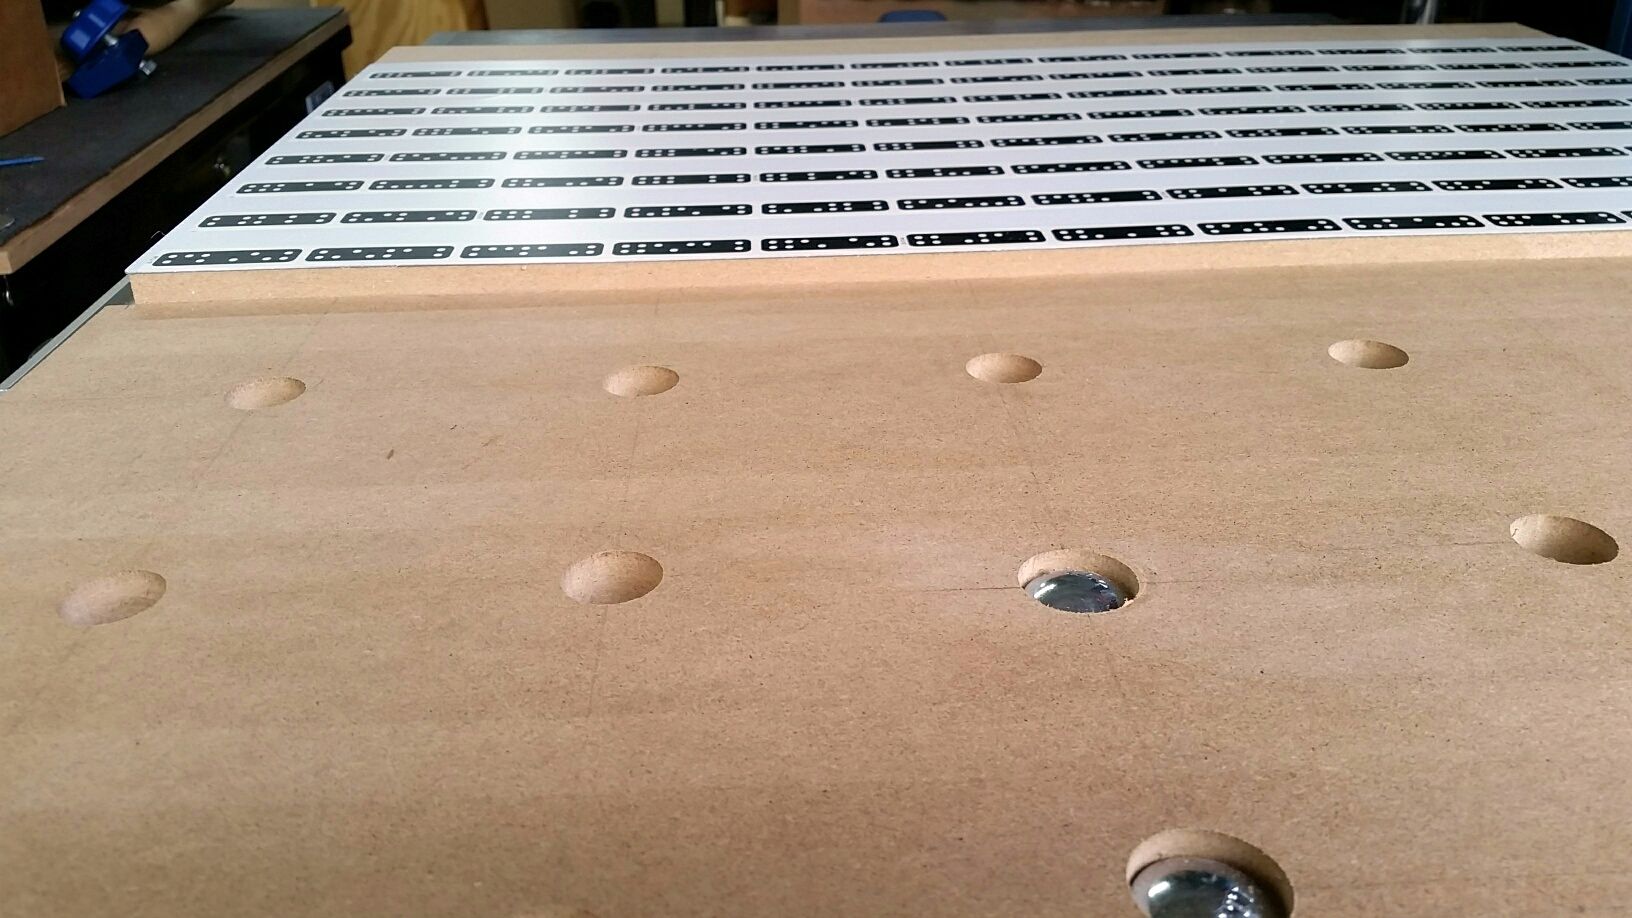
20180519_164007_resized.jpg
20180519_164007_resized.jpg (210.57 KiB) Viewed 6174 times
So the main table can be used with the tape board and you can adjust it so the work piece on the MFT will be level with it. So say you want to work on a piece of hardwood that is say 13/16" thick, no problem. Next you have a piece of 1/4" plywood, well as we know the 1/4" is nominal and that actual dimensions will vary, again no problem.

For use with the SO I will try and protect the MFT surface by using a backer board. Besides if one went to deep and hit one of the recessed carriage bolts you would be kissing that router bit good bye.

I'm seeing this as a solution for smaller jobs, and I even could see a few refinements for another version but I want some time on the system before looking to build V2.

I also wanted to say the sketch up file made this a much faster process, many many times faster then the hand method, of course that is what is to be expected. I did mess up one of the mounting hole counter-bores. I did not have them in the file and miss-placed it by hand, picked the wrong line.... so another reason to do away with hand layouts and trust the tool. Good news was that it is so simple to use the same hole size but do an outside cut on a piece of scrap..........

Anyway I was well pleased with the results and look forward to many more jobs in the future.

Ed
{Knight of the Shopsmith} [Hero's don't wear capes, they wear dog tags]
sehast
Gold Member
Posts: 497
Joined: Sun Apr 12, 2015 6:53 pm
Location: Milpitas, CA

Re: Tomorrow in the shop (Third SO Project)

Post by sehast »

"the main table can be used with the tape board and you can adjust it so the work piece on the MFT will be level with it."

This is a great idea. I have to fool around with shims to get things level with my setup but have advantage of using a face vise to hold the work pieces.

https://community.shapertools.com/t/my- ... ation/1019
Post Reply