1954 Mark 5 Hardware Store Display – Resurrected!
So, about a year ago I posted to this thread an acquisition of a decal a dealer would apply to the headstock of a demo unit to advertise the price (“$329.50 only $3.42 a week”, at the time) of the Mark 5 to store patrons, and one of our contributors, “Doc” (chiroindixon), mentioned he had a dealer demo display in his barn with a much lower price, and that the display could use a permanent home.
When I inquired further of my fellow Forums contributor, he sent me this:
.

- IMG_4726.JPG (397.43 KiB) Viewed 113531 times
.
I was intrigued… I’d seen portions of these before – maybe the accessories board, or the logo banner panel at the top, but never the whole thing (including intact artwork on the backstop) like was shown in the dealer binders:
.

- IMG_4725.jpg (296.85 KiB) Viewed 113531 times
.
There was one problem, however, in the form of an 1,100-mile one-way trip to get it, which had me pretty well stymied over the last year. But, as chance would have it, a business trip last month would put me just a few hours from Doc’s residence, so I built a little extra time into my itinerary and planned a visit.
Let me just say, as a guy who has had more than a few road trips to acquire systems and memorabilia, the best part of that process is often not what you get, but rather the journey to new places and the meeting of new people – and Doc was a great guy to visit. I wish I could have stayed a bit longer and shared a beer or two, but my schedule wouldn’t allow…
Anyway, back to the story. I have to admit, the picture I had received from Doc of this item did not accurately reflect its condition, and I was really, really close to giving it a “yeah, no…”, even after such an effort to come see it. The plywood accessories board was losing paint and badly delaminating, anything steel was rusting through its paint, and worst of all, the artwork on the backstop that I was so excited to see was just a mess and clearly not at all salvageable.
The only thing it had going for it was that all the pieces were there – albeit not in great condition, but all there. So, what the hell, right? I took a chance, pulled it apart, threw it in the back of the rental car, and off I went.
Next stop was the FedEx store on the drive back to my client destination, where I raised some eyebrows with this dirty, rusty pile of junk I brought in for packing and shipping services. But this is where things seemed to get on the right track – the FedEx team did an excellent packing job and got the package on its way for a much lower cost than I ever expected. It even arrived at my house before I returned from my trip.
Next bit of good fortune was that I had a long, Labor Day weekend in front of me, and I was able to spend some quality garage time on some steps of the restoration.
First was the main plywood accessories board – this needed a good surface cleaning to remove decades of accumulated barn grime, and careful chiseling to remove some large paint drips. Then I carefully reglued the delaminating plies, to stabilize the board. Next the painted portions of the board needed some attention – the paint loss in the black field had to be reversed with some careful hand painting, and I even restored some of the lettering with delicate Sharpie application. I sealed it all in with polyurethane, and was starting to feel better about the potential.
The backstop needed a good wire brushing/sanding and new coat of glossy black paint - that was time-consuming but straightforward. Not so much the top logo banner panel, however. One corner was completely bent over, and the lettering and background were peppered with rust that had developed under the failing paint. This required a very detailed hand paint job to repair the rust damage, and then a clearcoat spray to seal it in. Turns out these displays were meant to be viewed from the front
and back (I guess in the middle of a hardware store showroom?), so that I was able to pick the better of the two printed sides of the top panel to restore.
The aluminum tubular frame was a bit grungy and oxidized, so that took some polishing, but surprisingly that was straight and intact!
Next came the rough part... I didn’t see any way to restore these panels that were made of cheap fiberboard with paper images adhered to them 70 year ago. The images were mostly trashed and faded, and the panels themselves were badly warped and frayed.
.

- IMG_4707.jpg (508.88 KiB) Viewed 113531 times
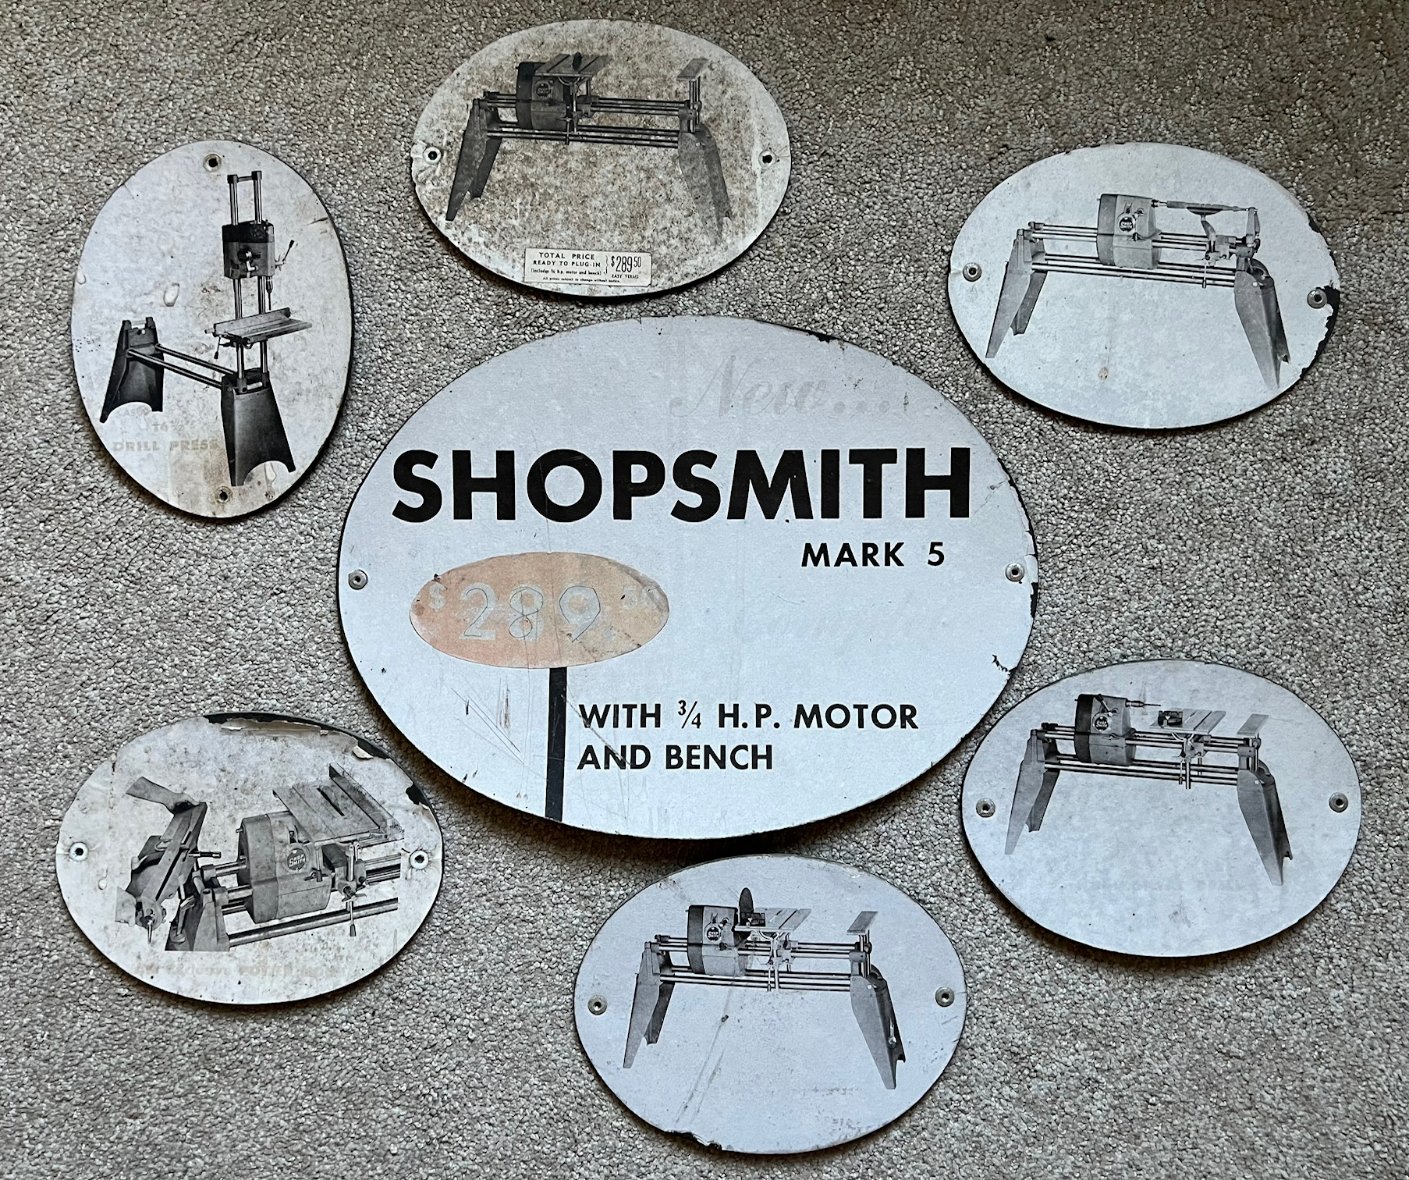
- IMG_4711.jpg (611.13 KiB) Viewed 113531 times
.
I knew these graphic panels were a goner, but again, here they were in front of me, and maybe I could still use them to model some reproductions!
So, with my trusty ’56 Greenie bandsaw, I cut new panels, smoothed the edges with my ’54 Mark 5 sanding disc, gave them a nice glossy white coat, and started to think about the artwork I’d need to recreate the originals.
While I had my Greenie in service, I snapped some pictures of it in the 5 modes of operation shown in the picture above (and for anyone who has seen posts of my Greenie, it’s a showroom-new caliber of restoration, so good for glamour shots!). Step one complete… Next, I noted that although largely faded, a couple of the panels still displayed some text that hinted at the messaging that was shown without much resolution on the original catalog shot above:
.

- IMG_4713.jpg (413.84 KiB) Viewed 113531 times
“As A 16 ½” DRILL PRESS”
.
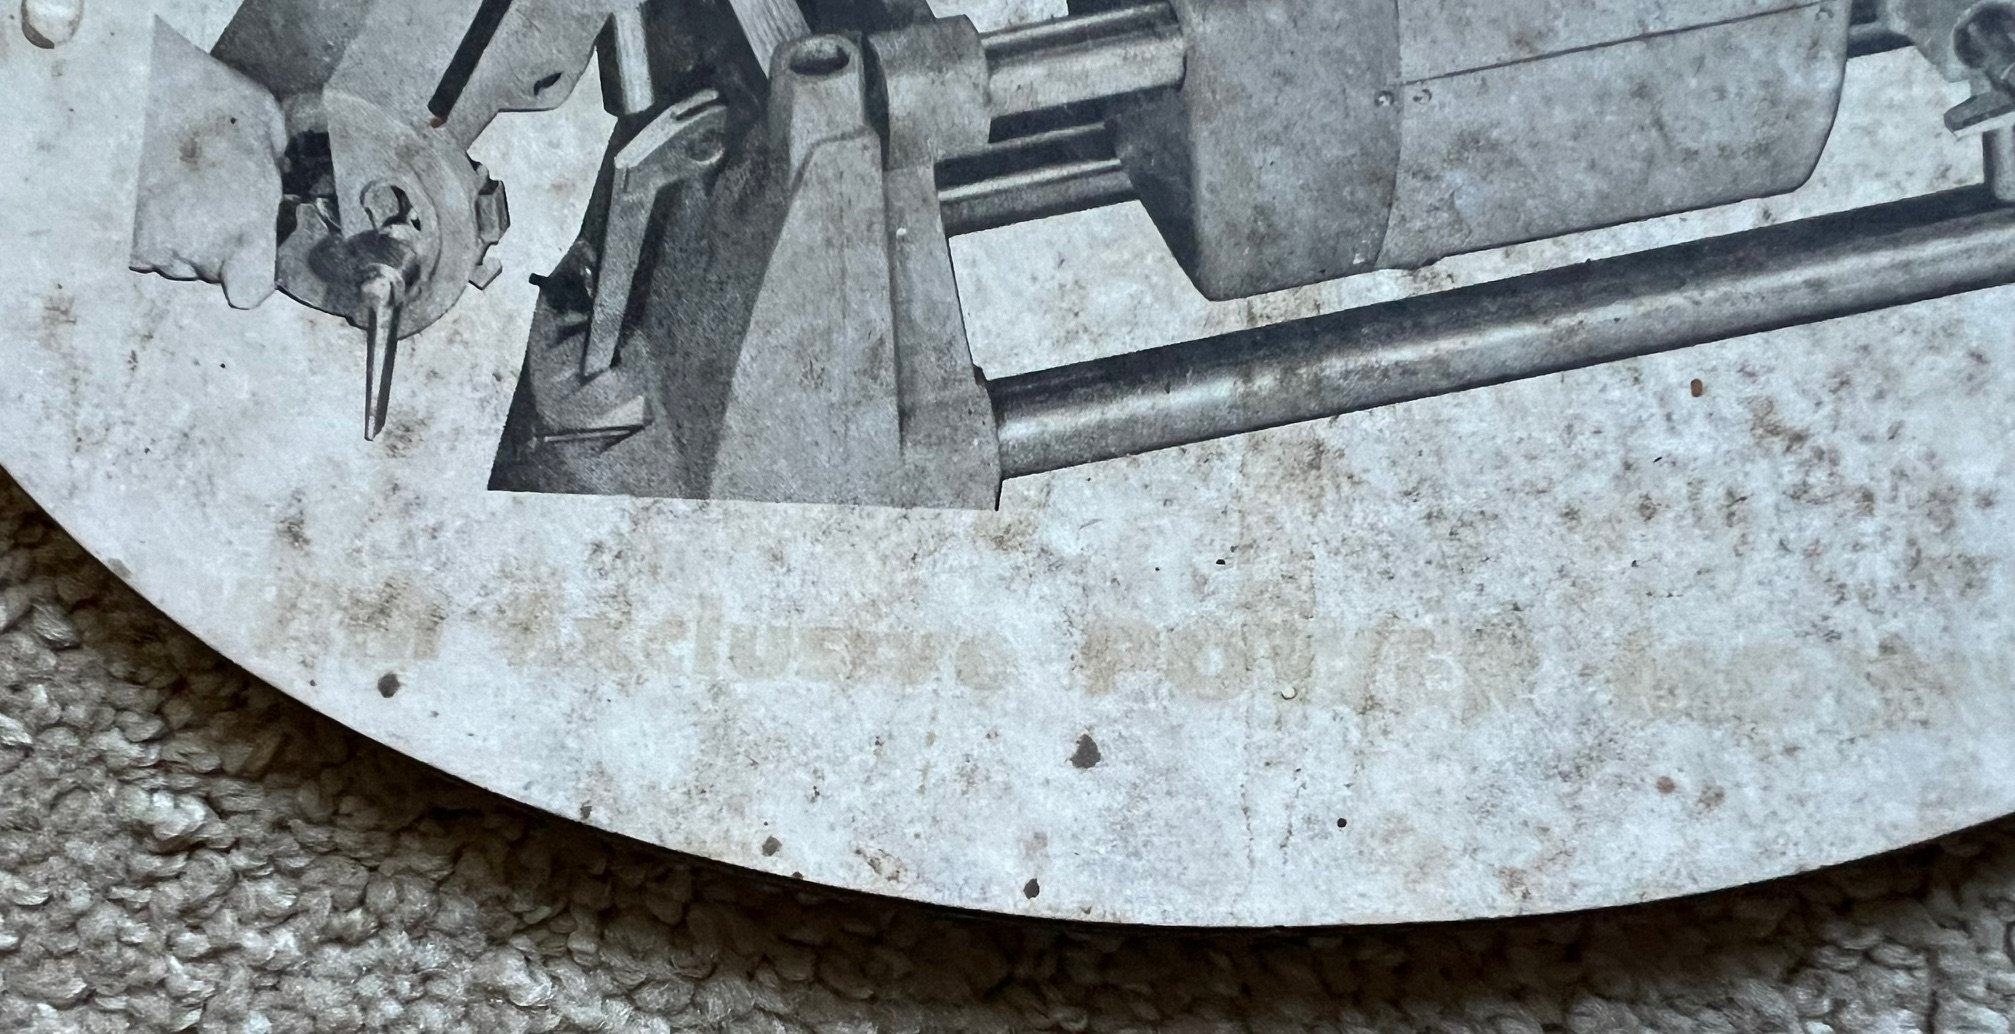
- IMG_4714.jpg (415.63 KiB) Viewed 113531 times
“WITH Exclusive POWER MOUNT”
So, I was able to infer the text on some of the other panels (using verbiage shown on the back of early glossy catalogs) and proceeded to create the new panel artwork – and this time in modern color!
.

- IMG_4709.jpg (669.73 KiB) Viewed 113531 times

- IMG_4710.jpg (687.76 KiB) Viewed 113531 times
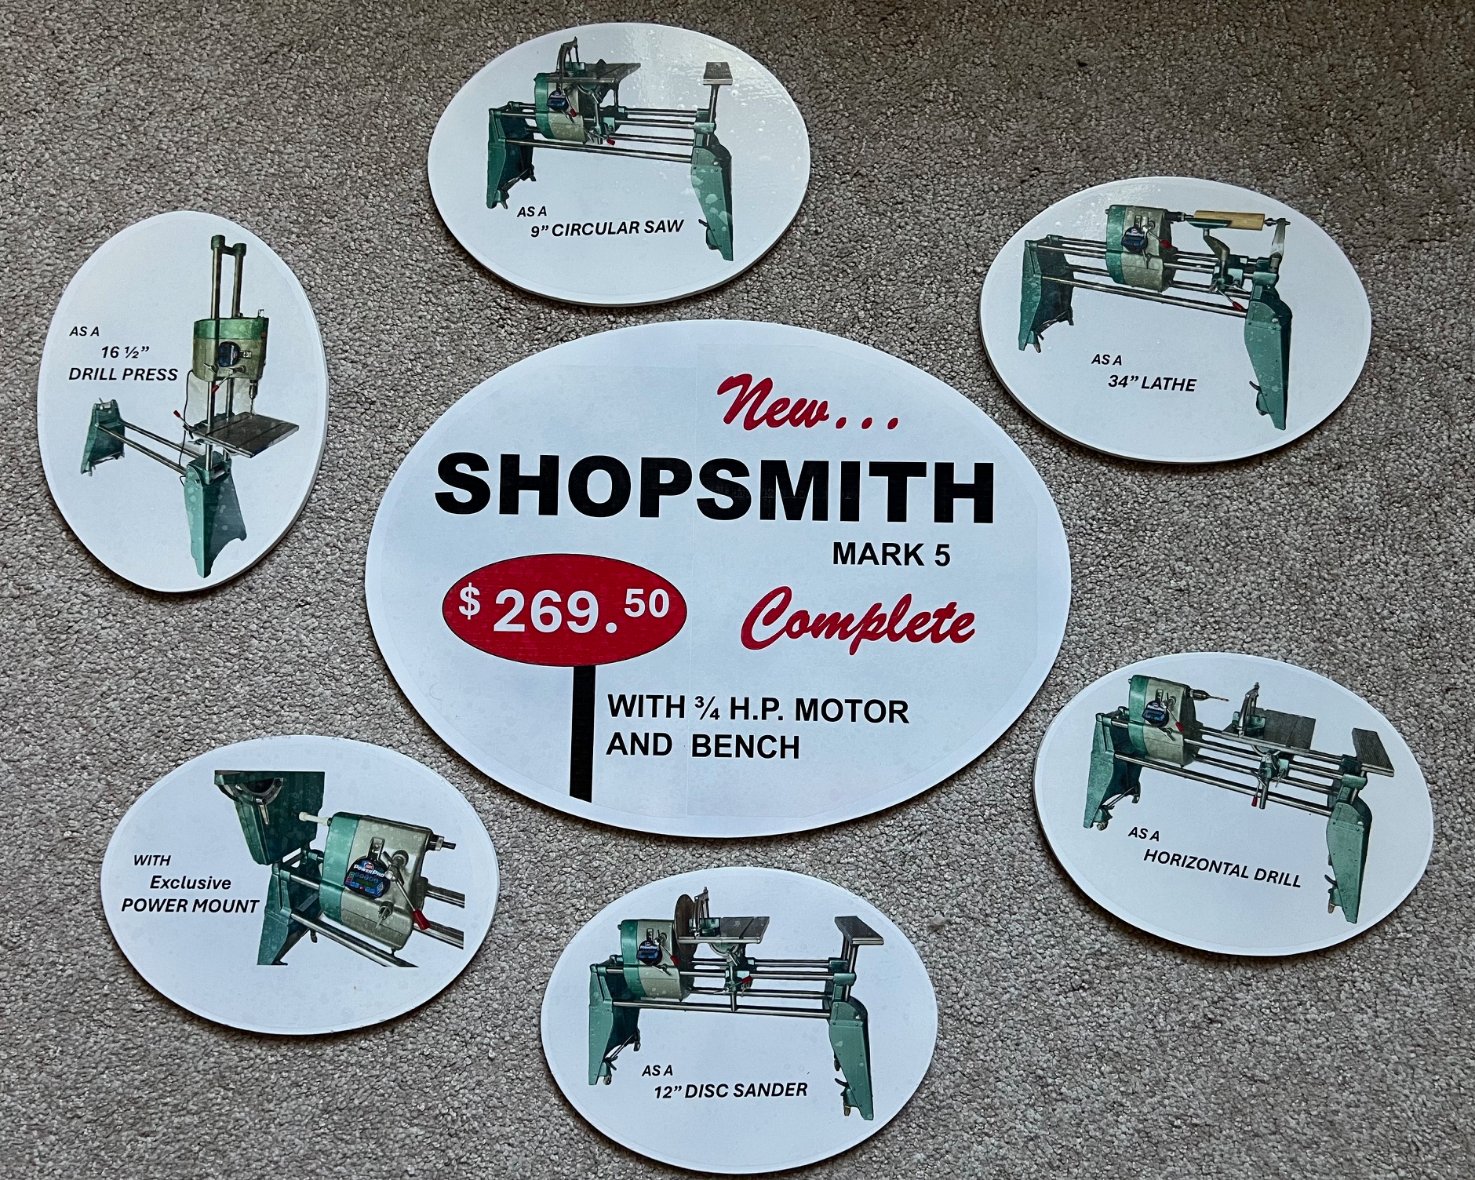
- IMG_4715.jpg (575.63 KiB) Viewed 113531 times
.
…and I did opt to go with the original $269.50 price on the display. The fonts are not perfect, but I think I surprised myself with how well these came out!
I needed some new hardware to replace the original that I inadvertently left in the rental car (sorry, Doc!), so once I got that I did some reassembly and added the necessary accessories to the board. Finished it off with a little 50s-era wall clock that I had modified previously with a Shopsmith motif, and voila!
.
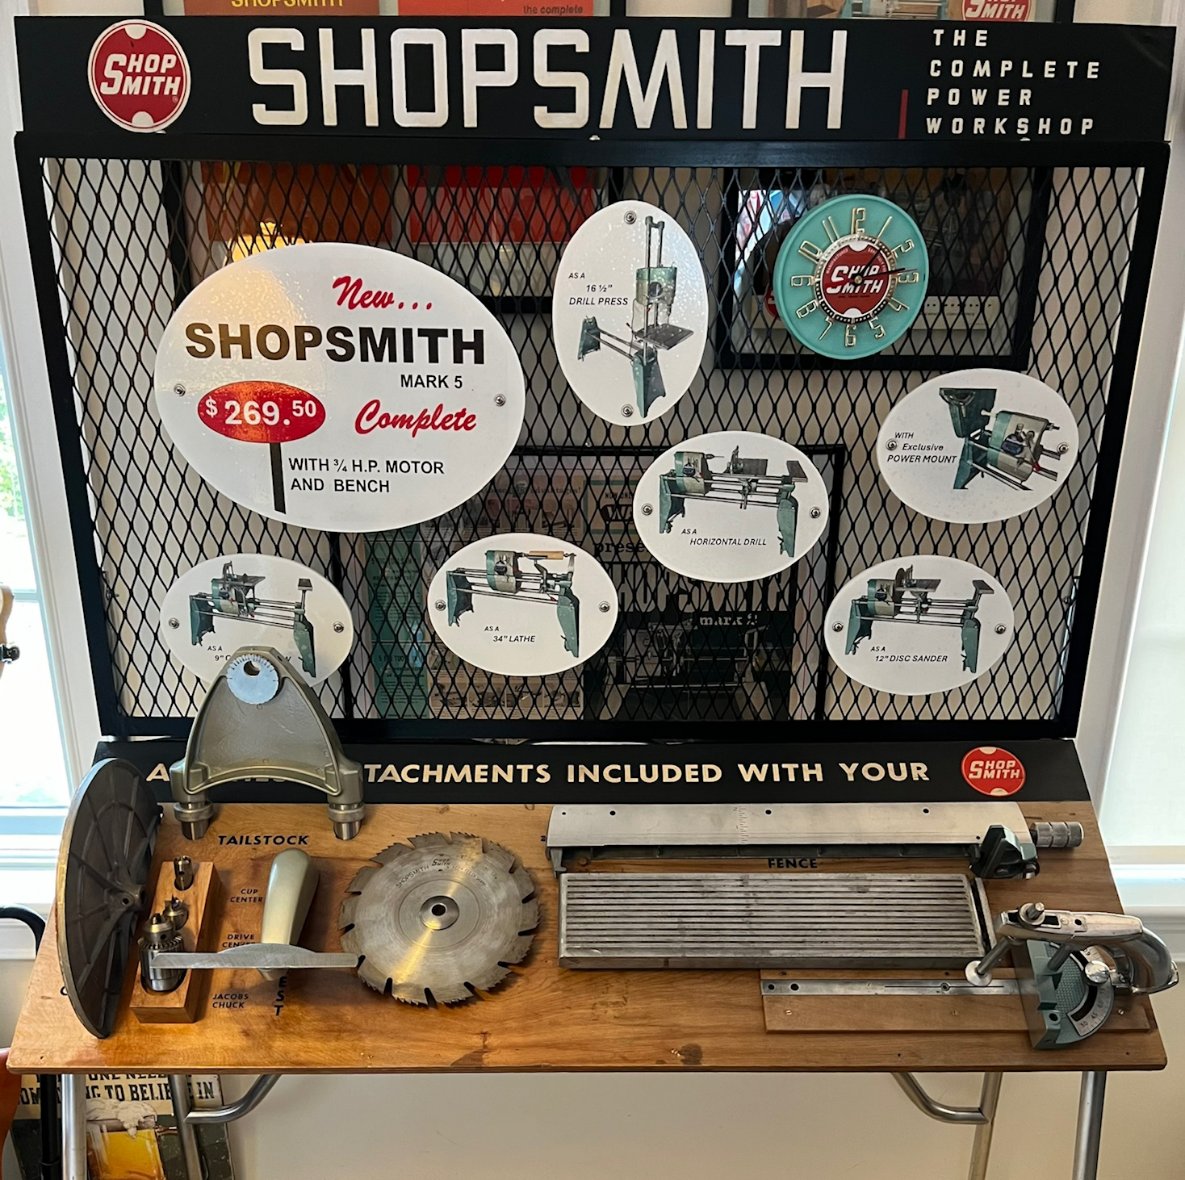
- IMG_4730.jpg (325.45 KiB) Viewed 113531 times
.
I think I nailed it!