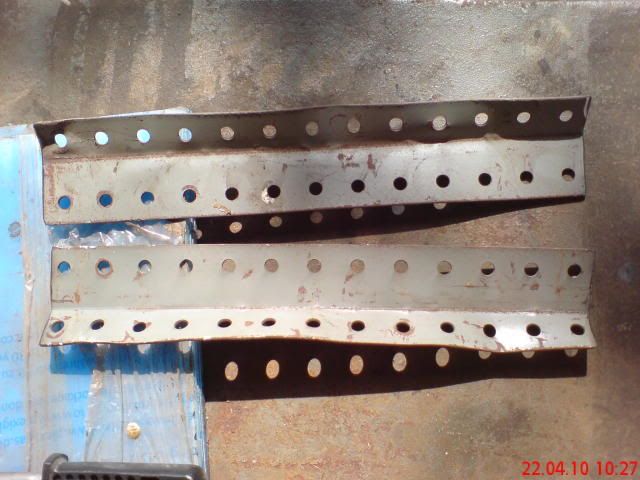
Basic setup:-
Take 2 scrap pieces of painted angle iron from old shelving.
.
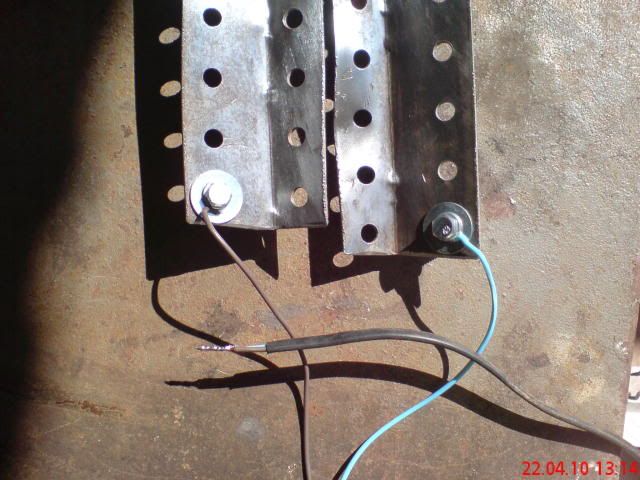
Clean the inner faces and attach cables.
.
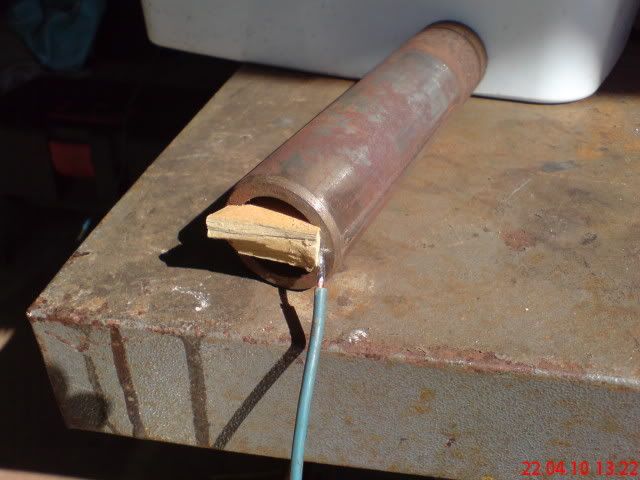
Take one quill housing and wedge cable inside.
.
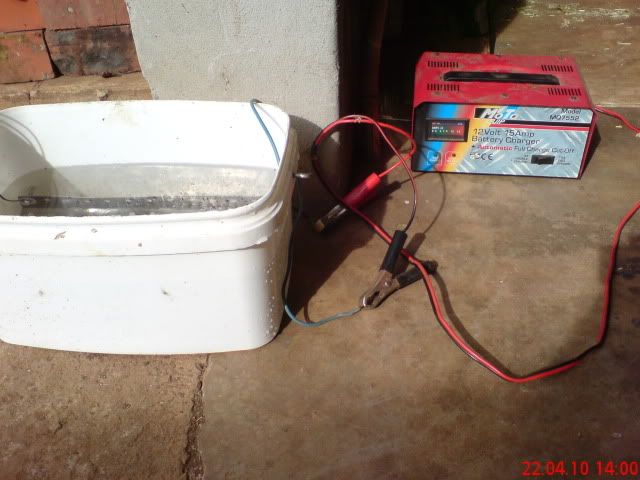
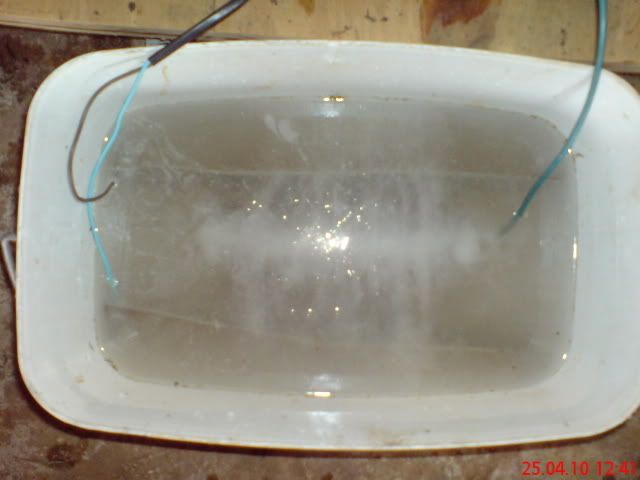
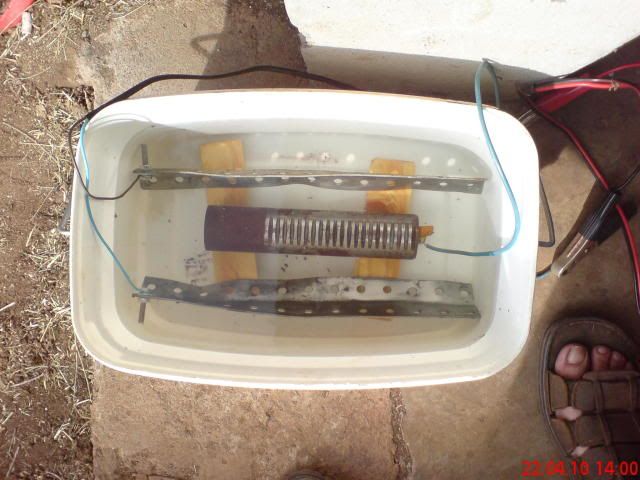
Place in bucket and electrolyte like this.
.
See next post
Moderator: admin


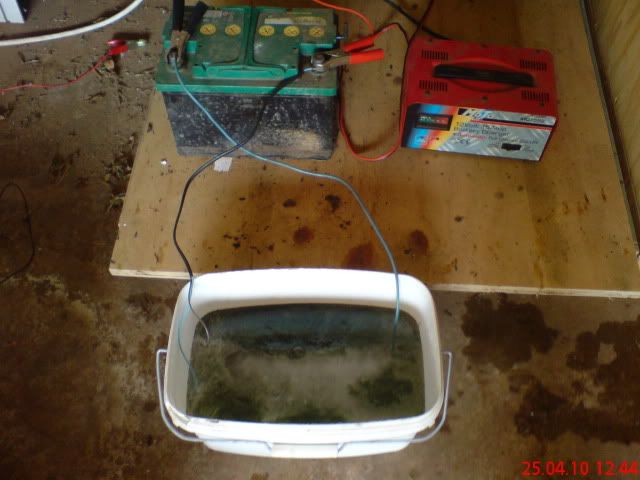
Did you finally score some "washing soda"? I am assuming the photo you posted is your.dusty wrote:Where are the brown and blue wires ....
If you are connected as depicted here, then I see no reason that your set up should not work. Provided that you are using the RIGHT SODA.
.......
Yes, Ace Hardware comes through again.mickyd wrote:Did you finally score some "washing soda"? I am assuming the photo you posted is your.
RIGHT soda......any sodium whatever works, whether is be sodium carbonate (washing soda), sodium bicarbonate (baking soda), sodium chloride (table salt...but is corrosive), sodium hydroxide (lye...watch your skin and eyes).