Page 2 of 4
Posted: Fri Oct 01, 2010 7:34 pm
by easterngray
I finished up my featherboard equipped auxillary fence after work tonight. Planed to thickness, sanded, sawed the groove and drilled/countersunk the holes. This was an easy project that should be of great use. Dimensions are approx. 7.5" x 26.5" x 1.5". It's a nice hefty oak fence - any suggestions as to finish? Should I just leave it raw? I'm going to go back to PTWFE for the next jig /fixture project...
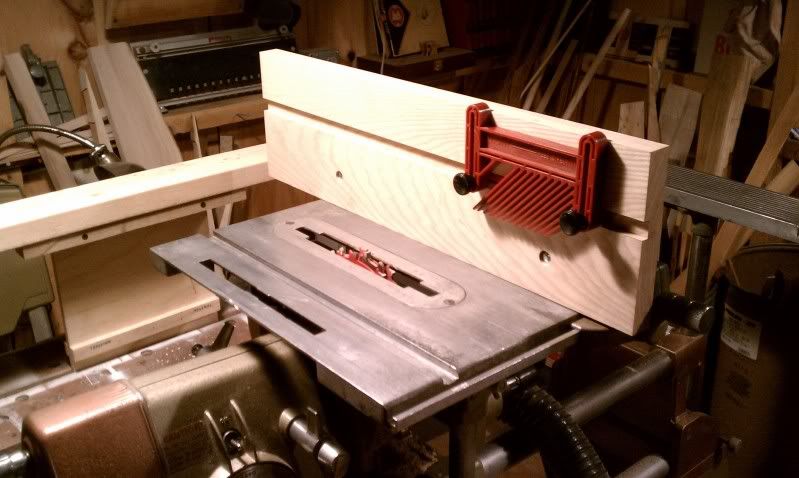 PTWFE aux. fence
Posted: Fri Oct 01, 2010 8:41 pm
by mgdesigns
Want to sell it?
PM me. I might be interested.
8iowa wrote:Back in '83, when I purchased my Shopsmith 500, I didn't have a planer (Shopsmith hadn't introduced their planer yet) In that era Shopsmith included PTWFE in the package.
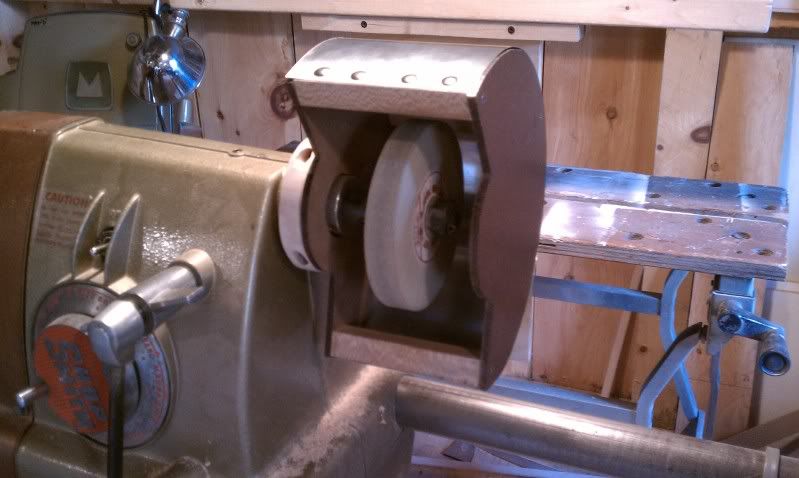
Quickly catching my eye was the 15" drum sander, plans on page 271 of this vintage book. (which I still have) Novice as I was, and not knowing any better, I made one out of oak. This was one of my first lathe projects, I even used the dead center, again unaware that the live center even existed. I surprised myself by turning the oak cylinder within about 5 thousandths over it's length.
This drum sander made it possible to take bandsaw resawn boards and smooth them to uniform thickness. The downside was the clouds of dust, which my wife hated as the laundry area was also in the garage. An upside was the DC3300 that my wife gave me for Christmas that year.
I still have this drum sander, but it is not used anymore.
More jigs
Posted: Tue Oct 05, 2010 8:41 pm
by nuhobby
Hi again,
Showing some stuff together here.
A la PTWFE Fig. 2-11, I have a homemade zero clearance insert.
Also is a Small Parts Crosscut Sled.
For this sled, it also does a *super* job of letting me horizontal-bore my pen-blanks. I just nestle them against its fence-piece and clamp everything down tight.
[ATTACH]10550[/ATTACH]
Posted: Wed Oct 06, 2010 12:48 am
by JPG
Cannot take credit for its creation(came with a used 510), but I did recondition it.
It was originally only stained(no finish). I rubbed it down with paste finishing wax(minwax) and buffed it out. It was 'stuck' (moisture) when I got it, but now it slides freely with very minimal 'slop'. Have not yet figgered out the reason for the wing nuts etc.
This jig may be found on page 84 of the 1984 'revised' edition of PTWFE.
[ATTACH]10551[/ATTACH]
It attaches to the fence and provides a vertical 'table' and 'miter gauge'(non adjustable angle.
Ignore the background etc.!:rolleyes:
Posted: Wed Oct 06, 2010 1:05 am
by beeg
WHERE in the PTWFE, do you people find the edition info?
Posted: Wed Oct 06, 2010 1:10 am
by JPG
beeg wrote:WHERE in the PTWFE, do you people find the edition info?
In der front (the 'Library of Congress' page). Back side of the inside cover/title page.
P.S. On the spine also.
Posted: Wed Oct 06, 2010 9:56 am
by 8iowa
mgdesigns:
This 15" drum sander, as one of my first Shopsmith projects more than 25 years ago, is going to "repose" on a shelf along with some other old time goodies.
By-the-way, the plan for this drum sander is still included in the 4th edition PTWFE, on page 228. I'll have to warn you however that this tool is a real dust monster. There are also some safety issues that have to be observed.
Posted: Tue Oct 12, 2010 10:52 pm
by easterngray
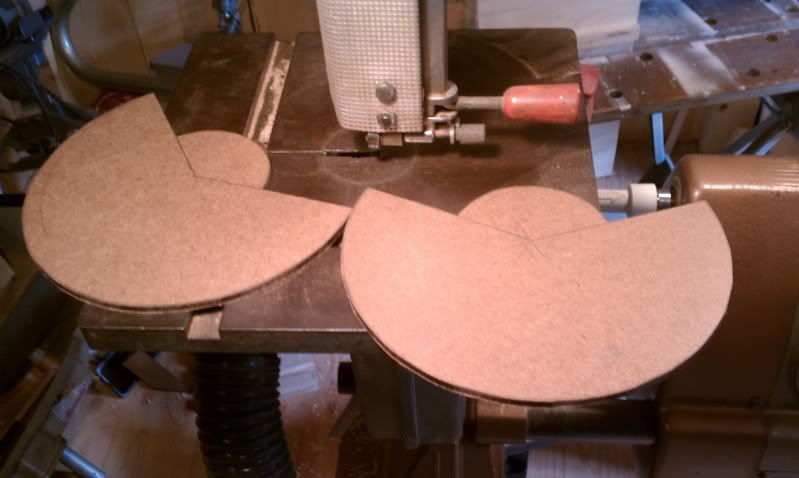
OK my next project for the PTWFE jig and fixture challenge is the abrasive and wire wheel guard shown on pg.150 of the 1955 edition. I'll start tomorrow night ! Alec
Posted: Sat Oct 16, 2010 6:18 pm
by easterngray
Posted: Thu Oct 21, 2010 11:22 am
by easterngray
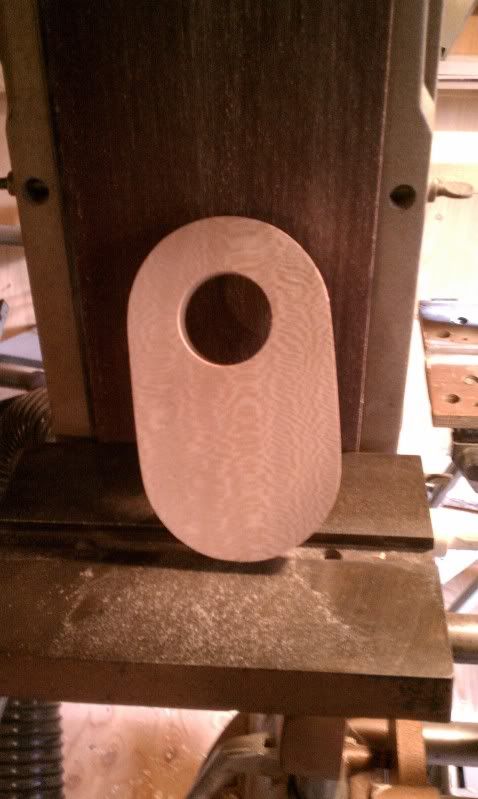
I finished the abrasive wheel guard. This project actually took more "tweeking" than I anticipated. Fitting the clamp was critical and there are no thickness dimensions in the plan. At first it was too thick, but I was able to sand it down to have adequate quill clearence and still enough room at the ends for the T-nuts. I pre-drilled the aluminum and used large stainless tacks for fasteners. They hold great and give it a nice finished look. Back to PTWFE for the next project! Alec
 PTWFE abrasive and wire wheel guard