Page 11 of 45
It Is A Long Way From Done
Posted: Wed Nov 12, 2014 6:11 pm
by algale
In addition to sanding and varnishing the outside, I still have to flip the canoe, sand, fiberglass and epoxy the interior and add the seats, decks, thwart and inwales and outwales. Probably won't get to the interior before it is simply too cold. So I will work on the other things in my shop and try to launch early next spring. That's why this is The Slow Boat To Nowhere.
Re: A Slow Boat To Nowhere
Posted: Mon Dec 08, 2014 5:55 pm
by algale
- FullSizeRender(1).jpg (203.96 KiB) Viewed 12979 times
- FullSizeRender.jpg (194.36 KiB) Viewed 12979 times
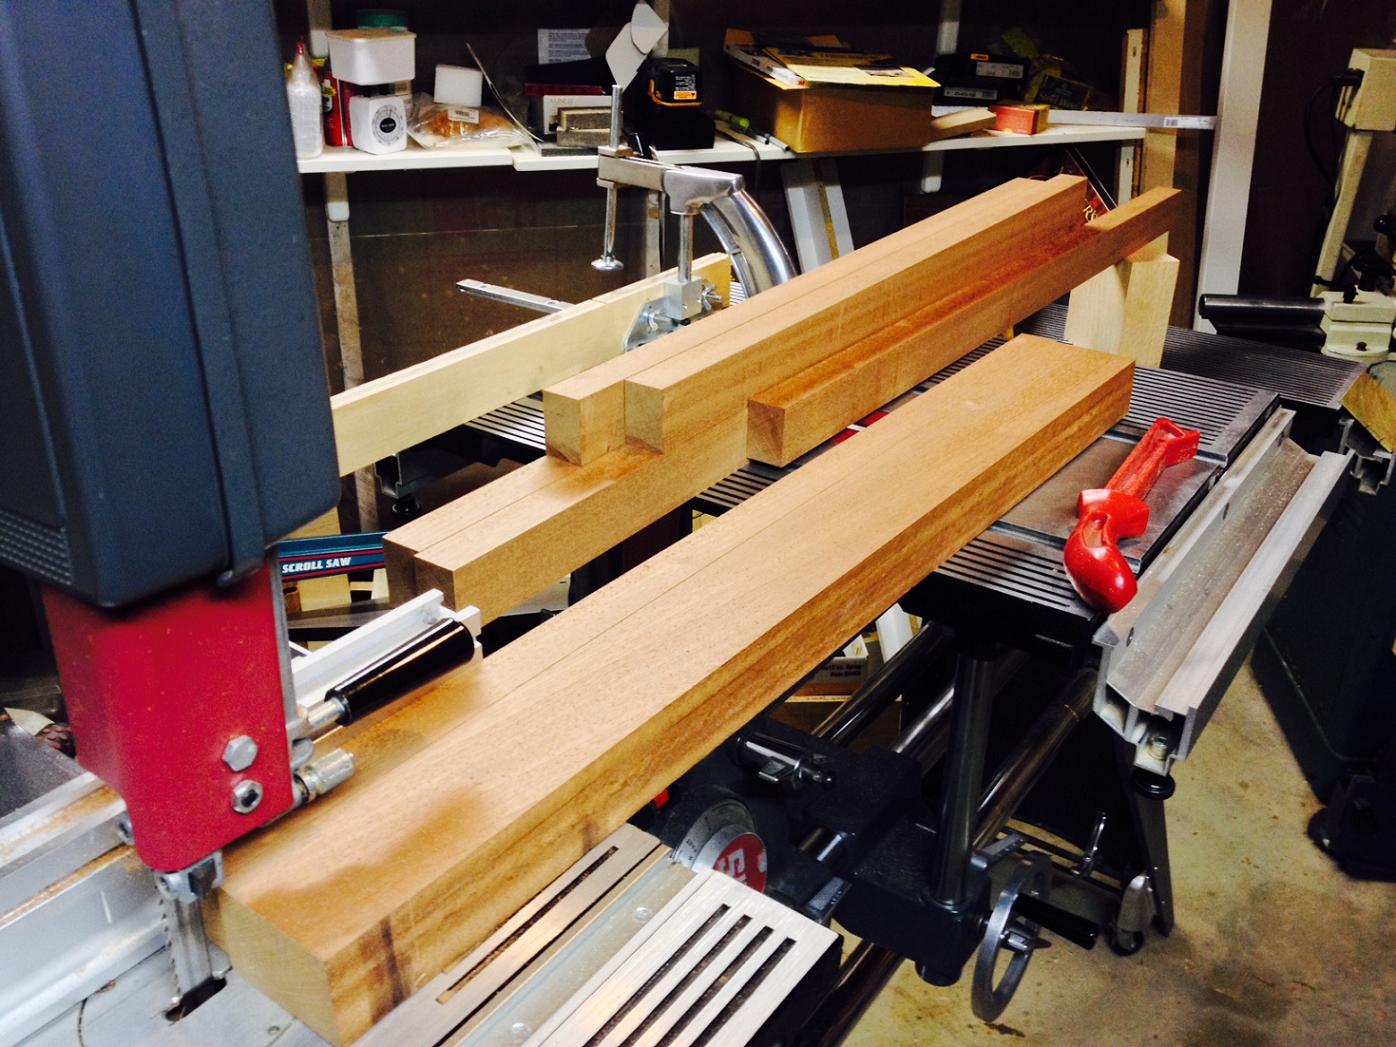
It is now too cold to work on my unheated porch so I have begun work on the seats for the Slow Boat since I can work in my nice, warm basement shop. The photos above show blanks cut for the seat frames. As you can see, the problems with my band saw seem to be behind me.
I had a fair amount of Sapele left over from my porch slider repair project,
http://www.shopsmith.com/ss_forum/viewt ... p?p=151124, and my research indicated that it is both very rot resistant and has some excellent characteristics for this project. It is straight grained, harder than maple on the Janka scale, and while it is not quite as stiff as maple it is still very stiff and it will bend further without breaking than maple.
The author/designer of this canoe suggests the seat frame can be made from any hardwood 1.5 wide by .75 thick. That seemed a little bit light on the construction to me particularly since (a) I have packed on a few pounds and (b) I know from experience that people will step on seats and thwarts as they get in and out of the canoe. I wanted to be sure that if someone put all their weight on part of the seat frame, it could take it.
So I decided to do a test. Cut a 36 inch long piece of Sapele, 1.5 wide by 1 inch thick. Put it between two hockey pucks and put my weight on it. It bent enough with just 3/4 of my weight that it seemed destined to failure. So it cut another test piece, 1.75 wide by 1.125 thick. Success! I can easily put all my weight on a blank without excessive bending.
Re: A Slow Boat To Nowhere
Posted: Sun Dec 21, 2014 1:30 pm
by algale
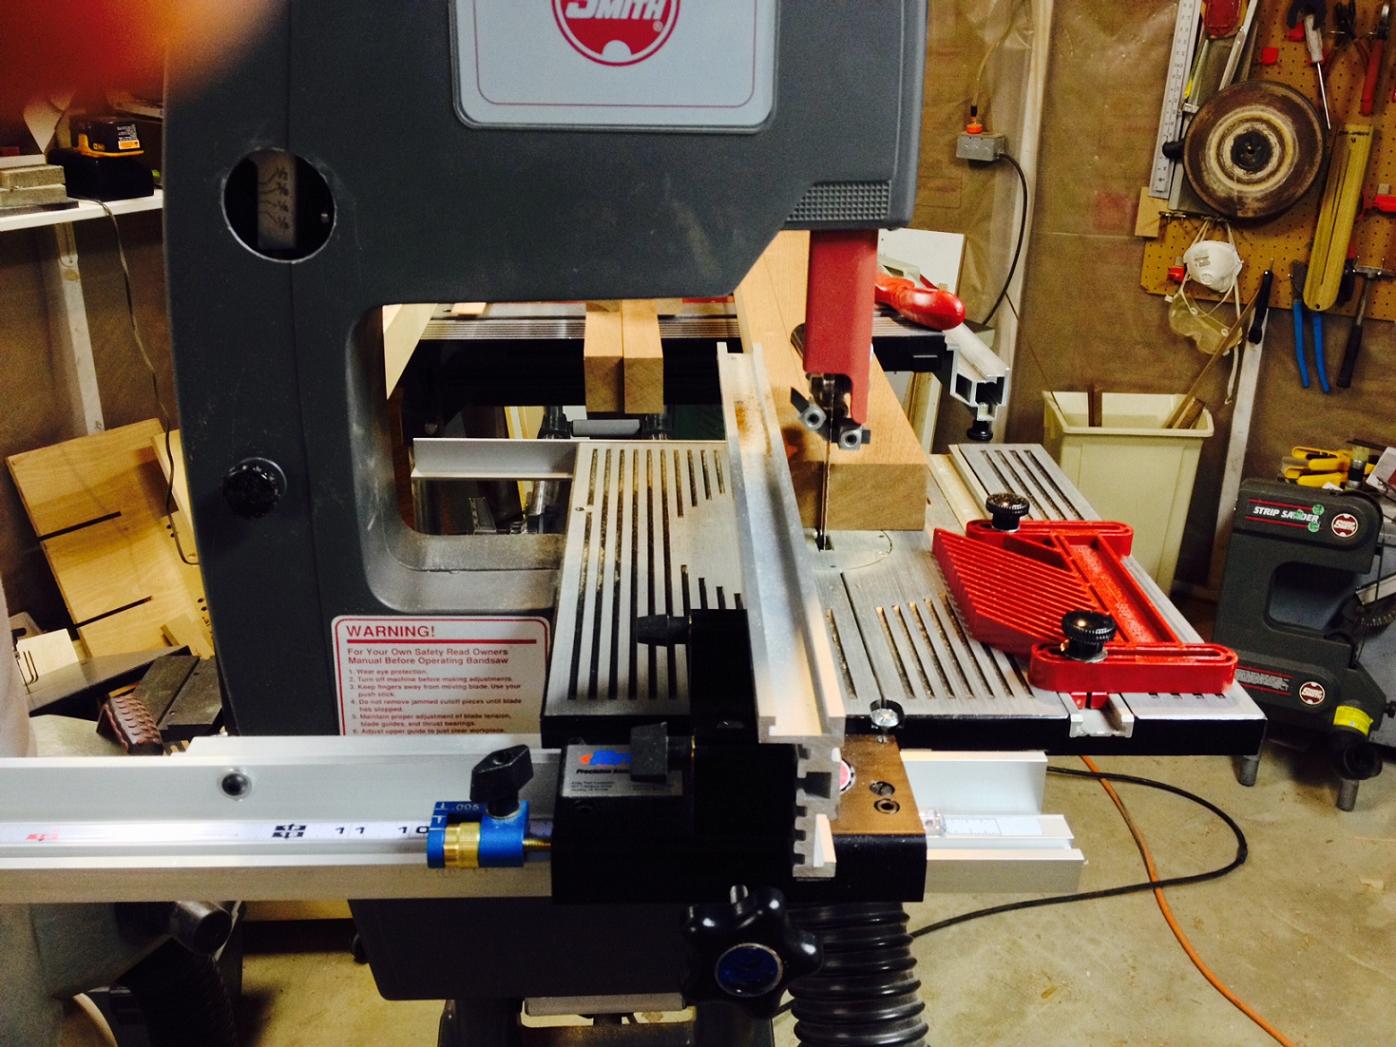
The sides of the canoe seats are mortised into the front and rear of the seat at a 12 degree angle. After pondering how to cut angled mortises, I decided on this:
- FullSizeRender.jpg (187.43 KiB) Viewed 12864 times
I set the Shopsmith up in drill press mode, tilted the table at 12 degrees and mounted a router chuck.
I added the 20 inch aluminum miter extension (which came as the fence to the Shopsmith edition Kreg bandsaw fence) was attached to the Shopsmith miter gauge and locked into the table.
A flip stop on the miter extension established one end of the mortise and a stop block clamped to the back of the floating table acted to define the other end of the mortise. I made the mortise in a number of passes only taking 1/8th depth at a time.
This was the first time I had used the Mark V to route and while I understand the limitations of the Mark V as a router, I was pleasantly surprised by how well it worked in this application. I think it would have been difficult to make this angled mortise with a hand held router or on a router table.
Re: A Slow Boat To Nowhere
Posted: Mon Dec 22, 2014 11:11 am
by edflorence
pretty slick! I have never had to do an angled mortise, but this looks like the way to go.
Re: A Slow Boat To Nowhere (seats take shape)
Posted: Sun Apr 12, 2015 11:14 am
by algale
Well, I can't believe it's been since December that I last posted on this topic. Maybe instead of A Slow Boat to Nowhere, I should call this thread A Slow
Builder to Nowhere.
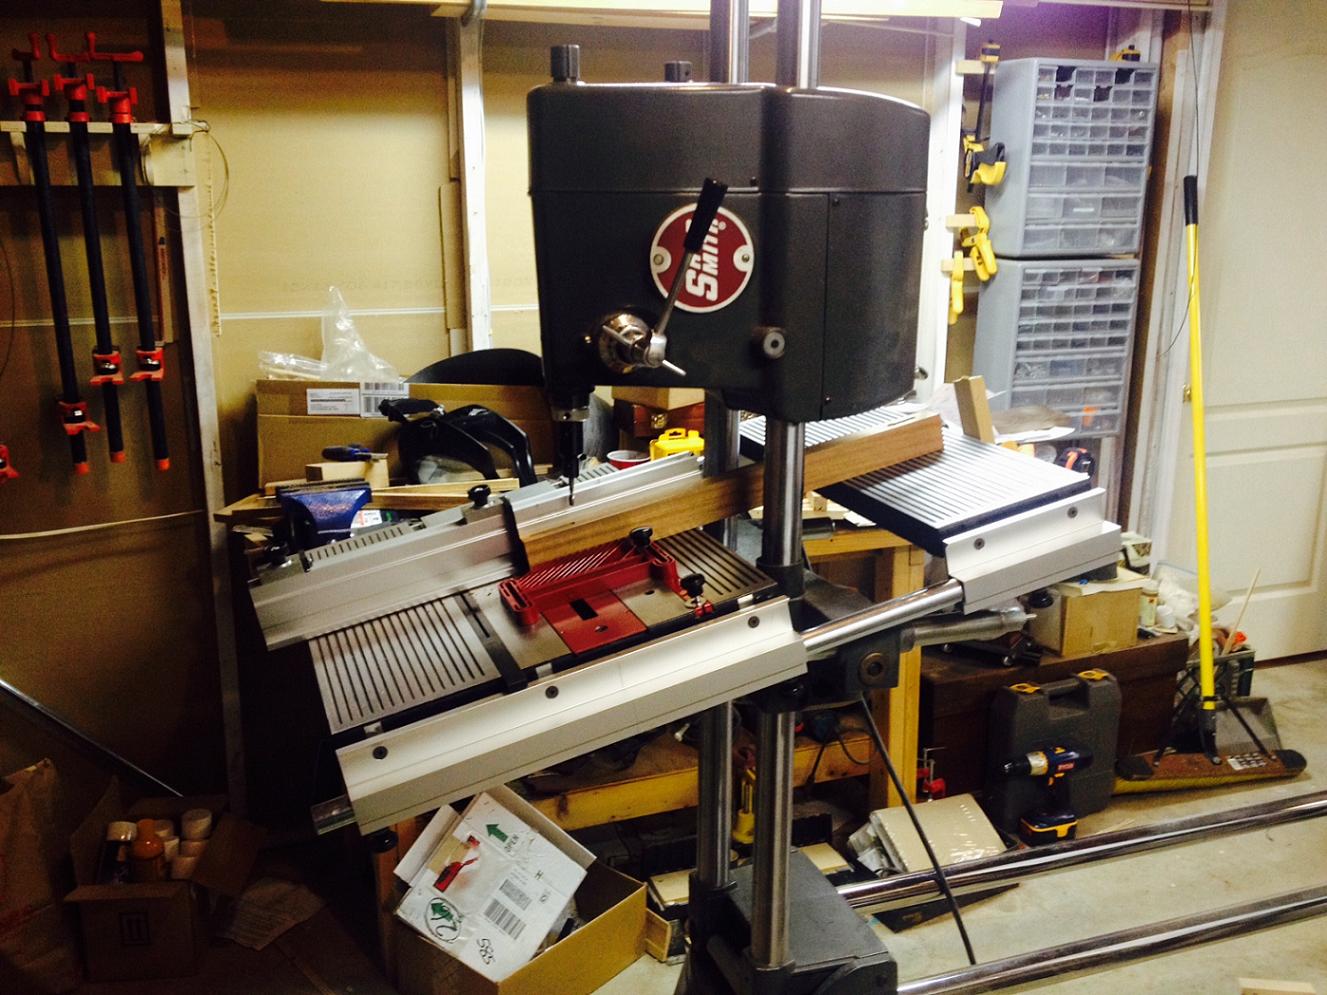
As I think I previously indicated, the canoe seats have sides that are angled at 12 degrees and I decided to cut the tenons straight and angle the mortises.
Originally I planned to use a router bit on the Shopsmith to make the angled mortises and did a test run shown in the prior post. That plan had to be abandonned when I decided to go from 1/4 wide mortises to 3/8 wide. I couldn't find any 3/8 up cut router bits that had anything other than a 3/8 inch shank and the Shopsmith router chuck only comes in 1/4 and 1/2 inch sizes.
Plan B was to drill out most of the waste with a 3/8 Forstner bit and to clean the rest up with a chisel.
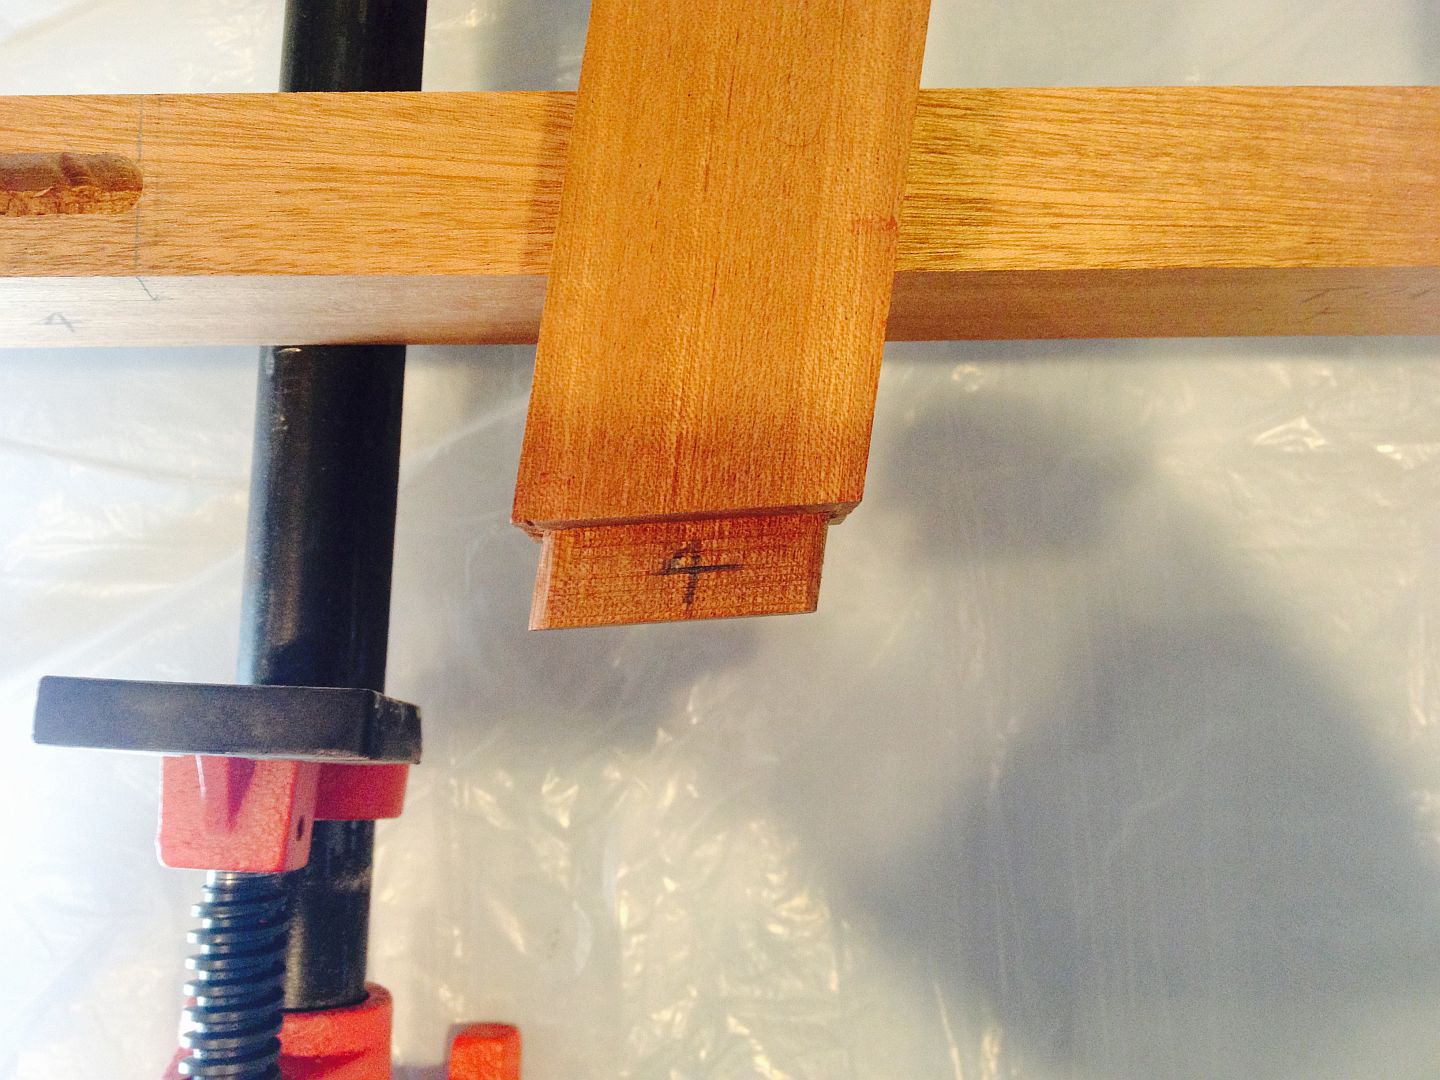
This stuff is probably old hat to most of you but I have only rarely done mortises and tenons and never at an angle so I agonized over how to lay out the start and stop points for the mortises. Ultimately I laid the side pieces with their tenons on top of the seat rails and just marked their locations on the sides of the seat rails and transferred those marks to the seat rail edges where the mortises would be. That turned out to be a stroke of good fortune because the image of the tenon on the side of the rail served to remind me of which way to orient the piece as a drilled the mortises. Because the mortises point in opposite directions, after one mortise was drilled, the piece is rotated 180 degrees to drill the other. Here's the start of the first mortise with the just the two holes defining the ends of the mortise. The table is at a 12 degree tilt. The aluminum "fence" I am using is the Kreg Shopsmith edition band saw fence, aka the 20 inch aluminum miter extension, attached to the Incra v120 miter gauge. The standard shopsmith miter gauge was placed in the other miter slot, pushed up against the fence and locked in placed to provide extra rigidity. I also blocked up the carriage to make sure it wouldn't slide down the tubes under the force of drilling.
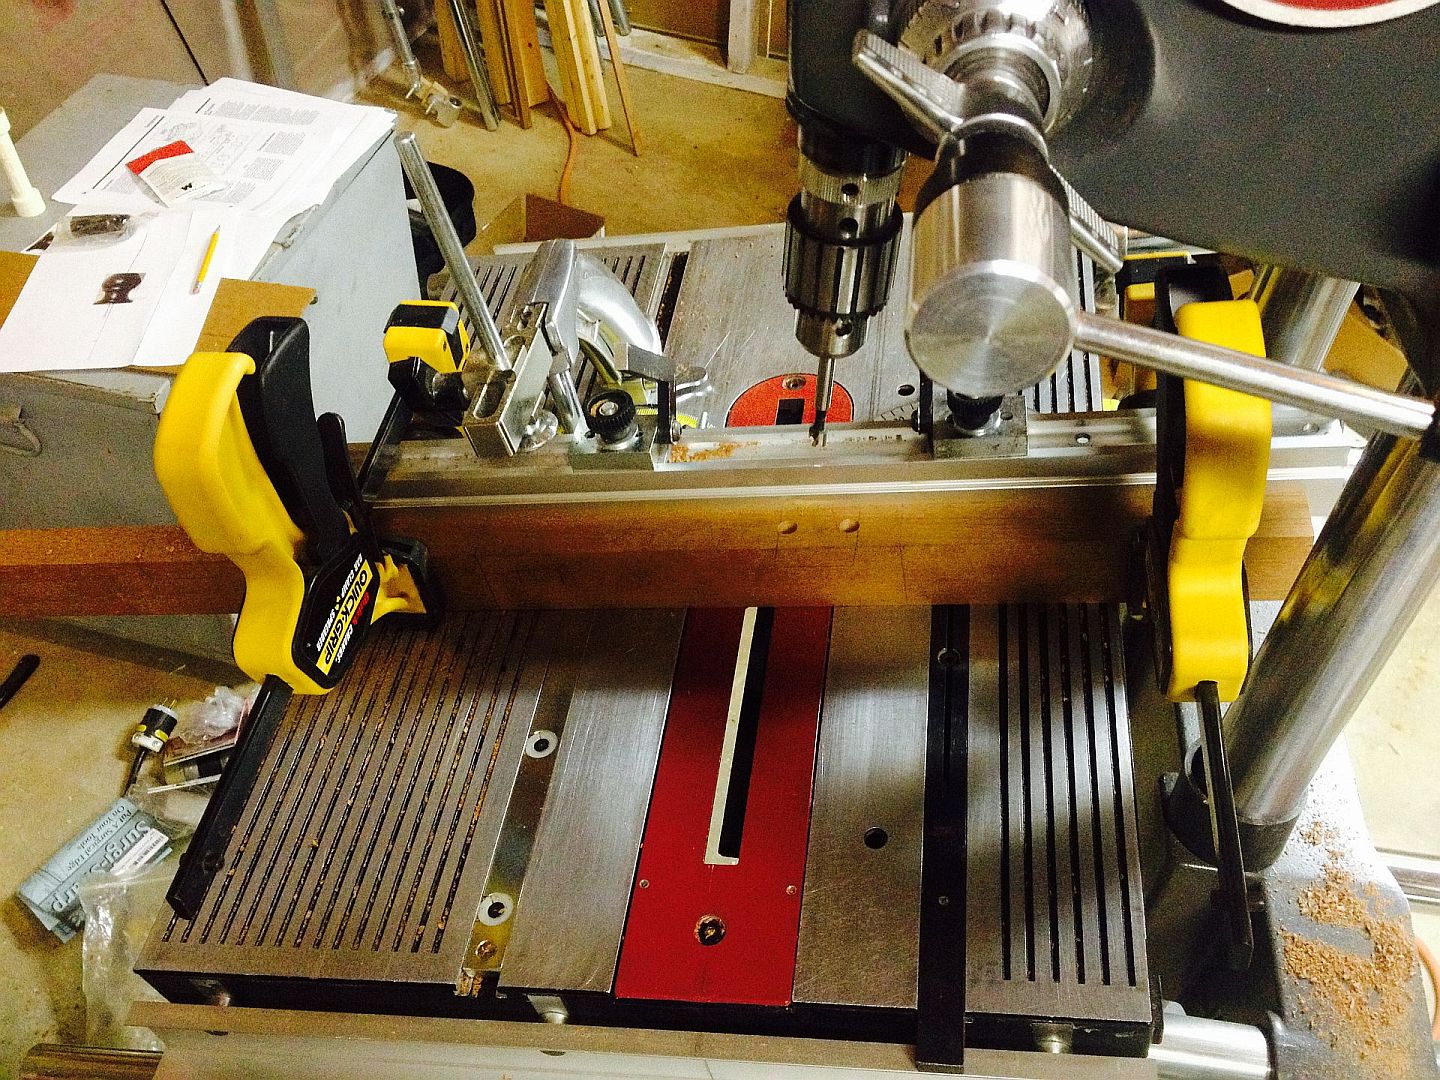
- FullSizeRender(3).jpg (430.25 KiB) Viewed 12498 times
The rest of the photos are dry fittings of the seats. They are now glued (with epoxy) and waiting to dry.
- FullSizeRender(7).jpg (228.23 KiB) Viewed 12498 times
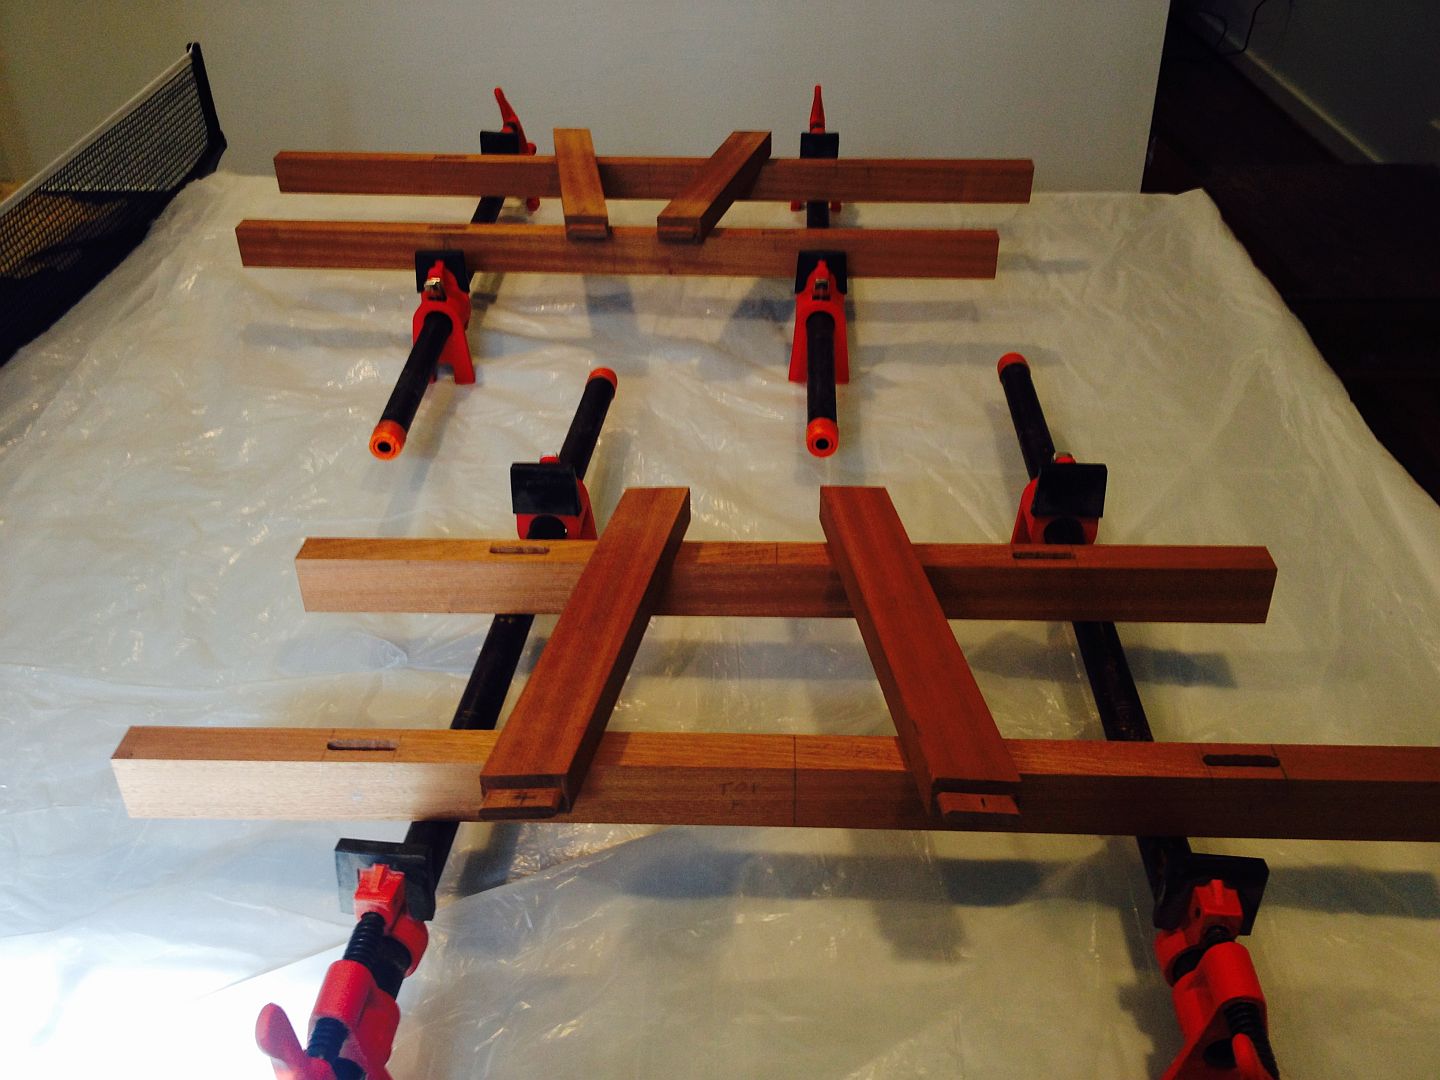
- FullSizeRender(4).jpg (171.9 KiB) Viewed 12498 times
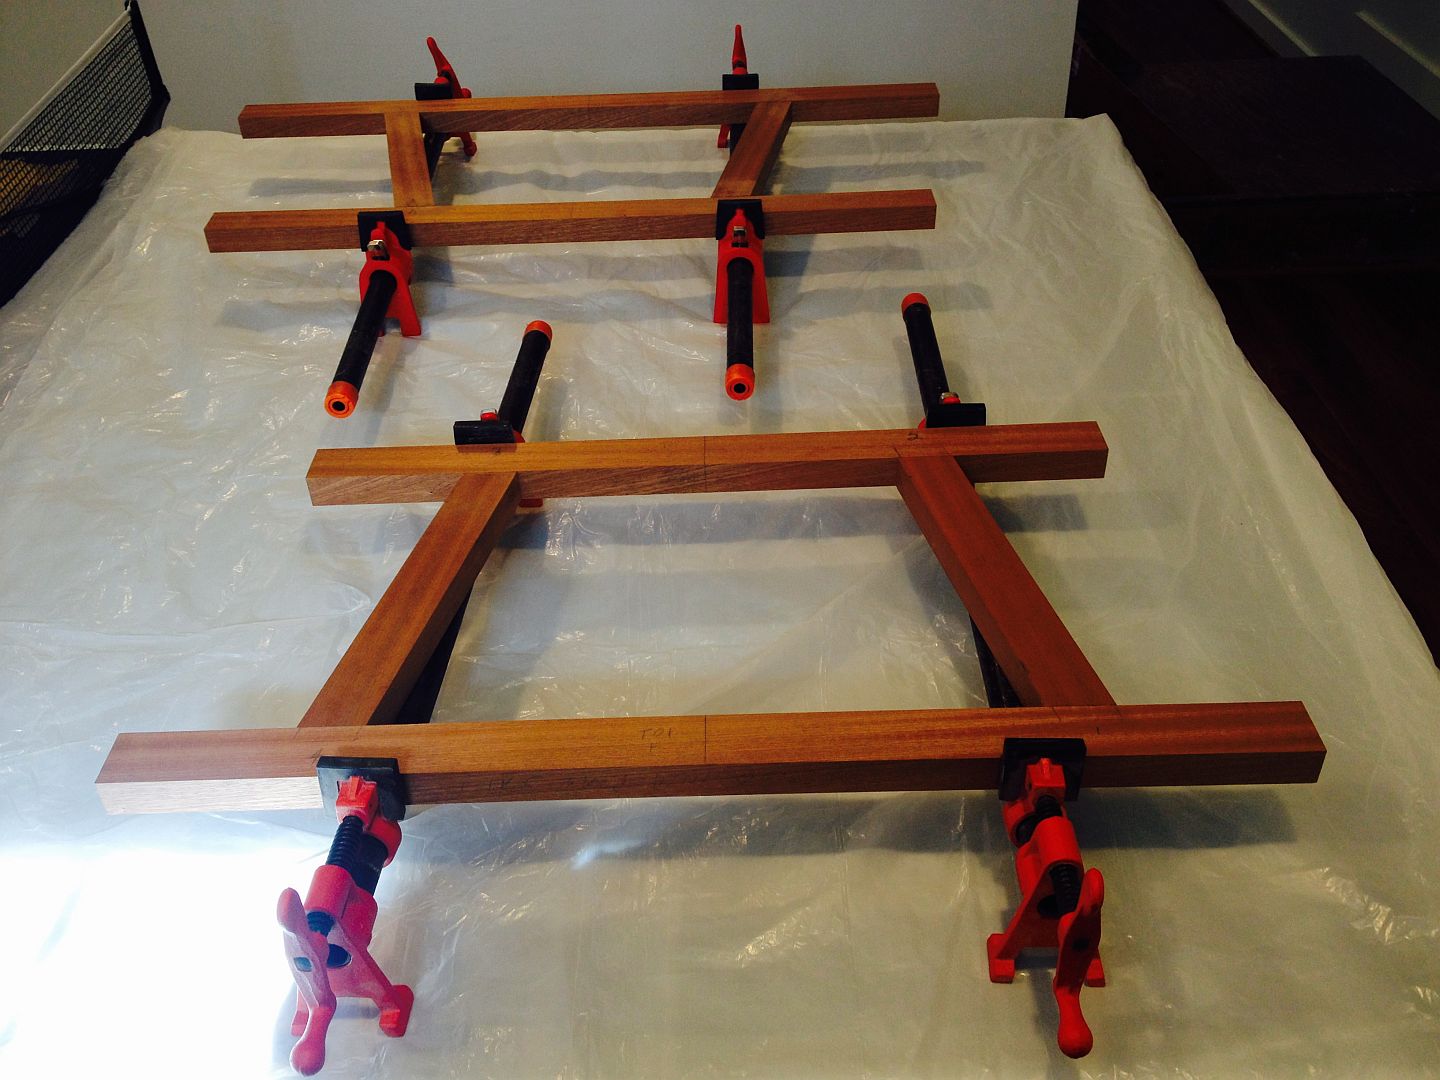
- FullSizeRender(6).jpg (183.22 KiB) Viewed 12498 times
Re: A Slow Boat To Nowhere
Posted: Sun Apr 12, 2015 1:17 pm
by rjent
That is some fine work!
Re: A Slow Boat To Nowhere
Posted: Mon Apr 13, 2015 8:03 pm
by edflorence
Thanks for posting the picture of your drilling set-up. I always learn a lot seeing how others use their Shopsmiths to get things done. For example, I never have drilled an angled mortise, so I never thought of orienting the workpiece along a fence attached to the miter gage. I sort of automatically line the workpiece up against the standard fence. Which of course would present a problem if the mortise had to be be drilled at an angle. Good food for thought! Also, congratulations on what look like they will be beautiful seats.
Re: A Slow Boat To Nowhere (seats take shape)
Posted: Mon Apr 13, 2015 9:55 pm
by BuckeyeDennis
algale wrote:
As I think I previously indicated, the canoe seats have sides that are angled at 12 degrees and I decided to cut the tenons straight and angle the mortises.
Why? It seems more difficult that way.

And in principle at least, you have to allow some extra clearance at the edges of the mortise/tenon interfaces in order to assemble the components into that "V" shape.
Re: A Slow Boat To Nowhere (seats take shape)
Posted: Mon Apr 13, 2015 10:35 pm
by algale
BuckeyeDennis wrote:algale wrote:
As I think I previously indicated, the canoe seats have sides that are angled at 12 degrees and I decided to cut the tenons straight and angle the mortises.
Why? It seems more difficult that way.
And in principle at least, you have to allow some extra clearance at the edges of the mortise/tenon interfaces in order to assemble the components into that "V" shape.
Why? Maybe I just don't know any better. To my mind, it seemed to me that the tenon was the smallest and weakest part of the assembly and cutting it at angle meant there would be even less of it in the mortise. Not sure I follow your clearance issue. Any way, it is done and it is sturdy as heck.
Varnishing the Seats
Posted: Thu Apr 30, 2015 2:31 pm
by algale
Progress continues to be slow. Since last posting, I drilled the seats for the cane, epoxied them and now am applying "spar urethane" which has a UV protector that the epoxy needs. It really pops the color of the Sapele.
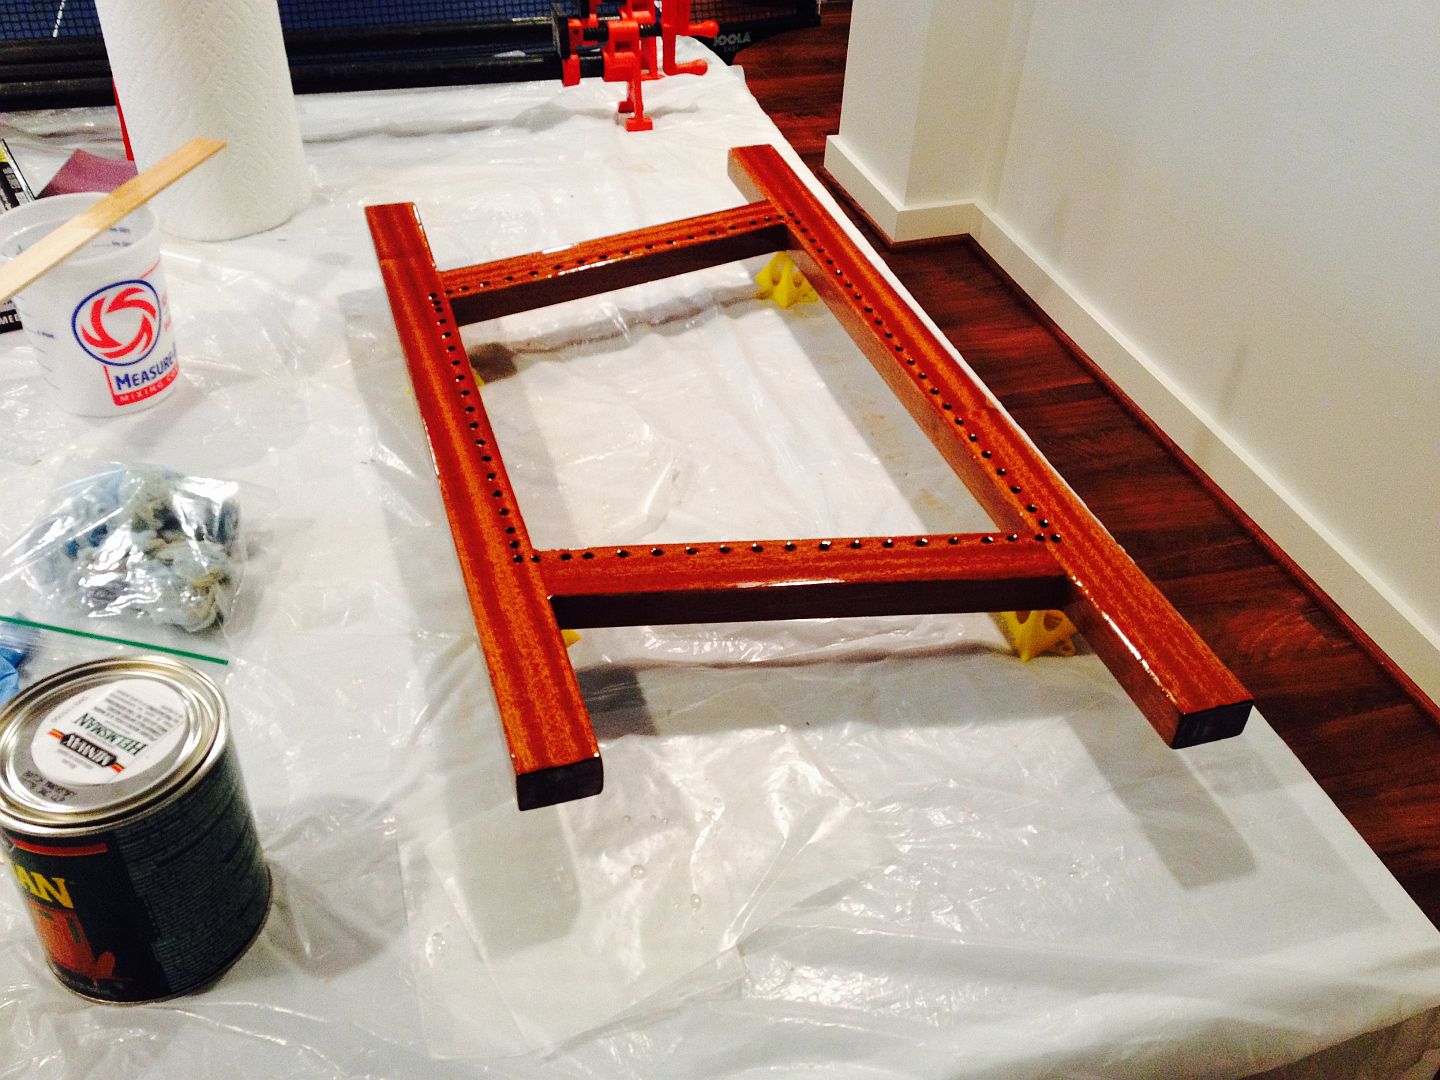
- FullSizeRender(5).jpg (232.44 KiB) Viewed 12352 times
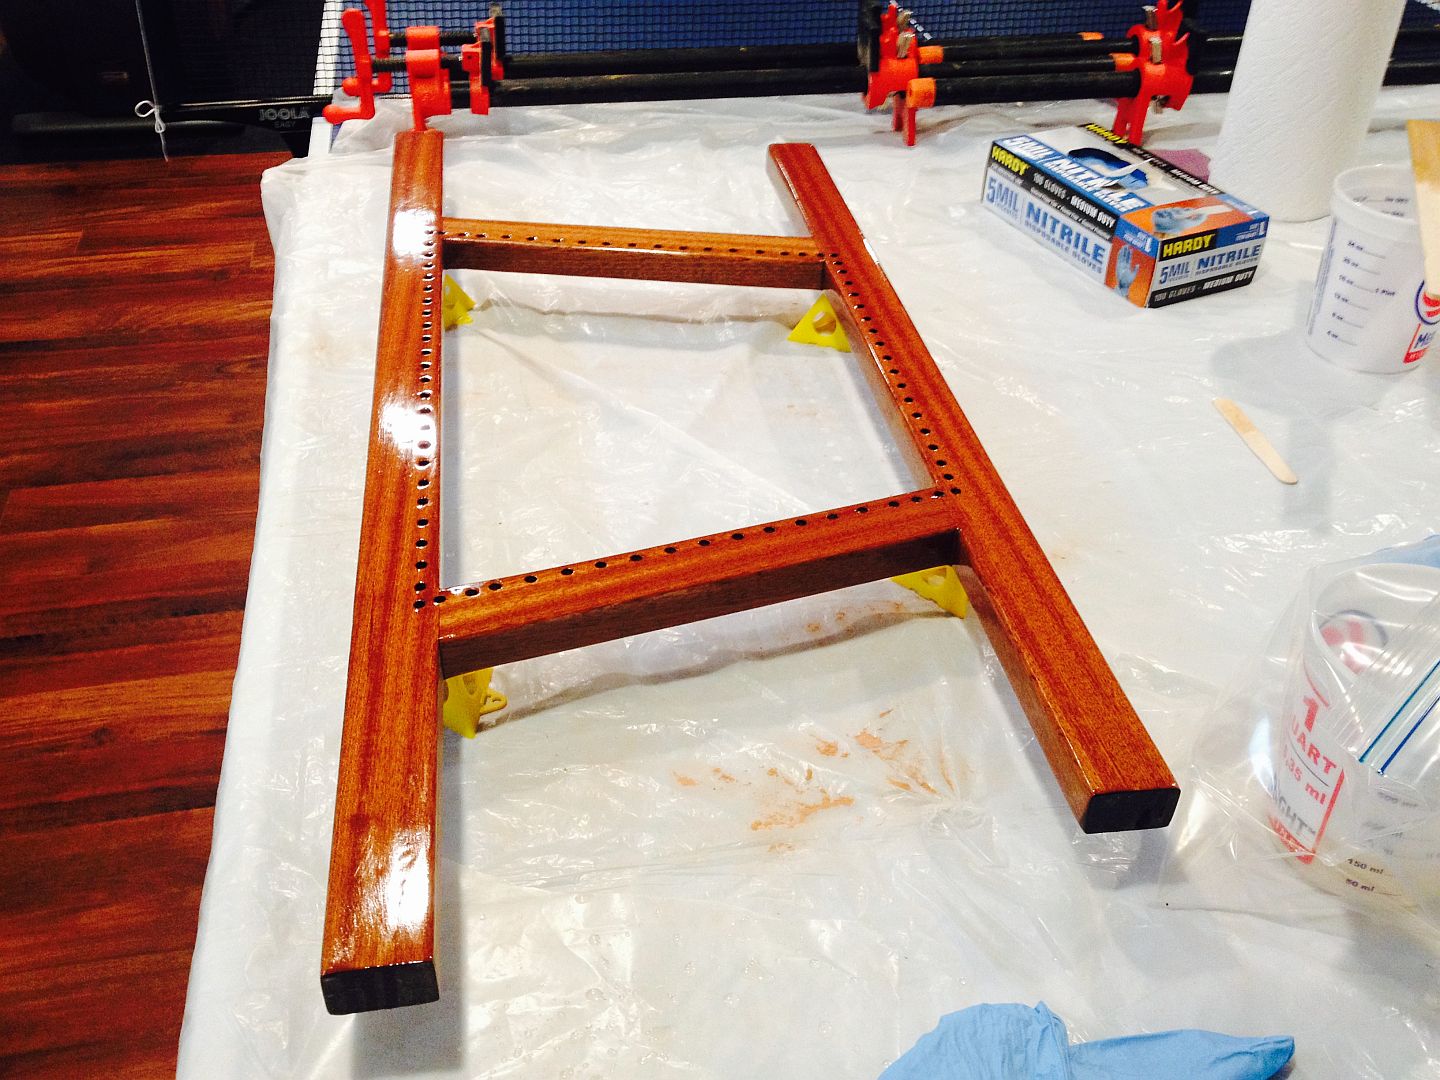
- FullSizeRender(8).jpg (256.01 KiB) Viewed 12350 times
One thing, I've got to get some of that spar urethane down into all those 1/4 inch holes to seal the wood and protect it from rot. Anyone got an idea?