Page 14 of 18
Re: I BOX review of sorts (spoiler alert)
Posted: Wed Jan 04, 2017 3:13 pm
by jsburger
dusty wrote:jsburger wrote:dusty wrote:I really handled my question poorly. What I really need to know, before I get the Forrest blades rebored, is how thick are the two plates? Will the Shopsmith arbor accomodate the 2 piece stack. I may need to use the dado arbor for that reason.
The two blades together are 7/32" thick.
The machined flange on the arbor that the blade fits on is 3/16" wide. So one blade will hang over the flange 1/16". I don't think that should be a problem. There are only 3 threads on the SS 1 1/4" arbor so you still get full thread engagement with the Forrest stack.
I trust that this is the Shopsmith Arbor 555130.
Yes, that is the arbor.
Re: I BOX review of sorts (spoiler alert)
Posted: Thu Jan 05, 2017 8:24 am
by dusty
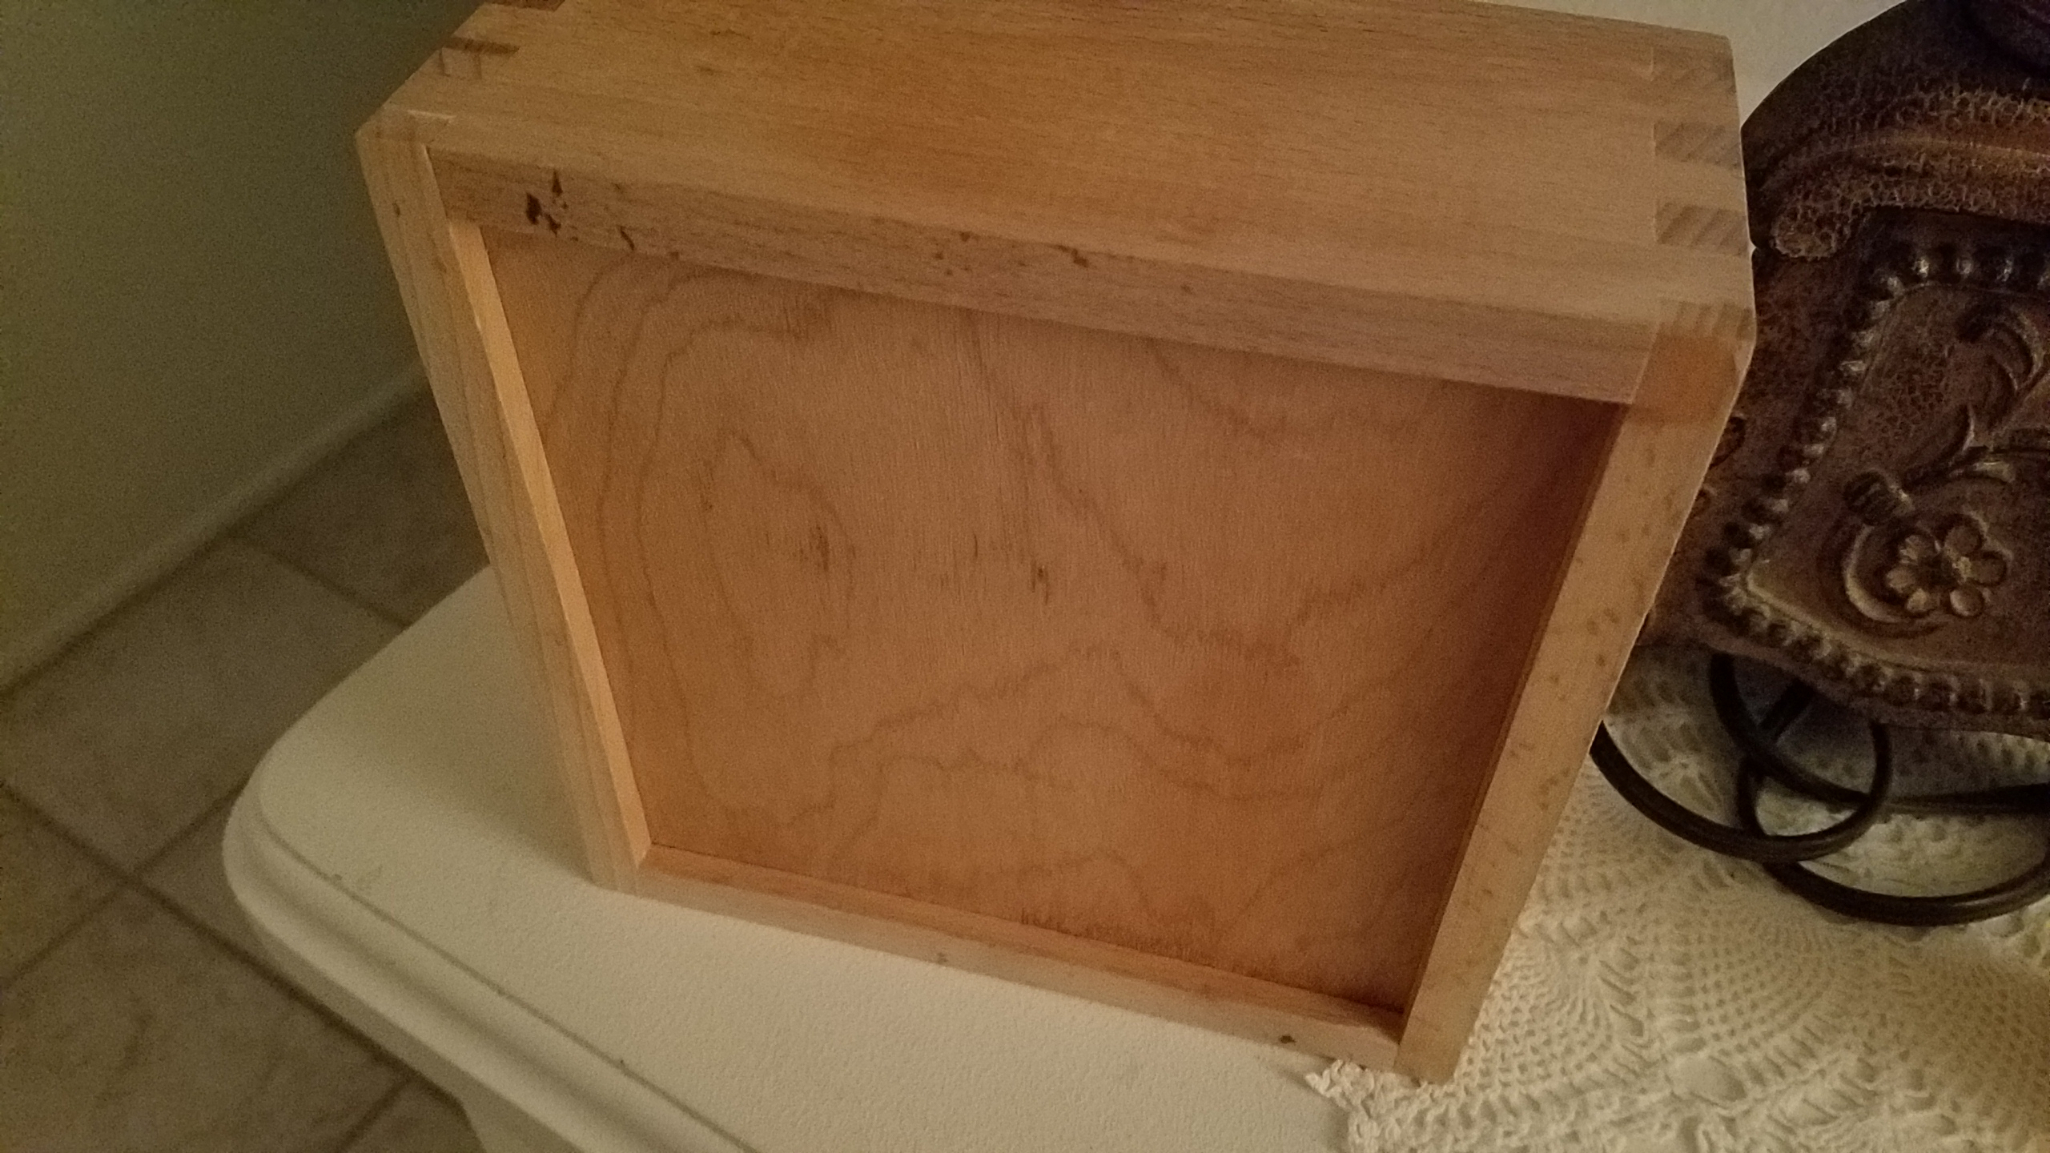
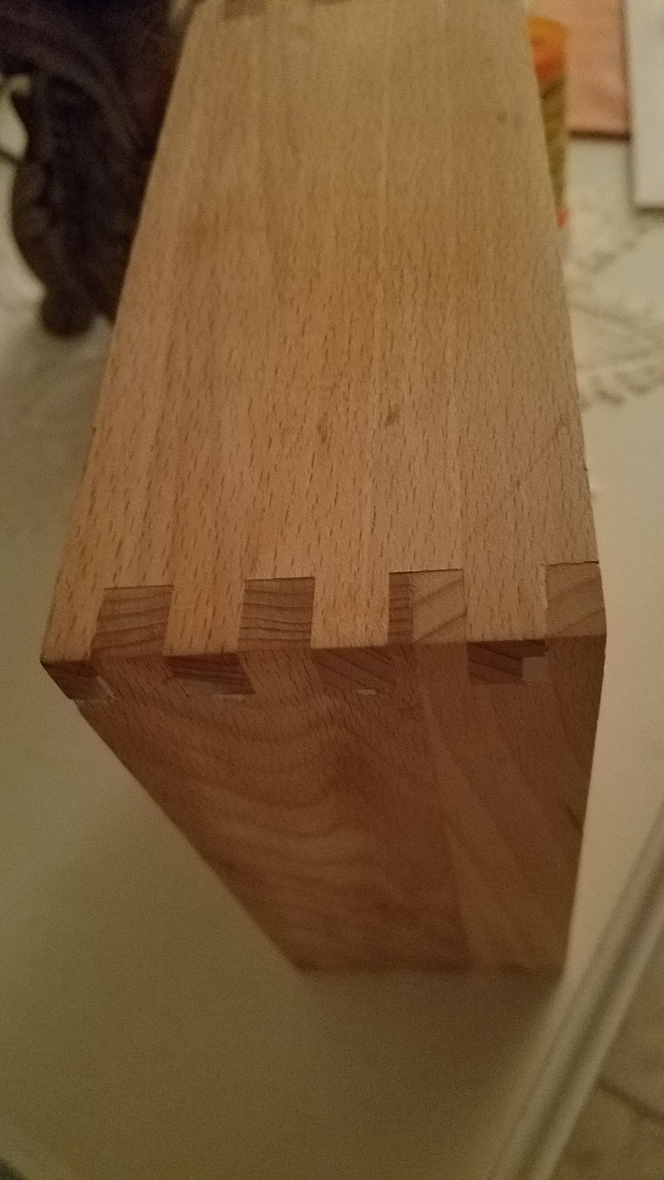
Not perfect but functional. This was preceded by several practice cuts that did not make the grade. Yes, I did use some wood filler. Had some unexpected chipout.

- Finger Joints 002.jpg (1.51 MiB) Viewed 11263 times

- Finger Joints 003.jpg (590.71 KiB) Viewed 11263 times
Re: I BOX review of sorts (spoiler alert)
Posted: Thu Jan 05, 2017 1:31 pm
by rjent
Nothing wrong with those! Looks good.
I will have pictures of a couple of "practice" boxes that I have made (and my wife has already claimed LOL).
I have learned a few tricks, but I want to verify before I post. Very SS specific (movable quill)

Re: I BOX review of sorts (spoiler alert)
Posted: Thu Jan 05, 2017 2:37 pm
by dusty
rjent wrote:Nothing wrong with those! Looks good.
I will have pictures of a couple of "practice" boxes that I have made (and my wife has already claimed LOL).
I have learned a few tricks, but I want to verify before I post. Very SS specific (movable quill)

Half of the pins are shorter than the other half. Obviously, two of the side pieces were of different thickness.
Re: I BOX review of sorts (spoiler alert)
Posted: Thu Jan 05, 2017 3:40 pm
by jsburger
dusty wrote:rjent wrote:Nothing wrong with those! Looks good.
I will have pictures of a couple of "practice" boxes that I have made (and my wife has already claimed LOL).
I have learned a few tricks, but I want to verify before I post. Very SS specific (movable quill)

Half of the pins are shorter than the other half. Obviously, two of the side pieces were of different thickness.
Obviously the stock thickness should be very close but a lot of videos I have watched say cut the pins slightly long and then sand them flush. I think even the I-Box instructions mention that.
That is what I did and it works very well. You can see the results here.
http://www.shopsmith.com/ss_forum/gener ... 18465.html
I used the SS disk sander with the fence as a backup and used the quill feed to get very close. Then I finished with a ROS with 320 grit SS ceramic paper.
Those joints loop pretty good to me.
Re: I BOX review of sorts (spoiler alert)
Posted: Thu Jan 05, 2017 4:10 pm
by dusty
jsburger wrote:dusty wrote:rjent wrote:Nothing wrong with those! Looks good.
I will have pictures of a couple of "practice" boxes that I have made (and my wife has already claimed LOL).
I have learned a few tricks, but I want to verify before I post. Very SS specific (movable quill)

Half of the pins are shorter than the other half. Obviously, two of the side pieces were of different thickness.
Obviously the stock thickness should be very close but a lot of videos I have watched say cut the pins slightly long and then sand them flush. I think even the I-Box instructions mention that.
That is what I did and it works very well. You can see the results here.
http://www.shopsmith.com/ss_forum/gener ... 18465.html
I used the SS disk sander with the fence as a backup and used the quill feed to get very close. Then I finished with a ROS with 320 grit SS ceramic paper.
Those joints look pretty good to me.
Thanks, John. But in the quest for that perfect joint I should have done what you suggest. Cut them long and trim them to match.. I did not do that right even though that was my intention.
Sure glad this wasn't being done as a gift for someone. It just holds my pill bottles. Should have made it a bit bigger.
Re: I BOX review of sorts (spoiler alert)
Posted: Thu Jan 05, 2017 4:33 pm
by jsburger
dusty wrote:jsburger wrote:dusty wrote:
Half of the pins are shorter than the other half. Obviously, two of the side pieces were of different thickness.
Obviously the stock thickness should be very close but a lot of videos I have watched say cut the pins slightly long and then sand them flush. I think even the I-Box instructions mention that.
That is what I did and it works very well. You can see the results here.
http://www.shopsmith.com/ss_forum/gener ... 18465.html
I used the SS disk sander with the fence as a backup and used the quill feed to get very close. Then I finished with a ROS with 320 grit SS ceramic paper.
Those joints look pretty good to me.
Thanks, John. But in the quest for that perfect joint I should have done what you suggest. Cut them long and trim them to match.. I did not do that right even though that was my intention.
Sure glad this wasn't being done as a gift for someone. It just holds my pill bottles. Should have made it a bit bigger.
That is why in my opinion it is important to make a test joint with the same material as the finished product. That way you can do the tweaking then and know when you make the real cuts they will be "perfect

"
Early in my learning process I made a box out of 1/2" Baltic Birch. It looks to be about the same size as the one you just made. I dry fitted it and showed it to my wife and said that I needed to sand the pins flush. She said she liked it the way it is so I glued it up and gave it to her. That is what she keeps her pill bottles in.
Re: I BOX review of sorts (spoiler alert)
Posted: Thu Jan 05, 2017 5:28 pm
by dusty
rjent wrote:Nothing wrong with those! Looks good.
I will have pictures of a couple of "practice" boxes that I have made (and my wife has already claimed LOL).
I have learned a few tricks, but I want to verify before I post. Very SS specific (movable quill)

I am waiting to see/hear what you have. I've been trying to pre-guess what you might do with the quill in conjunction with the I-Box. The
Kiss routine is all that I come up with.
I made four or five feeler gauges of different thickness. They sat down over the quill shaft to relocate the at rest position of the quill. Must not have been very useful. I can no longer find then in my shop. That was back when I was obsessed with centering the blade in the ZCI.
Re: I BOX review of sorts (spoiler alert)
Posted: Thu Jan 05, 2017 7:16 pm
by algale
dusty wrote:That was back when I was obsessed with centering the blade in the ZCI.
Wait, what? You are no longer obsessed with centering the blade? What happened to change your mind?
Re: I BOX review of sorts (spoiler alert)
Posted: Thu Jan 05, 2017 8:03 pm
by jsburger
algale wrote:dusty wrote:That was back when I was obsessed with centering the blade in the ZCI.
Wait, what? You are no longer obsessed with centering the blade? What happened to change your mind?
Uh Oh, you are in trouble now. I am glad I didn't say that.


