Page 3 of 4
Re: Today in the shop (replaceable insert ZCI)
Posted: Sat Jun 27, 2015 9:02 pm
by reible
FYI
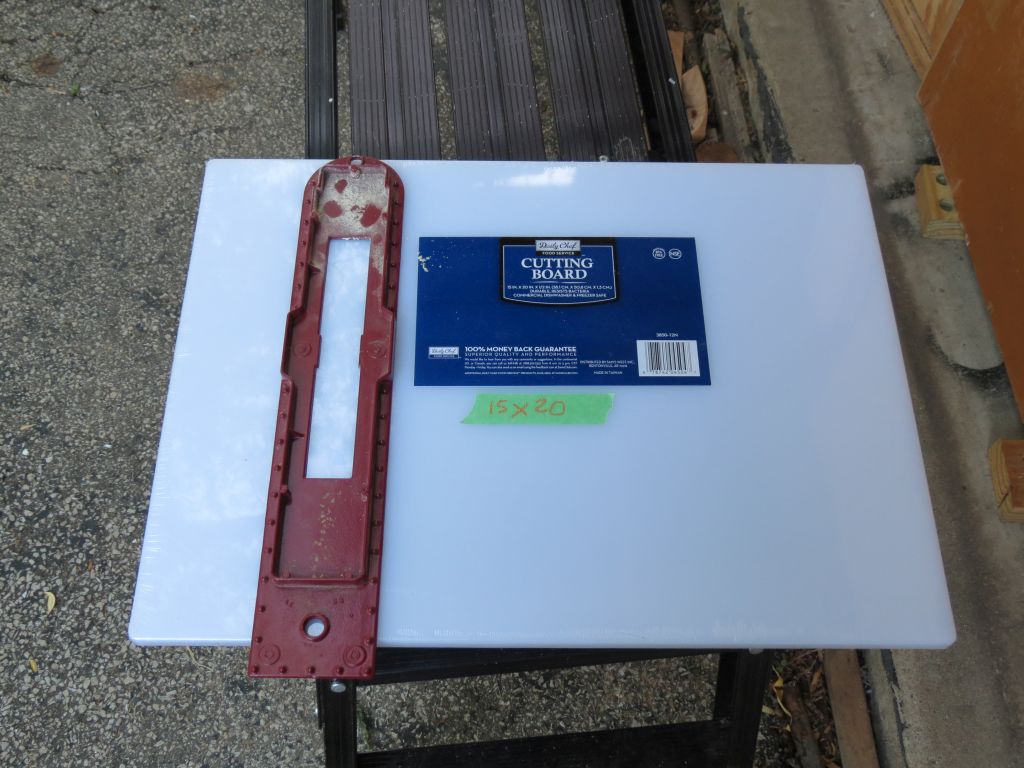
This is a cutting board that I purchased at Sam's Club sometime this past spring. I purchased it to use for jigs and fixtures but it still unused so I can not say how well it will work. I have used other cutting boards in the past with good luck so it is likely to be OK.
I don't recall the price, maybe like $10??
- IMG_7450sc.jpg (126.81 KiB) Viewed 4066 times
Ed
Re: Today in the shop (replaceable insert ZCI)
Posted: Sat Jun 27, 2015 9:19 pm
by reible
I had a bunch of sanding to do today so that was a lot of my afternoon. I got sick of it after a while and worked on the table insert for a while.
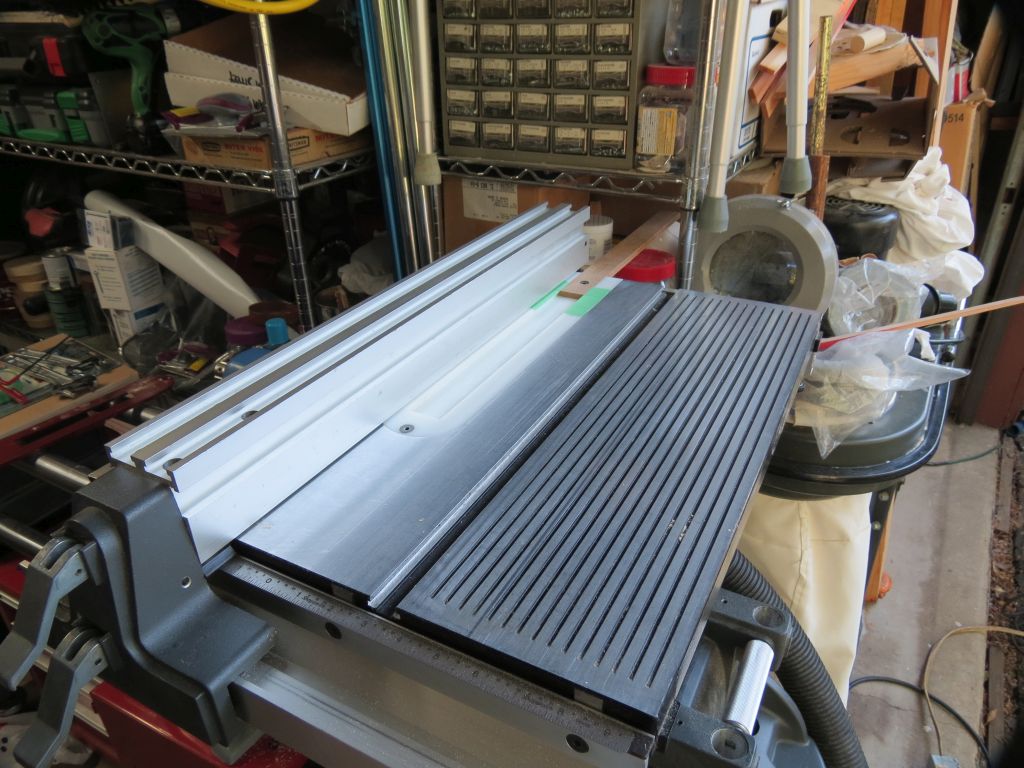
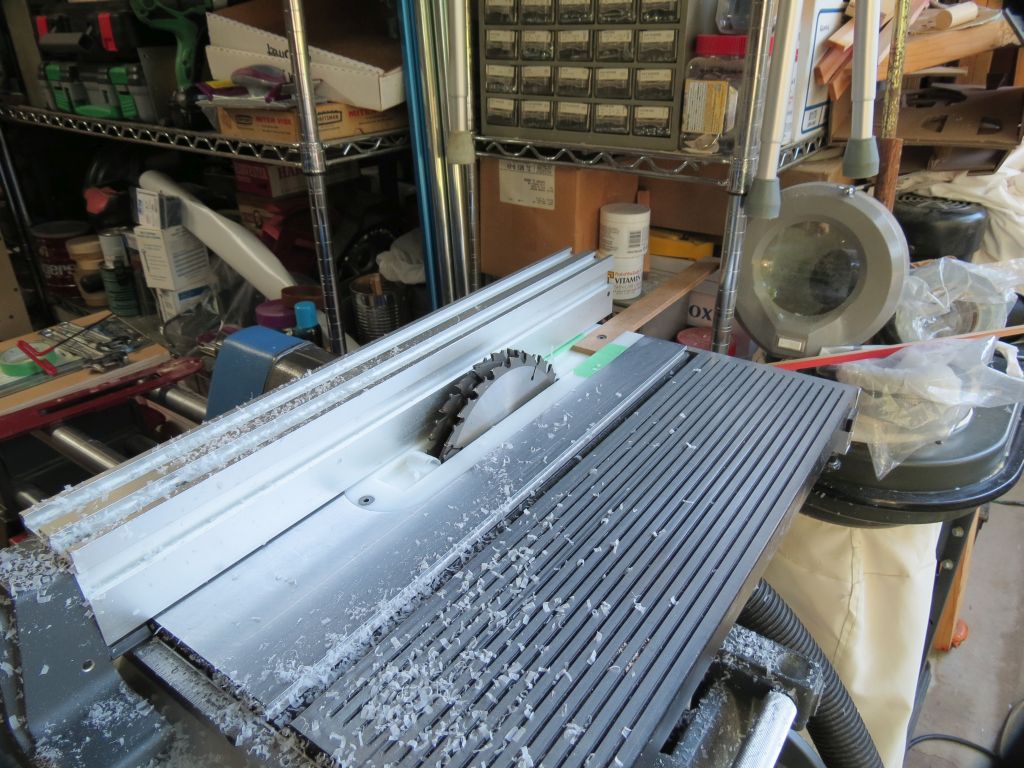
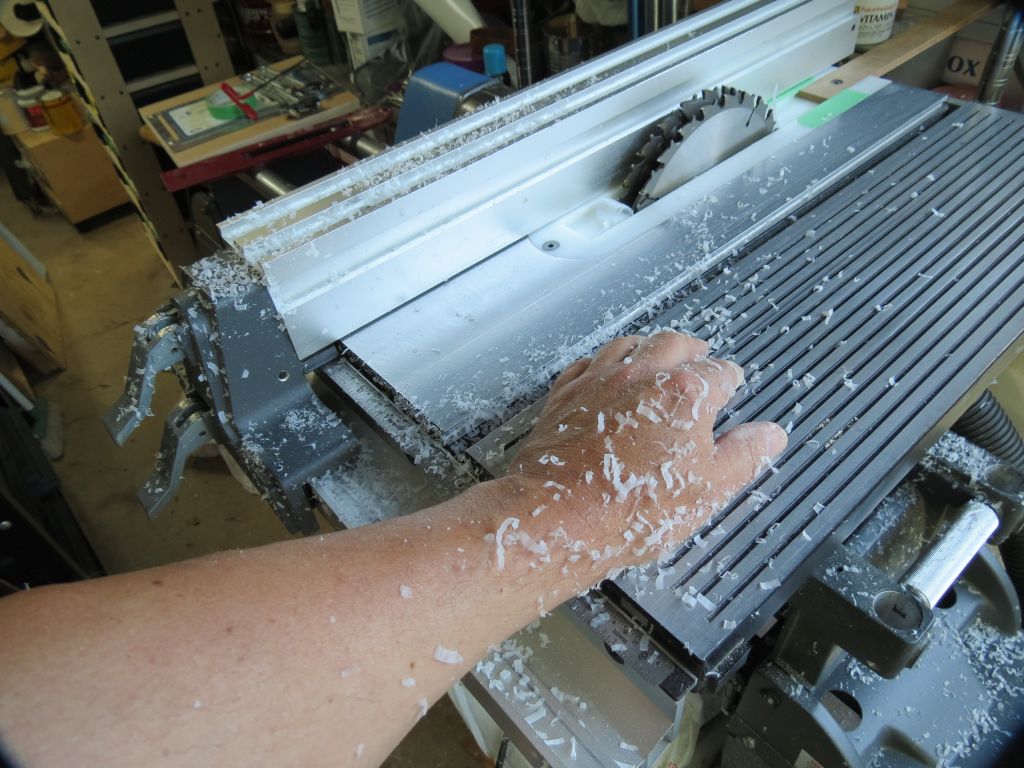
I mounted my 8" stacked dado blade and made a cut into the plastic part of the insert. I used the rip fence for added support as I slowly lowered the blade. Wow plastic was flying everywhere! I don't think the dusk collector got more then 10% of it.
So here are a before and after the cut pictures.
- IMG_7439sc.jpg (155.38 KiB) Viewed 4064 times
- IMG_7440sc.jpg (172.72 KiB) Viewed 4064 times
This was my arm that was away from the cut......
- IMG_7442sc.jpg (156.43 KiB) Viewed 4064 times
I then went to a standard blade and did the same thing, well I did make a lot less "snow" but that was to be expected.
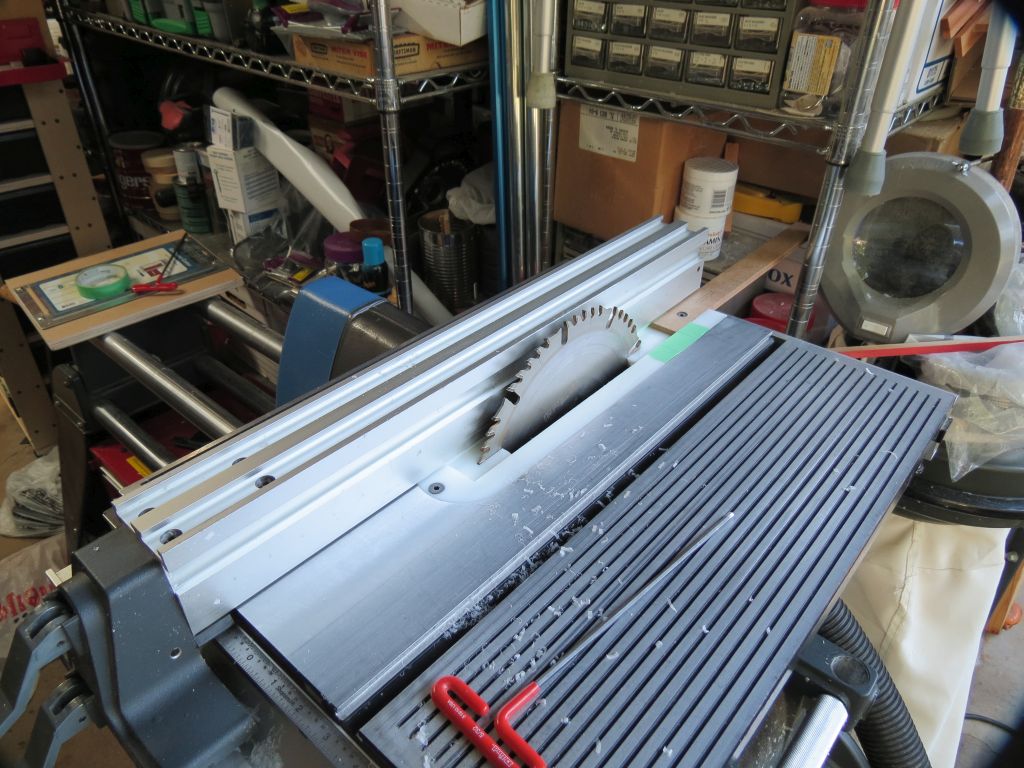
- IMG_7443sc.jpg (166.41 KiB) Viewed 4064 times
The part now looks like this on the top and bottom.
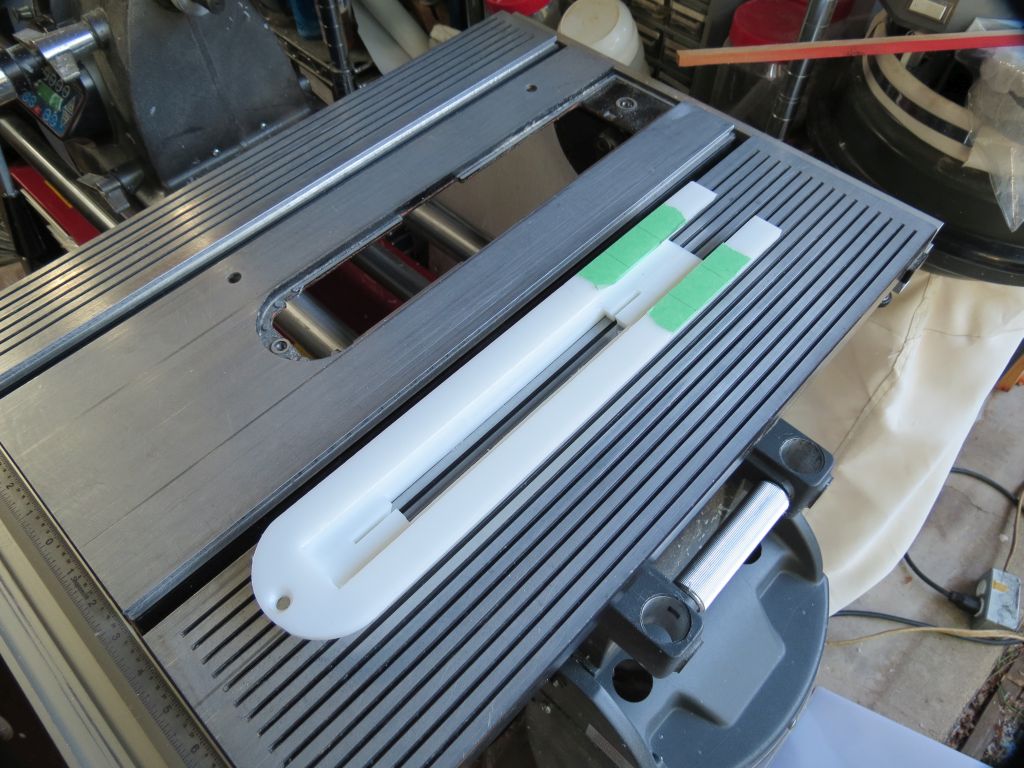
- IMG_7444sc.jpg (154.64 KiB) Viewed 4064 times
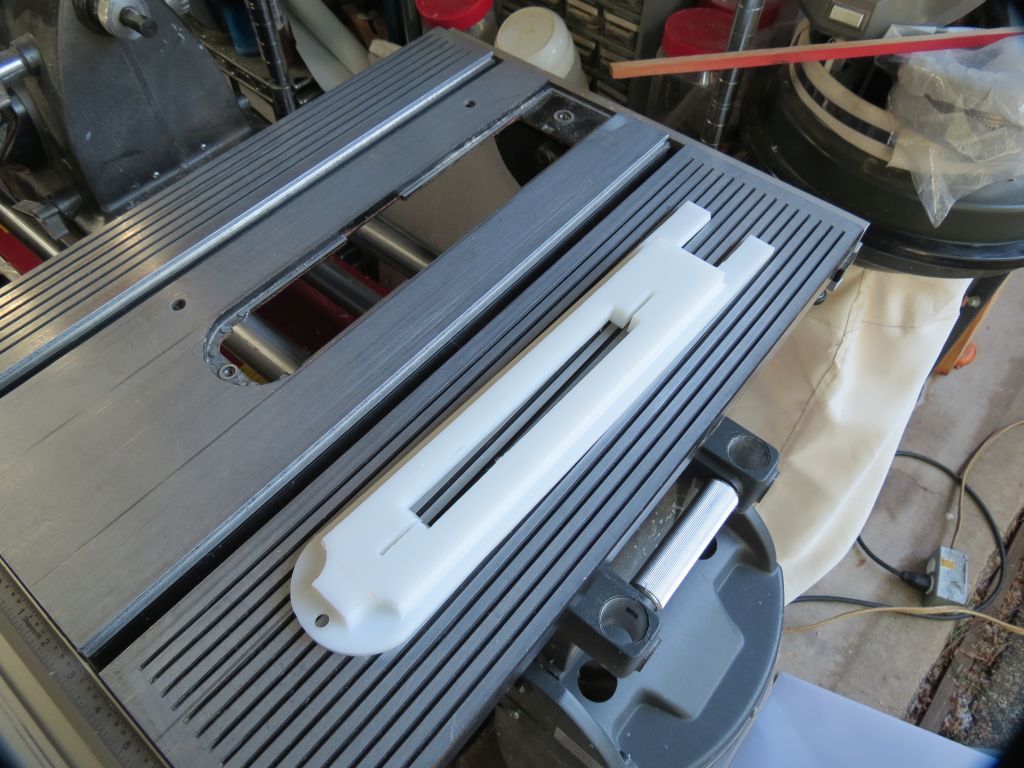
- IMG_7445sc.jpg (148.72 KiB) Viewed 4064 times
Next I have to mill the slot for the upper blade guard. Not sure if that will happen tomorrow as I have a couple of other projects to finish up beside this.
Ed
Re: Today in the shop (replaceable insert ZCI)
Posted: Sun Jun 28, 2015 4:07 pm
by reible
My next effort was the thin the 3/4" to 1/2". I decided to do it but I was unsure how I wanted to proceed. I finally decided to go with the shopsmith in overhead router mode.
With the part being that size and me not wanting my fingers anywhere near it while routing I went ahead and mounted it to a piece of plywood so I could use that to control it. I used double stick tape but that plastic is slick stuff so I did very slow controlled shallow cuts. I also went with a 3/8" cutter to minimize the possibility of things going wrong. I didn't want to wreck it or me.
The tape held very well and while I'm glad I went with more caution it was a lot slower that way.
So here it is as a 1/2" thick part.
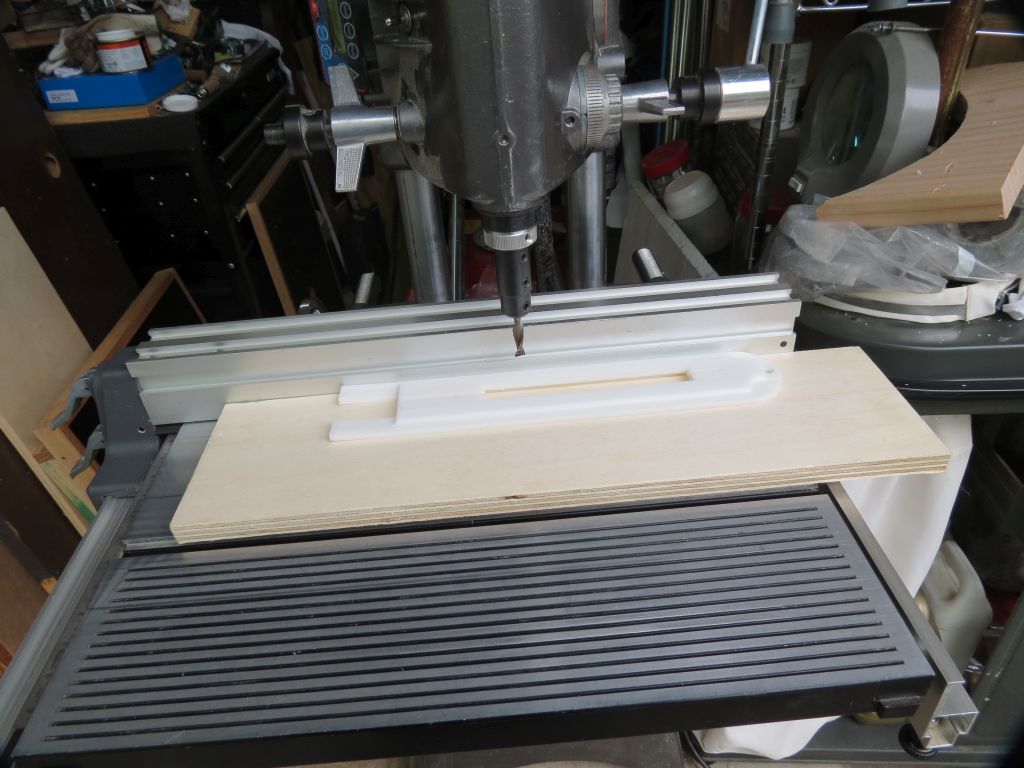
- IMG_7455sc.jpg (121.75 KiB) Viewed 4031 times
I also worked on the slot for the upper blade guard, first attempt was a little too narrow at 3/16" so I went back and widen it to 1/4". I'm pretty sure that will be good enough.
So here is where I need some help. Does anyone have a shopsmith blank with the slot cut in it that they could measure for me?
This is what I have now.
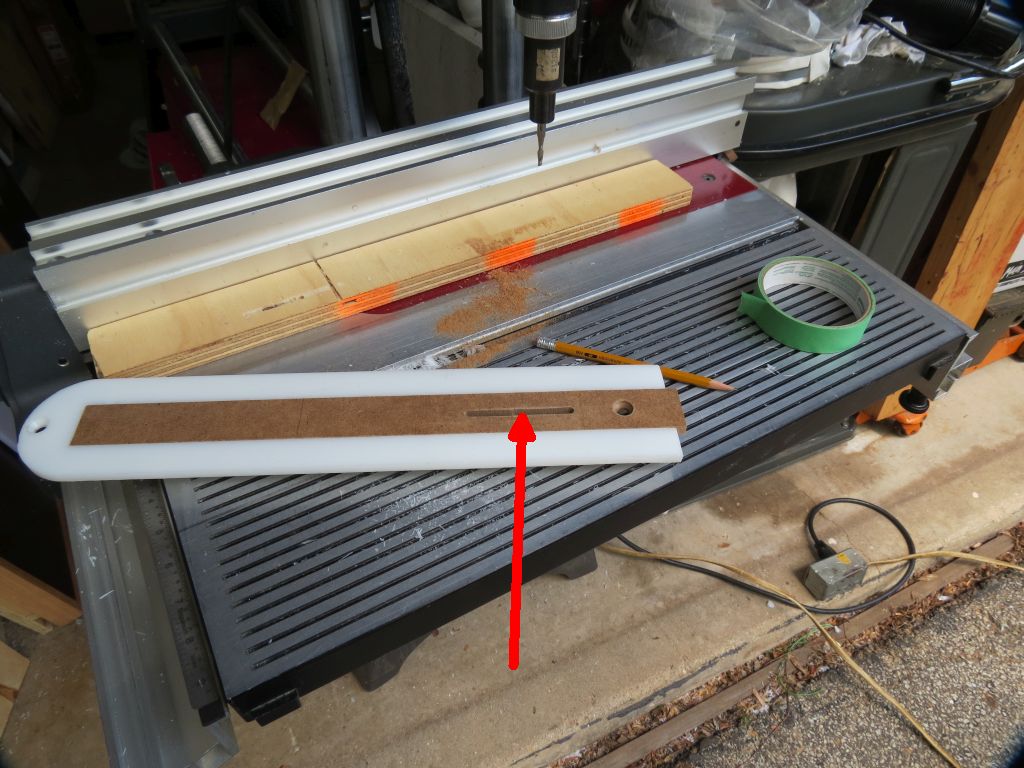
- IMG_7451scm.jpg (152.82 KiB) Viewed 4031 times
I have a feeling the slot should be longer, perhaps quite a bit longer?? If I were to do a full depth cut with the 10" blade the issue would resolve itself but in some cases a shallow cut might not.
Ed
Re: Today in the shop (replaceable insert ZCI)
Posted: Sun Jun 28, 2015 5:29 pm
by dusty
I think I understand what measurement you need. If this does not do it for you, I'll do whatever. Just let me n=know.
These images were done with the riving knife and NOT upper saw guard but I think they show the needed relationship.
Re: Today in the shop (replaceable insert ZCI)
Posted: Sun Jun 28, 2015 7:05 pm
by reible
Thanks for the effort Dusty, what I'm really looking for is the dimensions of the "E" cut out. This is the one that shopsmith sells for like $20.
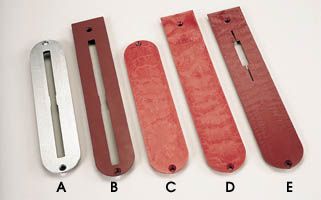
- Clipboard01insert.jpg (10.48 KiB) Viewed 4011 times
As you know as you raise the table with the saw guard on things change with the curve of the knife etc. I'm guessing that shopsmith has figured that out but I don't have one to measure. I've shut down for the day or I would get some pictures, perhaps tomorrow.
Ed
Re: Today in the shop (replaceable insert ZCI)
Posted: Sun Jun 28, 2015 7:57 pm
by reible
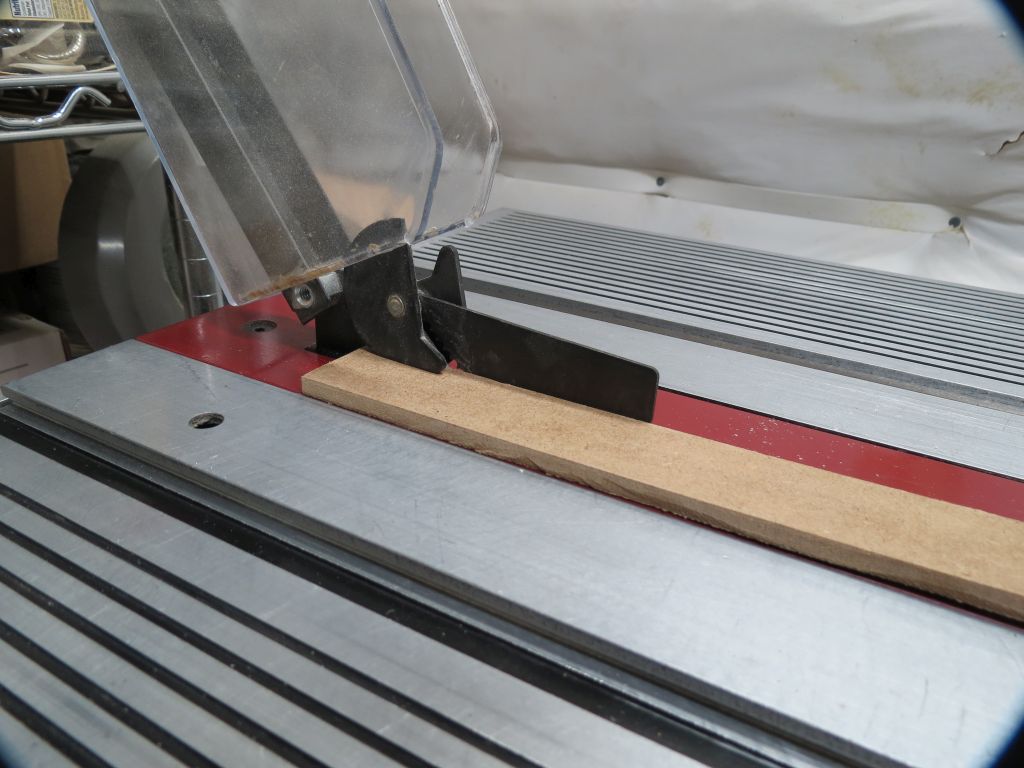
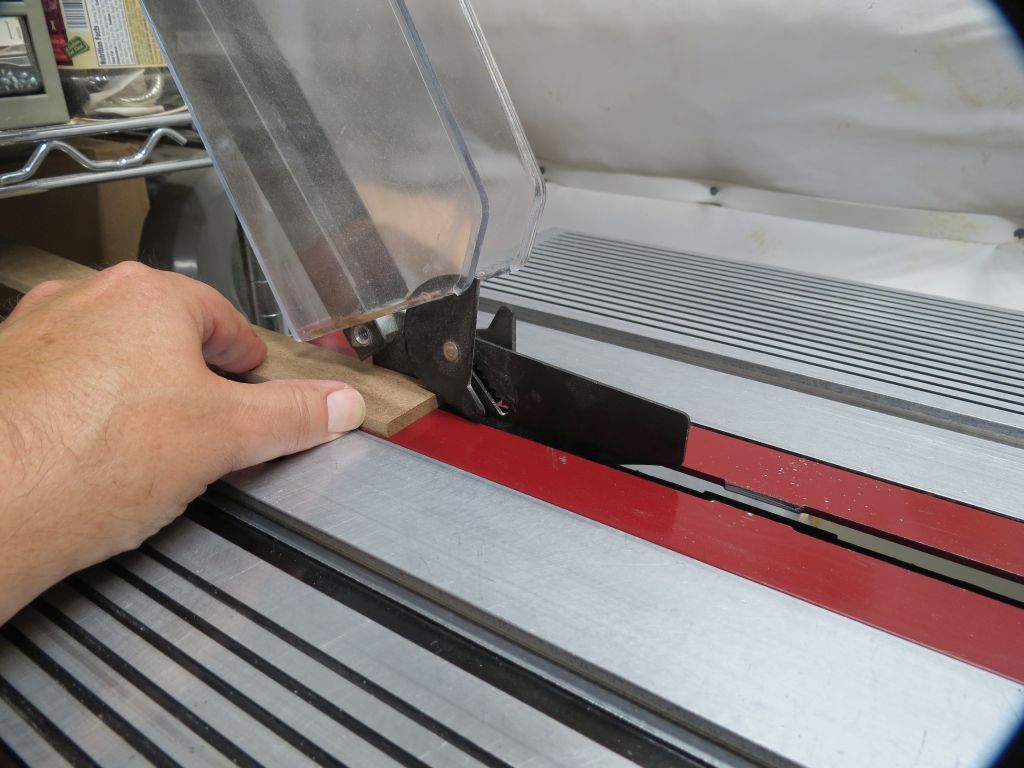
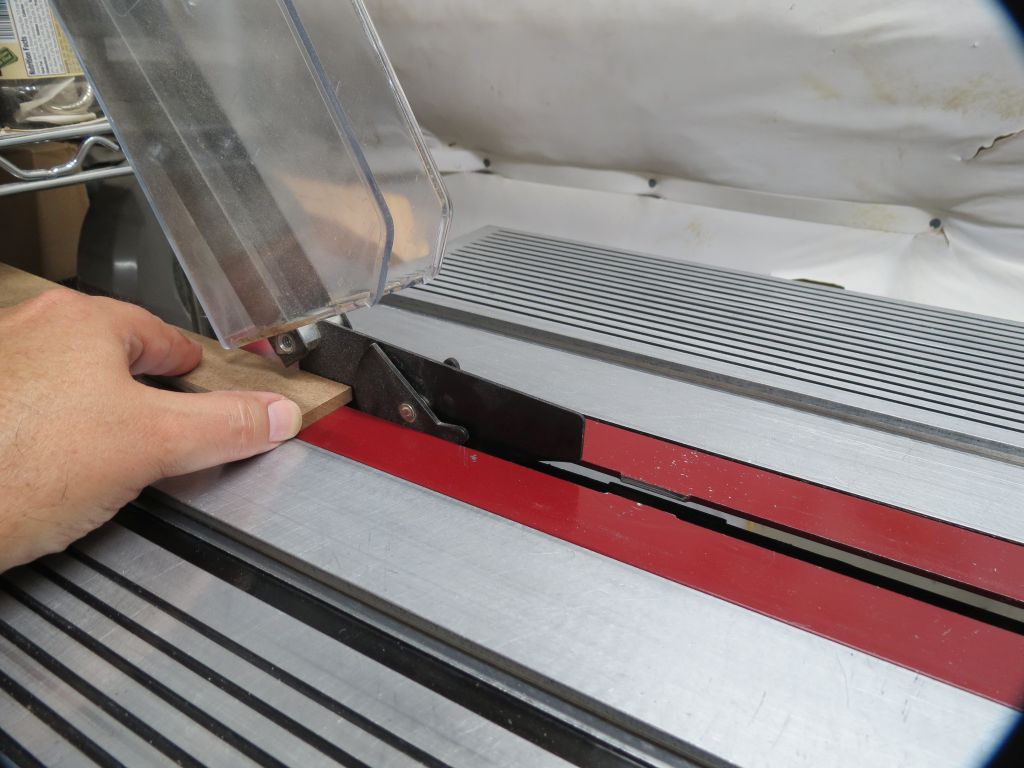
So I reopened the shop for a few minutes so I could get some pictures. Not everyone here uses guards or has the system that is on the newer machines but I do and as such I want to make sure I can have a working system.
I took a series of photos to show what happens as material runs along the splitter and engages the anti kickback paws. I have this set unrealistically high and have a piece of 1/4" stock that I'm using for the simulation.
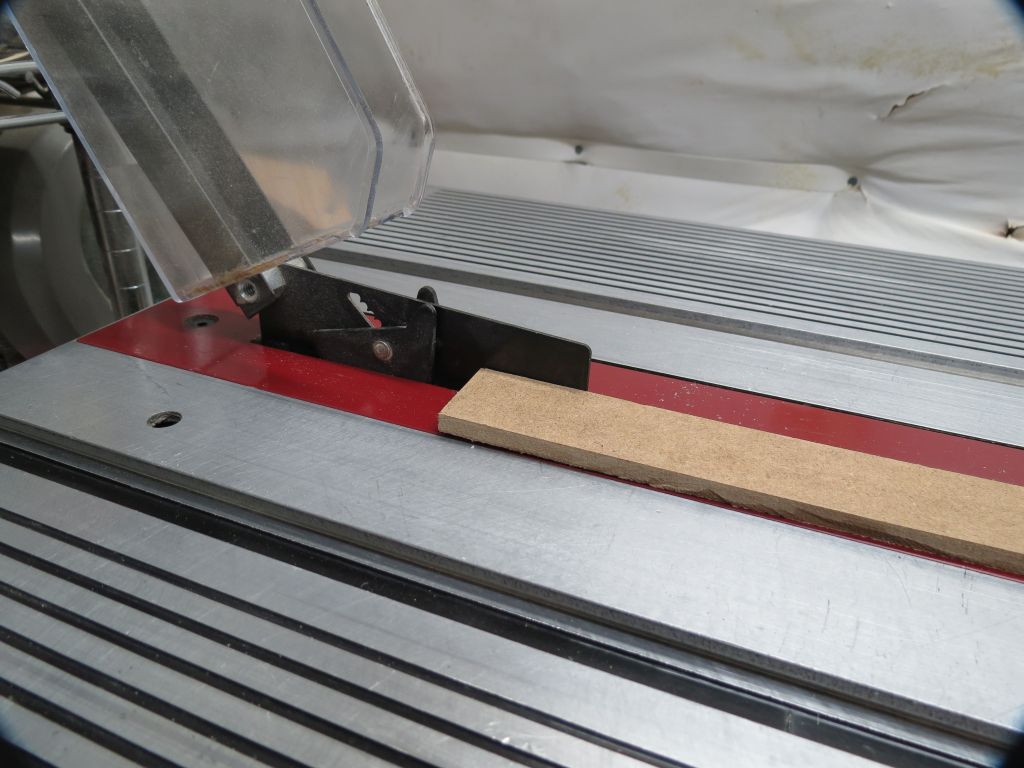
- IMG_7456sc.jpg (116.43 KiB) Viewed 4003 times
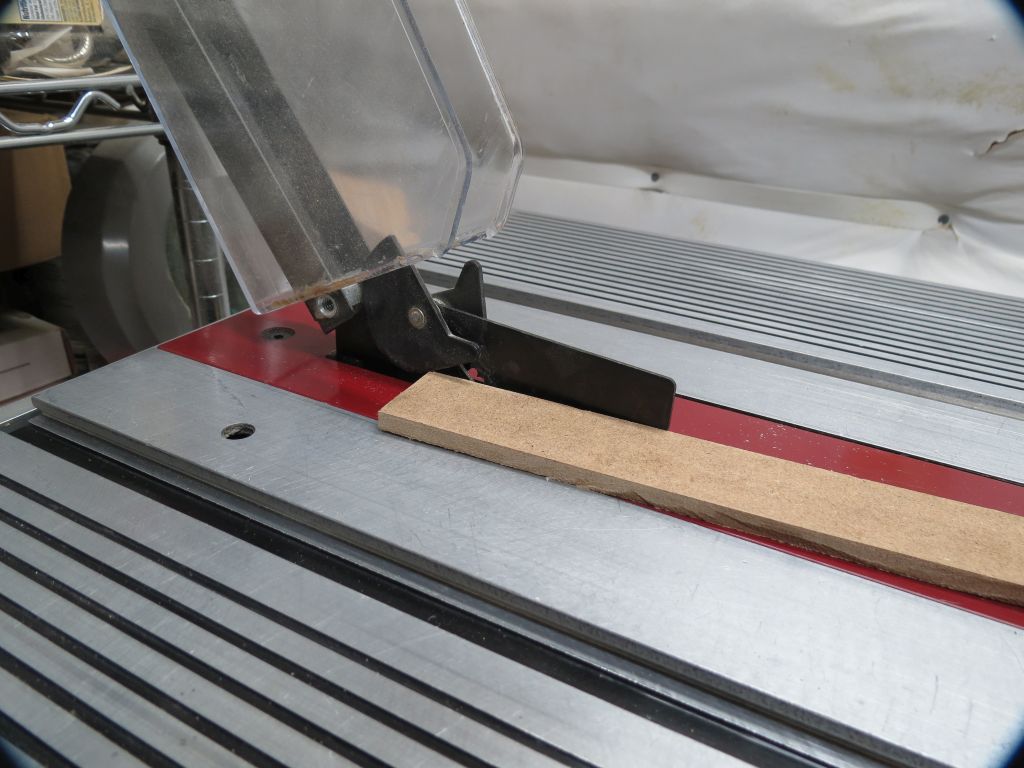
- IMG_7457sc.jpg (120.05 KiB) Viewed 4003 times
- IMG_7458sc.jpg (113.24 KiB) Viewed 4003 times
- IMG_7460sc.jpg (115.59 KiB) Viewed 4003 times
- IMG_7461sc.jpg (118 KiB) Viewed 4003 times
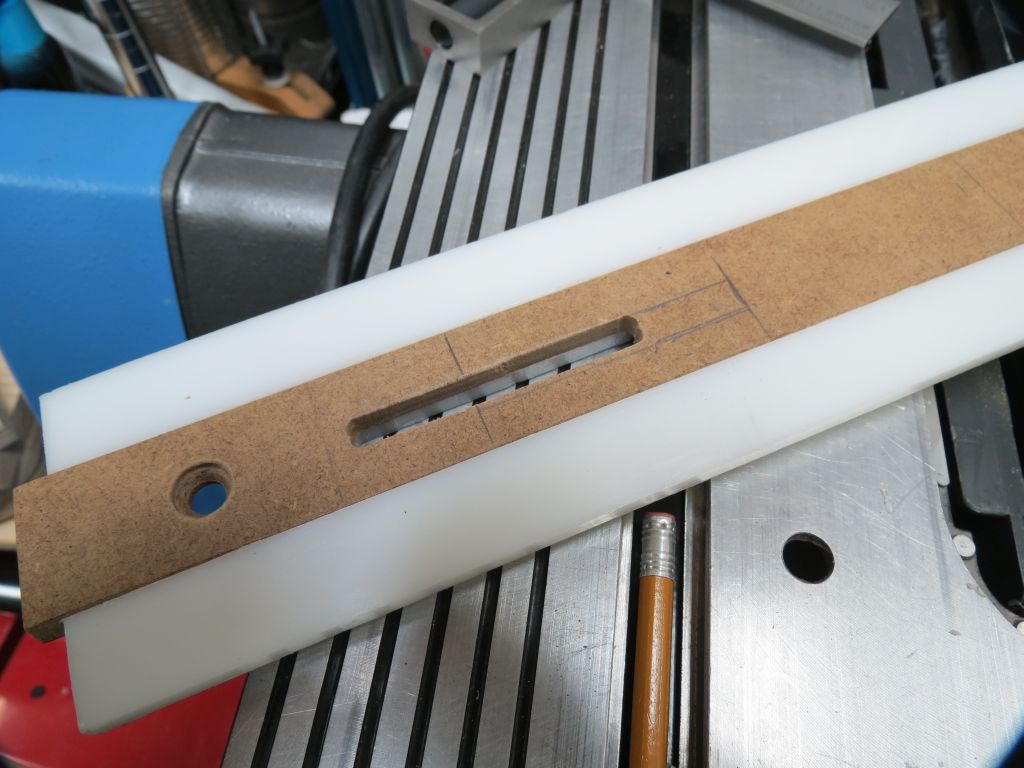
From what I can see it looks like I need to make a few modifications to get things to fit, marked on mdf but will also be taking the plastic below it as well.
- IMG_7462sc.jpg (106.87 KiB) Viewed 4003 times
So I still have a ways to go, I'd get that done then test, tomorrow at the earliest.
Ed
Re: Today in the shop (replaceable insert ZCI)
Posted: Mon Jun 29, 2015 2:51 pm
by Ed in Tampa
Measurements of "E" are
overall length 15 7/8"
width 2 15/16"
Rear hole taper is 9/16"
Slot begins 1 1/4" from center of rear hole
Slot width 3/16"
Rectangluar cut out 2 5/8" long 5/8: wide 1 1/8" from side edge of insert.
Cutout starts 2 7/16 from center of rear hole.
End 5 1/16 from rear hole
Need any other measurements I have the insert.
Re: Today in the shop (replaceable insert ZCI)
Posted: Mon Jun 29, 2015 3:02 pm
by charlese
Thank you very much, Ed for your idea and this thread!

I now have one of these on my "to do list".
Re: Today in the shop (replaceable insert ZCI)
Posted: Mon Jun 29, 2015 4:20 pm
by reible
Ed in Tampa wrote:Measurements of "E" are
overall length 15 7/8"
width 2 15/16"
Rear hole taper is 9/16"
Slot begins 1 1/4" from center of rear hole
Slot width 3/16"
Rectangluar cut out 2 5/8" long 5/8: wide 1 1/8" from side edge of insert.
Cutout starts 2 7/16 from center of rear hole.
End 5 1/16 from rear hole
Need any other measurements I have the insert.
Thanks Ed!
Looking forward to comparing this with what I measured at the saw. Should be interesting, for one I know it is wider then I had thought it needed to be.......
Got rained out again this afternoon so I will not get to this part of the project today.
Ed
Re: Today in the shop (replaceable insert ZCI)
Posted: Mon Jun 29, 2015 4:36 pm
by reible
I did manage to get a couple of hours of work in today and some of it was on this project. Got rained out before I could do some of it but that's OK as I have plenty of other things to do.
In case you are planning on making one of these it is important that you be able to make the insert part in bulk. That was today's part of the experiment, and beside I need some to test with right now. I'm going to approach this as I did it but you may have your own "better" of better ways.
My plan was to make 10 inserts, one I did as a test case and made as a one of. The remaining 9 were today's project and I wanted to make them like I would for real.
I started with a piece of 1/4" mdf that I had laying around the shop for a while. The piece had been hacked at for other projects so I wanted to start by establishing an edge, and also clean up any shop wear that might have happen to that edge. So this was the setup to do that.
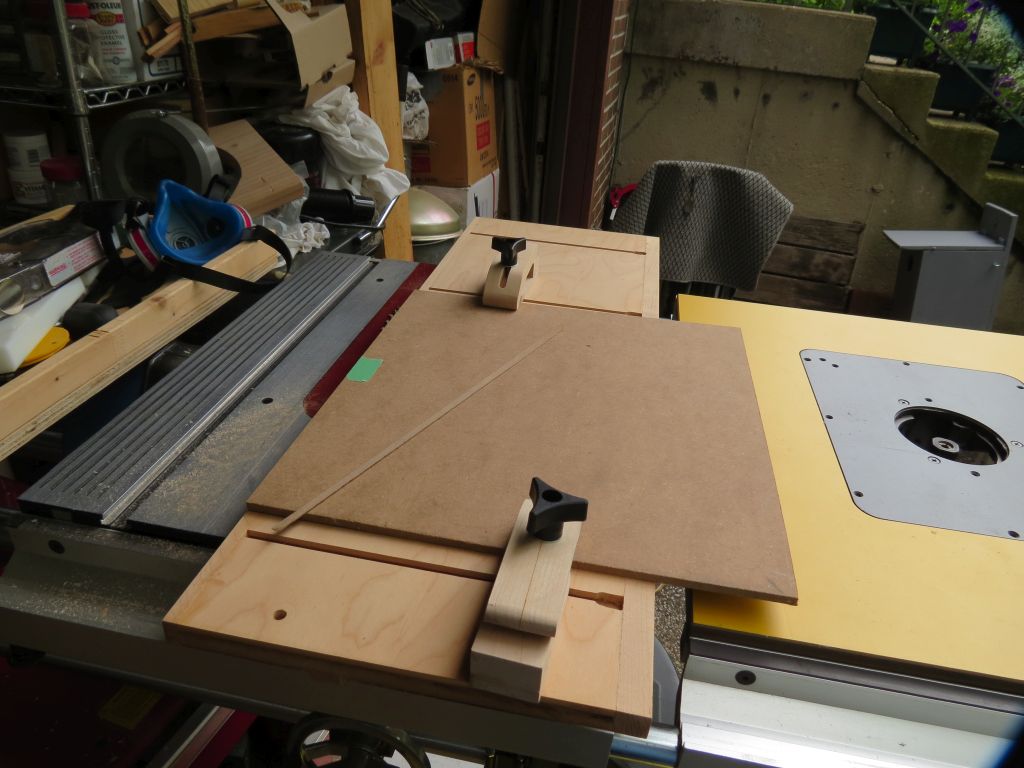
- IMG_7464sc.jpg (114.46 KiB) Viewed 3927 times
With that edge being "fixed" I then rotated it so I could use that edge against the miter gauge and create a square corner to base the rest of my cuts on.
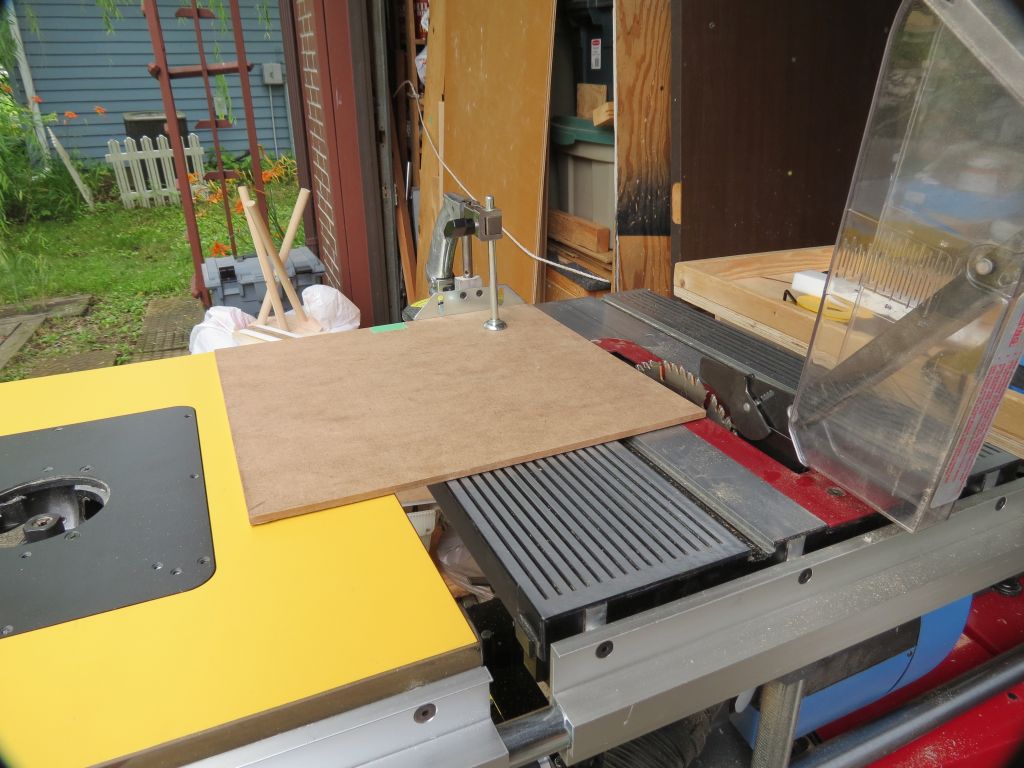
- IMG_7465sc.jpg (133.32 KiB) Viewed 3927 times
With this done I then started by selecting the bit I wanted to use.
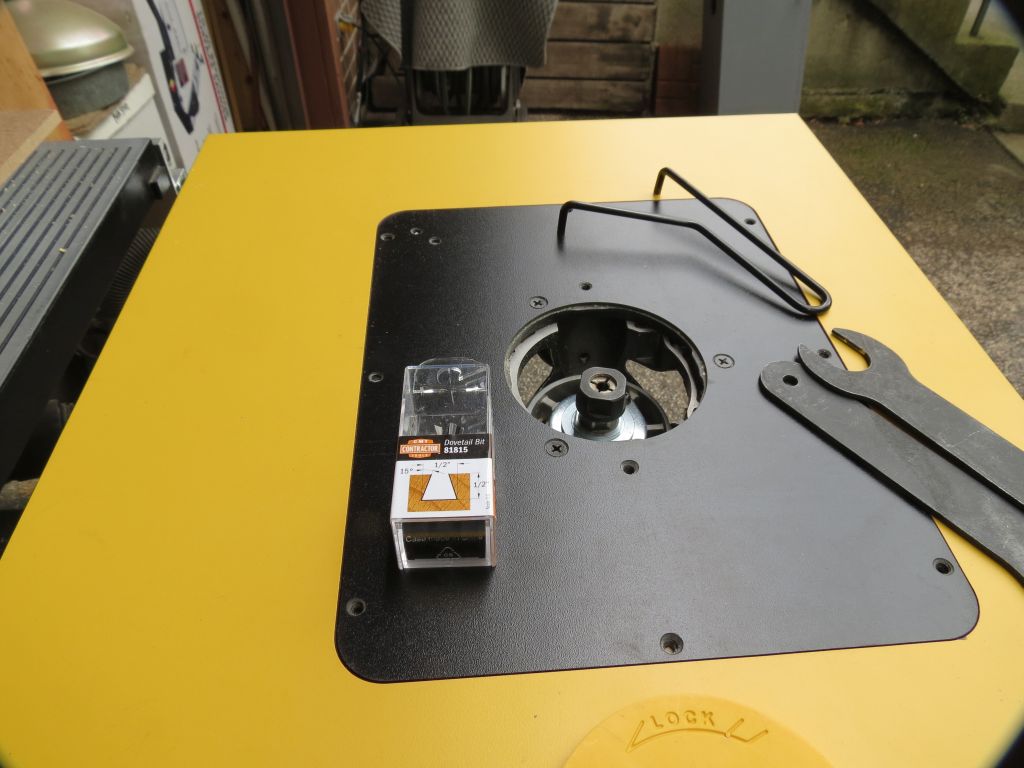
- IMG_7466sc.jpg (98.98 KiB) Viewed 3927 times
Good practices dictate a table insert of the correct size, shown here:
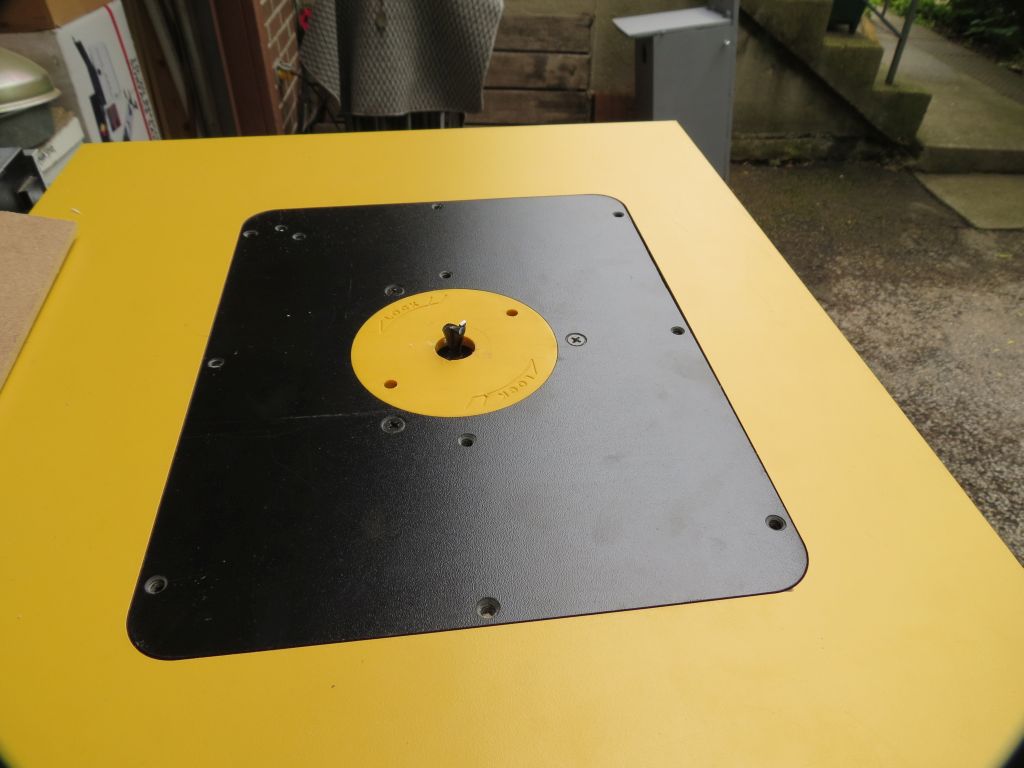
- IMG_7467sc.jpg (84.17 KiB) Viewed 3927 times
Using the material to set the bit height.
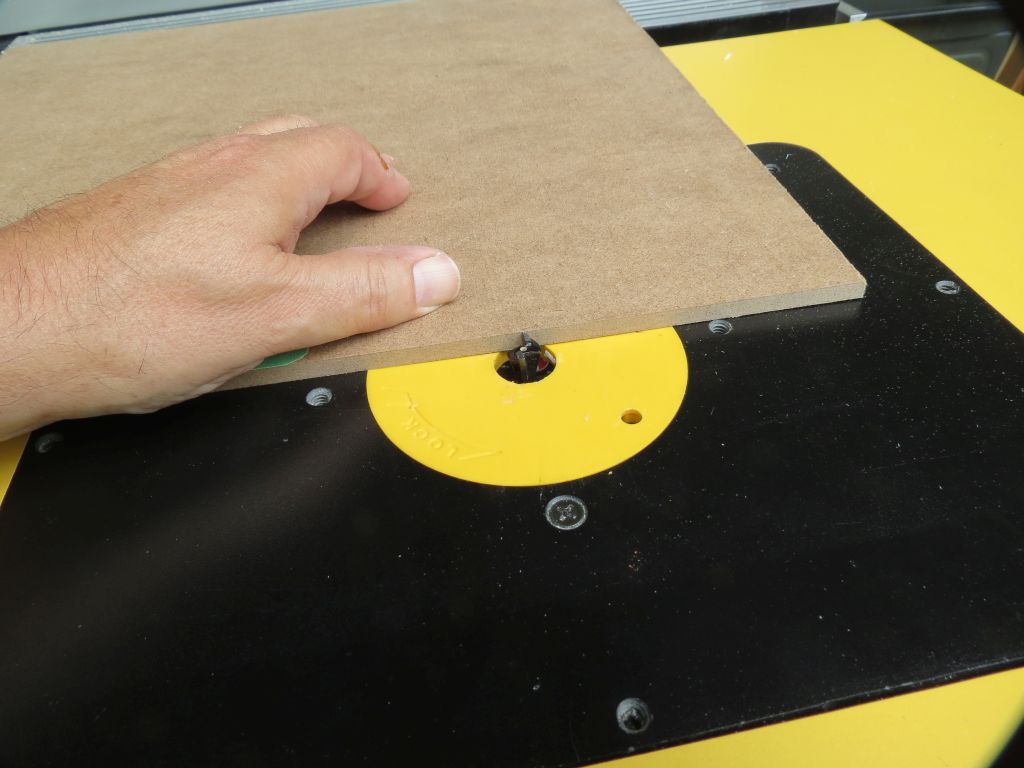
- IMG_7468sc.jpg (85.87 KiB) Viewed 3927 times
And you thought this wasn't going to be fun? Stay tuned another post or two to follow after I have a snack.
Ed