Page 25 of 45
Re: A Slow Boat To Nowhere
Posted: Thu Oct 08, 2015 8:45 pm
by JPG
algale wrote:shipwright wrote:With epoxy the dowels would be just for looks ...... and you can't see them. :-)
Put them together with a masking tape hinge, open, add thickened epoxy and close.
That's it ........ that's it!
(You can squeeze it a little with a rubber band or bungee to reduce the glue line if you want)
Thanks as usual, Paul!!!! Just saved me quite a headache.
Headache indeed! Compound angles (I think?). And opposite on opposite sides of the center piece.
Re: A Slow Boat To Nowhere
Posted: Fri Oct 09, 2015 11:23 am
by beeg
How about using the horizontal boring, rather than trying to keep the board vertical on it's edge?
Re: A Slow Boat To Nowhere
Posted: Fri Oct 09, 2015 12:13 pm
by algale
beeg wrote:How about using the horizontal boring, rather than trying to keep the board vertical on it's edge?
I think that would be the way to do it, but I'd have had to figure out a way to shim it so the doweled edge was parallel to the rip fence/at a right angle to the against the fence to keep the doweled edge at a right angle to the spindle.
Anyway, with Shipwright's blessing, I glued them up with thickened epoxy only -- no dowels necessary.
Re: A Slow Boat To Nowhere
Posted: Fri Oct 09, 2015 2:06 pm
by beeg
algale wrote: but I'd have had to figure out a way to shim it so the doweled edge was parallel to the rip fence/at a right angle to the against the fence to keep the doweled edge at a right angle to the spindle.
Use the scrap cutoff from the angle cut, on the back straight edge.
Re: A Slow Boat To Nowhere
Posted: Fri Oct 09, 2015 2:51 pm
by JPG
beeg wrote:algale wrote: but I'd have had to figure out a way to shim it so the doweled edge was parallel to the rip fence/at a right angle to the against the fence to keep the doweled edge at a right angle to the spindle.
Use the scrap cutoff from the angle cut, on the back straight edge.
Use the other side.
Posted for 'future' reference.

Now about that center 'wedge'. . .
Re: A Slow Boat To Nowhere
Posted: Fri Oct 09, 2015 3:13 pm
by algale
First coat of interior varnish. The book said to wait until all the trim (gunwales, decks and seats) were installed but that seems crazy in as much as it would just get in the way. So, now I sand this coat out and apply another.
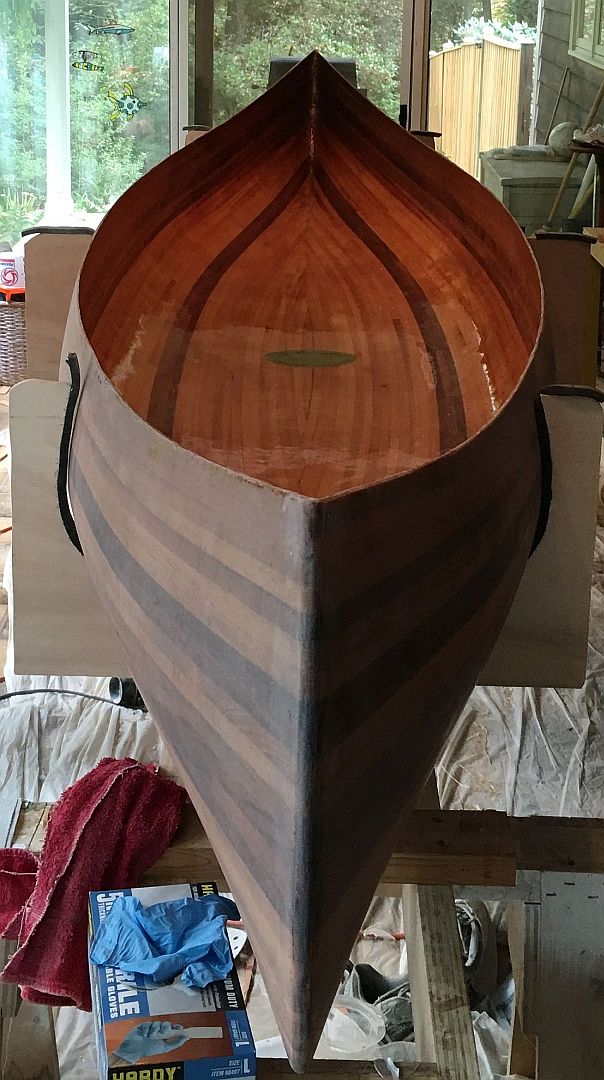
- IMG_2579.JPG (141.16 KiB) Viewed 4485 times
Tip to future canoe builders: you do more sanding than anything else.
On the interior there are three or four randomly spaced dime-sized spots where (despite wetting out the fabric completely with epoxy and it being adhered to the substrate) the fabric is white. I suspect the sizing on those areas was damaged. I don't believe it will make anything other than a cosmetic difference and since the canoe is far from perfect, I'll just live with them.
Re: A Slow Boat To Nowhere
Posted: Sun Oct 11, 2015 8:21 pm
by algale
Deck blanks glued up (thanks Shipwright). The Shopsmith belt sander came in handy to level them and clean off the epoxy. Then a quick random orbit sanding.
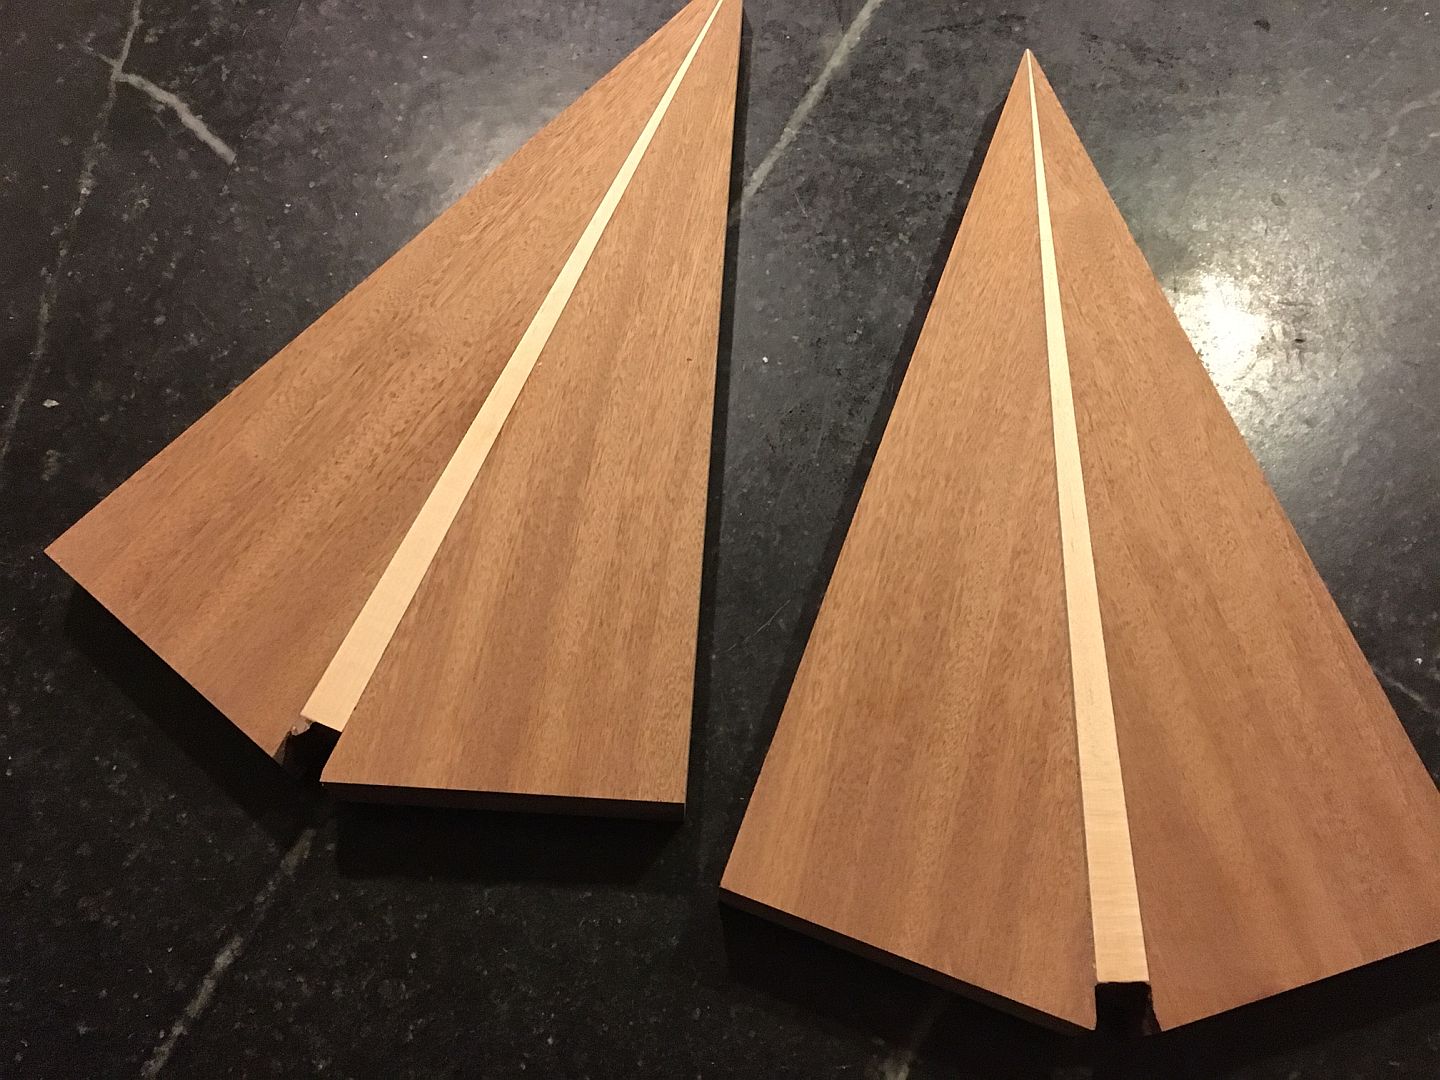
- IMG_2584.JPG (237.79 KiB) Viewed 4446 times
Re: A Slow Boat To Nowhere
Posted: Wed Oct 14, 2015 10:57 pm
by edflorence
Slick! The contrasting woods look very nice1
Re: A Slow Boat To Nowhere
Posted: Fri Oct 16, 2015 9:14 pm
by algale
A little progress on the gunwales. Clamped the gunwales on dry, measured and cut to length (inside gunwale shorter to accommodate the to-be-installed decks).
Then buttered the inside surfaces of the gunwales that are up against the hull with "bedding compound" (Dolfinite brand) as recommended on one of the canoe forums. My goodness, this stuff is almost messier than epoxy but cleans up a little easier with paper towels and mineral spirits. I am waiting on the correct countersink to drill and screw them on.
It's true: you can never have enough clamps. These are from Harbor Freight.

- IMG_2590.JPG (167.35 KiB) Viewed 3949 times
Someday my ship will come in....
Re: A Slow Boat To Nowhere
Posted: Sat Oct 24, 2015 5:11 am
by newportcycle
Looking good Al.