I picked up the six pieces to the base cabinet today from the powder coat shop. They sandblasted everything down to bare metal and then did the powder coat paint. It turned out just beautiful but pricey, just under $300. Here is the inside of one of the sides.
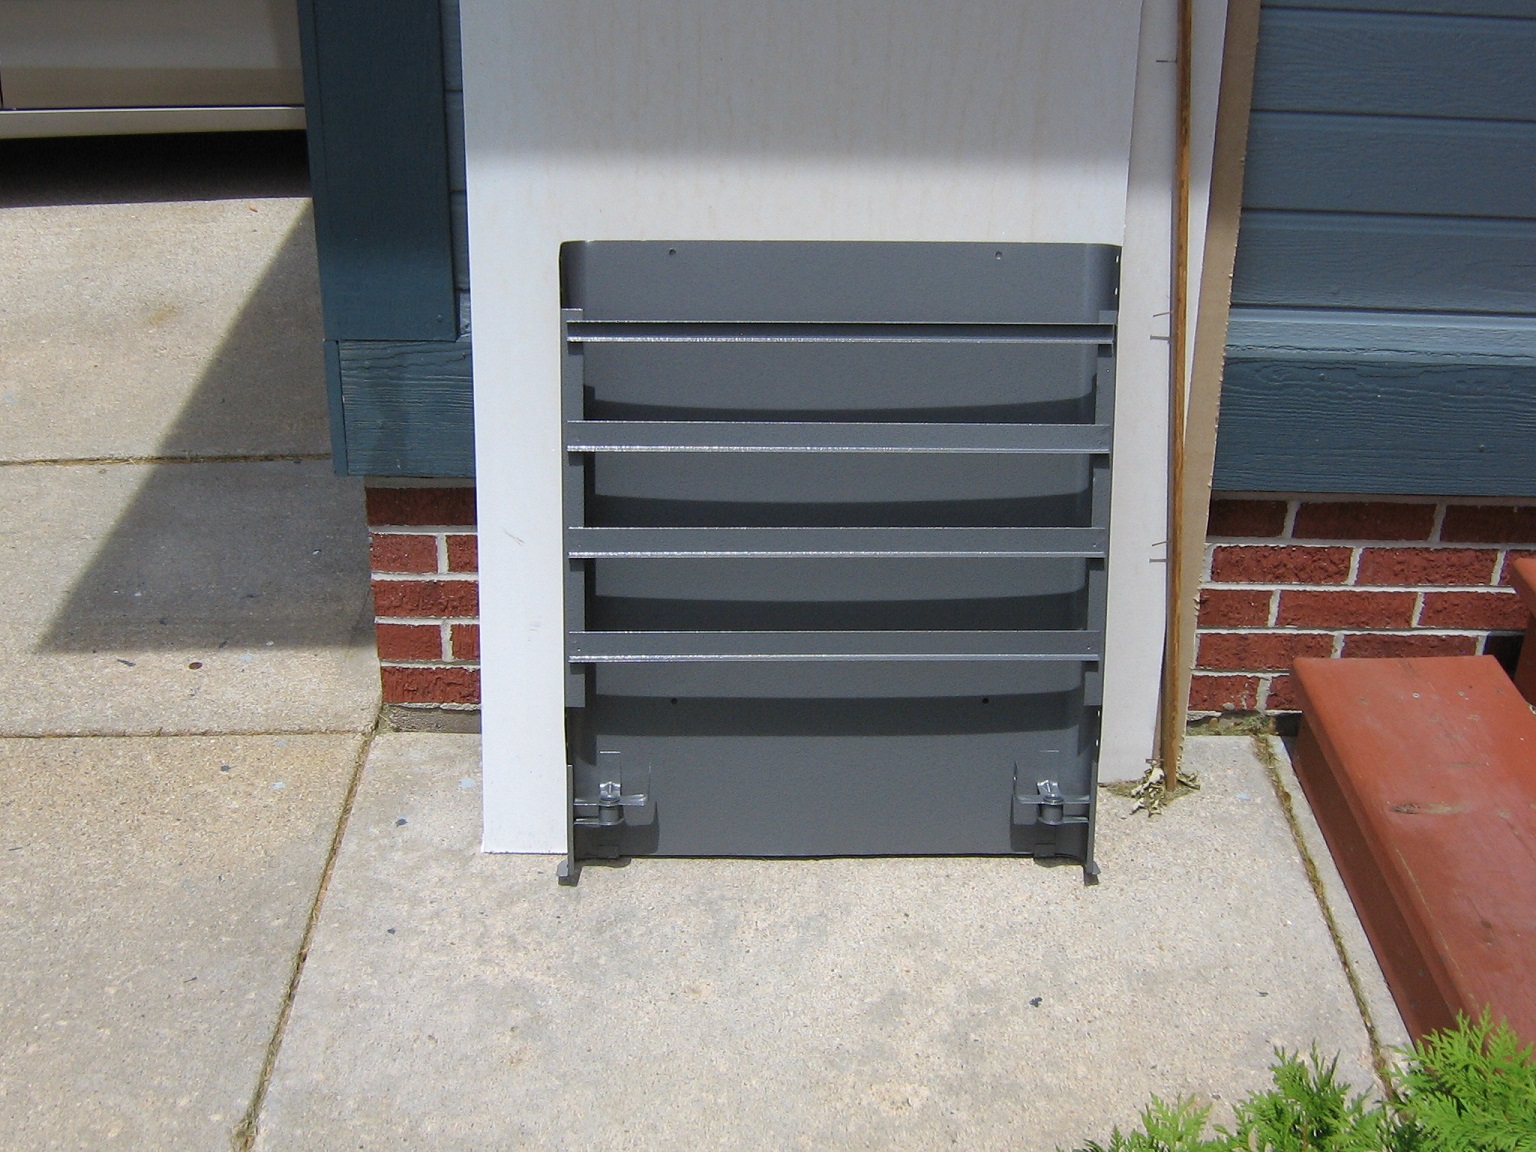
- IMG_1706.JPG (586.38 KiB) Viewed 11267 times
Here is the outside of one of the sides.
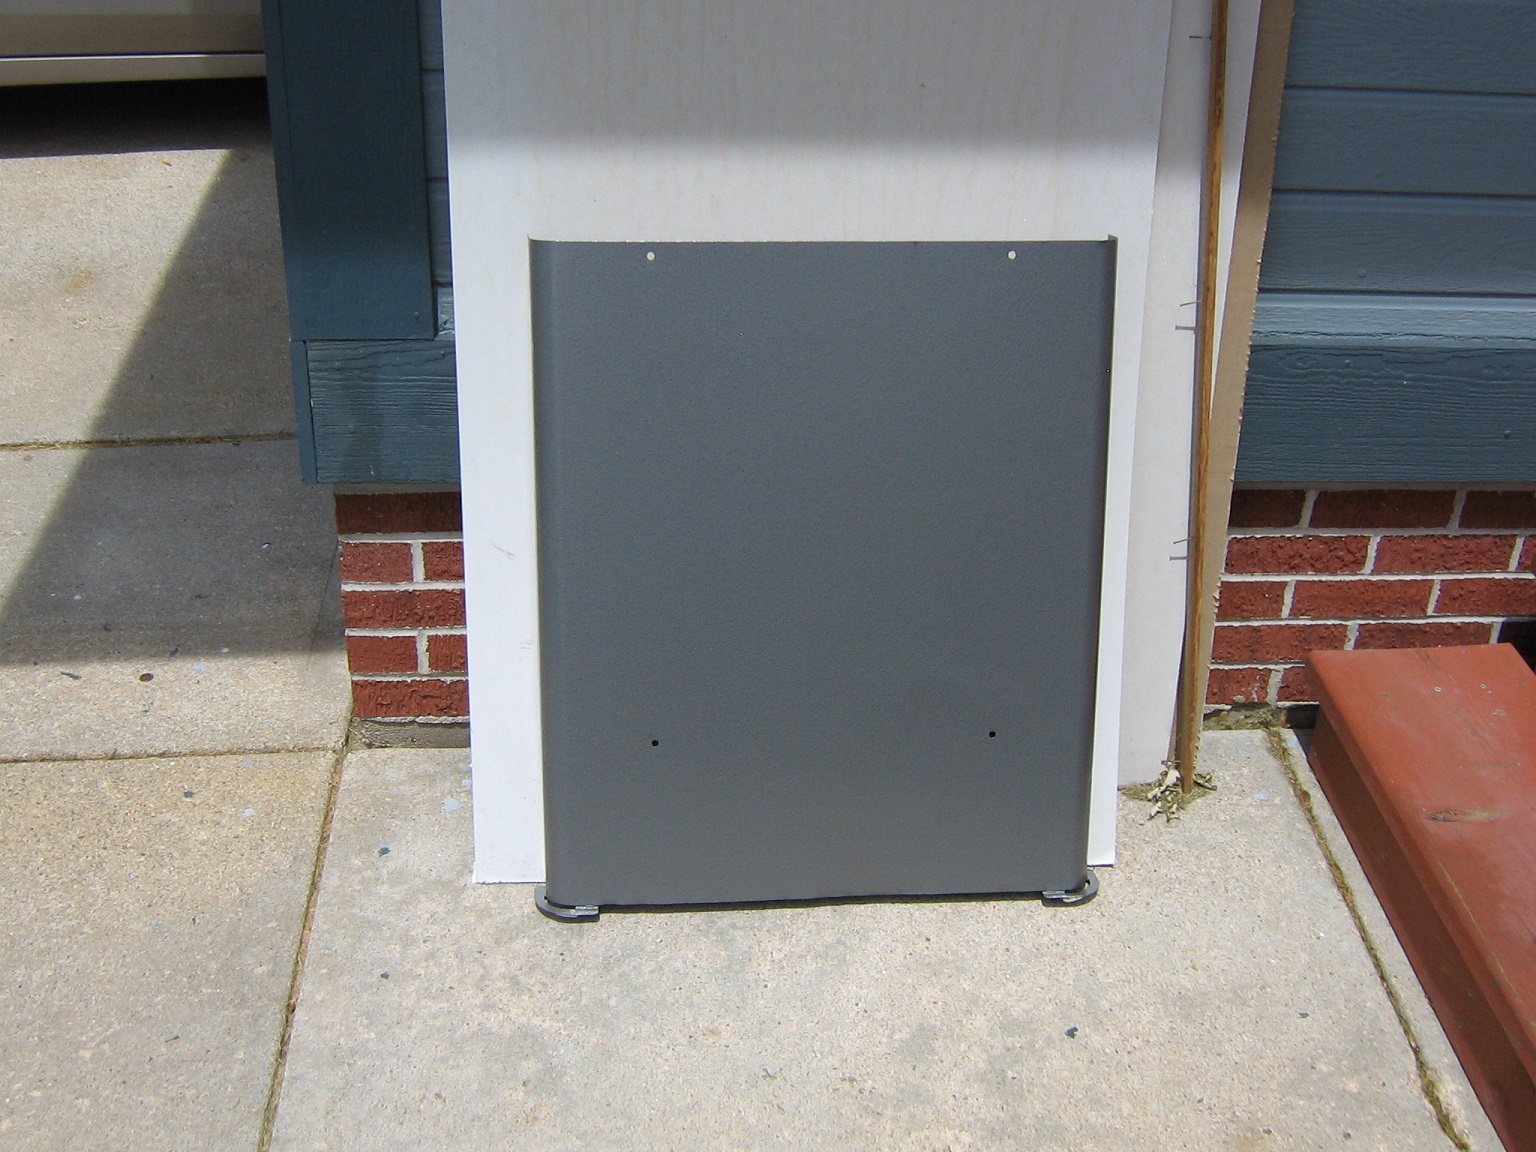
- IMG_1707.JPG (554.44 KiB) Viewed 11267 times
Here is the top.
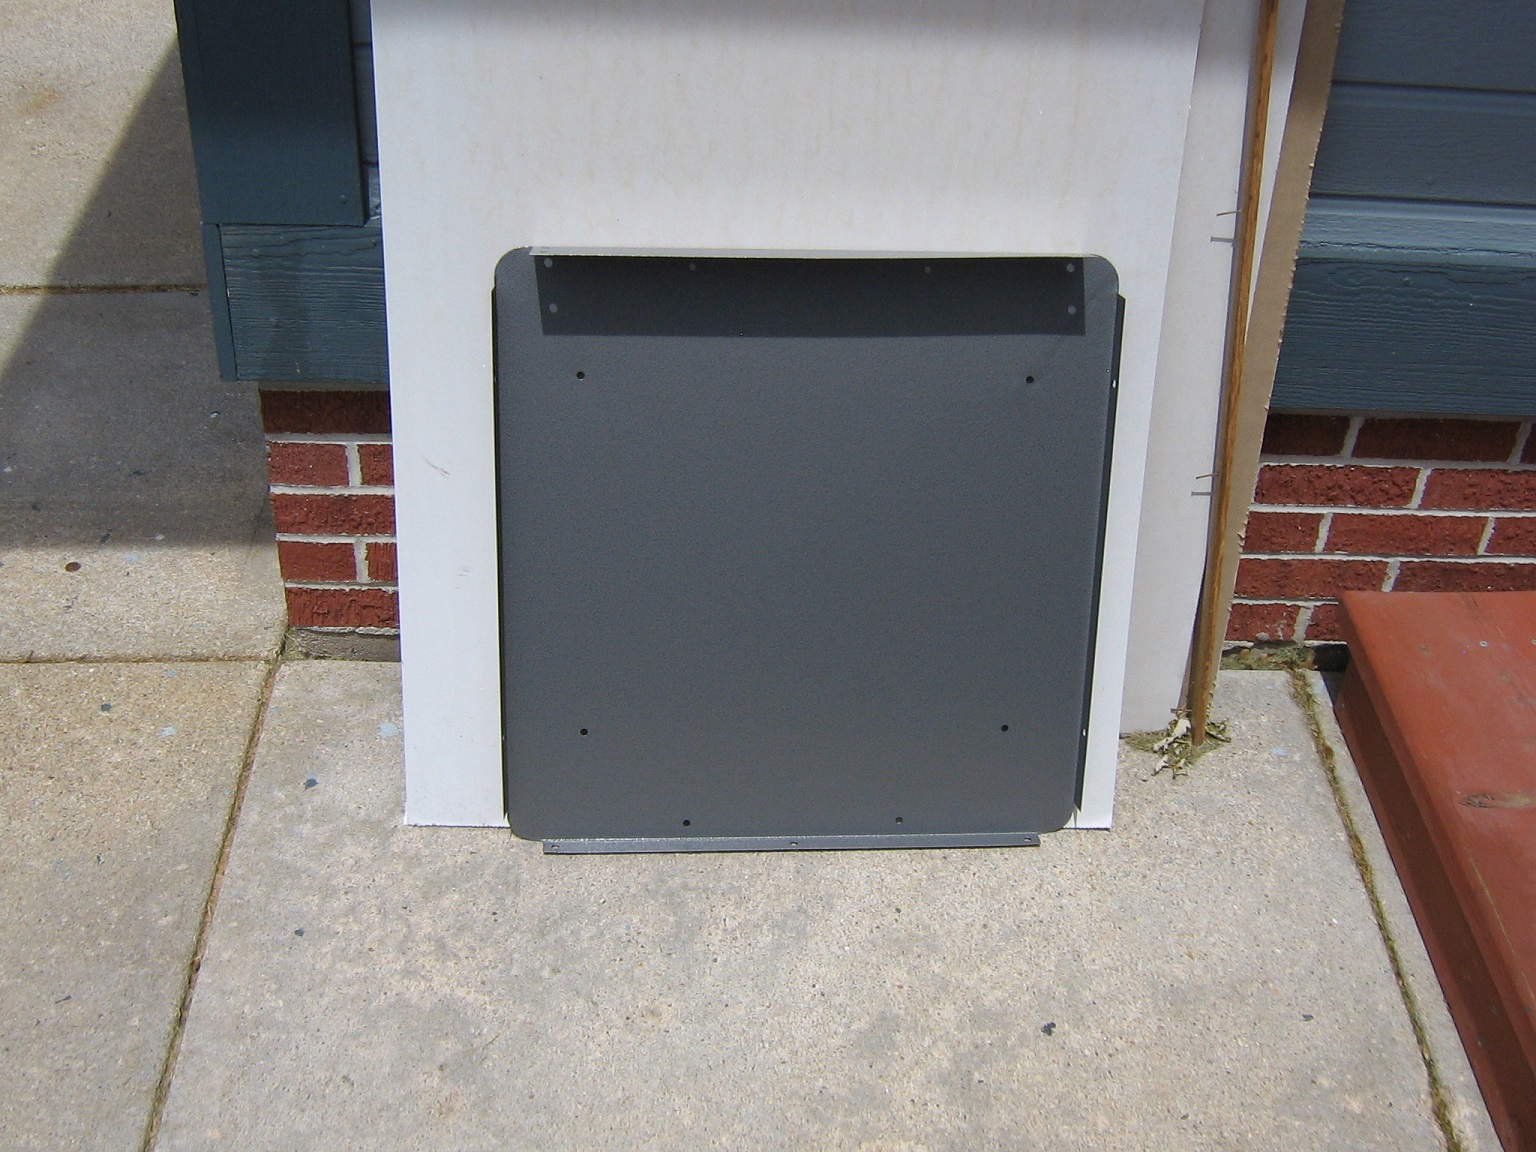
- IMG_1708.JPG (575.99 KiB) Viewed 11267 times
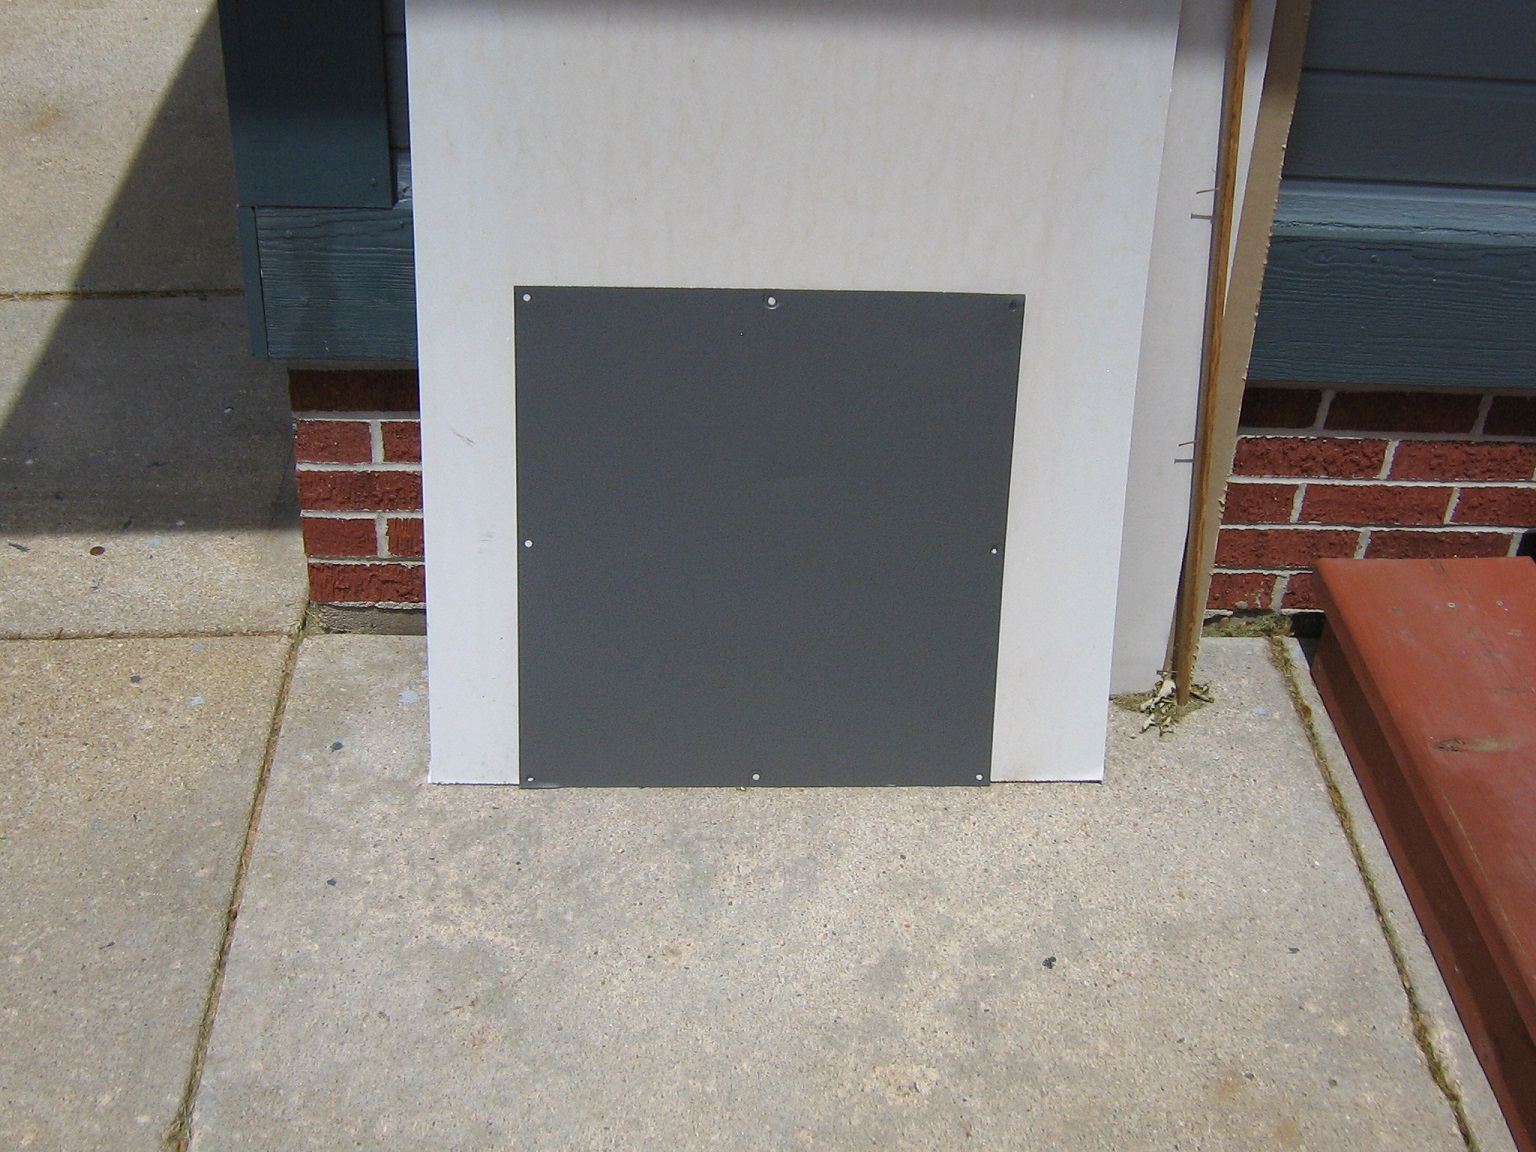
Here is the front door.

- IMG_1709.JPG (591.38 KiB) Viewed 11267 times
Here is the back.
- IMG_1710.JPG (566.65 KiB) Viewed 11267 times
Here is the side with the all the caster mechanism installed. Handle was polished and waxed. Installed with stainless steel hex bolt and locknut. New casters work just fine. They are better than the original. These have ball bearings on the swivel.
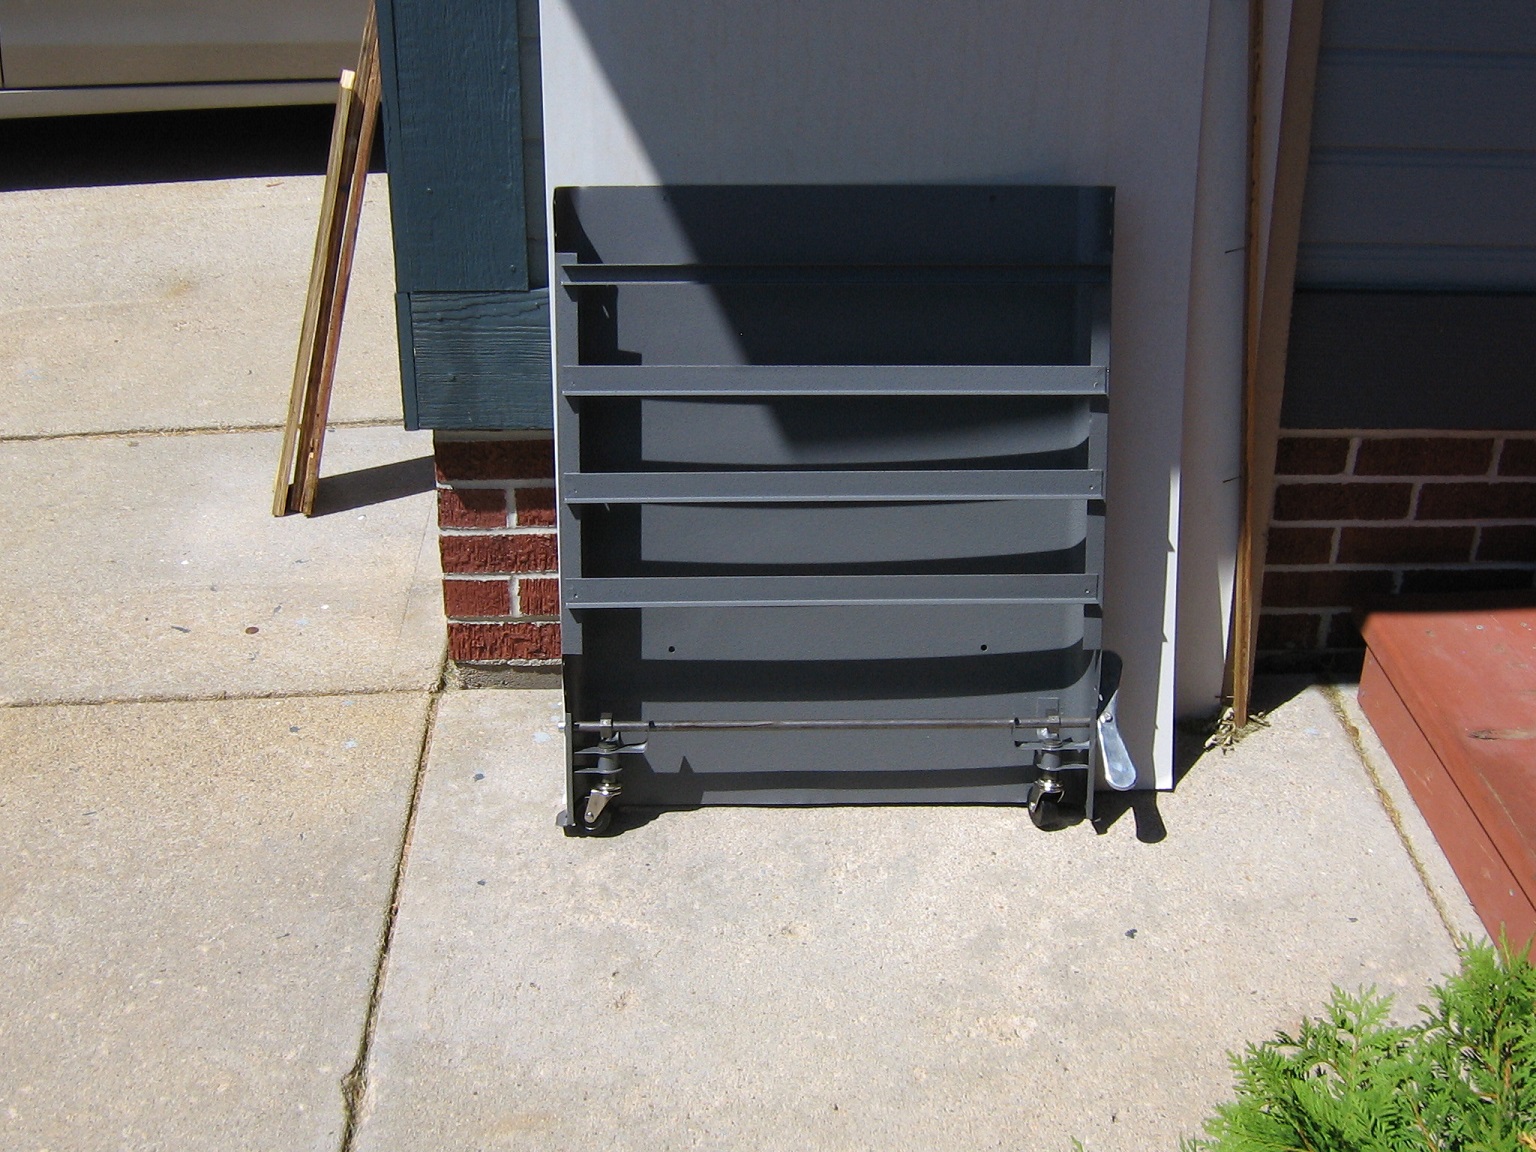
- IMG_1711.JPG (606.17 KiB) Viewed 11267 times
Here is the front door with the glides installed. I used a stainless steel hex bolt 3/8-24 fine thread 1/2 inch long with a nylon spacer 5/8" OD, 1/4" ID, 3/8" long. I drilled the ID with a Q size drill bit and then tapped the threads but only 3/4 of the way through so it would not come unscrewed after installation. Adjusted it to turn freely, lubricated with light machine oil same as the caster mechanism.
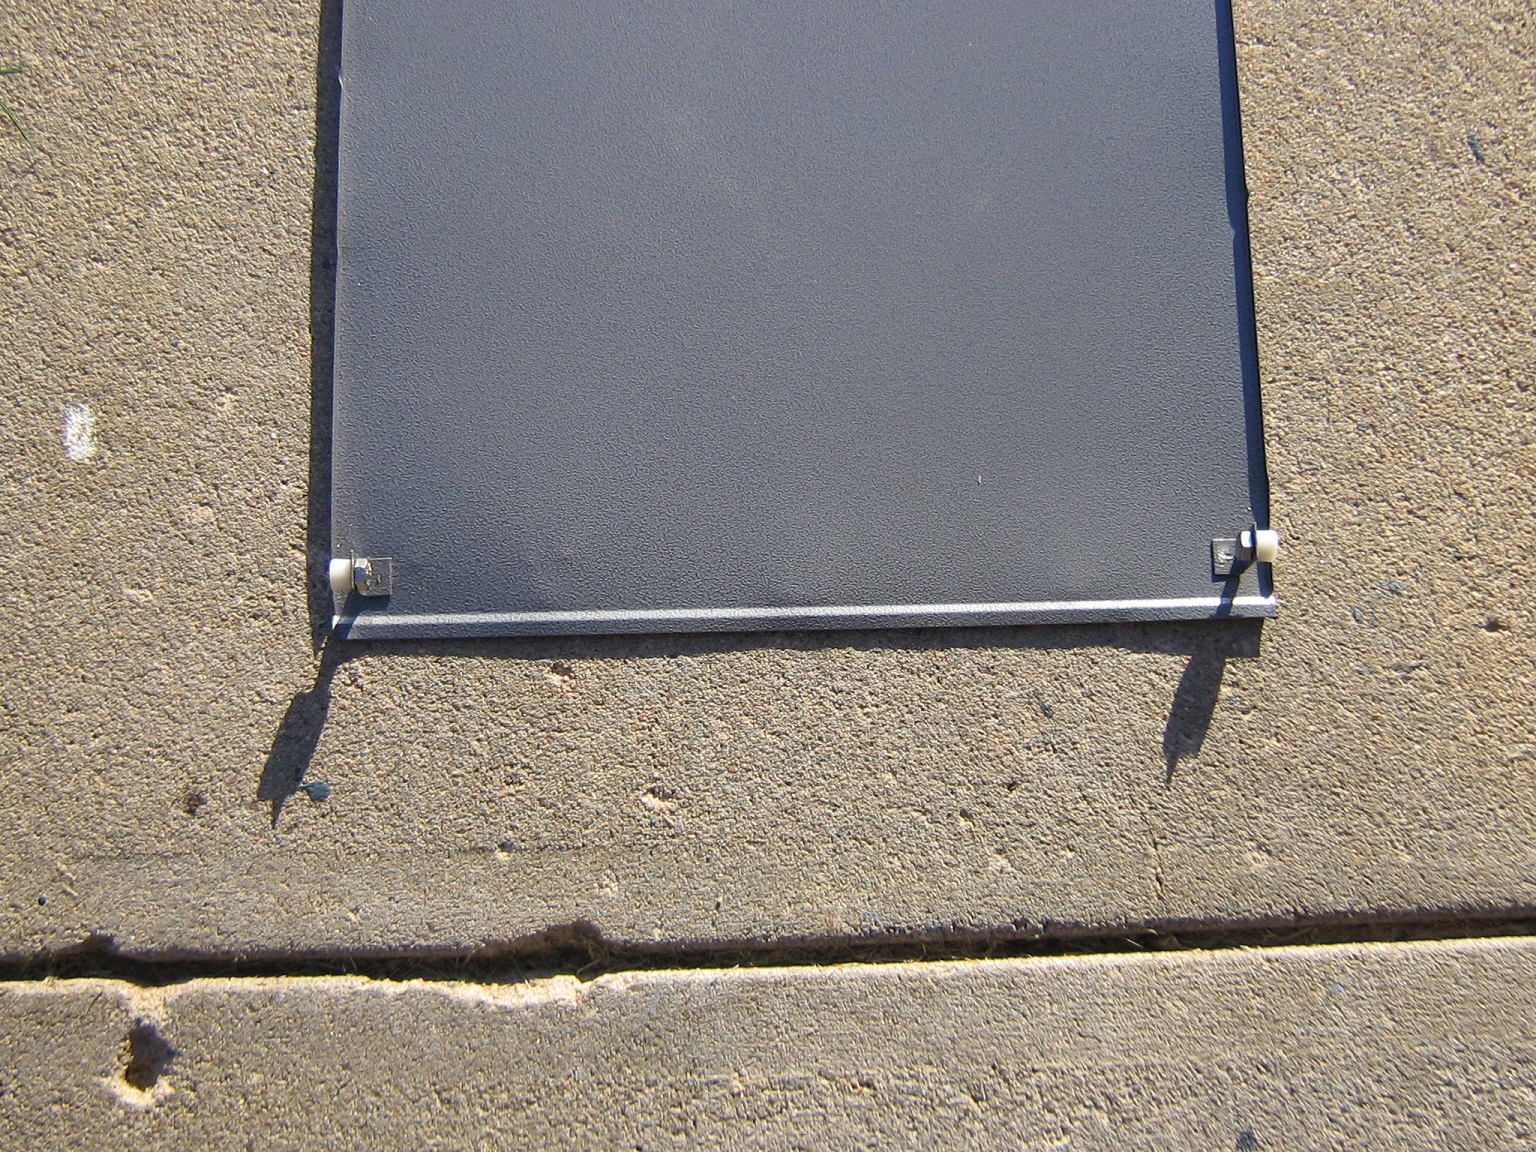
- IMG_1712.JPG (1.06 MiB) Viewed 11267 times
