I took photos at the time which I will share below. But first let me say that I'm crazier than most and I won't recommend this mod as its possible to brick the motor. In my case I bought a used Emerson motor off of ebay years ago to upgrade my 1960 Yuba 3/4 hp Mark V. Unfortunately, the motor had a bent shaft and showed signs of overheating as the nylon winding ties were partially melted.
Bill M. here sold me a replacement shaft with new bearings and I was finally able to finish this upgrade. Many thanks to Bill for the spare part.
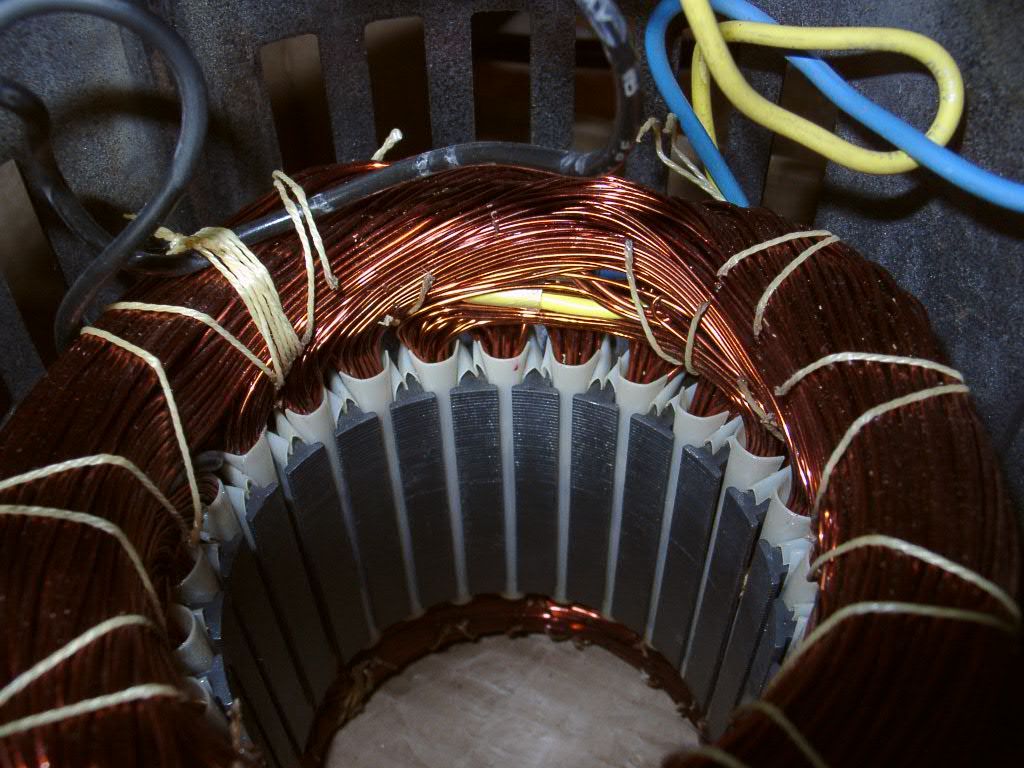
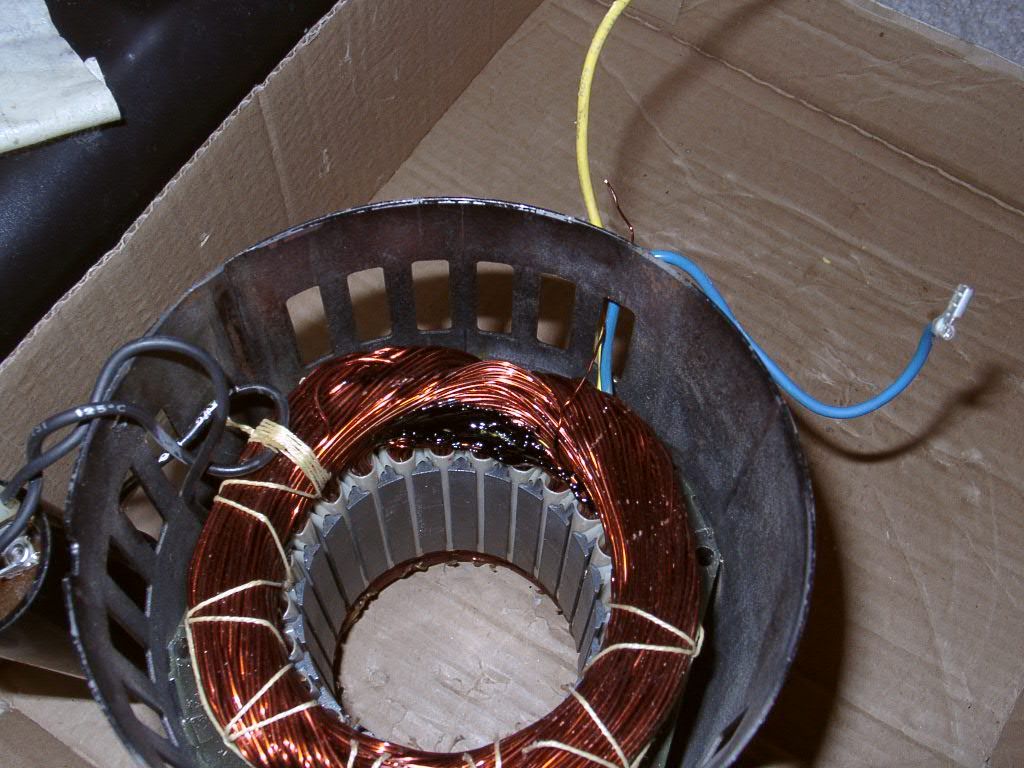
Anyway, Inspecting the windings on my Emerson, I noticed that I could see the connection where the wires were joined. I used an ohm meter to be sure the connection I could see was the one that needed to be separated for reversing, its the yellow wire:
The hard part is to pick/pry/separate the yellow wire from the winding without damaging the insulation. I have plenty of dull picks and plastic utensils for doing this:
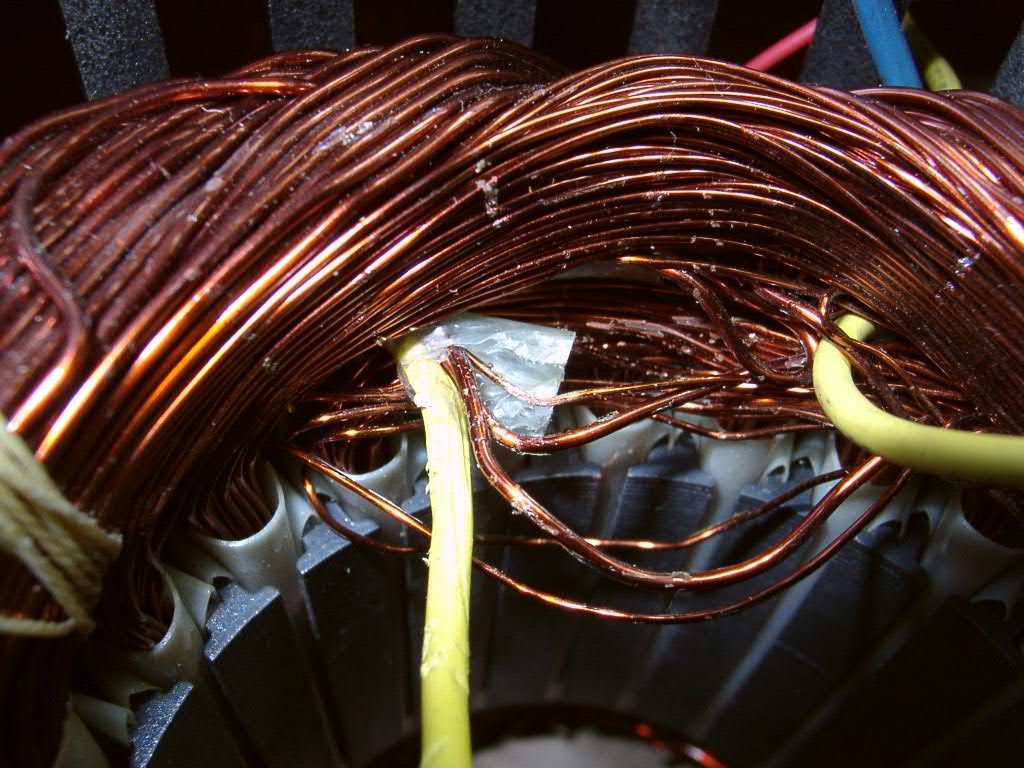
I used a hobby knife to cut/split open the protective cover in the above photo. Then I cut the smaller gauge wire to bring the other side of the start winding out so it can be configured for either forward or reverse.
Then its a simpler matter of packing the winding back in so it won't rub against the rotating parts. I was paranoid that I may have nicked the insulation doing this operation, as you should be if you try this. My eyes are not as good as they used to be and inspecting things closely with an eye loupe I couldn't tell the difference between melted nylon ties or actual nicks. So I decided to cover the area with a product called Corona Dope. Its for insulating windings on high voltage coils. I used this product to recondition a high frequency adapter that I put back into service for use with my arc welder.
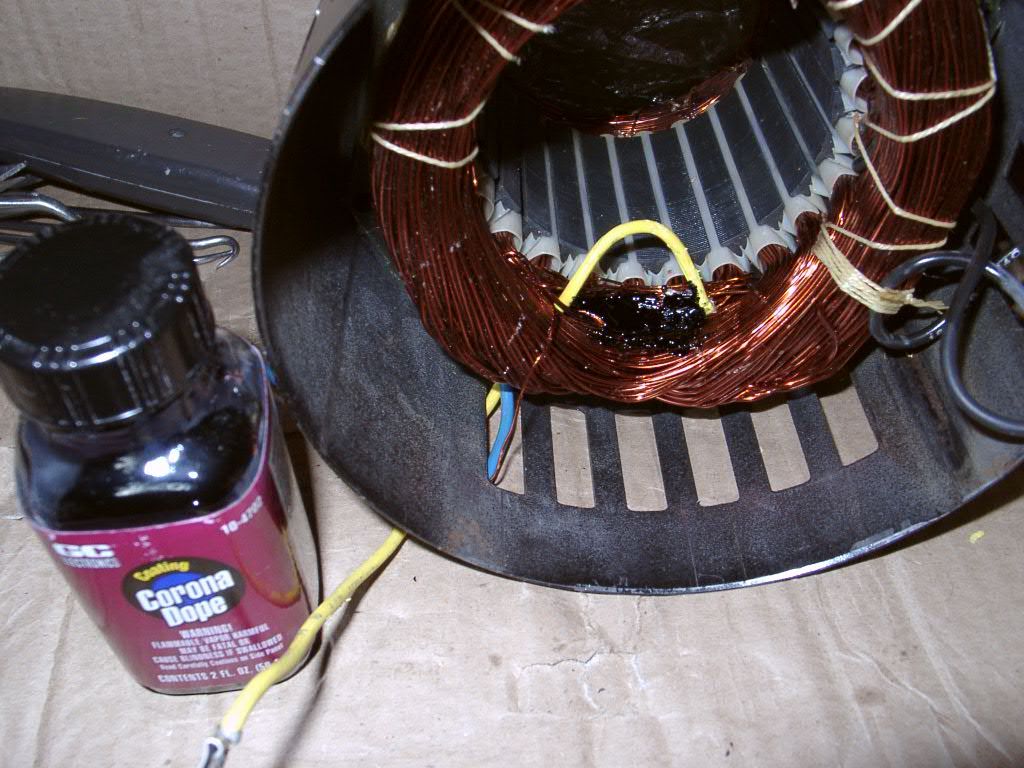
Here is a photo with the hard part over with. Start coil is now separated and ready for wiring up to a switch.
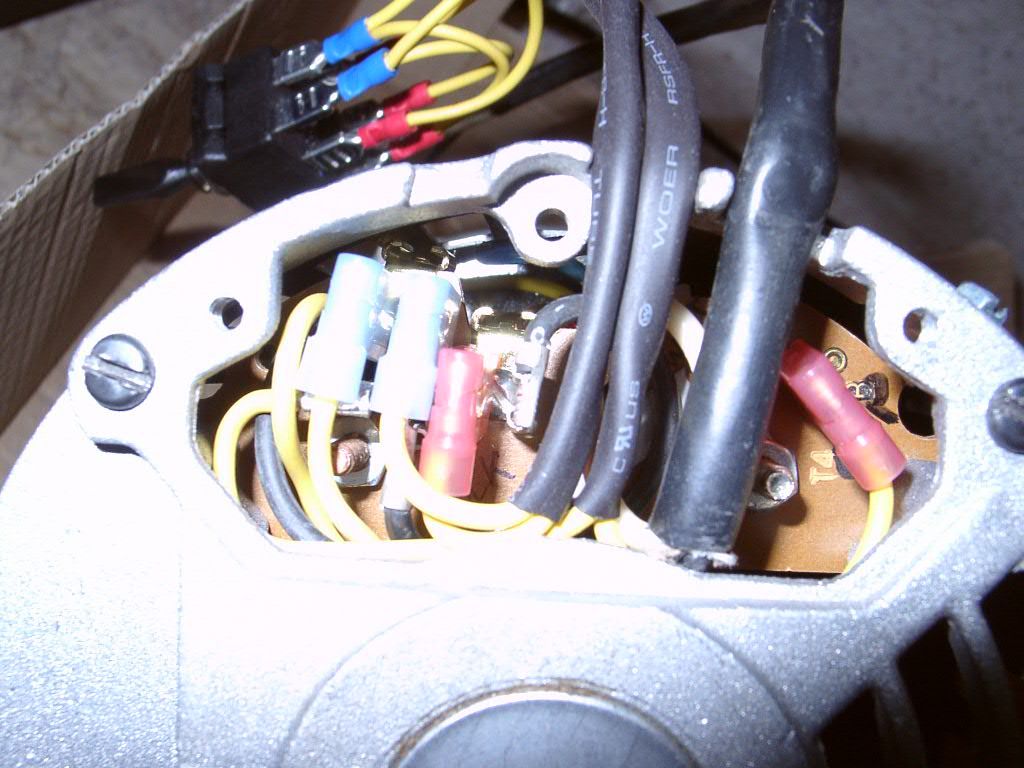
I wanted a semi neat job on the back to add in the wires and I found some terminals at Radio Shack that seemed to be good enough (surprise

Here is the final reworked board, packed with the new terminals and extra wires that exit the housing to a reversing switch.
At this point things were plugged in for the acid test. It all worked out, whew. So I decided to make a mount to hold a better, more durable reversing switch where I can reach with the inspection cover off of the headstock (unplug before sticking hand into headstock:D ).
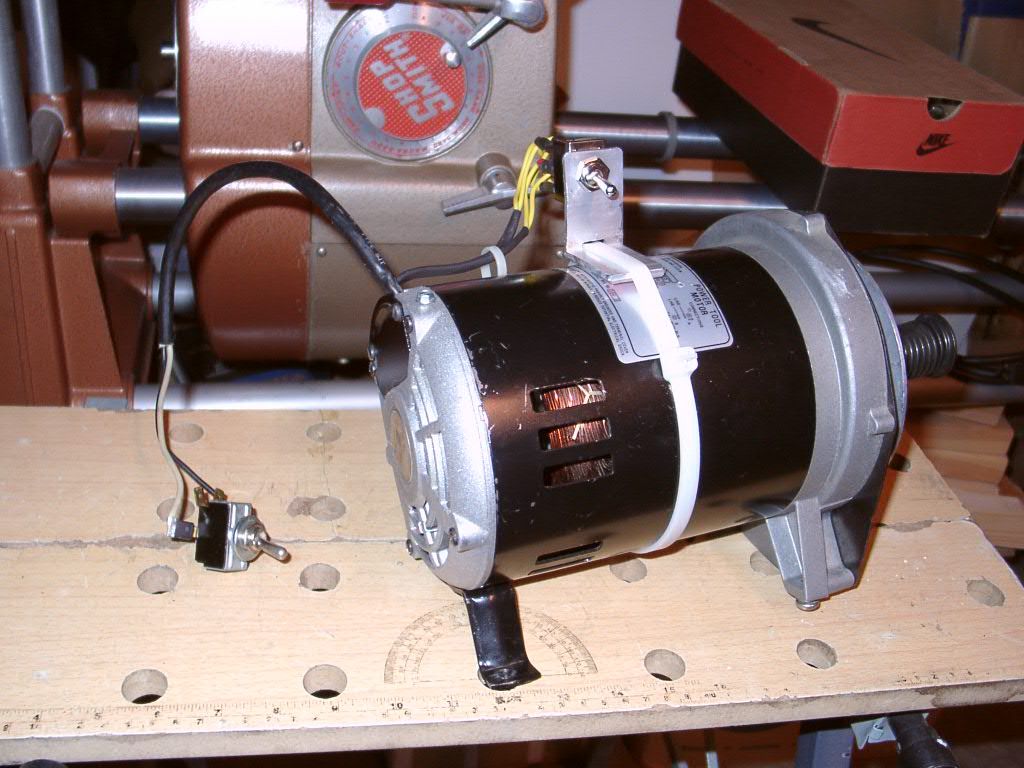
That's how its done. I've been a happy camper since then.