I've been noticing that this section, Beginning Woodworking is a little light on posts. I figure there has to be a few people who would like to see more posts in this area so here is one.
I have a project that I did last year thinking it was going to be very temporary, a year later and it still in use. So now I'm going back and doing a few things to improve upon the woodworking. One of which is to round a corner. I'll take you though the process and perhaps you might find some value to the effort.
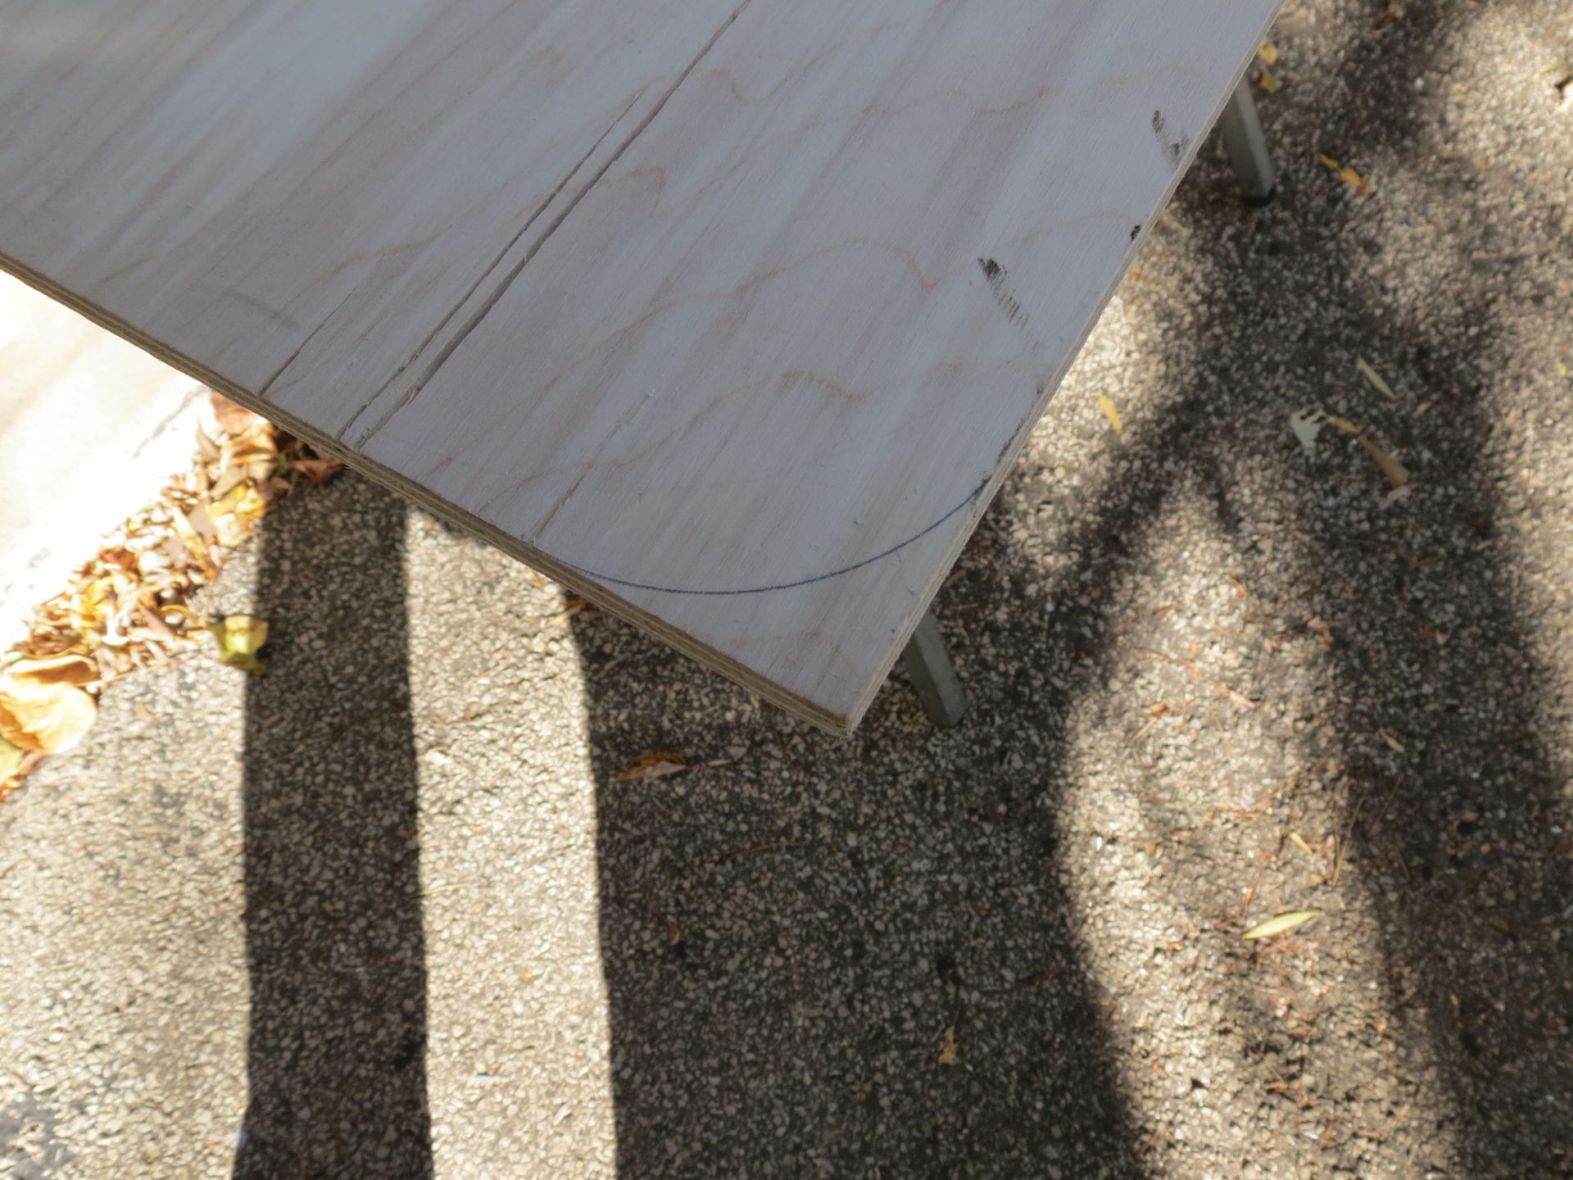
So here is the corner:
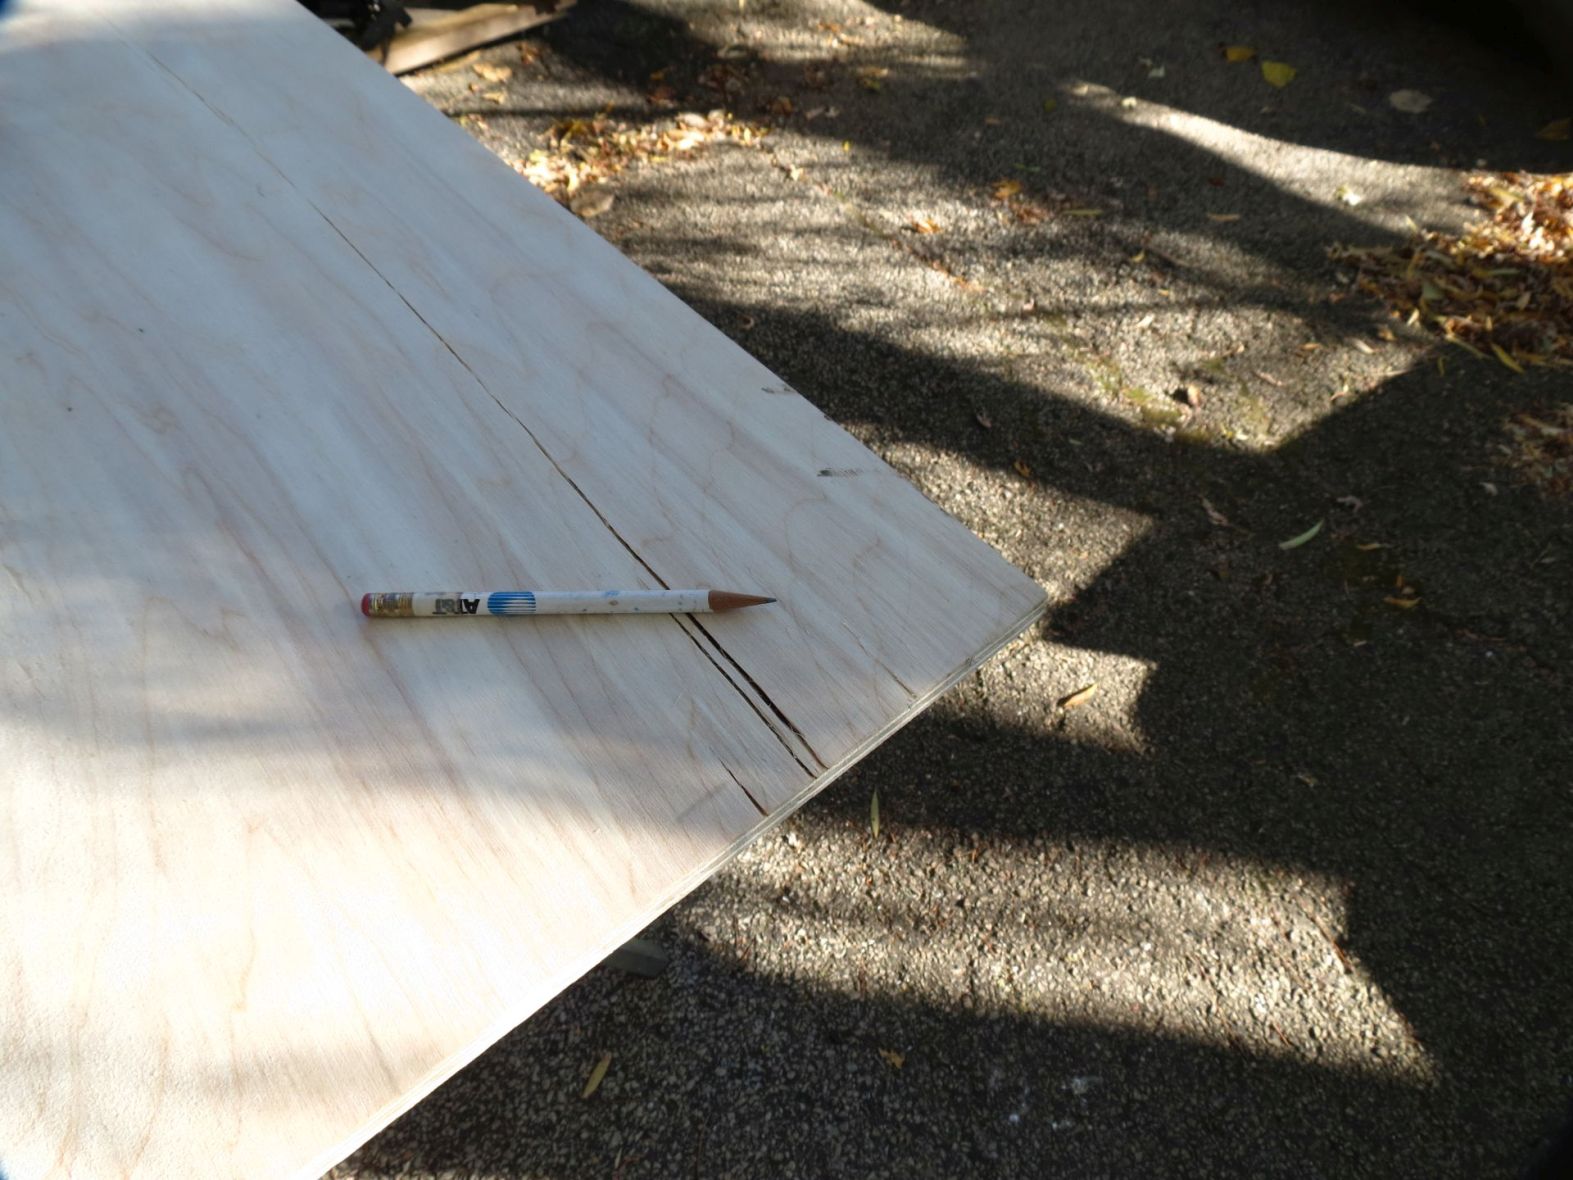
- IMG_3010sc.jpg (254.67 KiB) Viewed 14825 times
Now there are plenty of ways to "design" the radius, cup, plate, can, and jar to name a few. And yes I've used that and more, but I do have this thing:
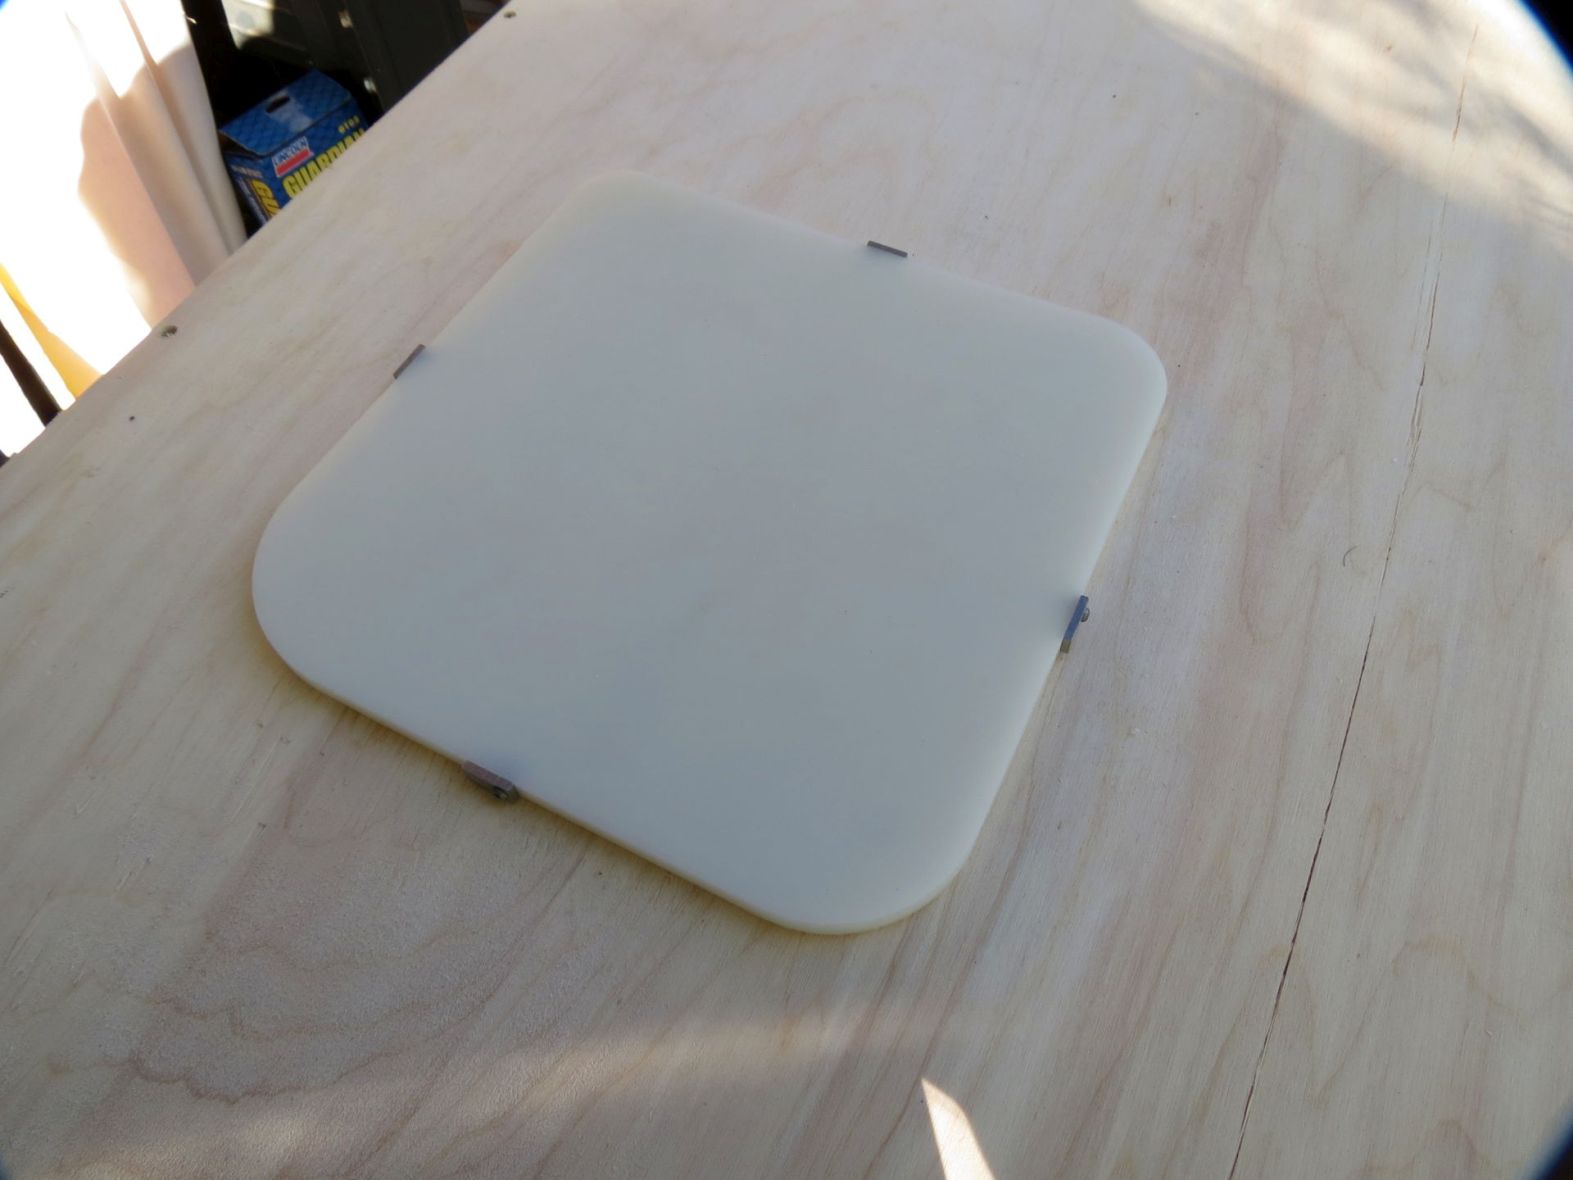
- IMG_3011sc.jpg (124.04 KiB) Viewed 14825 times
One corner has 1", another 1-1/2", another 2" and then the last corner is 2-1/2". It made of plastic but if you wanted to make one plywood or something similar would work as well. Notice the small metal bits on the sides? Well they rotate to provide stops like this:
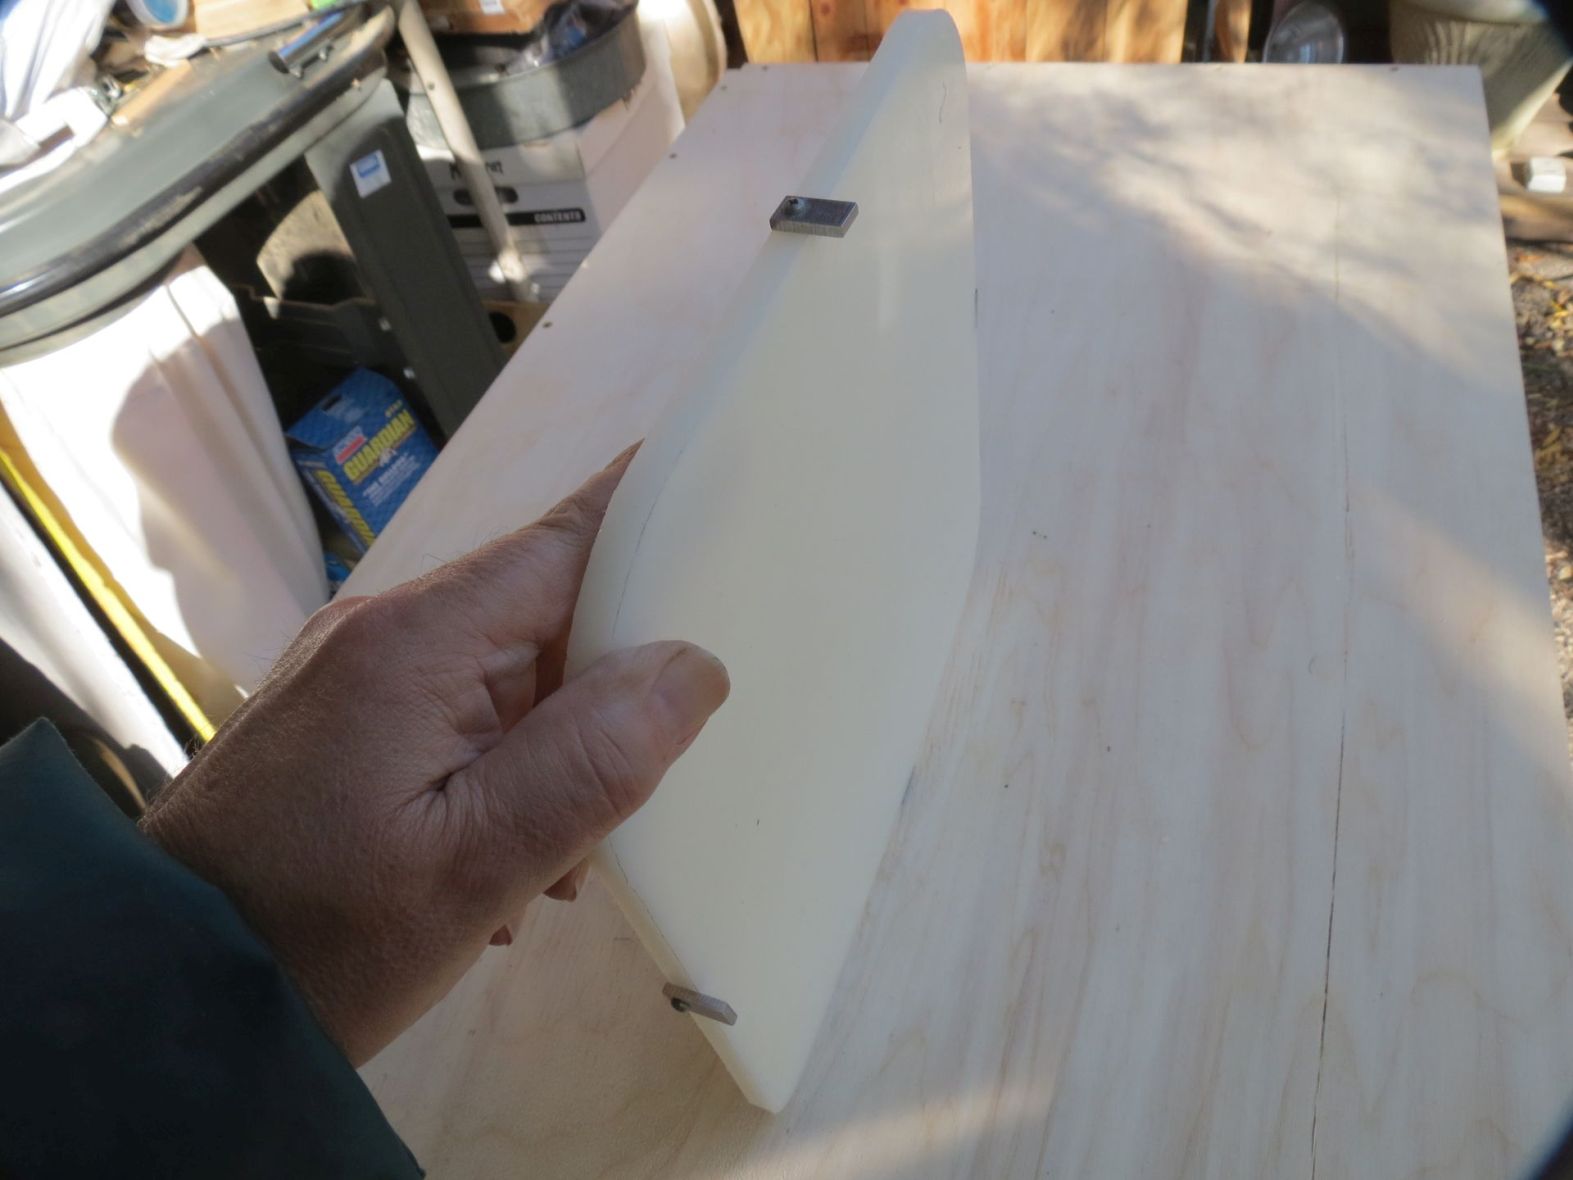
- IMG_3012sc.jpg (132.71 KiB) Viewed 14825 times
With the correct corner and stops in place you simply slide it in place so the stops rest on the edges.
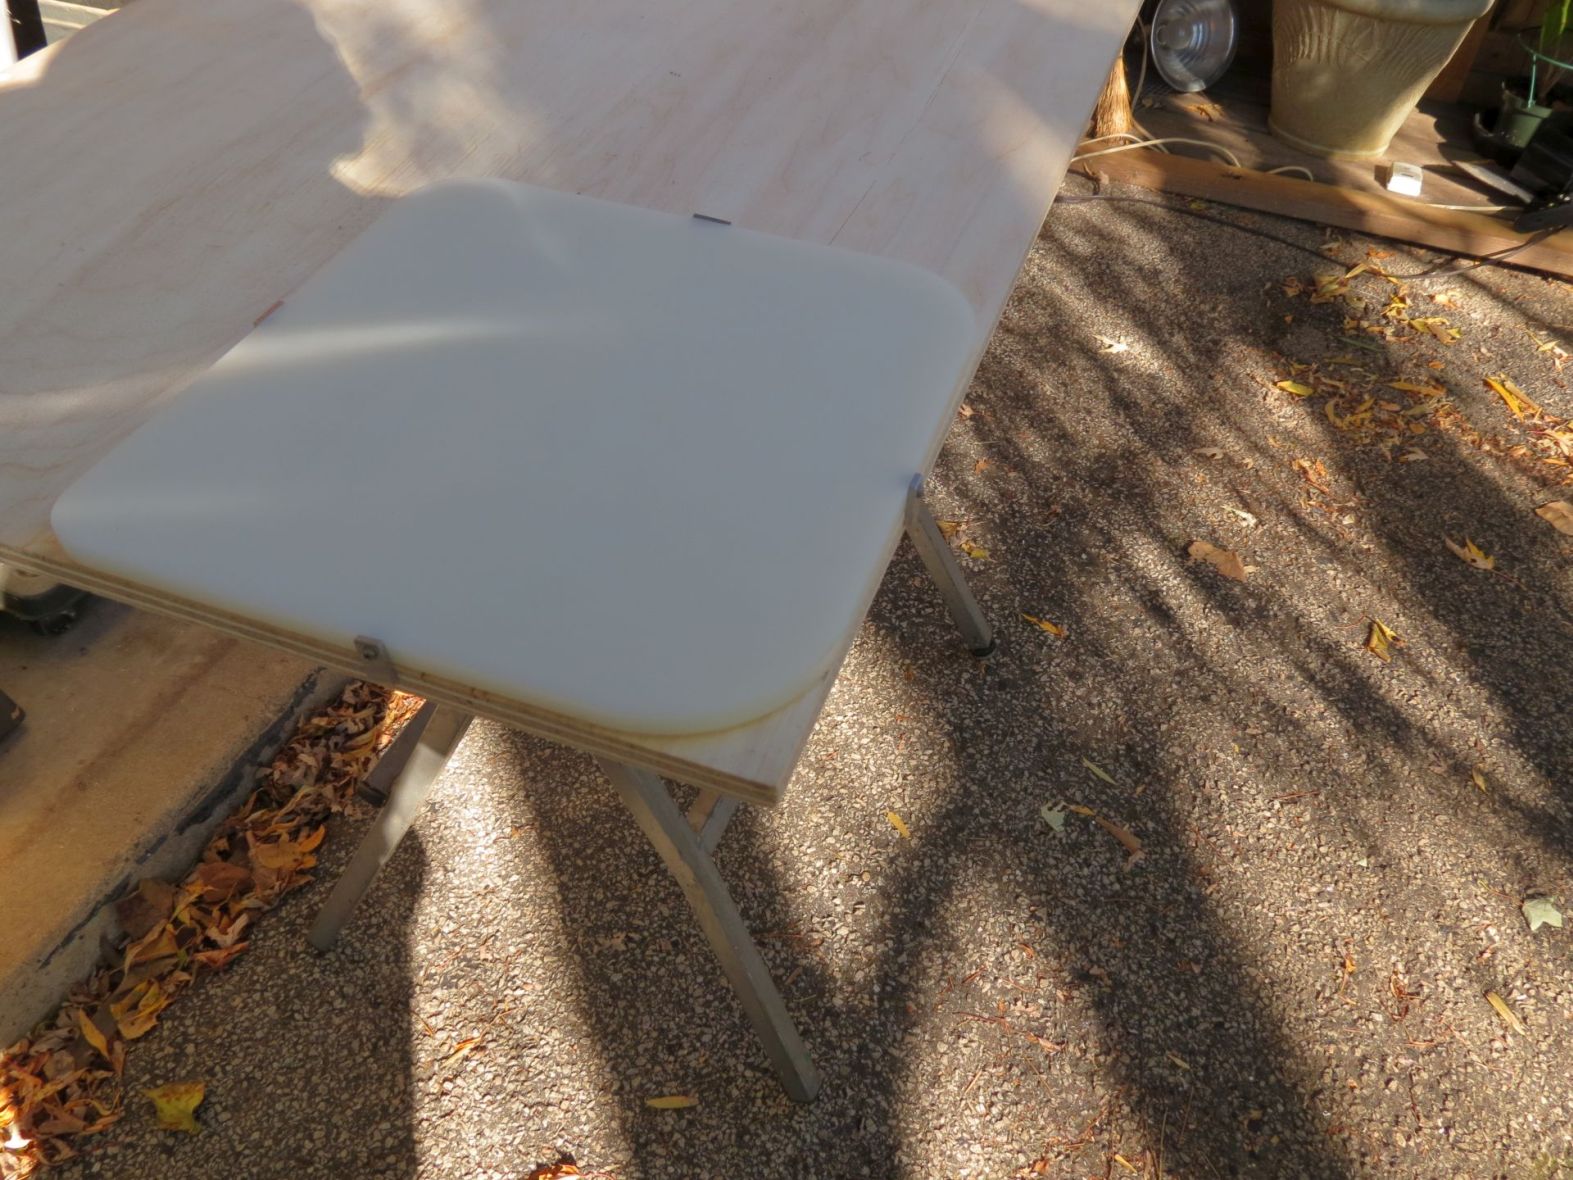
- IMG_3013sc.jpg (317.85 KiB) Viewed 14825 times
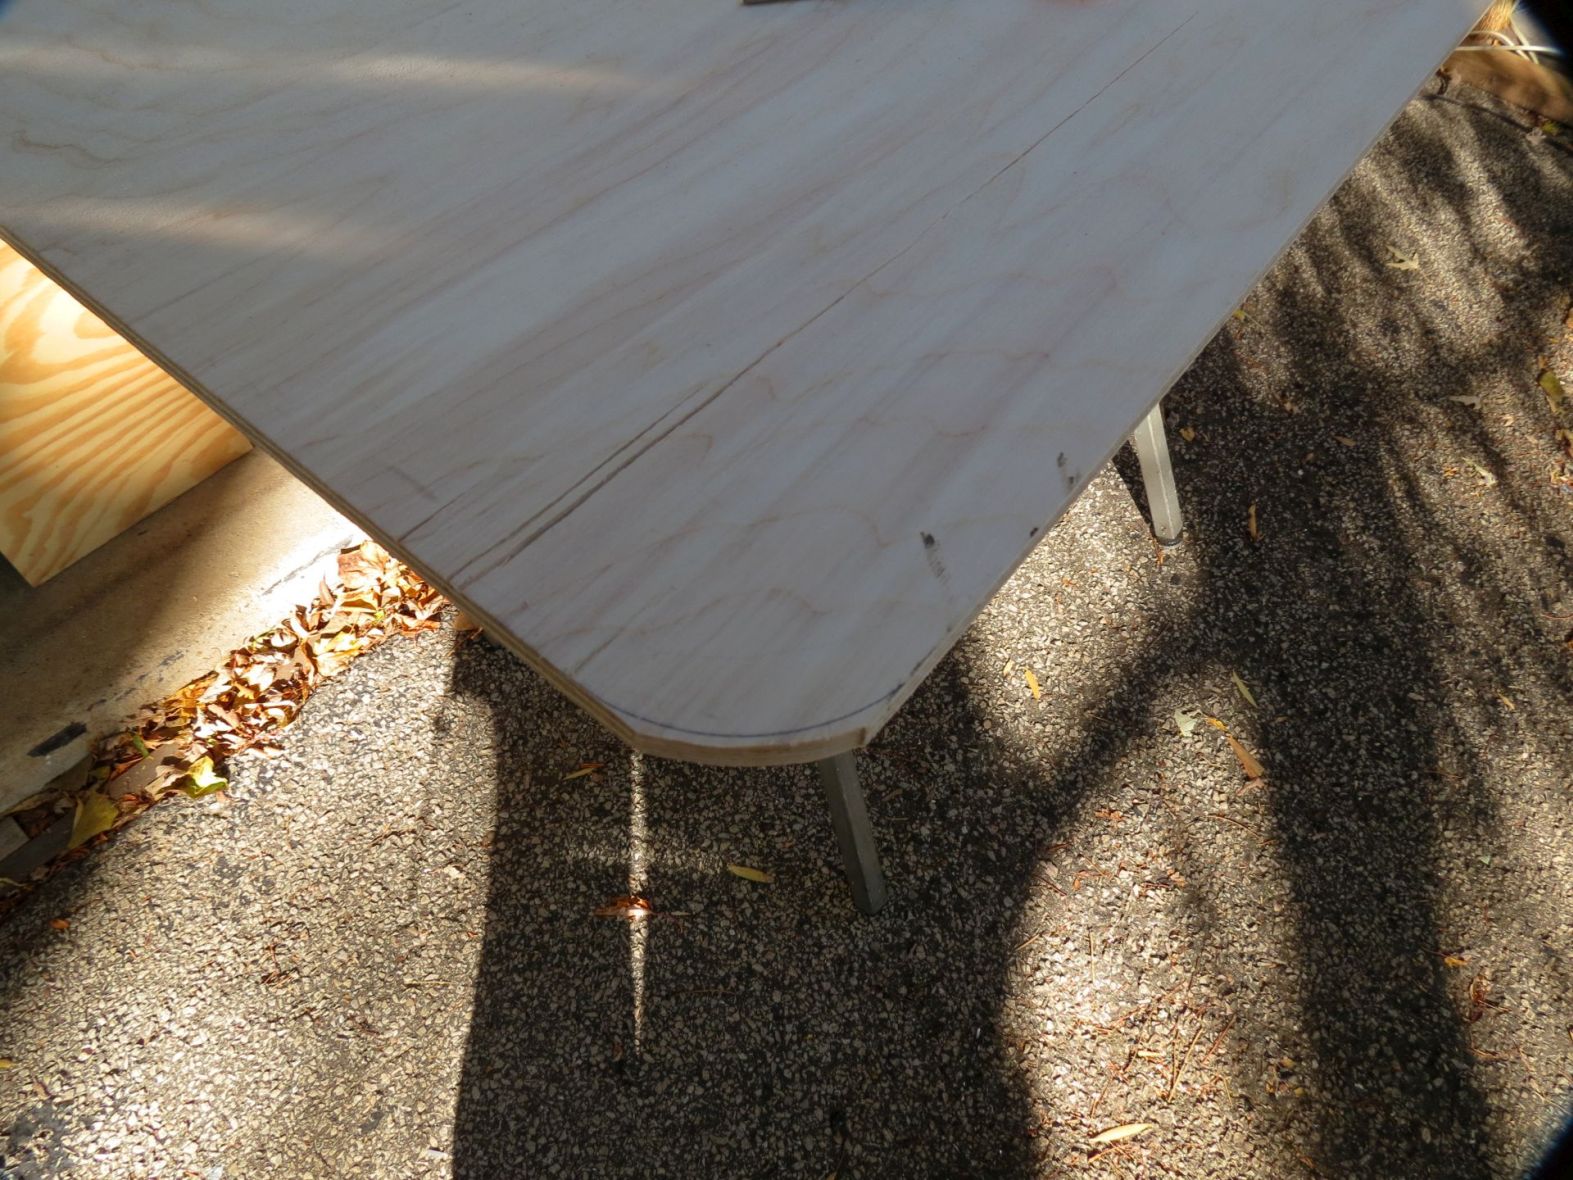
You can then mark the radius like I did here:
- IMG_3014sc.jpg (271.45 KiB) Viewed 14825 times
At this point you can cut the radius with say a scroll saw, coping saw, and well just about any tool can work even sanding. In this case I used a hand held jig saw to do a ruff cut. Since I had "other" plans for finishing the corner I didn't attempt to get very close to the line.
- IMG_3015sc.jpg (357.18 KiB) Viewed 14825 times
Next I attached a couple of pieces of double sided tape.
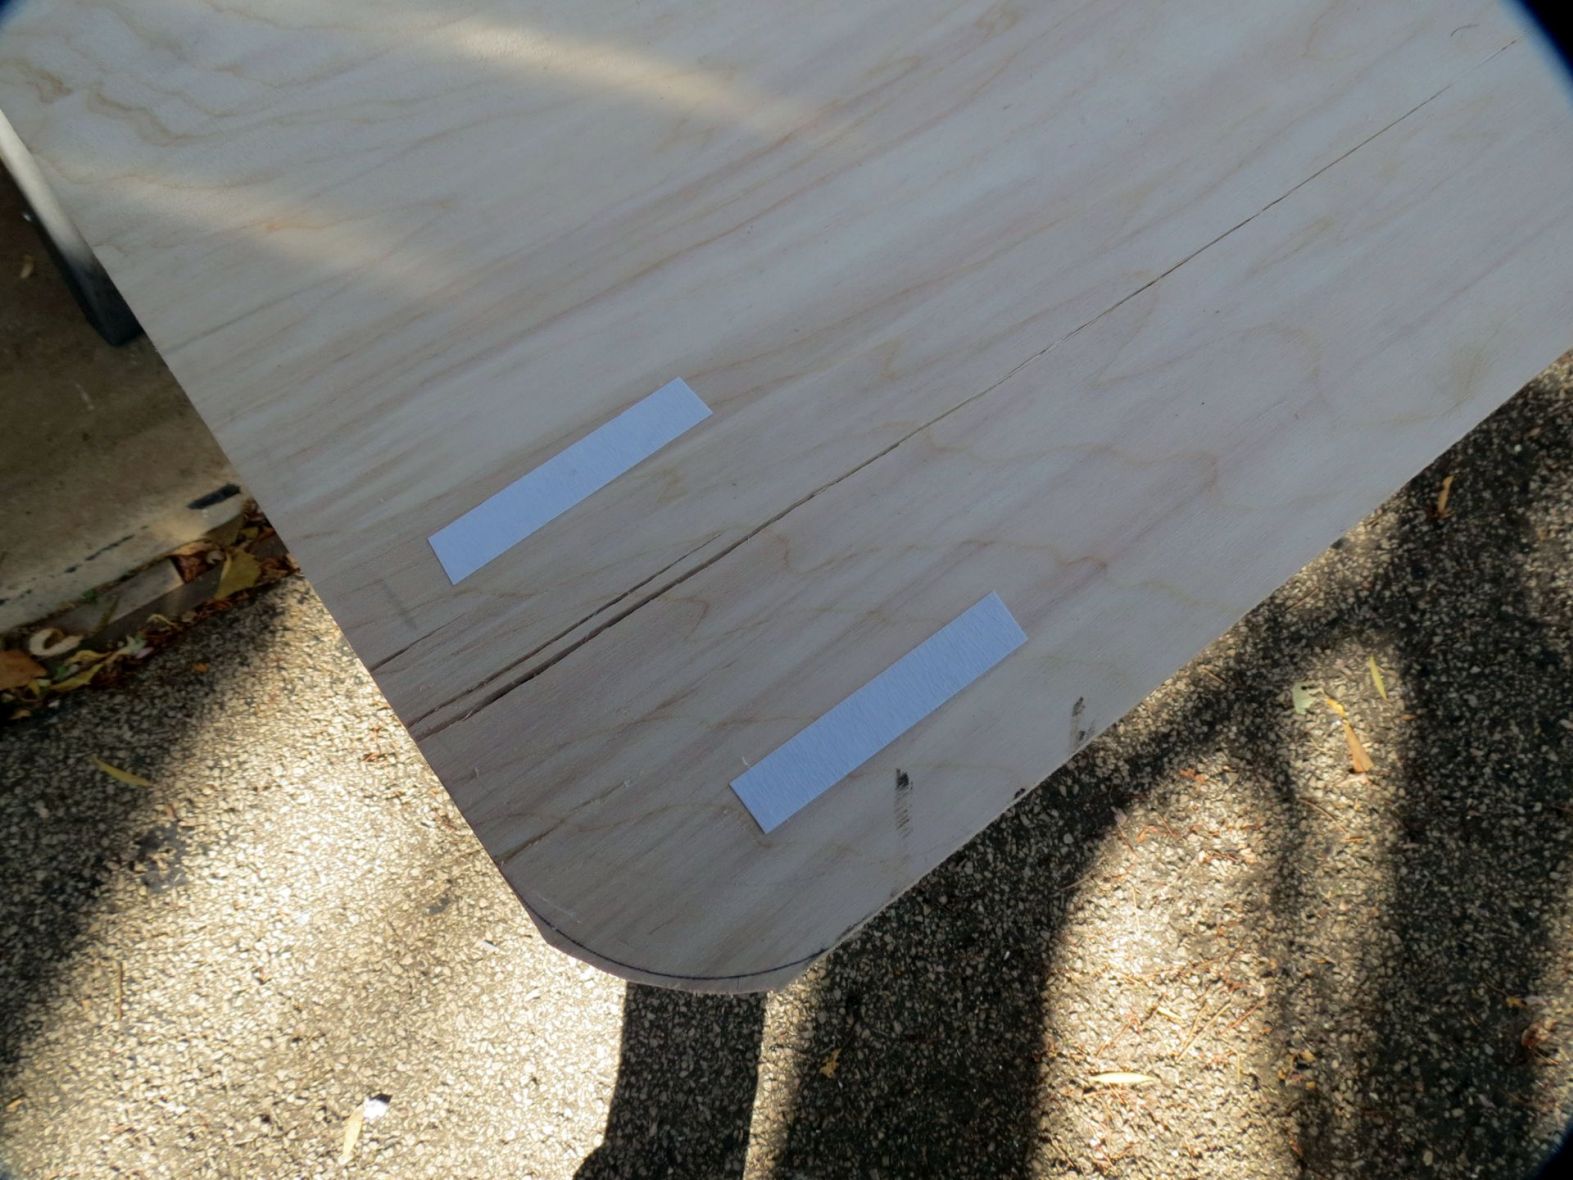
- IMG_3016sc.jpg (270.54 KiB) Viewed 14825 times
Now putting the template back in to position and having it held with the tape I'm ready to route the corner round and know it will have a nice smooth finish and professional look.
The router bit of choice is a pattern bit. Note the bearing that is the same size as the cutter mounted above the cutter. This bearing will ride on the template and the cutter is adjusted to cut the wood. Piece of cake to do.
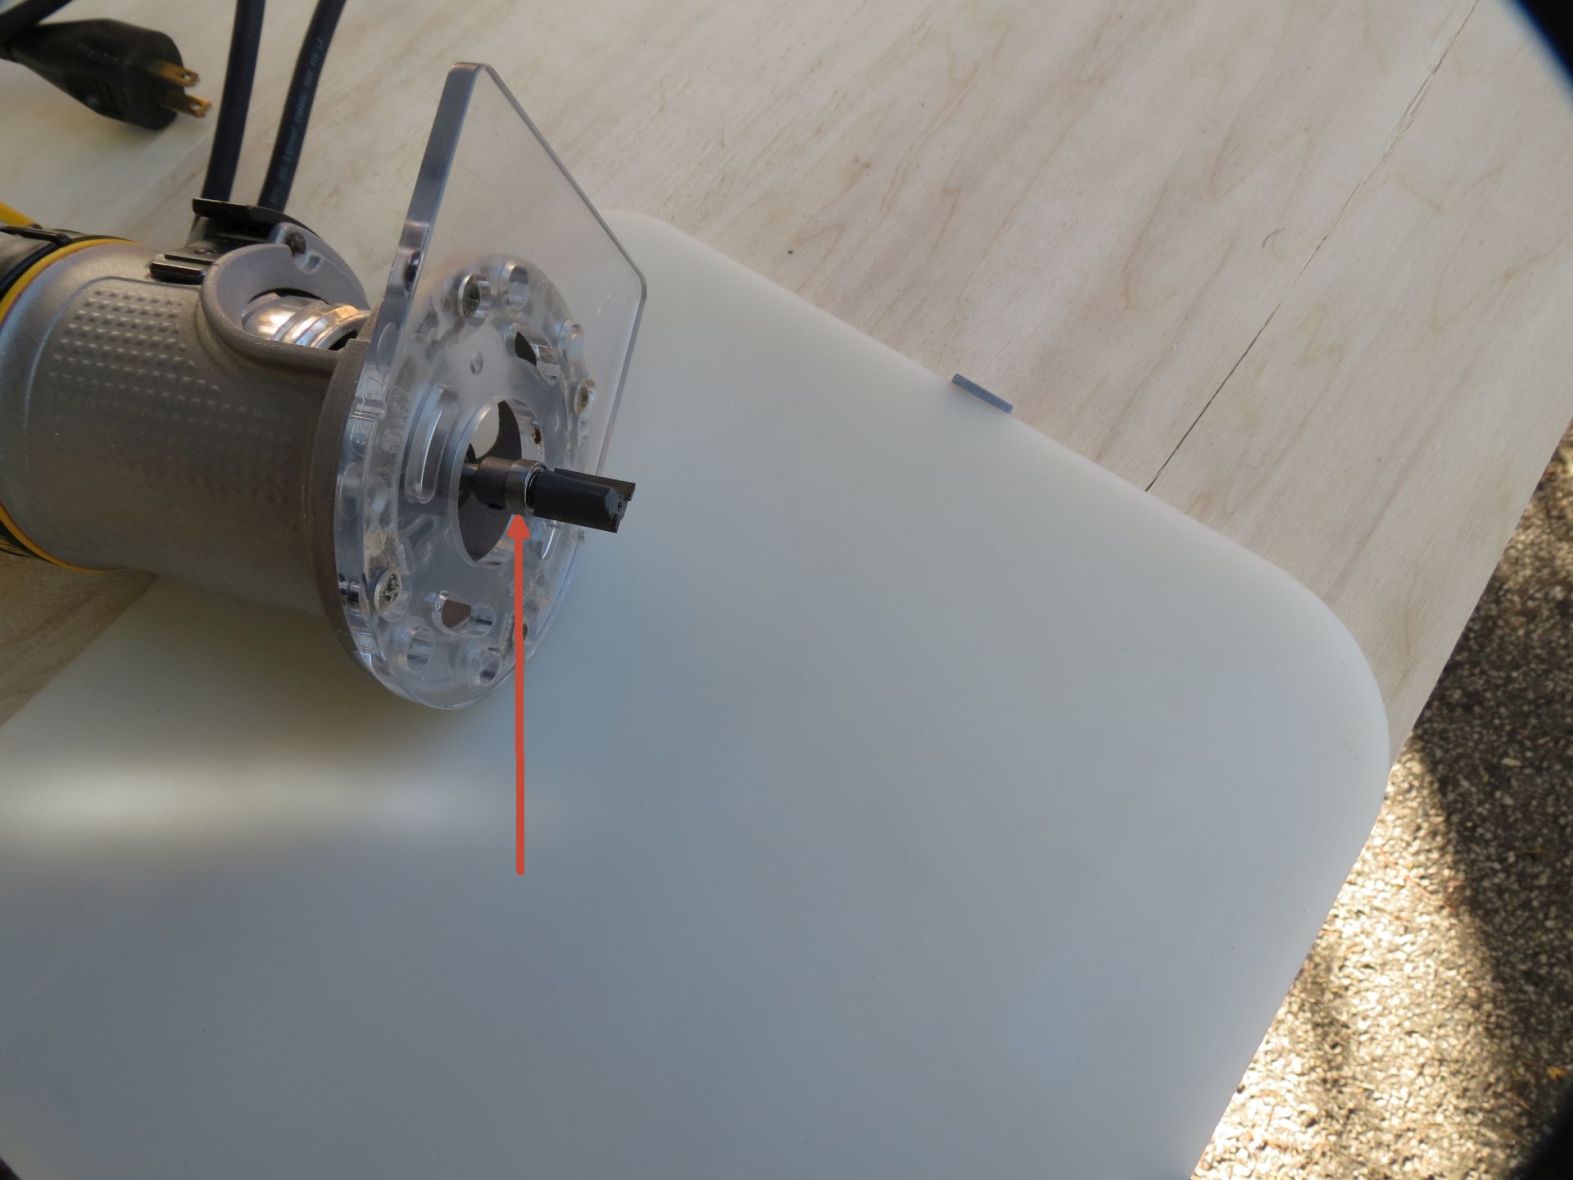
- IMG_3017sc.jpg (132.2 KiB) Viewed 14825 times
Results:

- IMG_3018sc.jpg (277.64 KiB) Viewed 14825 times
Light sanding and we are ready for paint.
If you have questions ask away.
Ed