Page 1 of 2
ER 10 Refurbish Part 4: Assembly
Posted: Tue Aug 30, 2011 7:02 pm
by Shop_Smith_Poppi
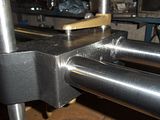
well I finally got the way tubes done and since the parts have been painted for over a month now I put what I have completed together. It is in my opinion starting to look good.
As you may recall I decided to paint my ER Black and Gold here is a few pics for my progress so far.
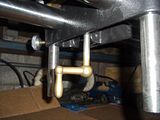
Its not very visible here but the handle is painted gold.
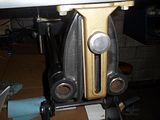
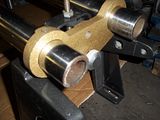
Actually I am thinking of switching the paint color of the Tail stock and the table bracket.
Posted: Tue Aug 30, 2011 7:06 pm
by Shop_Smith_Poppi
Posted: Tue Aug 30, 2011 8:15 pm
by JPG
Nice pix! Why 120x160??? 800 x 600 are much more easier to 'see'.

Posted: Tue Aug 30, 2011 9:24 pm
by iaokie
Looking good Poppi
Posted: Tue Aug 30, 2011 9:46 pm
by Shop_Smith_Poppi
JPG40504 wrote:Nice pix! Why 120x160??? 800 x 600 are much more easier to 'see'.
Because I am not smart enoough to fix it or how to figure out how to make all my pic 800 x 600.
I wish I knew how because I have about 6 - 10 thousand pics on this laptop I would like to get formatted to the proper size. I also wish I could make my camera format them automatically but have yet to find the setting for it.
but if you click on them they get bigger! which equals more better!
Posted: Tue Aug 30, 2011 9:59 pm
by Shop_Smith_Poppi
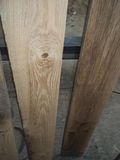
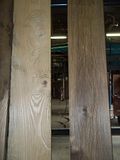
I did manage to make some sawdust today!
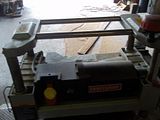
Here is what we started planing these boards are going to be for my work bench under my ER.
I'm going to make two drawers to hold my extra parts and supplies. I am also looking for some 6x6 pine untreated but that is not easy to find these days.
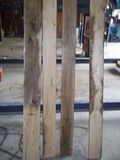
we stooped here because we had no ear protection and our ears were ringing something fierce by this time. these are some rough cut boards my friend Jim was given by his daughter's Father-in-Law. He has a really nice band saw mill. Were thinking its two or three types of wood at this point.
Starting to see some really nice figure in this board!
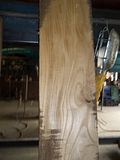
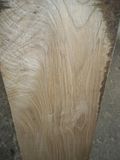
Posted: Tue Aug 30, 2011 10:03 pm
by Shop_Smith_Poppi
Im thinking these boards might be oak and walnut. I have been away from wood working for too long so I am not sure what type of wood I have here.
Posted: Tue Aug 30, 2011 10:05 pm
by Shop_Smith_Poppi
Posted: Tue Aug 30, 2011 10:19 pm
by JPG
Shop_Smith_Poppi wrote:Because I am not smart enoough to fix it or how to figure out how to make all my pic 800 x 600.
I wish I knew how because I have about 6 - 10 thousand pics on this laptop I would like to get formatted to the proper size. I also wish I could make my camera format them automatically but have yet to find the setting for it.
but if you click on them they get bigger! which equals more better!
Download 'Irfanview' a freebie! Quite powerful especially considering the 'cost'.
http://www.irfanview.com/
If your camera is storing them at that small size, it is functioning as a 0.0192 mega pixel camera. It has got to have a higher resolution.
Getting bigger on the computer quickly exposes the limited resolution.
If you need help, start by telling us how you are uploading from the camera to the computer.
Posted: Tue Aug 30, 2011 10:42 pm
by JPG
Your 'uploaded' pix are 1024 x 768.
Converted to 800 x 600 looks like
[ATTACH]14256[/ATTACH]
BTW You started with a very sick 10ER. Your 'doctoring' is causing a miraculous resurrection!!
Great job you be doing!!!!

 Its not very visible here but the handle is painted gold.
 Actually I am thinking of switching the paint color of the Tail stock and the table bracket.


