Taking a break from sanding the interior, I want to make my canoe decks so the grain lines converge. The technique explained in one of my canoe books is to cut a rectangular piece of wood along the diagonal between opposite corners, which gives two right triangles. One triangle is flipped and rotated and then the two triangles are then joined along their hypotenuses.
I decided to experiment with some oak I had laying around (the real decks ultimately will be made of sapele). I started with a board 12 x 4 x 3/4. I drew the diagonal and then cut it free hand on the band saw.
Here's the result. The grain lines do converge. The bottom will be cut in a semi-circle, which is marked very roughly with pencil.
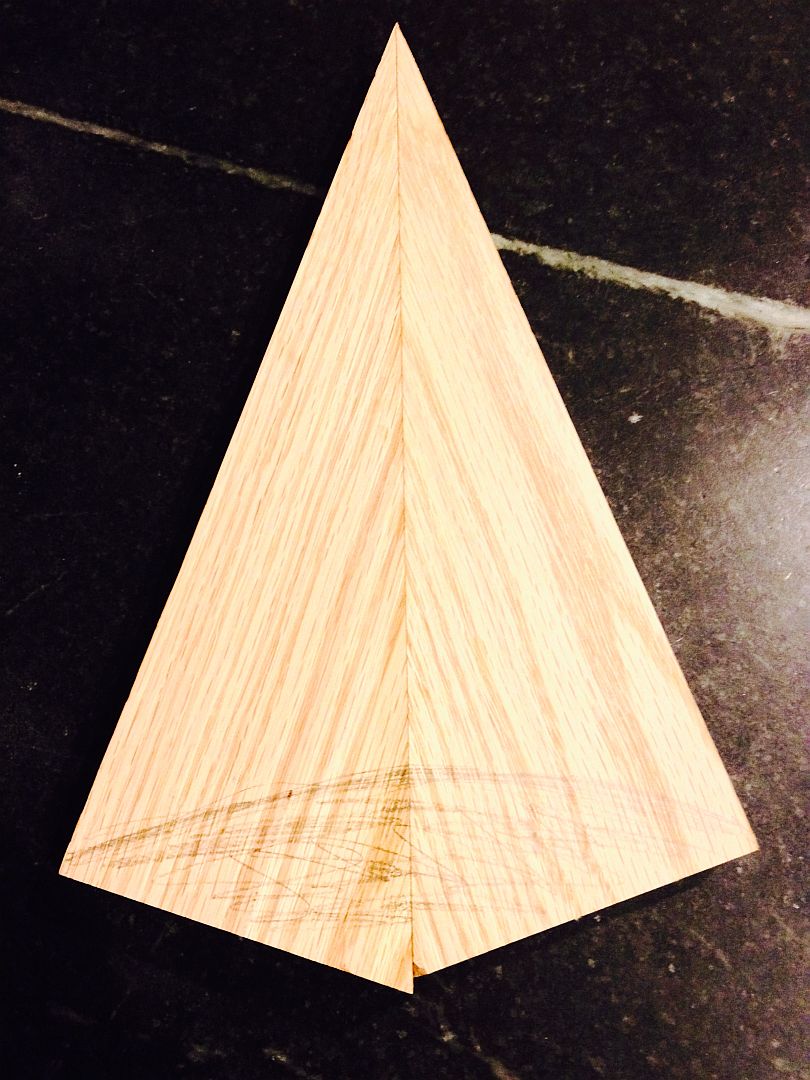
- FullSizeRender(3).jpg (137.94 KiB) Viewed 6623 times
Now, to complicate matters, I wanted to put a slight crown or camber on the deck. To do this, I decided to put a slight angle on the hypotenuses. I decided to put a 5 degree angle on each side.
Here's the result.
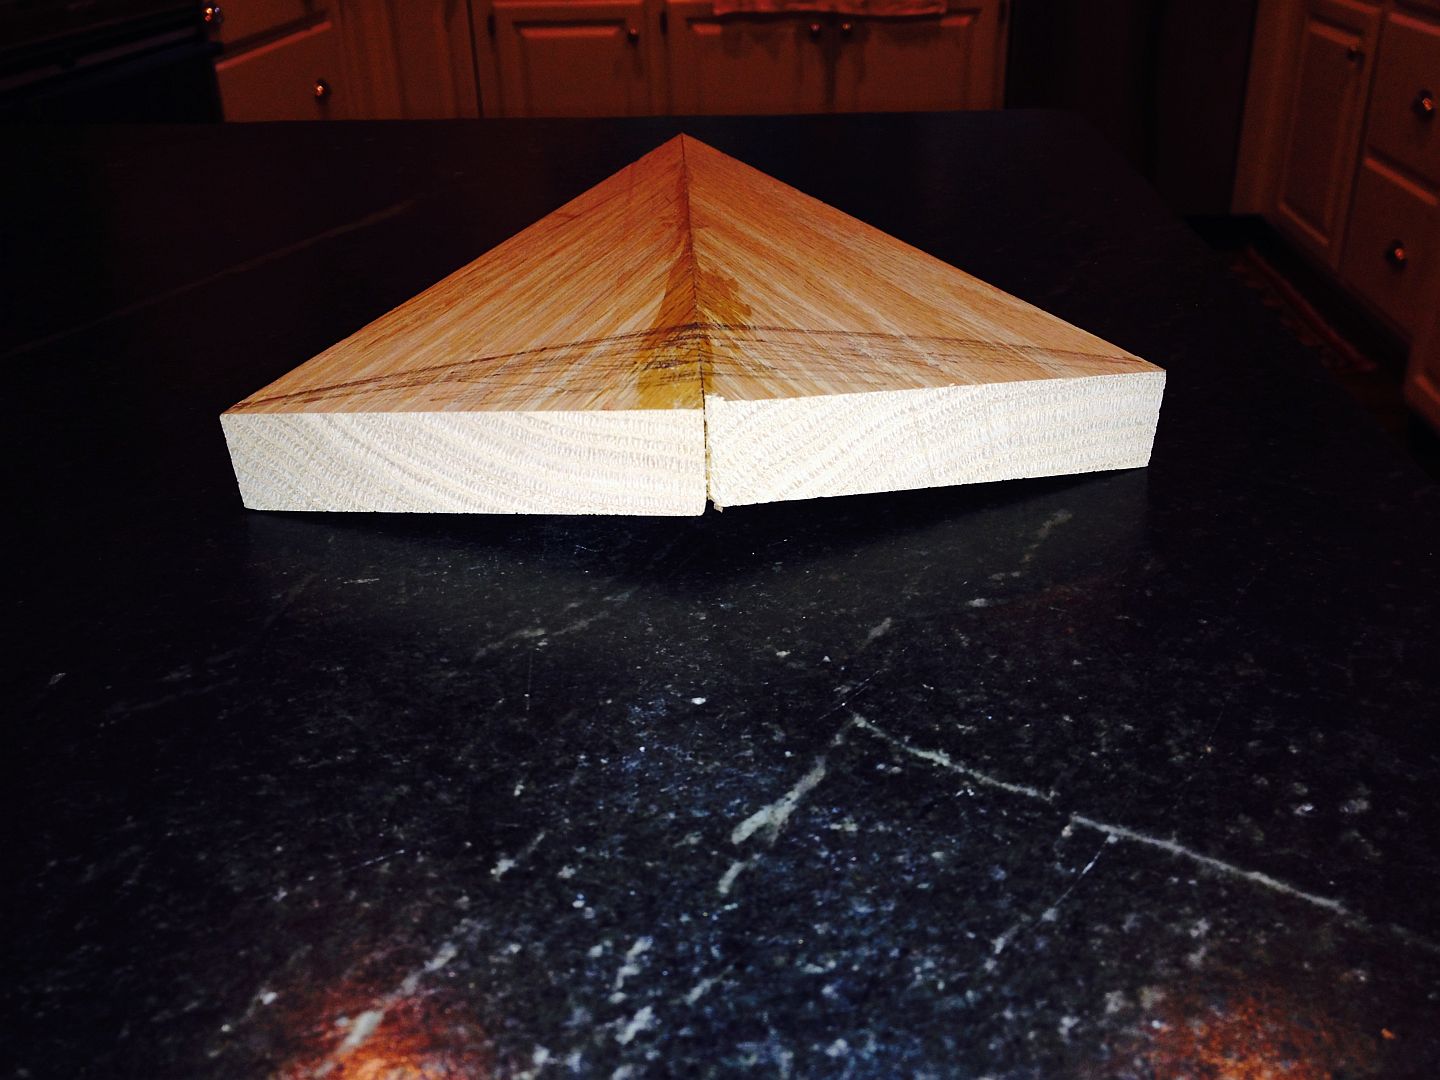
- FullSizeRender(7).jpg (172.21 KiB) Viewed 6623 times
And a view standing on edge to better show the angle between the two triangles.
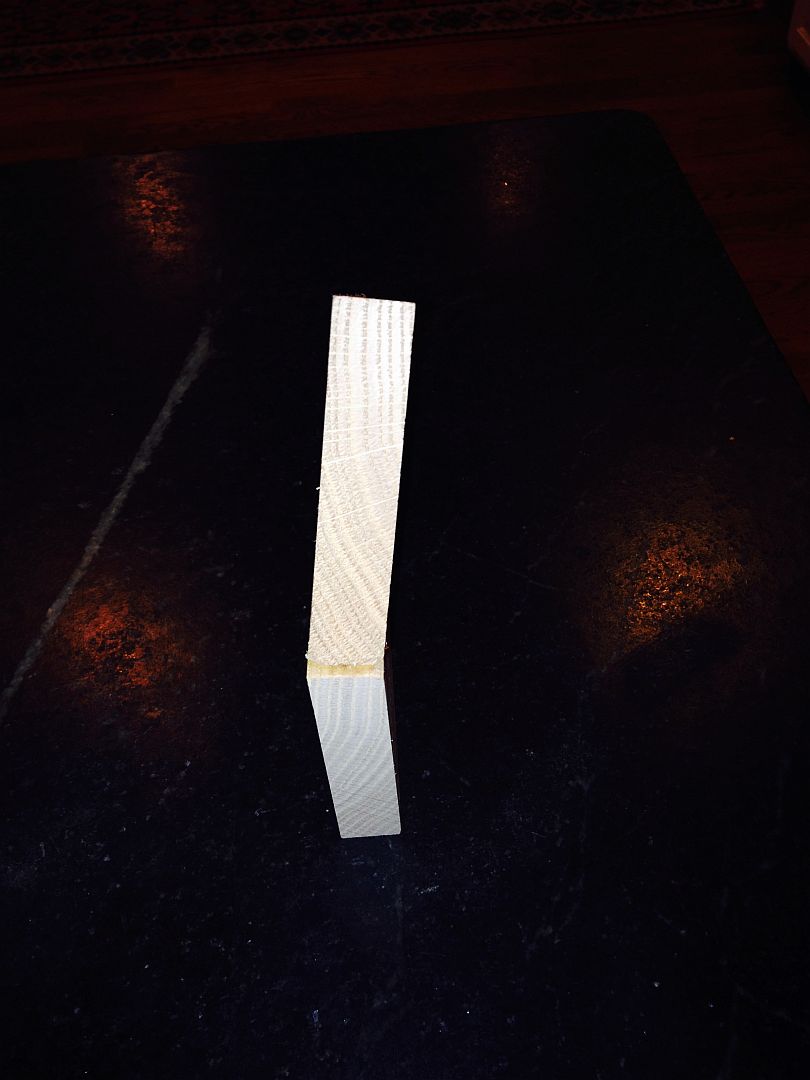
- FullSizeRender(2).jpg (60.93 KiB) Viewed 6623 times
I spent a lot of time thinking how I could use the Shopsmith to cut those angles along the hypotenuses of the triangles. No obvious solution presented itself to my feeble mind. Ultimately I gave up and used my jointer. I set the jointer fence to 85 degrees put the hypotenuse down, registered the face of the triangle to the fence and fed one triangle point first and the other base first so the angles would be in opposite directions. It worked, but I am interested how others would accomplish this on the Shopsmith.
Another question: When I do the real decks in sapele I will join the two halves with epoxy mixed with cotton fibers, which is a standard way of gluing assemblies used in boat building. I think this glue will be strong enough on its own since this is long grain to long grain and the epoxy/fibers make a super strong water proof glue. But I could also add a spline. I think the spline would be overkill but I am soliciting opinions.