With the bit height set it was time to bring in the fence and get it adjusted.
I can get pretty close with a visual sighting but then you need to do the final adjustment based on some test cuts.
You are better off with this problem as you still have material to be removed and nothing is wrecked but it is not cut well enough so the fence needs to be moved to expose more cutter.
What you don't want to do is this:
In this case you have removed way too much and had this been a real work piece it would now be scrap.
You don't want to remove any of the width of the work piece so once it looks good enough leave it be.
The first task is to cut the fronts of all of the pieces while they are together. One pass is all that is needed.
More to come.
Ed
Today in the shop (replaceable insert ZCI)
Moderator: admin
Re: Today in the shop (replaceable insert ZCI)
{Knight of the Shopsmith} [Hero's don't wear capes, they wear dog tags]
Re: Today in the shop (replaceable insert ZCI)
Time to rip out the nine pieces. I had figured this to leave about an inch of scrap when the cutting was done and it worked out fine. This cut is critical and you must do what ever you do to get it the right width, in my case 1-3/8".
While you are at it make sure you cut a pattern part. I used a scrap of pine that was 3/4" thick but most anything would work. Also put a label on it as this can be used in the future when you make more inserts.
Next I got out the double sided tape.
Then you need to orientate (based on the edge already routed as the front) and stick the blanks on the pattern. I went with one on both sides so I could do two of them at a time by flipping it over.
As you cut them they will look like this:
Just this minor amount of routing produces plenty of dust so wear a dust mask.
So that is today's effort.
Ed
While you are at it make sure you cut a pattern part. I used a scrap of pine that was 3/4" thick but most anything would work. Also put a label on it as this can be used in the future when you make more inserts.
Next I got out the double sided tape.
Then you need to orientate (based on the edge already routed as the front) and stick the blanks on the pattern. I went with one on both sides so I could do two of them at a time by flipping it over.
As you cut them they will look like this:
Just this minor amount of routing produces plenty of dust so wear a dust mask.
So that is today's effort.
Ed
{Knight of the Shopsmith} [Hero's don't wear capes, they wear dog tags]
Re: Today in the shop (replaceable insert ZCI)
Had a few minutes left over to work on the template for routing the shopsmith like cut out in the insert, thanks to Ed's dimensions it should be pretty close.
I shot just a few pictures to prove it happened.
Remember when I made this jig? Sure glad I made it as it works great for this sort of project.
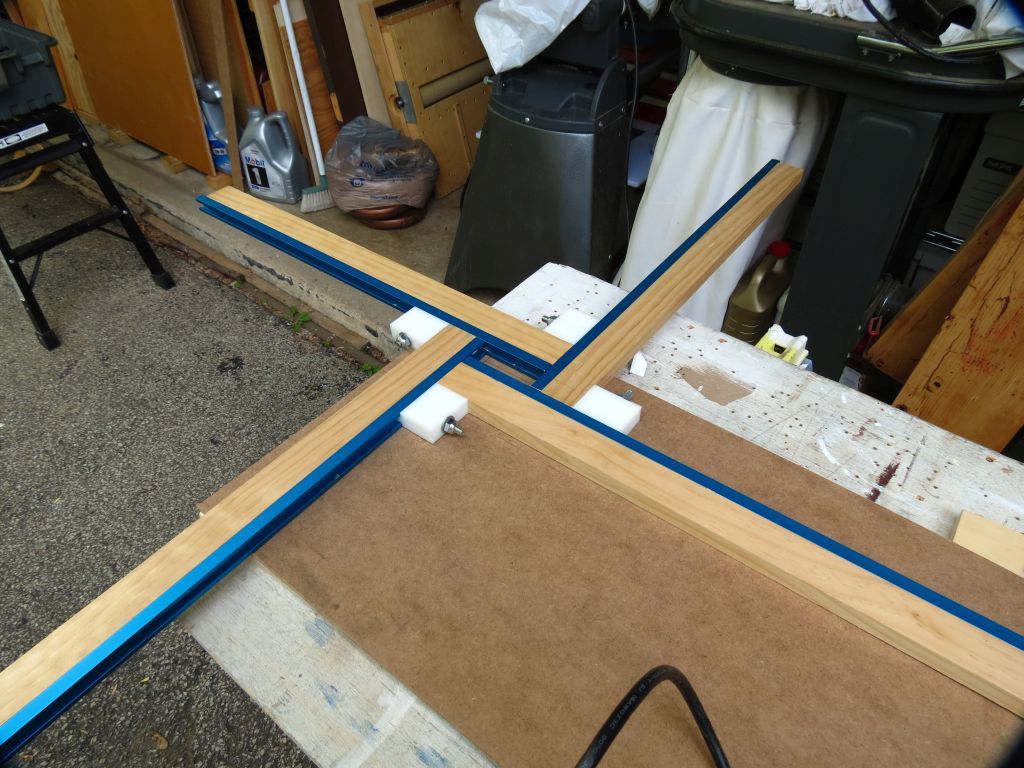
Offset was for a 1/4" bit and 1/2" bushing and using the measurements from a previous post.
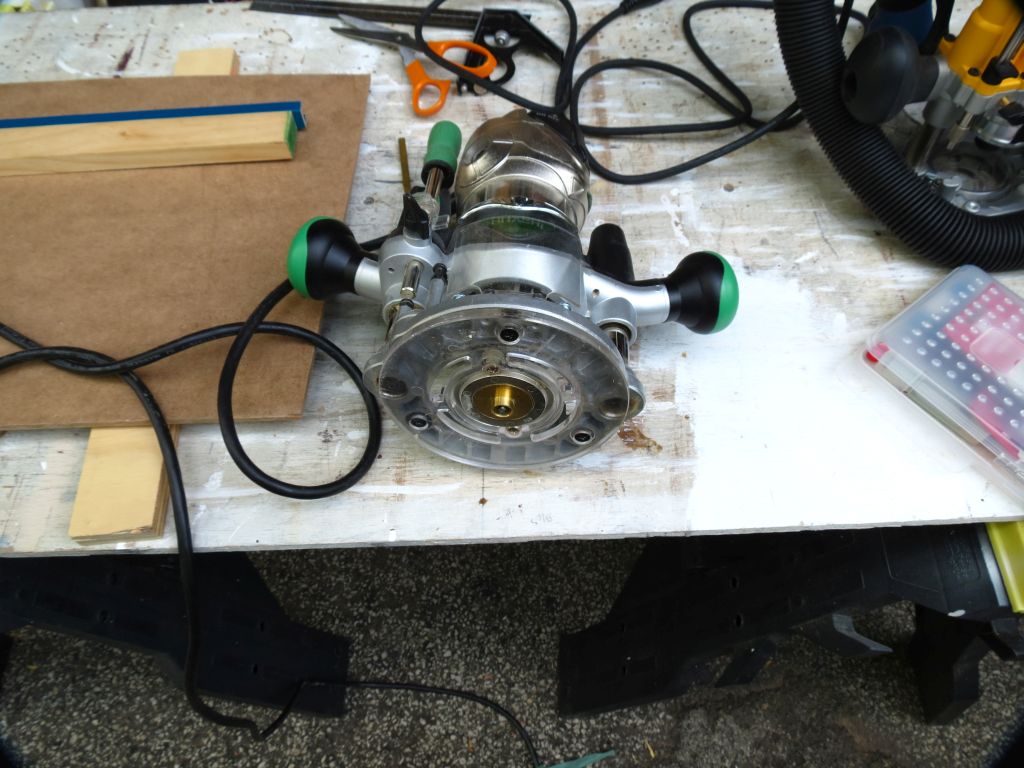
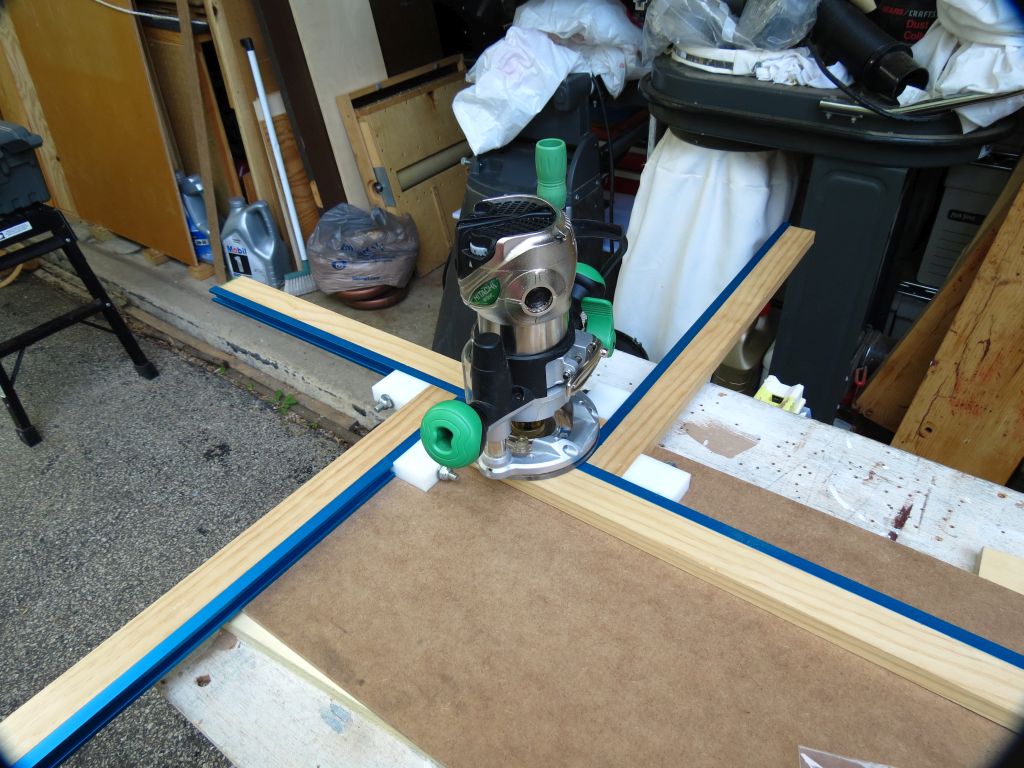
Here is the router with the 1/2" template bushing installed and ready to route.
This is a simulation of what happened so I can't show all the steps. I routed the long opening first then changed the set up and did the wider rectangle next. I used double side tape and had pencil lines drawn to show whet the jig needed to be.
The result here is what the template looks like to made the cut out in the insert so it will look bigger, when it is used the insert will be the correct size.
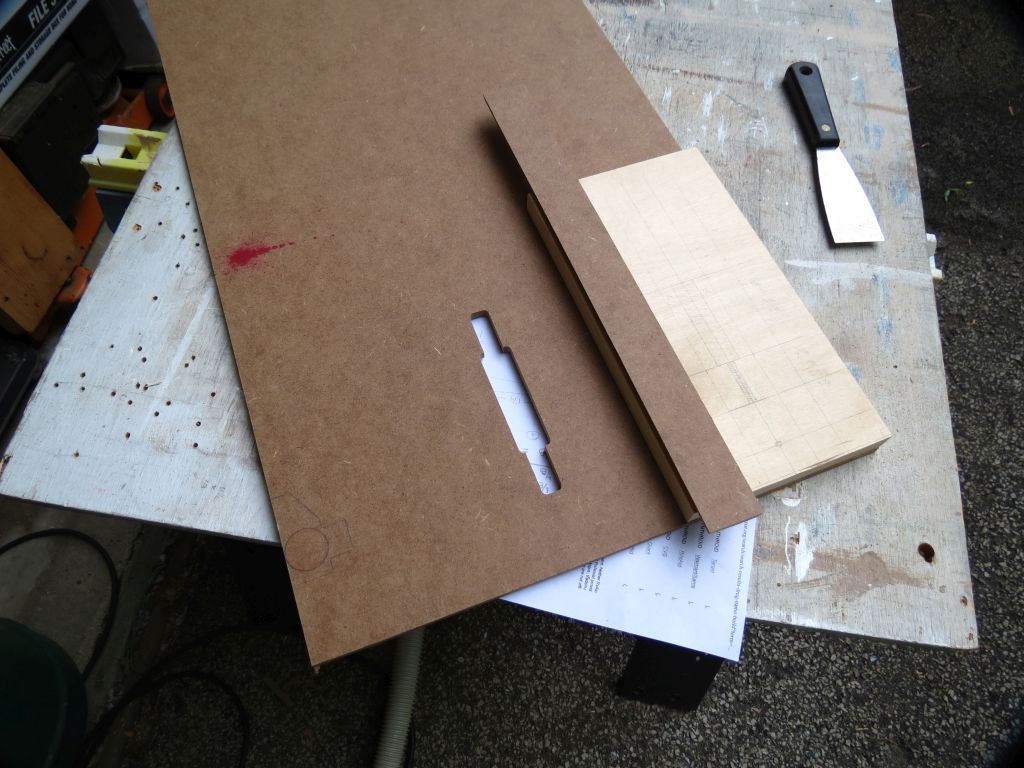
I ran out of time again. Next this has to be cut out and a fixture made to hold it and the insert so stay tuned.
Ed
I shot just a few pictures to prove it happened.
Remember when I made this jig? Sure glad I made it as it works great for this sort of project.
Offset was for a 1/4" bit and 1/2" bushing and using the measurements from a previous post.
Here is the router with the 1/2" template bushing installed and ready to route.
This is a simulation of what happened so I can't show all the steps. I routed the long opening first then changed the set up and did the wider rectangle next. I used double side tape and had pencil lines drawn to show whet the jig needed to be.
The result here is what the template looks like to made the cut out in the insert so it will look bigger, when it is used the insert will be the correct size.
I ran out of time again. Next this has to be cut out and a fixture made to hold it and the insert so stay tuned.
Ed
{Knight of the Shopsmith} [Hero's don't wear capes, they wear dog tags]