This thread is intended to show a method of reassembling the Carriage.
- BASE REASM HINGE OIL.jpg (266.89 KiB) Viewed 4552 times
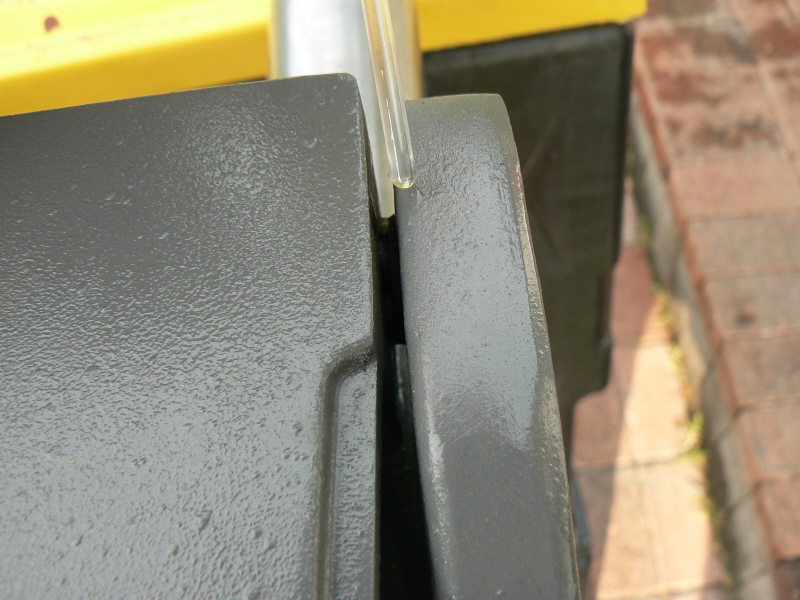
Before starting the carriage reassembly, I recommend ONE DROP of oil on each end of the hinge pin.

- BASE REASM C LOCK.jpg (498.98 KiB) Viewed 4553 times
This shows the Carriage Lock Shaft etc. You probably will not disassemble it either! If you do be careful with the SPRINGS which will be under tension(both taking apart and putting together). Dry lubricant is IMHO a good thing to use on the parts which rotate. It WILL be a saw dust collector!

- BASE REASM C LOCK IN.jpg (442.25 KiB) Viewed 4531 times
The assembly is simply inserted into one end and on through the holes in the other side. Make sure you start from the correct side! The correct side is the one with 'longer distance'. In the pix it is inserted into the left side. Notice the handle ends up on the left side. The 'other' end goes first.
This thread is one of several which illustrate a method for reassembling a Mark V. Please post a reply and inform me of any errors or confusion. They WILL be fixed!
This thread was linked to from
https://forum.shopsmith.com/viewtopic.php?t=3807