Today in the shop (a tale of two chucks)
Moderator: admin
Today in the shop (a tale of two chucks)
I had a small project I wanted to finish up today but I also wanted to do a short post about this thing I do. One of the things I got to do when I worked in a machine shop was to run a ganged drill press. The one I loved to work on had three drill presses that drilled a rail at both ends and a more centered hole. The drill presses would auto-feed so starting with a pilot hole size drill bit you would start one press then then next and then the next. By then the first drill had made the hole and returned to the upright position, they had a collet system so you popped out the first bit and popped in the hole size bit and started it again, by then the second drill press was done and you swapped bits and started it which then let you go to the third drill press.... well you get the idea, the third step was a ream and after the first and second presses had done the reaming you put in the pilot hole bits for the next part. Then you pulled and stacked the piece, clamped in a new piece and got the first two drill started and put in the pilot bit and got the third one going.
It made for a short night.
So by now you have this is not about two guys by the name of Chuck. But rather a discussion about using what you have with a shopsmith when you have multiple drill chucks. This is a pretty simple example but you should be able to extrapolate to some jobs you do or will do in the future.
Of course this is going to have some pictures so lets get started.
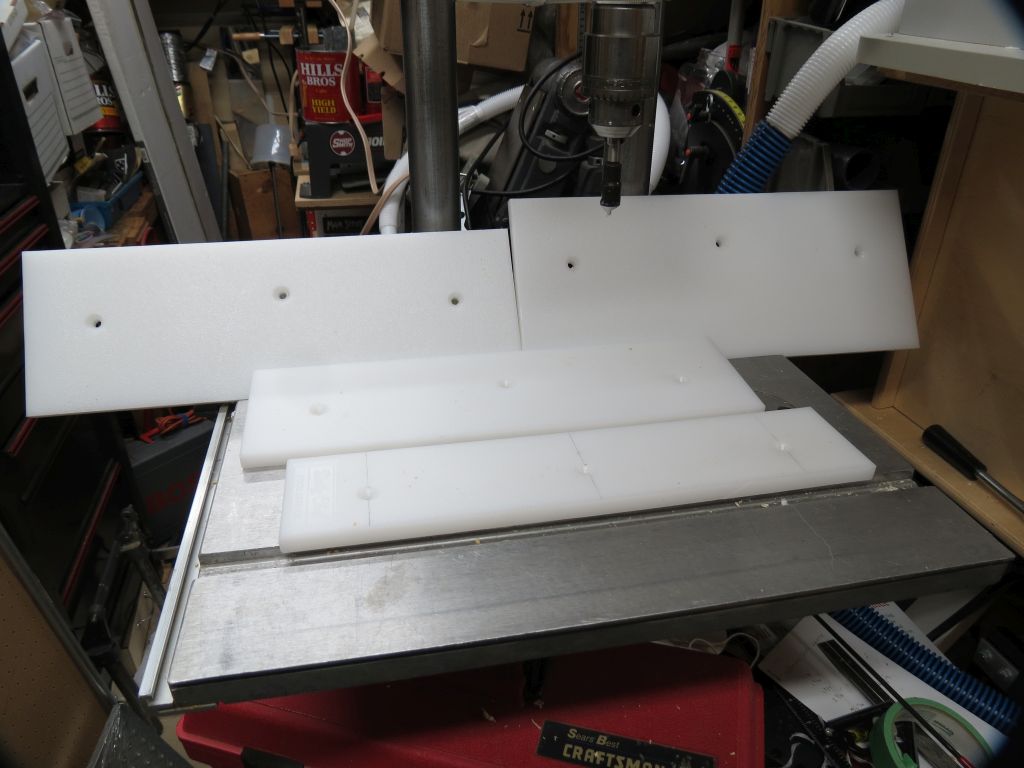
I have 4 pieces of plastic to be drilled and the holes need to be countersunk so the screw head is below the surface. Each piece has 3 holes and the locations are near the ends and in the center. The holes have two differing locations so it is really not a big deal but for purposes of this discussion it illiterates how this method works.
To start I mark one of the pieces so I know where the holes are going to be. I set the fence to control one dimension, which in this case is the importation one. I chuck up the drill.
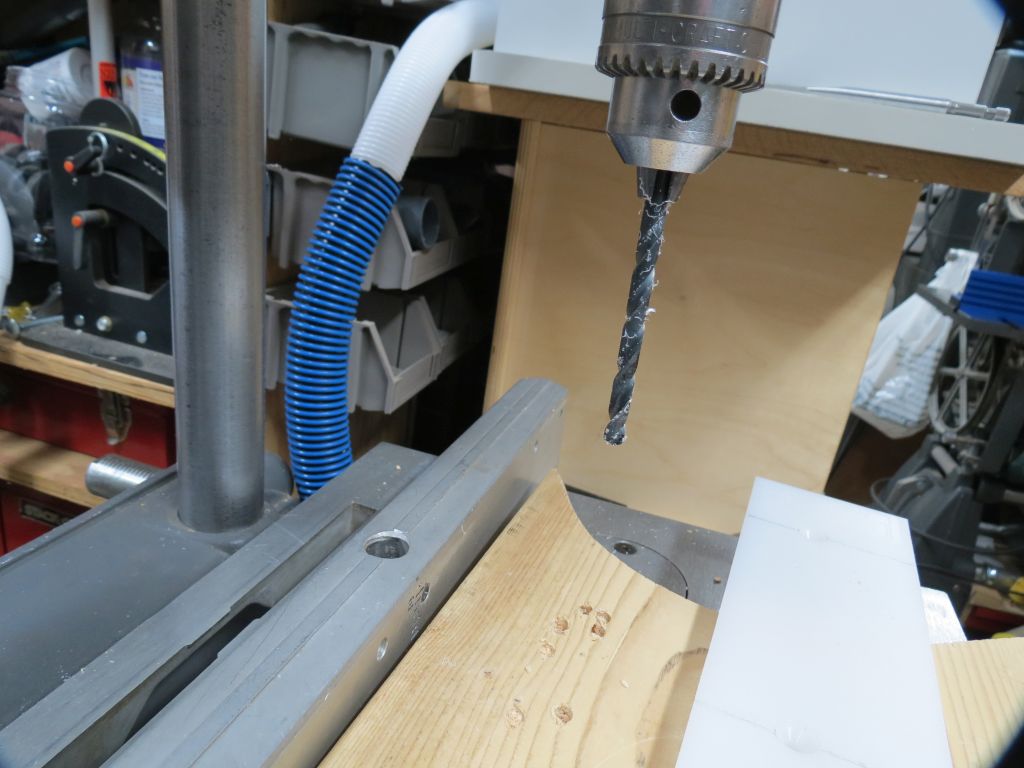
The first piece all of the holes are the same distance from the fence so I drill them.
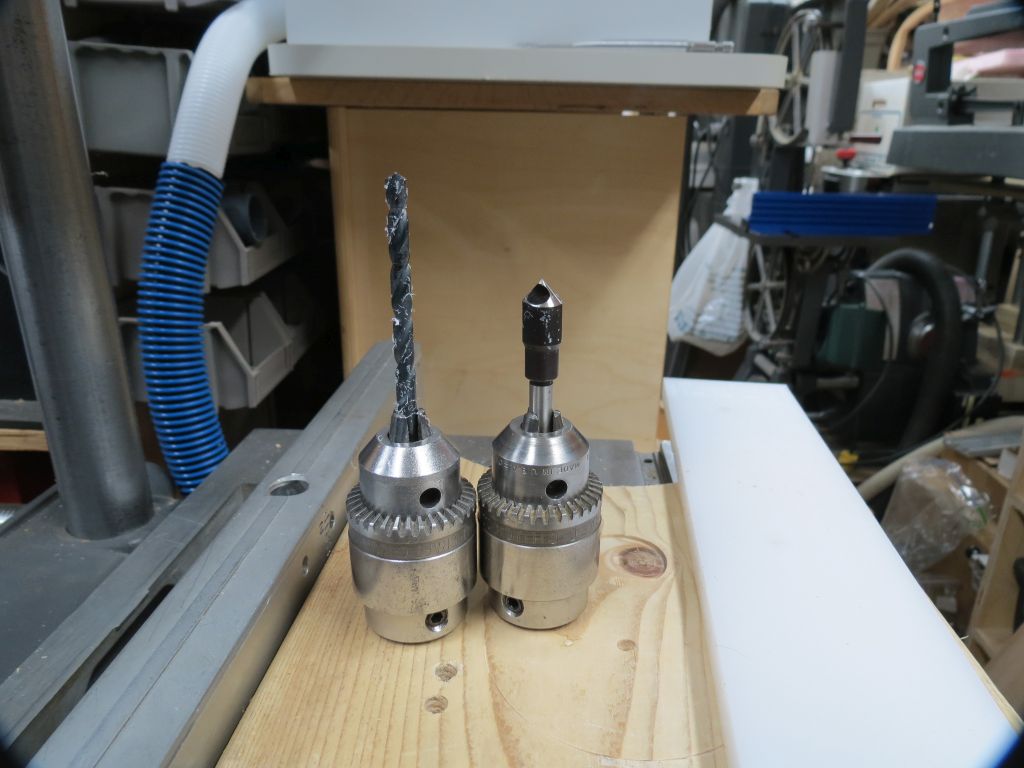
This is where the second chuck comes in to the picture. I mount a countersink in it. So one chuck has the bit the second has the countersink.
Then it is a mater of getting the countersink adjusted so it makes the hole the right depth.
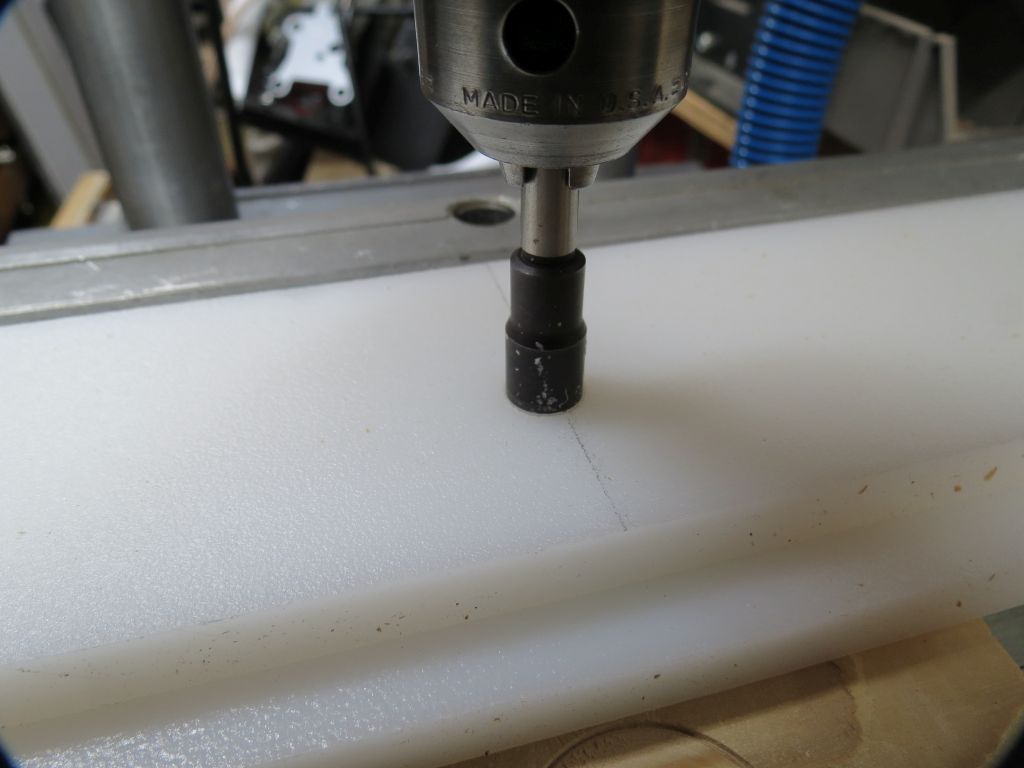
Now the the depth is adjusted and quill set up to drill all the holes the same depth I've established enough to counter sink the first three holes.
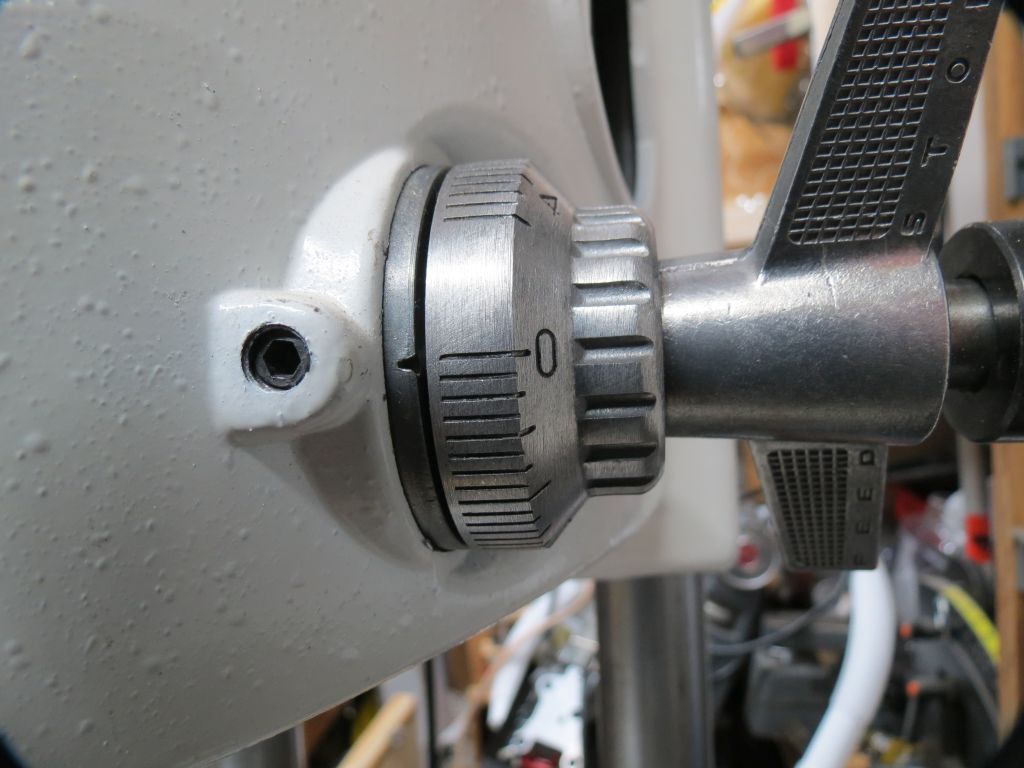
One down and three to go. The next three of these have the same spacing of the holes across the piece and the center hole is the same distance from the fence. So since the fence is at that location I drill that hole on all three of the pieces........ but wait I have to take the countersink chuck off and put the drill bit chuck back in. If I just took the drill bit out and put the countersink bit in and now had to change back I'd loose that depth setting...... so by changing chucks I don't loose the setting. Like I said this is a simple case but think about other times this would be useful, I know you can do it.
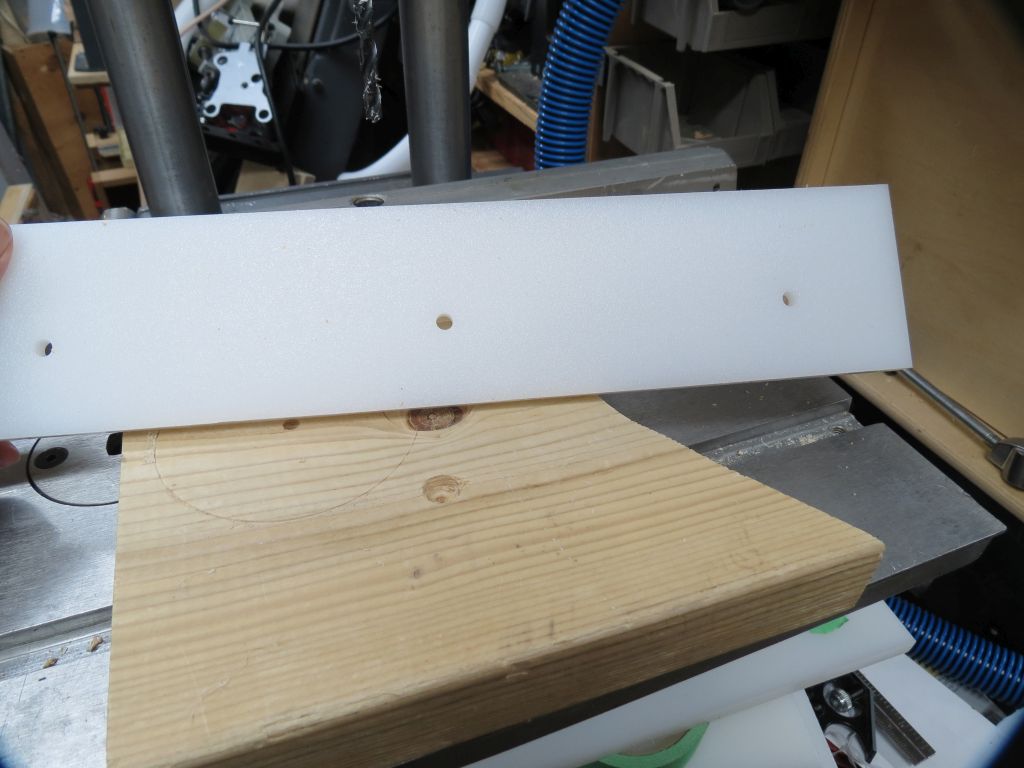
With the center holes drilled I can now drill the other holes. Moving the fence to the new location I'm ready to go but do I really want to mark the other pieces? No not really, but I can use the one part as a template for the others so by slipping this smaller countersink in the hole (it could be anything with a 1/4" shank) I can now use the one part as a template for the others and have the hole in the same locations without measuring or marking anything.
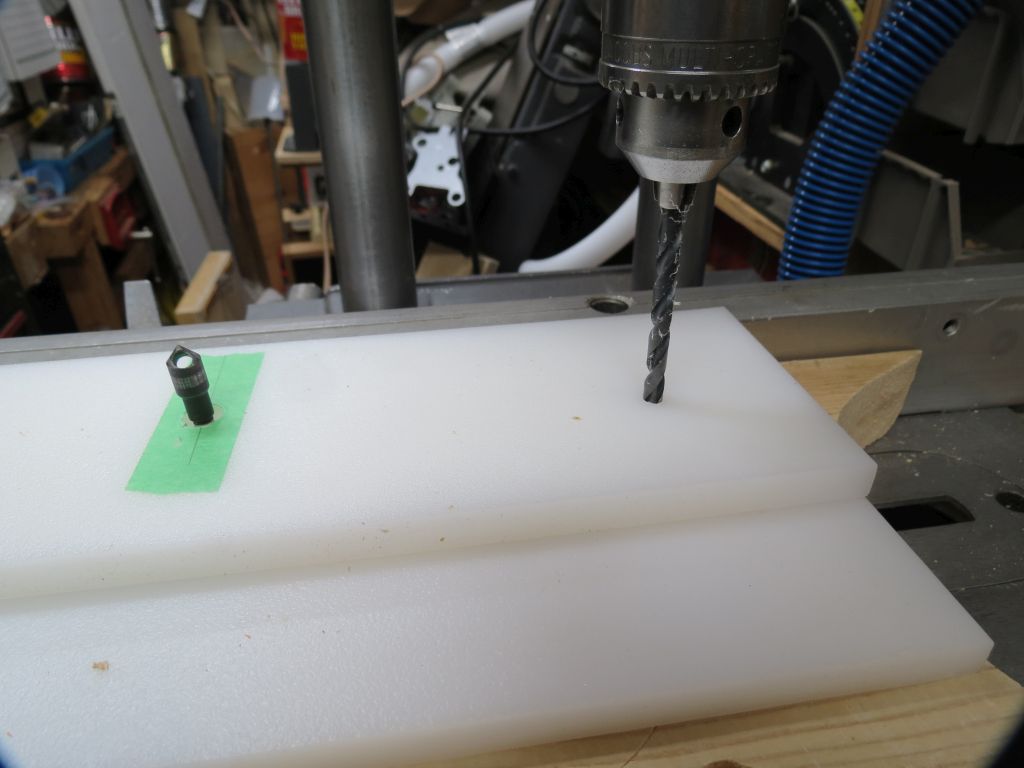
After drilling the holes I can switch back to the countersink and it is still correclly adjusted for the depth so away I go.
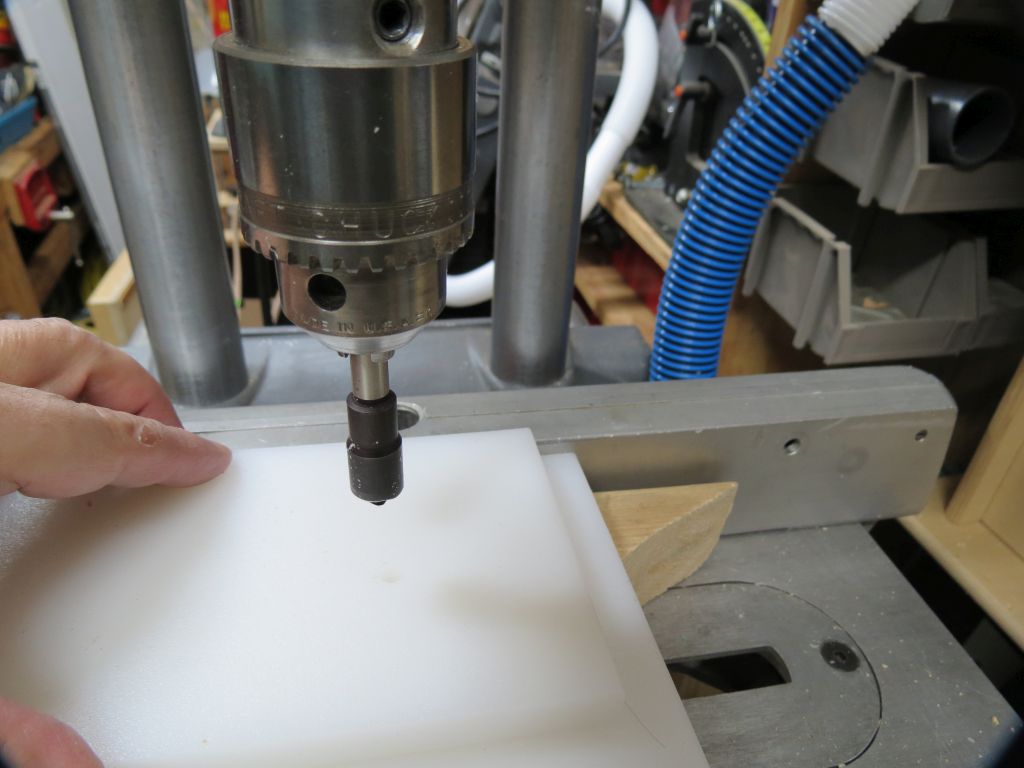
And that is how that project went.
Of course this only works so long as you don't move the table or headstock or change stock thickness.
I often do this with Forester bits used for counter boring a hole but I wasn't set up to do that today.
I hope this comes in handy for you someday.
Ed
It made for a short night.
So by now you have this is not about two guys by the name of Chuck. But rather a discussion about using what you have with a shopsmith when you have multiple drill chucks. This is a pretty simple example but you should be able to extrapolate to some jobs you do or will do in the future.
Of course this is going to have some pictures so lets get started.
I have 4 pieces of plastic to be drilled and the holes need to be countersunk so the screw head is below the surface. Each piece has 3 holes and the locations are near the ends and in the center. The holes have two differing locations so it is really not a big deal but for purposes of this discussion it illiterates how this method works.
To start I mark one of the pieces so I know where the holes are going to be. I set the fence to control one dimension, which in this case is the importation one. I chuck up the drill.
The first piece all of the holes are the same distance from the fence so I drill them.
This is where the second chuck comes in to the picture. I mount a countersink in it. So one chuck has the bit the second has the countersink.
Then it is a mater of getting the countersink adjusted so it makes the hole the right depth.
Now the the depth is adjusted and quill set up to drill all the holes the same depth I've established enough to counter sink the first three holes.
One down and three to go. The next three of these have the same spacing of the holes across the piece and the center hole is the same distance from the fence. So since the fence is at that location I drill that hole on all three of the pieces........ but wait I have to take the countersink chuck off and put the drill bit chuck back in. If I just took the drill bit out and put the countersink bit in and now had to change back I'd loose that depth setting...... so by changing chucks I don't loose the setting. Like I said this is a simple case but think about other times this would be useful, I know you can do it.
With the center holes drilled I can now drill the other holes. Moving the fence to the new location I'm ready to go but do I really want to mark the other pieces? No not really, but I can use the one part as a template for the others so by slipping this smaller countersink in the hole (it could be anything with a 1/4" shank) I can now use the one part as a template for the others and have the hole in the same locations without measuring or marking anything.
After drilling the holes I can switch back to the countersink and it is still correclly adjusted for the depth so away I go.
And that is how that project went.
Of course this only works so long as you don't move the table or headstock or change stock thickness.
I often do this with Forester bits used for counter boring a hole but I wasn't set up to do that today.
I hope this comes in handy for you someday.
Ed

{Knight of the Shopsmith} [Hero's don't wear capes, they wear dog tags]
- BuckeyeDennis
- Platinum Member
- Posts: 3815
- Joined: Tue Jul 24, 2012 10:03 pm
- Location: Central Ohio
Re: Today in the shop (a tale of two chucks)
Slick idea, Ed, thanks!
Both my 10's came with good chucks. And I thought I didn't really need them ...
- reubenjames
- Gold Member
- Posts: 335
- Joined: Tue Apr 30, 2013 10:20 am
- Location: Cedar Rapids, IA
Re: Today in the shop (a tale of two chucks)
This is good, thanks. I assume the depth setting for the countersink bit would have to be sufficient for your depth of cut on your pilot hole bit--i.e. maybe the need for a deeper pilot hole on thicker stock would still require fiddling with the depth? Not applicable to your situation, nor many others, but is there a way I'm not thinking of that would work in a situation like that, as well?
(Wonder if I have two chucks laying around....)
Re: Today in the shop (a tale of two chucks)
Hi,
Not sure of the question here. Perhaps if I add some additional information this will make sense.
This a per project type of thing. It is dependent on what you are trying to do so if I had a situation where I needed to drill a through hole and then counterbore for the flat head screw that I wanted below the surface I would then have to figure out how deep the hole needed to be. The one chuck would have the hole size bit and the second would hold the bit to do the counterbore. The depth of the counterbore needs to be controlled so just like the case where you change bits to do the job you have to set that depth and lock it. The next project is the next project and it might be the same but just as likely to be different.....
Where this comes in handy is when you have a fence set up and want to do the drilling and then countersink without moving the fence. Then for the next operation you move the fence for the new holes and want to finish with the countersink the depth is already established. Perhaps another fence movement and more drilling and again the depth of the countersink is still set.
Did I cover your question?
Ed
Not sure of the question here. Perhaps if I add some additional information this will make sense.
This a per project type of thing. It is dependent on what you are trying to do so if I had a situation where I needed to drill a through hole and then counterbore for the flat head screw that I wanted below the surface I would then have to figure out how deep the hole needed to be. The one chuck would have the hole size bit and the second would hold the bit to do the counterbore. The depth of the counterbore needs to be controlled so just like the case where you change bits to do the job you have to set that depth and lock it. The next project is the next project and it might be the same but just as likely to be different.....
Where this comes in handy is when you have a fence set up and want to do the drilling and then countersink without moving the fence. Then for the next operation you move the fence for the new holes and want to finish with the countersink the depth is already established. Perhaps another fence movement and more drilling and again the depth of the countersink is still set.
Did I cover your question?
Ed
reubenjames wrote:This is good, thanks. I assume the depth setting for the countersink bit would have to be sufficient for your depth of cut on your pilot hole bit--i.e. maybe the need for a deeper pilot hole on thicker stock would still require fiddling with the depth? Not applicable to your situation, nor many others, but is there a way I'm not thinking of that would work in a situation like that, as well?
(Wonder if I have two chucks laying around....)
{Knight of the Shopsmith} [Hero's don't wear capes, they wear dog tags]
- reubenjames
- Gold Member
- Posts: 335
- Joined: Tue Apr 30, 2013 10:20 am
- Location: Cedar Rapids, IA
Re: Today in the shop (a tale of two chucks)
Thanks, Ed--I did get the point of the post as intended, and I think I will find it quite useful in many projects.
I guess my question was setup for an imaginary situation, say like this:
I have to drill the three holes, same configuration as yours, only I'm using a pretty thick stock and need a through hole. So I need the travel on the quill to be X-inches. And I need to counterbore those, with my countersink bit in my second chuck, and that requires quill travel to be Y-inches for those. If X is greater than Y, this setup won't work, is that assumption correct? Or is there a trick with the quill stop that I'm not considering here that would work even in that situation?
Am I making sense yet?
I guess my question was setup for an imaginary situation, say like this:
I have to drill the three holes, same configuration as yours, only I'm using a pretty thick stock and need a through hole. So I need the travel on the quill to be X-inches. And I need to counterbore those, with my countersink bit in my second chuck, and that requires quill travel to be Y-inches for those. If X is greater than Y, this setup won't work, is that assumption correct? Or is there a trick with the quill stop that I'm not considering here that would work even in that situation?
Am I making sense yet?
Re: Today in the shop (a tale of two chucks)
OK I understand now and yes there are limitations and as you have indicted there may be operations that will not work this way. In most cases that I do the through hole I control by how deep I go. For this to work the depth stop has to be set at a point that does not hinder the depth you need to drill through. You have some control of this by the placement of the headstock/table.
I have found that for most but not all situations this can be accomplished by those simple adjustments but I have had at least one case where I had to employ an extension to get things to work out and at least once where I simply couldn't figure a way to do it...... A little playing with the idea will show you where it is practical to do and where it might be more work then it is worth.
I was going to show this method some years back but thing got to busy or whatever. I think this might have been the post I was going to add it to....
http://www.shopsmith.com/ss_forum/viewt ... 101#p27207
A few older posts on drilling that you might be interested in:
http://www.shopsmith.com/ss_forum/viewtopic.php?t=11614
http://www.shopsmith.com/ss_forum/gener ... 12661.html
http://www.shopsmith.com/ss_forum/gener ... 17544.html
http://www.shopsmith.com/ss_forum/gener ... 17133.html
There are more of those but even I don't recall them all anymore.
Ed
I have found that for most but not all situations this can be accomplished by those simple adjustments but I have had at least one case where I had to employ an extension to get things to work out and at least once where I simply couldn't figure a way to do it...... A little playing with the idea will show you where it is practical to do and where it might be more work then it is worth.
I was going to show this method some years back but thing got to busy or whatever. I think this might have been the post I was going to add it to....
http://www.shopsmith.com/ss_forum/viewt ... 101#p27207
A few older posts on drilling that you might be interested in:
http://www.shopsmith.com/ss_forum/viewtopic.php?t=11614
http://www.shopsmith.com/ss_forum/gener ... 12661.html
http://www.shopsmith.com/ss_forum/gener ... 17544.html
http://www.shopsmith.com/ss_forum/gener ... 17133.html
There are more of those but even I don't recall them all anymore.
Ed
reubenjames wrote:Thanks, Ed--I did get the point of the post as intended, and I think I will find it quite useful in many projects.
I guess my question was setup for an imaginary situation, say like this:
I have to drill the three holes, same configuration as yours, only I'm using a pretty thick stock and need a through hole. So I need the travel on the quill to be X-inches. And I need to counterbore those, with my countersink bit in my second chuck, and that requires quill travel to be Y-inches for those. If X is greater than Y, this setup won't work, is that assumption correct? Or is there a trick with the quill stop that I'm not considering here that would work even in that situation?
Am I making sense yet?
{Knight of the Shopsmith} [Hero's don't wear capes, they wear dog tags]
- reubenjames
- Gold Member
- Posts: 335
- Joined: Tue Apr 30, 2013 10:20 am
- Location: Cedar Rapids, IA
Re: Today in the shop (a tale of two chucks)
Thanks, Ed!
- JPG
- Platinum Member
- Posts: 35600
- Joined: Wed Dec 10, 2008 7:42 pm
- Location: Lexington, Ky (TAMECAT territory)
Re: Today in the shop (a tale of two chucks)
True, however there is work-around.reubenjames wrote:Thanks, Ed--I did get the point of the post as intended, and I think I will find it quite useful in many projects.
I guess my question was setup for an imaginary situation, say like this:
I have to drill the three holes, same configuration as yours, only I'm using a pretty thick stock and need a through hole. So I need the travel on the quill to be X-inches. And I need to counterbore those, with my countersink bit in my second chuck, and that requires quill travel to be Y-inches for those. If X is greater than Y, this setup won't work, is that assumption correct? Or is there a trick with the quill stop that I'm not considering here that would work even in that situation?
Am I making sense yet?
If X > Y then the setup/sequence needs to be different.
Establish the quill feed distance required for the drilling(X), but with a spacer under the workpiece to raise it up off the table.(nice to have a backup board anyway).
Then remove the spacer and set the quill stop for the countersink. If the spacer exceeds the difference between the drill bit length and counter sink bit length and the drill hole depth then the stop will be beyond the quill extension required for drilling.
I am not happy with that description, but it will have to do for the time being.
Created earlier, but neglected to submit it.
╔═══╗
╟JPG ╢
╚═══╝
Goldie(Bought New SN 377425)/4" jointer/6" beltsander/12" planer/stripsander/bandsaw/powerstation /Scroll saw/Jig saw /Craftsman 10" ras/Craftsman 6" thicknessplaner/ Dayton10"tablesaw(restoredfromneighborstrashpile)/ Mark VII restoration in 'progress'/ 10E[/size](SN E3779) restoration in progress, a 510 on the back burner and a growing pile of items to be eventually returned to useful life. - aka Red Grange
╟JPG ╢
╚═══╝
Goldie(Bought New SN 377425)/4" jointer/6" beltsander/12" planer/stripsander/bandsaw/powerstation /Scroll saw/Jig saw /Craftsman 10" ras/Craftsman 6" thicknessplaner/ Dayton10"tablesaw(restoredfromneighborstrashpile)/ Mark VII restoration in 'progress'/ 10E[/size](SN E3779) restoration in progress, a 510 on the back burner and a growing pile of items to be eventually returned to useful life. - aka Red Grange
- reubenjames
- Gold Member
- Posts: 335
- Joined: Tue Apr 30, 2013 10:20 am
- Location: Cedar Rapids, IA
Re: Today in the shop (a tale of two chucks)
That makes sense. I like it. Hope I'll never need to remember it.